Quick Answer
To use a tactile sensory brush for sensory integration, follow a specific brushing technique—typically the Wilbarger protocol—which involves firm, brisk strokes over the arms, back, and legs, avoiding the stomach and neck. Always pair brushing with joint compressions and consult an occupational therapist for a personalized plan. Consistency and correct technique are key to reducing tactile defensiveness and improving focus.
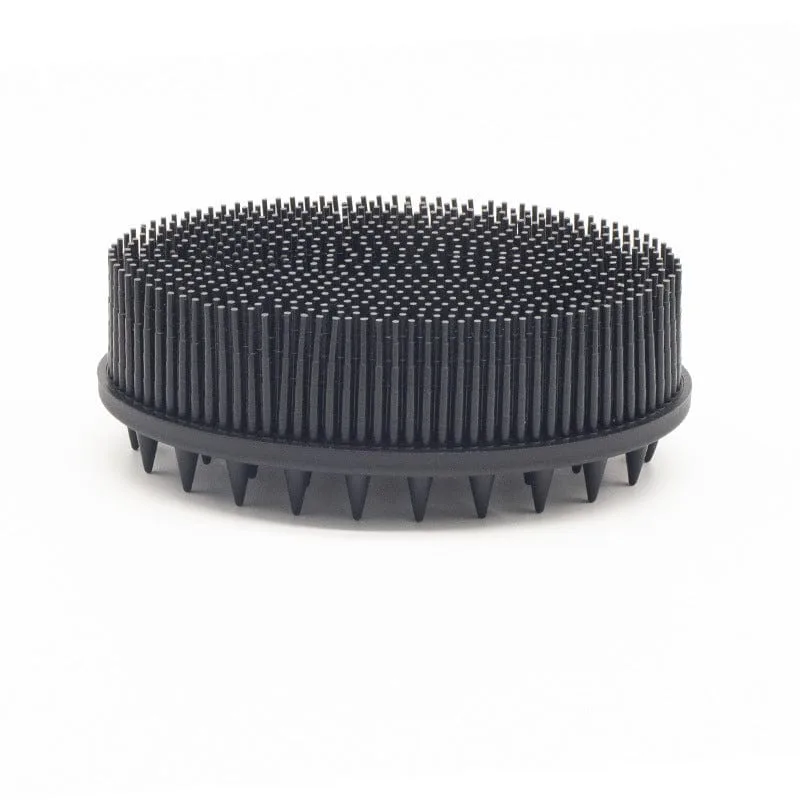
tactile sensory brush
If you're exploring sensory integration tools, you've likely heard about tactile sensory brushes. These small, plastic brushes with firm bristles are designed to provide deep pressure input that can help calm and organize the nervous system, especially for individuals with tactile defensiveness or sensory processing challenges.
But knowing how to use a sensory brush correctly is crucial. Done wrong, it can be ineffective or even uncomfortable. This guide walks you through the step-by-step sensory brushing technique, highlights common mistakes, and explains how to integrate it into a daily routine for best results.
What is a Tactile Sensory Brush?
A tactile sensory brush (often called a therapy brush) looks similar to a surgical scrub brush but has stiff, closely spaced bristles. It's used to deliver deep pressure to the skin, which can help regulate the sensory system. This is different from light touch, which can be overstimulating for someone with tactile defensiveness.
The most well-known method is the Wilbarger brushing protocol, developed by occupational therapists Patricia and Julia Wilbarger. It involves a specific sequence of brushing and joint compressions, typically performed every two hours during waking hours. However, always consult with an occupational therapist before starting this protocol, as it's not suitable for everyone.
- Choose a brush with firm, closely spaced bristles—not a soft cosmetic brush.
- Look for a brush with a handle for easy grip, especially when brushing a child.
Step-by-Step Sensory Brushing Technique
The standard brushing technique involves firm pressure, similar to a deep massage. Start with the arms: brush from the hand up to the shoulder, using brisk strokes. Then do the back, brushing from the neck down to the waist, avoiding the spine. Finally, brush the legs from the feet up to the hips, avoiding the groin area.
Each stroke should be firm and quick, taking about one to two seconds. The entire brushing sequence should take about two to three minutes. After brushing, provide joint compressions: gently press the shoulders, elbows, wrists, hips, knees, and ankles, holding each for about 10 seconds. This combined input helps the brain process sensory information more effectively.
- Never brush the stomach, neck, or face—these areas are more sensitive and can trigger a defensive reaction.
- Use a consistent direction: always brush from extremities toward the center of the body.
Common Mistakes and How to Avoid Them
One of the most common mistakes is using too light a pressure. Light touch can be ticklish or irritating, defeating the purpose of deep pressure. Another mistake is brushing too quickly or skipping areas. Consistency is also key—occasional brushing won't produce lasting results.
It's also important to note that the Wilbarger protocol requires specific training. Don't attempt it without professional guidance. For general sensory brushing, observe the individual's reaction: if they seem agitated or uncomfortable, stop and reassess. Always brush in a calm environment and follow with calming activities.
- Avoid brushing over broken skin or rashes.
- Don't brush more frequently than recommended—overstimulation can occur.
Your Sensory Brushing Routine: 5 Steps to Success
- Consult a Professional: Before starting any brushing protocol, especially the Wilbarger method, speak with an occupational therapist who can assess your needs and teach you the correct technique. Checkpoint: Never begin the Wilbarger protocol without professional training.
- Gather Your Tools: Purchase a proper sensory brush (not a household brush) and ensure it's clean. Have a quiet, comfortable space ready for the routine. Checkpoint: Inspect the brush for worn bristles; replace if necessary.
- Learn the Brushing Sequence: Practice the strokes: arms (hand to shoulder), back (neck to waist), and legs (feet to hips). Use firm, brisk strokes, avoiding sensitive areas. Checkpoint: Practice on yourself first to feel the correct pressure.
- Add Joint Compressions: After brushing, gently compress major joints (shoulders, elbows, wrists, hips, knees, ankles) with a firm but comfortable pressure, holding each for about 10 seconds. Checkpoint: Watch for signs of discomfort; adjust pressure accordingly.
- Establish a Consistent Schedule: For best results, perform the brushing routine at regular intervals (e.g., every 2 hours) as recommended by your therapist. Keep a log to track responses. Checkpoint: Consistency matters more than intensity—stick with it.
Choosing the Right Sensory Tools
- Honeycomb Extreme Grip: Introducing our Honeycomb Style Hand Grips, designed to provide an extreme grip and offer a unique sensory experience. These grips are perfect for teens and adults who are seeking both hand function and emotional regulation. With super strong resistance, these grips allow you to exert tension and really test your hand strength. While not a brush, this grip provides deep pressure input through the hands, which can complement a brushing routine by offering additional proprioceptive feedback for regulation.
- Atomic Twist Fidget, One-Handed Twisting Focus Toy: The Atomic Twist is a compact fidget made of smooth, linked rings that spin and twist in your hand. One-handed and satisfying, it turns over and over without a sound, giving restless fingers a simple, absorbing thing to do. After a brushing session, a quiet fidget like this can help maintain a calm, focused state, especially during transitions or seated tasks.
Using a tactile sensory brush can be a powerful tool for sensory integration when done correctly. Remember to seek professional guidance, follow the proper technique, and stay consistent. Pairing brushing with other sensory tools like grips or fidgets can enhance the calming effect. With patience and practice, you'll find a routine that supports focus and comfort.