Quick answer
Secure your dog with a crash-tested harness tethered low and short inside the cab, then add eye protection and a non-slip resting spot before you touch the throttle. Build the setup in stages on flat ground, and keep the first rides short, slow, and cool. Most pet injuries in side-by-sides come from a loose dog being thrown or jumping out, not from the trail itself.
Dogs love the trail, but a side-by-side is not a car. There are no doors on many models, no seatbelt for a dog, and dust, rocks, and heat hit at eye level. That combination is why utv pet accessories exist as a category, and why the order you set them up in matters more than the brand you buy.
This guide walks through the setup sequence we recommend: restraint first, then protection, then cab layout, then heat and hydration. Each step includes the mistake that most often undoes it. If you already ride with a dog and something feels off, the answer is usually in step one.
Start with restraint, not comfort
A dog harness utv setup only works if the tether is short and anchored low. A long leash lets the dog build speed before it snaps tight, which is how necks and spines get hurt. Anchor to a floor point or low bar behind the seat, not to the roof or a grab handle, and leave just enough slack for the dog to sit, stand, and lie down.
Fit the harness snug across the chest with two fingers of slack at most. A harness that twists or slides off one shoulder will not hold in a sudden stop. Check it after every stop, because dust and vibration work straps loose faster than you expect.
- Common mistake: clipping a collar instead of a harness. A collar concentrates force on the throat.
- Checkpoint: with the dog seated, the tether should not let its nose reach the front wheel or the open door edge.
Add eye and paw protection before the first dusty ride
Dog goggles riding gear is not a costume. At trail speed, dust, grit, and branches hit the face constantly, and a dog that cannot see will panic and pull against the tether. Introduce goggles at home with treats and short sessions so the strap and lens feel normal before the engine starts.
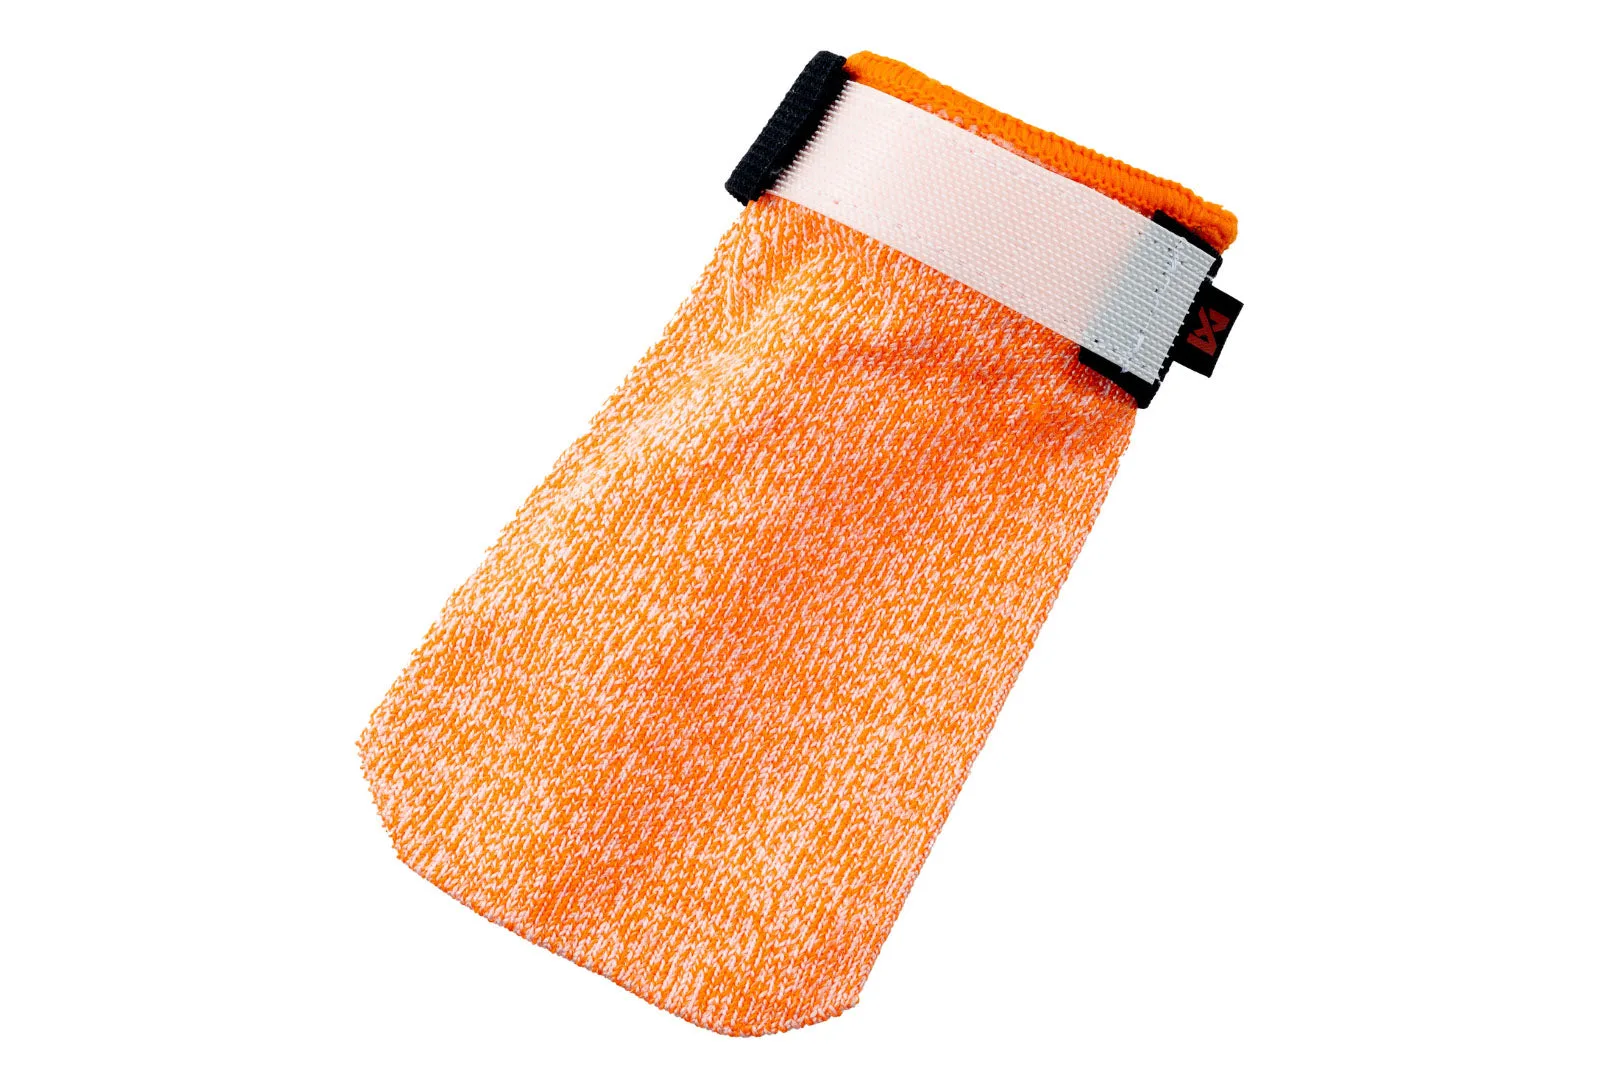
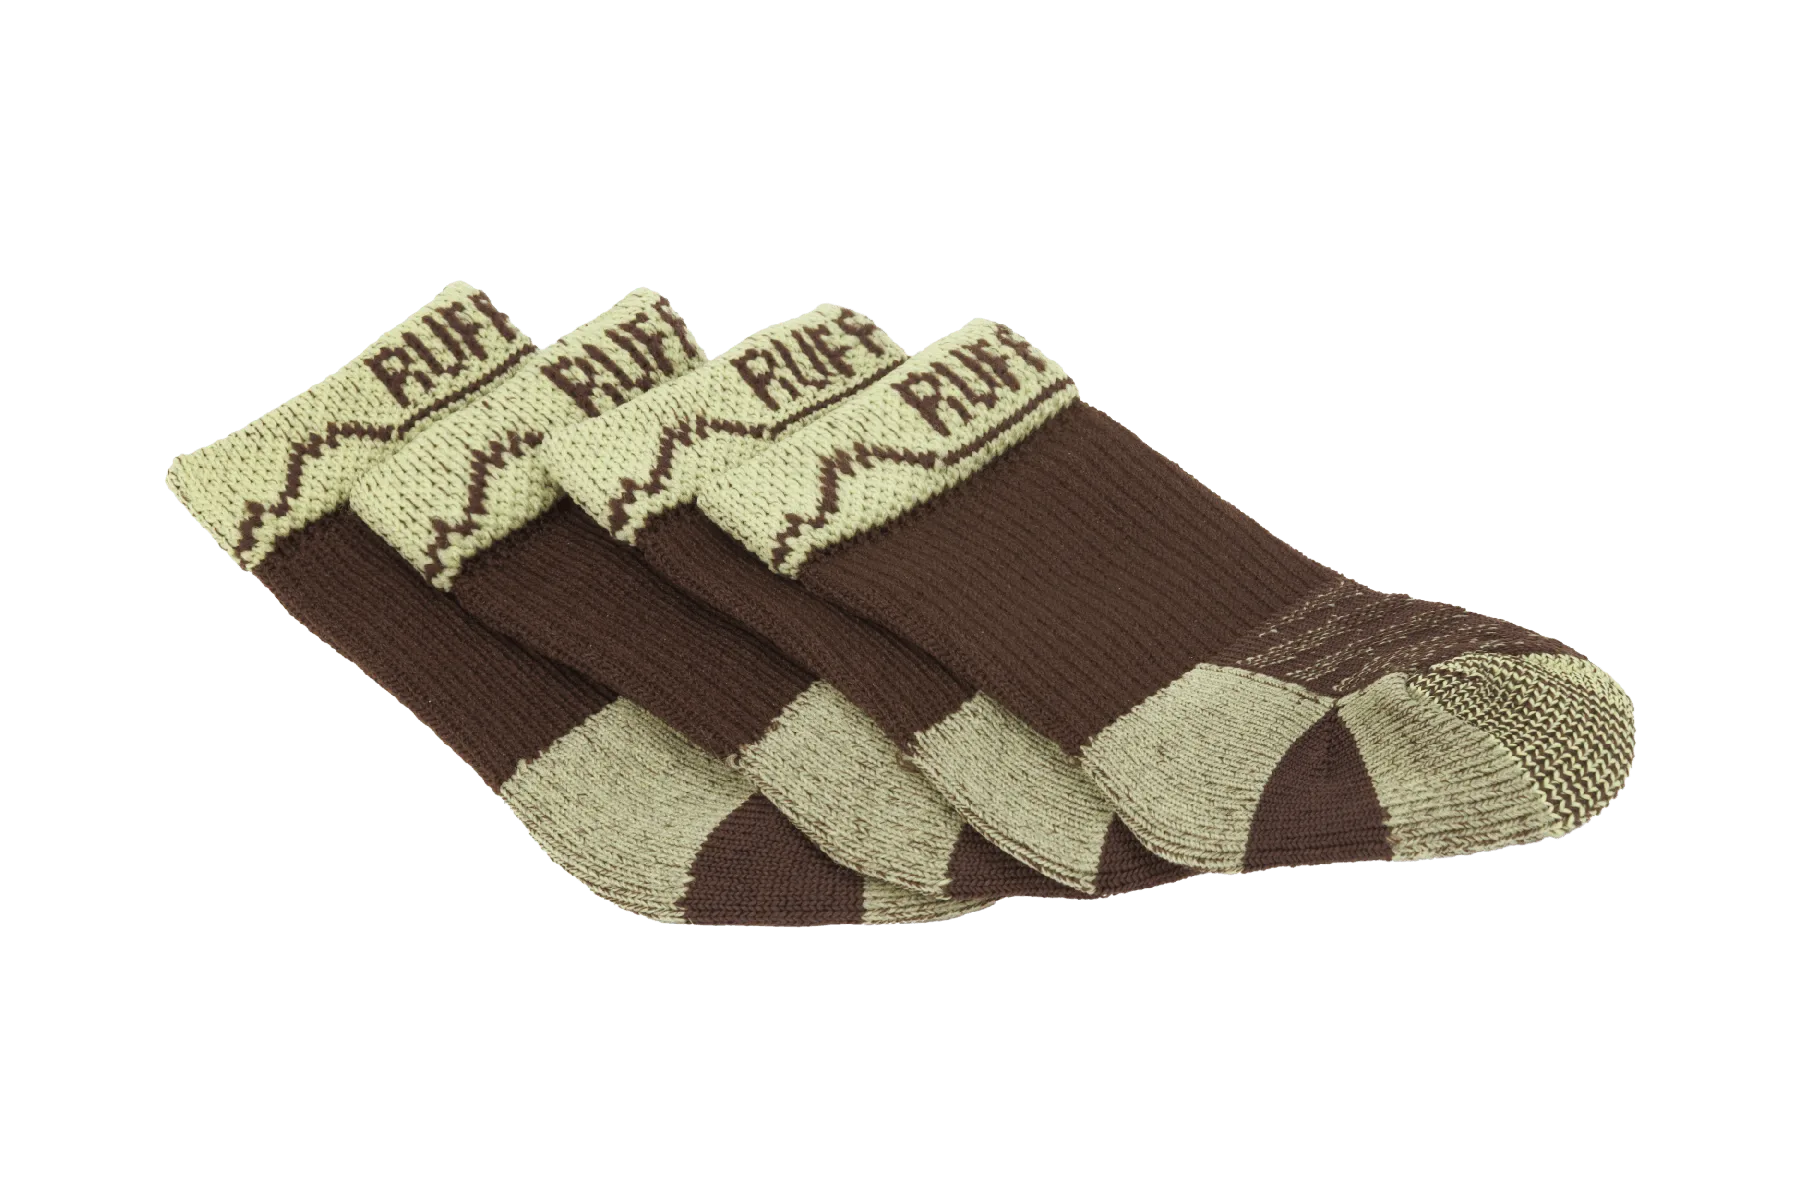
Paw protection matters on hot rock, gravel, and sharp shale at rest stops. Boots also help in snow where ice balls form between the pads. If your dog refuses boots, at minimum keep rest stops on cool ground and check pads with your hand before letting them down.
- Common mistake: forcing goggles on for the first time at the trailhead. That teaches the dog to fight them.
- Checkpoint: the goggle strap should sit behind the ears, not over them, and the lens should not touch the eye.
Set up a stable, non-slip spot in the cab
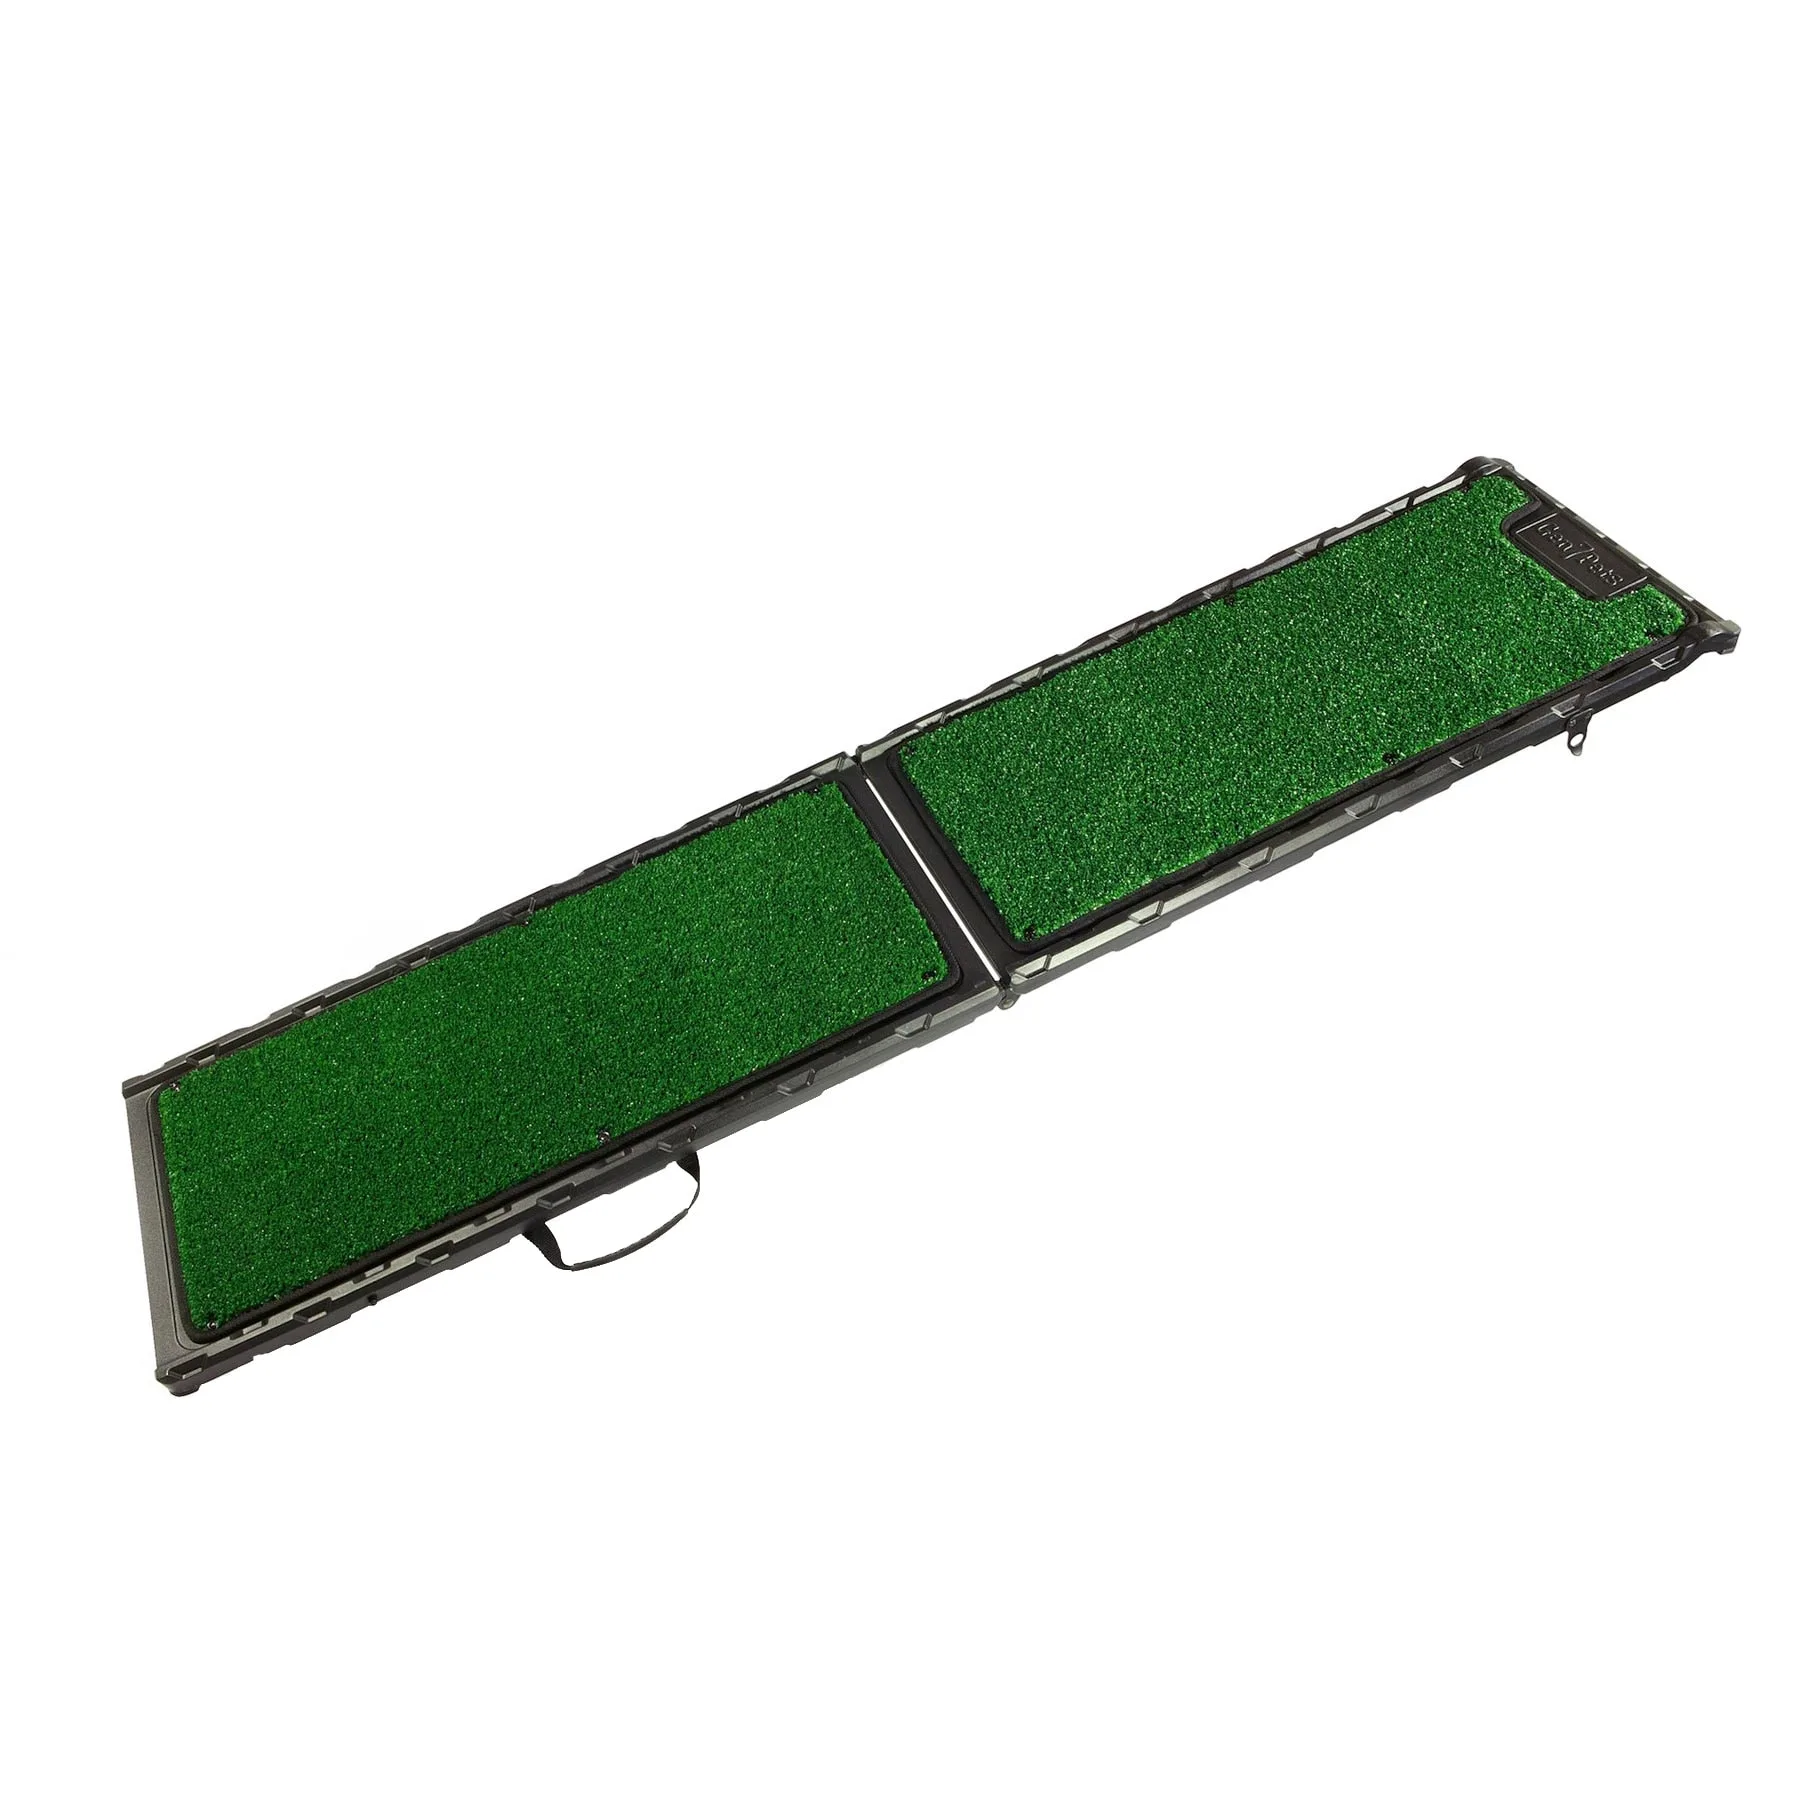
A utv dog seat or a flat cargo-area pad gives the dog a defined place to stand and lie down, which reduces pacing and tether tangles. Whatever you use, the surface must not slide. Bare plastic and aluminum get slick with dust and water, so add a rubber-backed mat or a fitted pad that grips.
Keep the space clear of loose tools, tie-down straps, and anything with a hook. In a hard stop, unsecured gear becomes a projectile aimed at your dog. If you carry cargo in the same area, separate it with a solid barrier rather than trusting a bungee cord.
- Common mistake: letting the dog ride on the passenger's lap. A human cannot hold a dog in a sudden stop.
- Checkpoint: push the pad hard with your hand. If it shifts more than an inch, it will shift under the dog too.
Manage heat, water, and rest stops
Dogs cool by panting, and a UTV cab in summer sun traps heat with no airflow at low speed. Plan rides for early morning or evening, bring more water than you think you need, and offer it at every stop rather than waiting for signs of overheating. A collapsible bowl takes almost no space.
Watch for heavy panting that does not slow down, thick drool, wobbling, or gums that look bright red or pale. Those are stop-now signs, not push-through signs. Shade, water, and a wet towel on the chest and paws cool a dog faster than pouring water over the back.
- Common mistake: assuming wind from riding cools a dog. It does not replace panting.
- Checkpoint: if your dog stops drinking or refuses treats, end the ride.
Build up distance and speed gradually
A dog that is calm in the driveway may panic at 25 mph on washboard. Start with engine-on idle time, then a slow loop near home, then a short trail. Add speed and distance only when the dog stays settled and the tether stays untangled.
Bring a second person for the first few real rides if you can. A passenger can watch the dog, adjust the tether, and catch problems before they escalate, while you keep both hands on the wheel and eyes on the trail.
- Common mistake: treating the first trail ride as a test of the dog's toughness.
- Checkpoint: after each ride, inspect the harness for fraying and the dog for rub marks under the front legs.
Ride-ready setup in six steps
- Fit the harness: Put the harness on with two fingers of slack at the chest and confirm it does not slide off a shoulder when you tug gently sideways. Checkpoint: re-check the fit after the first ten minutes of riding, since straps settle.
- Anchor the tether low and short: Clip to a floor or low bar anchor behind the seat and adjust so the dog can sit, stand, and lie down but cannot reach the door opening or front wheel. Common mistake: anchoring high, which lets the dog swing and choke in a stop.
- Introduce eye protection on flat ground: Run short, treat-rewarded sessions with the goggles at home before any ride, and adjust the strap behind the ears. Checkpoint: if the dog paws at the goggles constantly, shorten sessions rather than forcing a full ride.
- Lay down a non-slip resting spot: Place a rubber-backed pad or fitted seat in the cab and push it hard to confirm it does not shift more than an inch. Common mistake: leaving loose tools or straps in the same space as the dog.
- Pack water and cooling gear where you can reach them: Use door bags or a secured box for a bowl, water, and a towel so you can offer a drink without digging through cargo. Checkpoint: if you cannot reach water from the driver's seat, repack before you leave.
- Take a short shakedown ride: Idle, then a slow loop near home, then a short trail, adding speed and distance only when the dog stays settled and the tether stays clear. Next step: inspect the harness for fraying and the dog for rub marks after every ride.
Accessories that solve specific problems
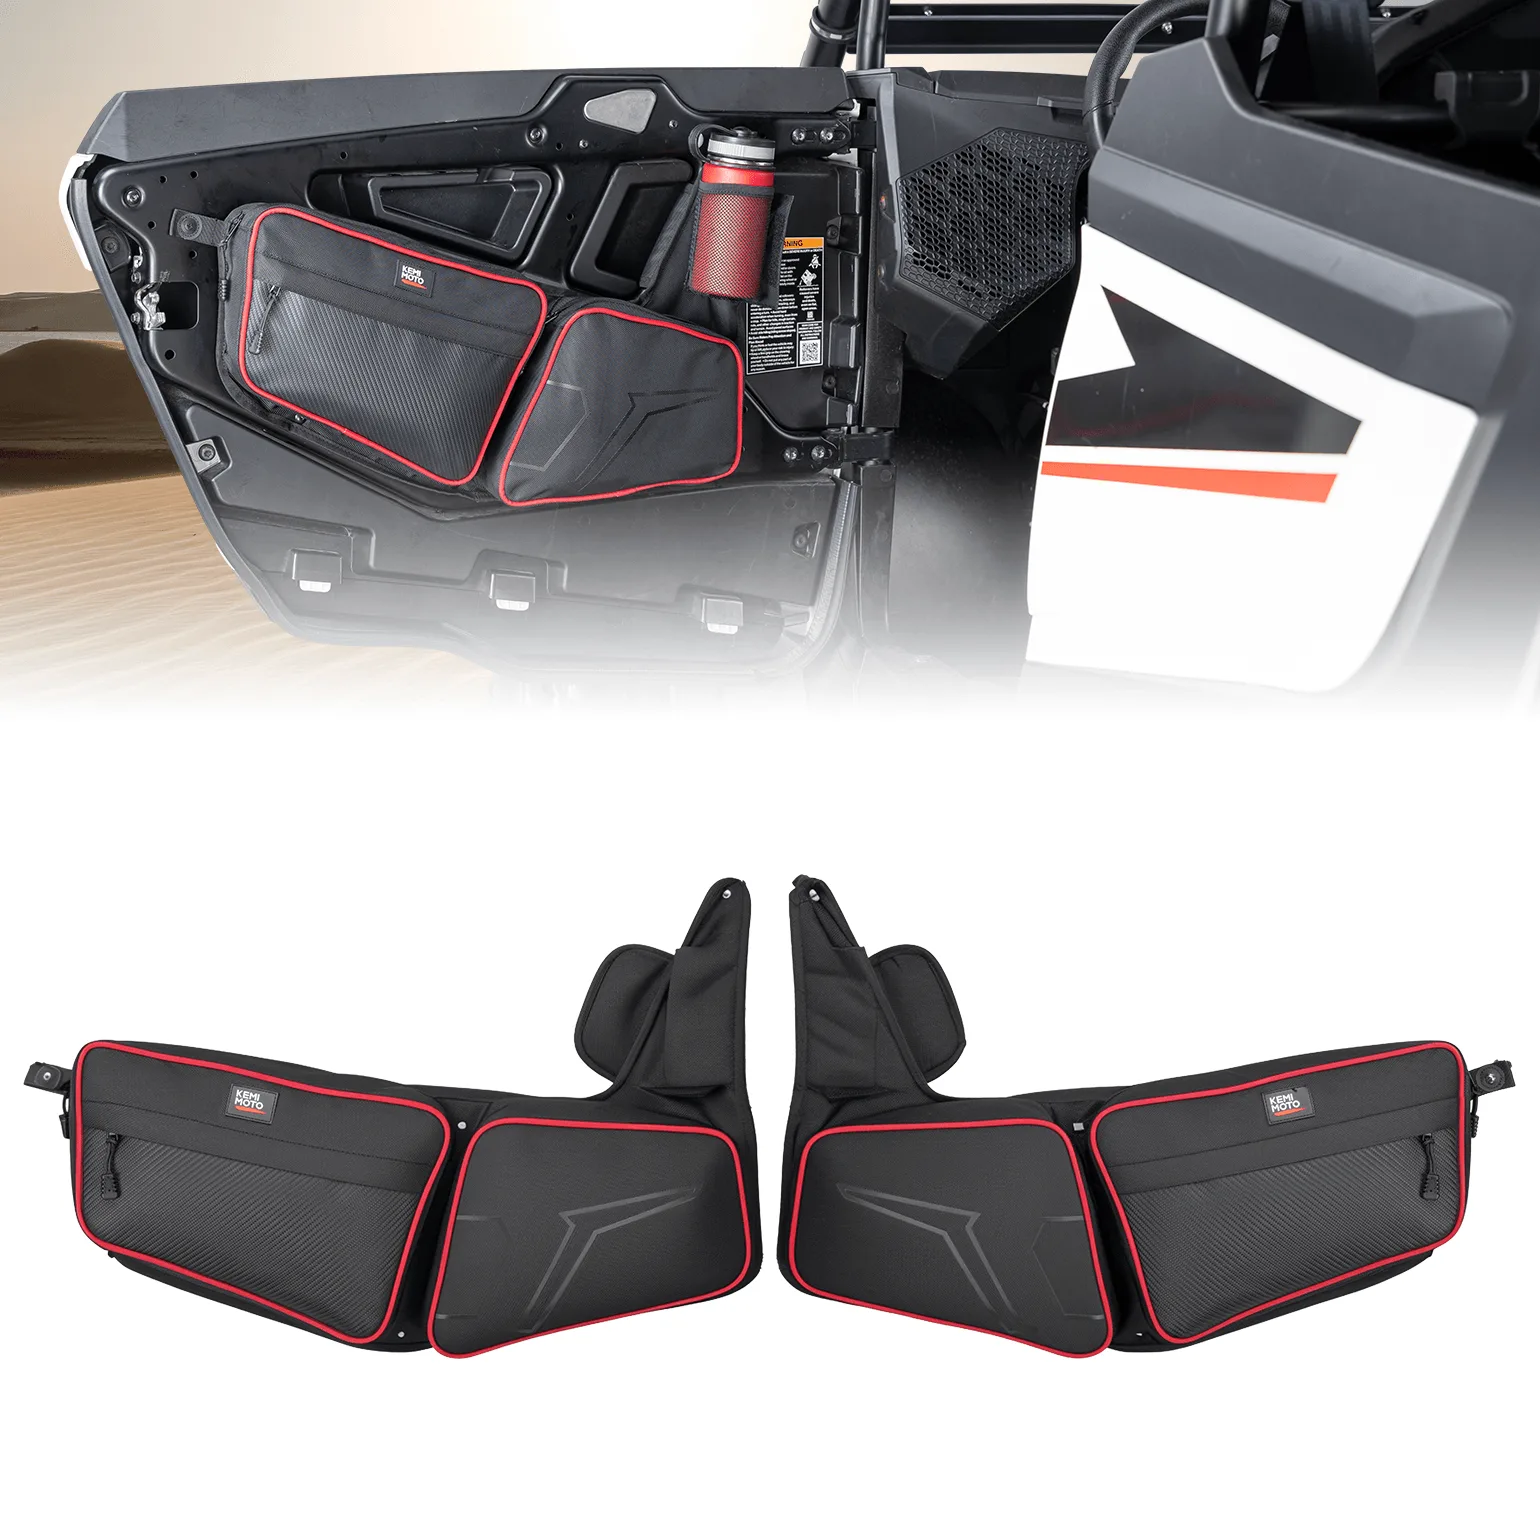
- UTV Front Side Door Bags for Polaris RZR, Red: These door bags offer 14L of multi-pocket storage (7L per side), a mesh pocket for small items, a 60mm water cup holder that conceals with magic tape, and a key chain. Keeping water, treats, waste bags, and a leash in dedicated pockets means nothing loose rattles around the dog's space, and the cup holder keeps a bottle upright instead of rolling under the seat.
- UTV 2-Seater Trailerable Cover for Polaris RZR XP 1000 Can-Am Maverick X3 Defender, 140" x 58" x 75": Built from heavy-duty 600D oxford fabric with a 3000 mm H2O rated PU coating, heat-sealed seams, UV50+ treatment, and reflective strips front and back. If your rig sits outside between rides, a cover keeps dust, rain, and sun off the pad and harness you leave in the cab, so the dog is not lying on grit or damp fabric next time out.
Restraint, protection, and heat management in that order will prevent most problems. Buy the harness and anchor first, add goggles and pads next, and let the dog's behavior set the pace. A calm dog in a secure setup makes the trail better for both of you.