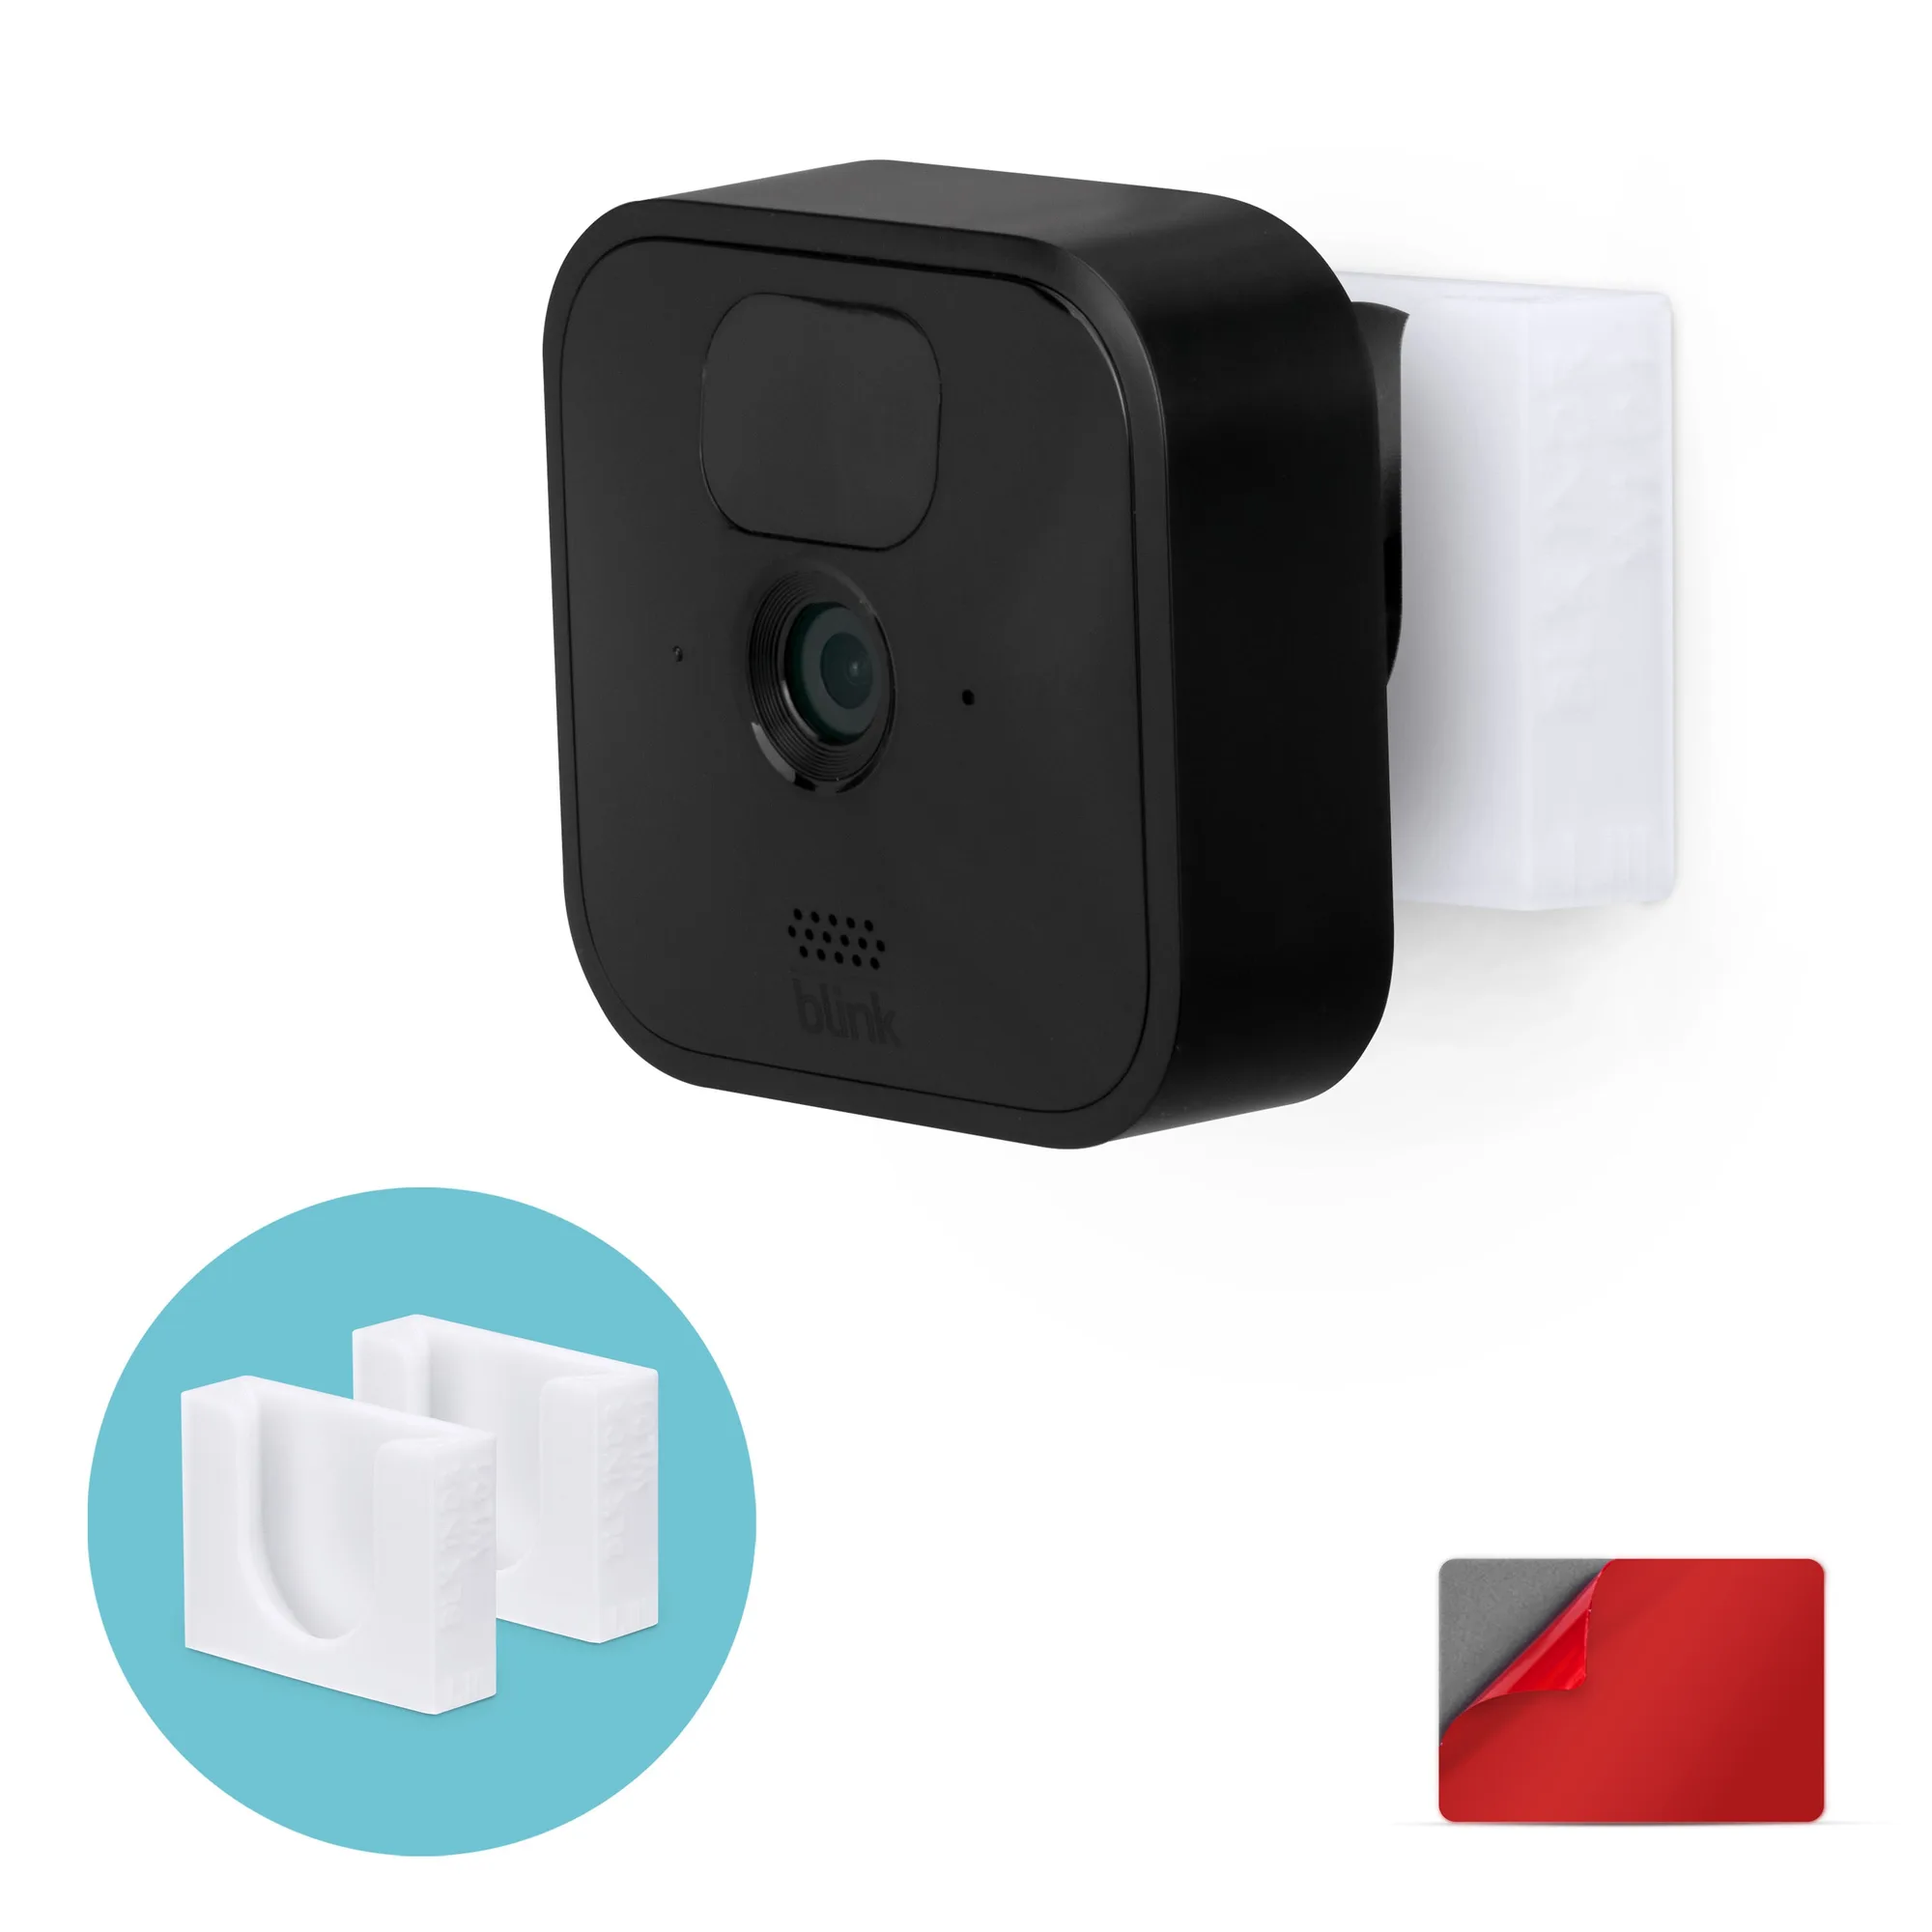
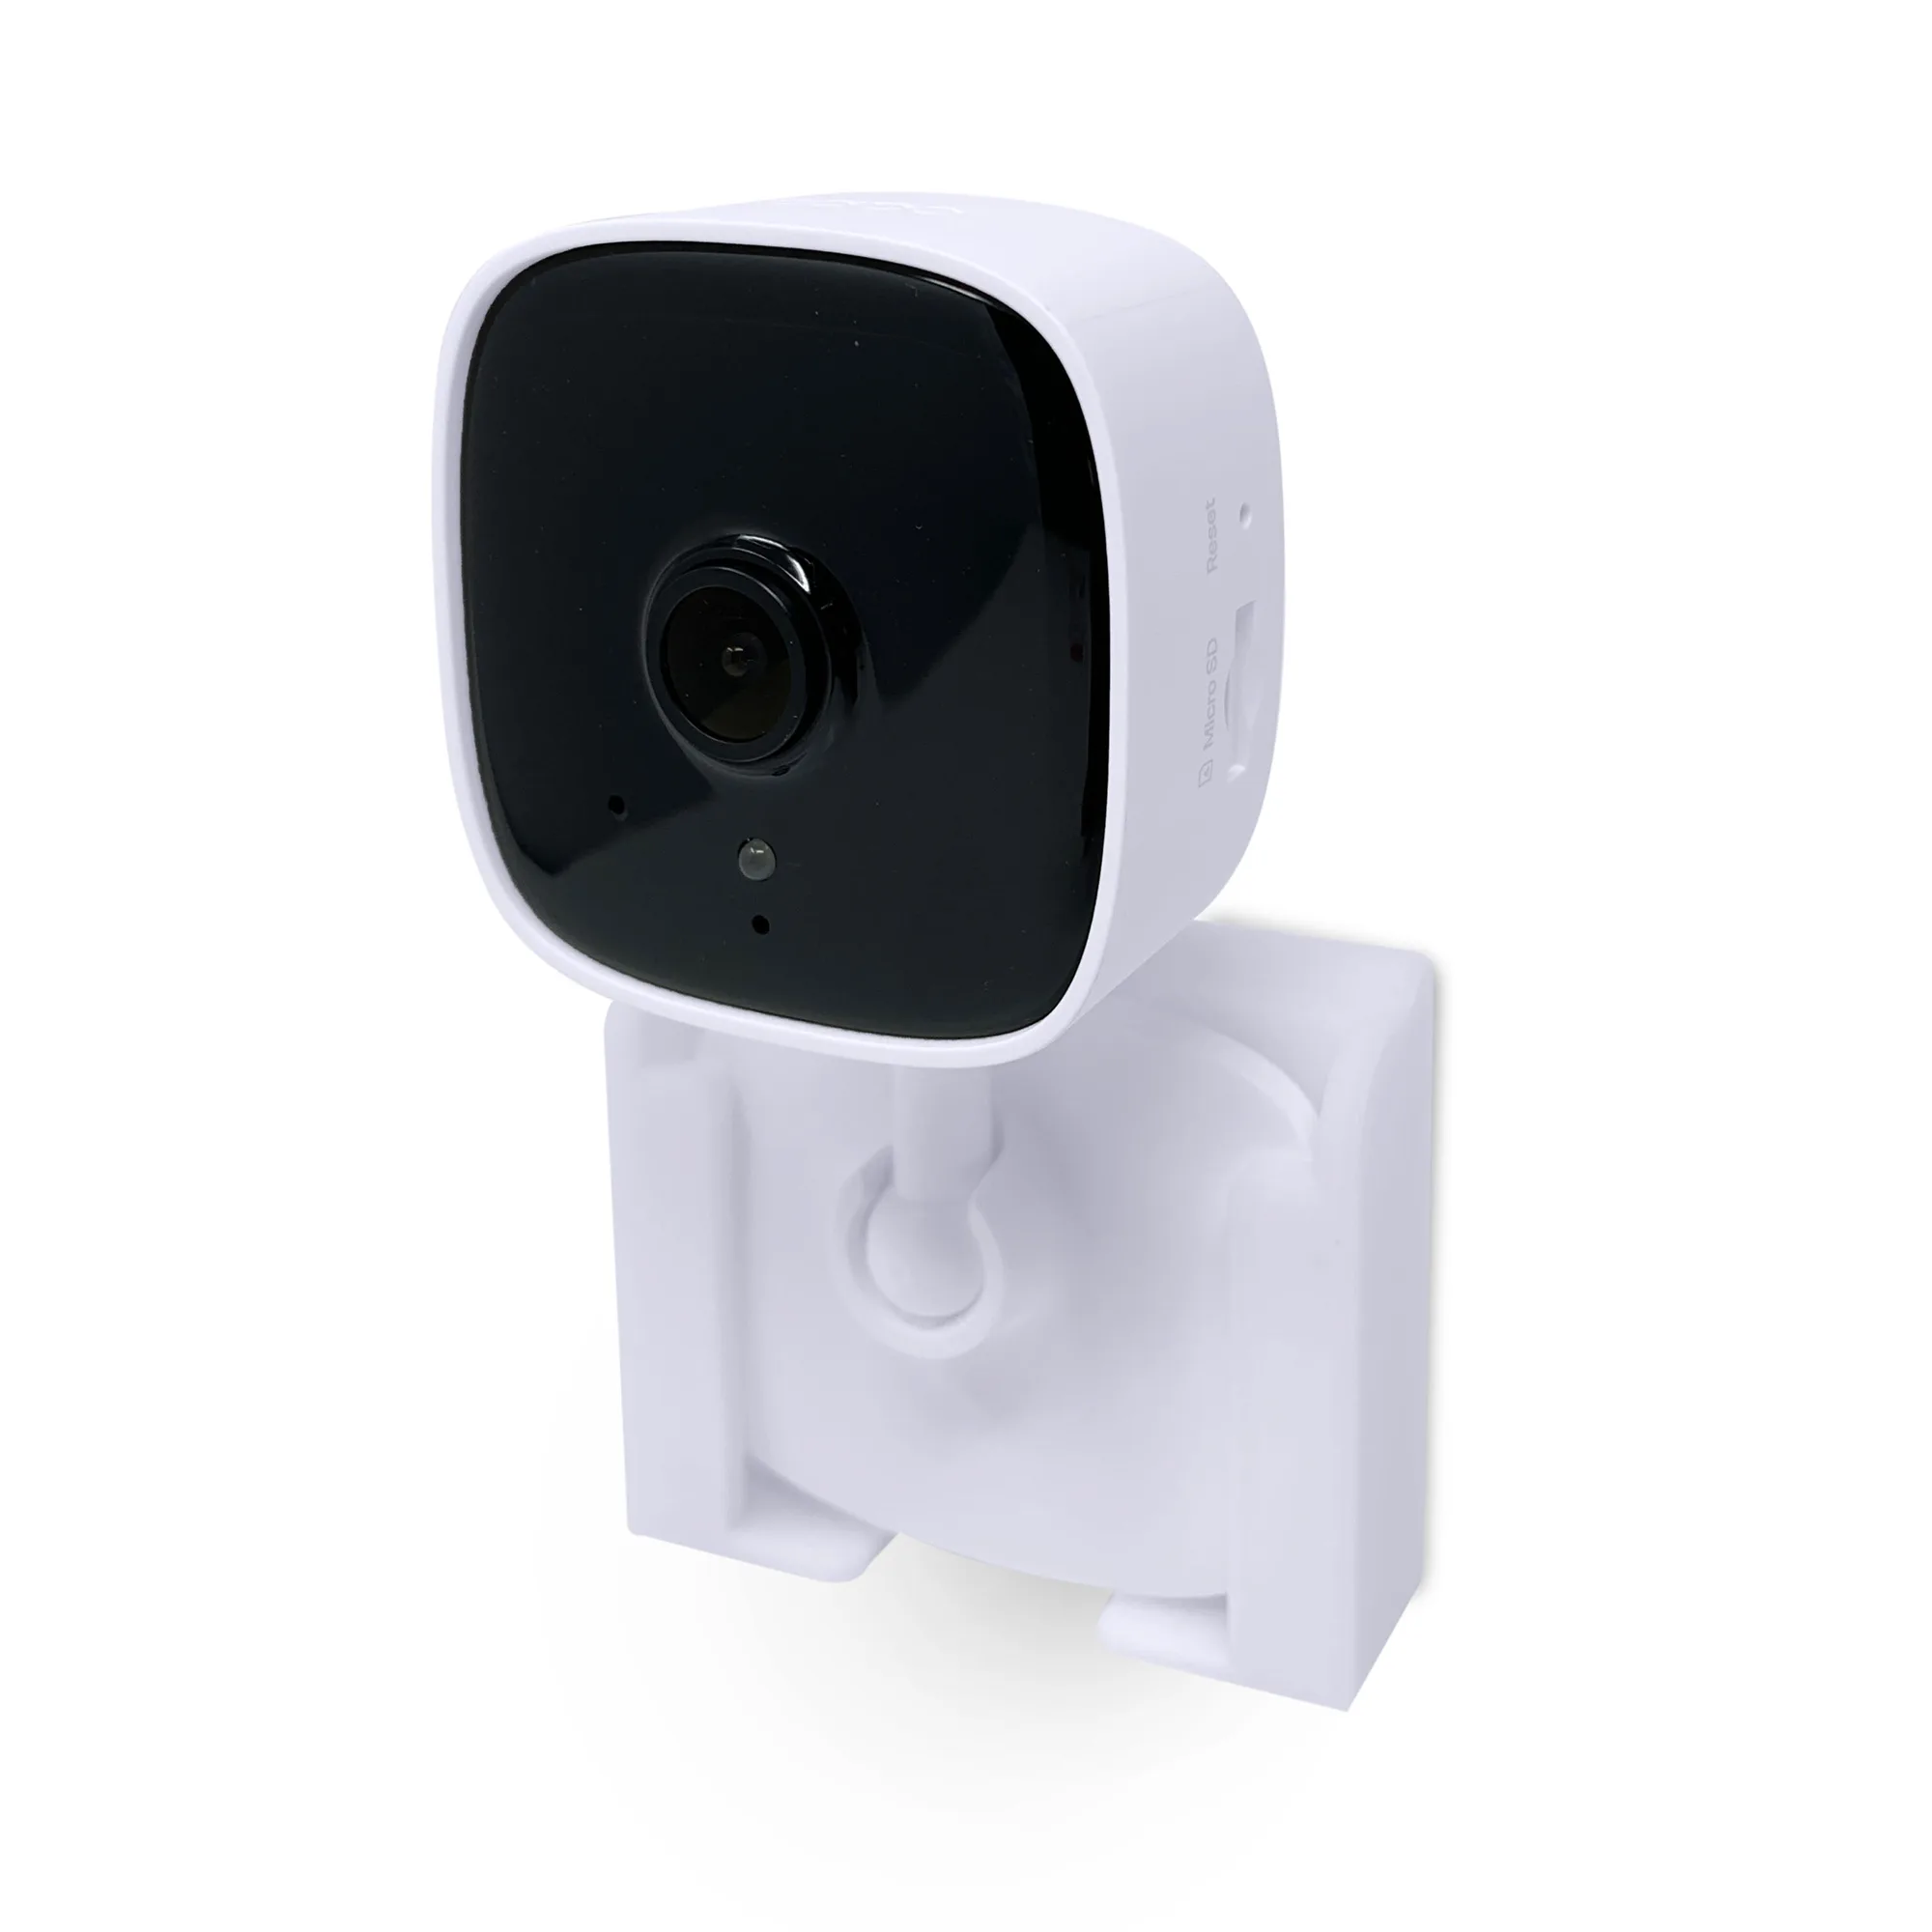
Why a no-drill mount makes sense for the VA-IH006
The VAVA VA-IH006 baby monitor camera is designed to keep an eye on a room, and the Brainwavz stick-on wall mount holder gives you a way to position it high in a corner without drilling. The mount uses super strong VHB tape and a custom push-fit base, so you can avoid screws and still keep the camera out of reach.
This guide walks through the installation sequence exactly as supported by the supplied product information. It also covers where to place the mount, how to prepare the surface, and what to check before you trust the hold.
Step-by-step: install the stick-on mount
The sequence below follows the supplied fitting guide. Stick to these steps rather than improvising, because the adhesive needs time to bond before the camera goes in.
- 1. Choose a high corner spot: Pick a corner location high up in the room where the camera will be safely out of the way and less likely to be knocked or moved.
- 2. Clean and dry the wall surface: Wipe the corner area with a clean, dry cloth to remove dust or grease. The supplied information does not specify a cleaning product, so plain water or a dry wipe is safest unless your wall manufacturer advises otherwise.
- 3. Remove the safety tape cover: Peel the protective film from the back of the holder to expose the VHB adhesive.
- 4. Press the mount firmly into the corner: Place the holder high in the corner and press it against the wall for a few seconds to ensure full contact.
- 5. Wait at least 6 hours before adding the camera: The supplied instructions say to let the mount sit for at least 6 hours before pushing the camera into the holder. This gives the adhesive time to cure.
- 6. Push the camera into the holder: Align the VAVA VA-IH006 with the custom base and push until it clicks into place. No screws or bolts are needed.
Placement tips for a wider view and safer hold
The mount is tilted by design, which helps the camera see more of the room. That tilt is fixed, so choose a corner height that gives you the coverage you want before you stick the mount down. Because the holder is meant for corners, it works best where two walls meet, high enough that the camera is out of reach.
Keep the mount away from areas where it could be bumped, such as above a door or next to a shelf you use often. The goal is a stable spot where the camera stays exactly where you put it.
What the Brainwavz mount is designed to do
-
VAVA VA-IH006 Stick On Wall Mount Holder - Easy to Install, No Screws or Mess: Custom-designed base for the VAVA VA-IH006 Baby Monitor Camera with a push-fit, click-in design. Confirms the mount is made for this specific camera model, so you are not forcing a universal fit.
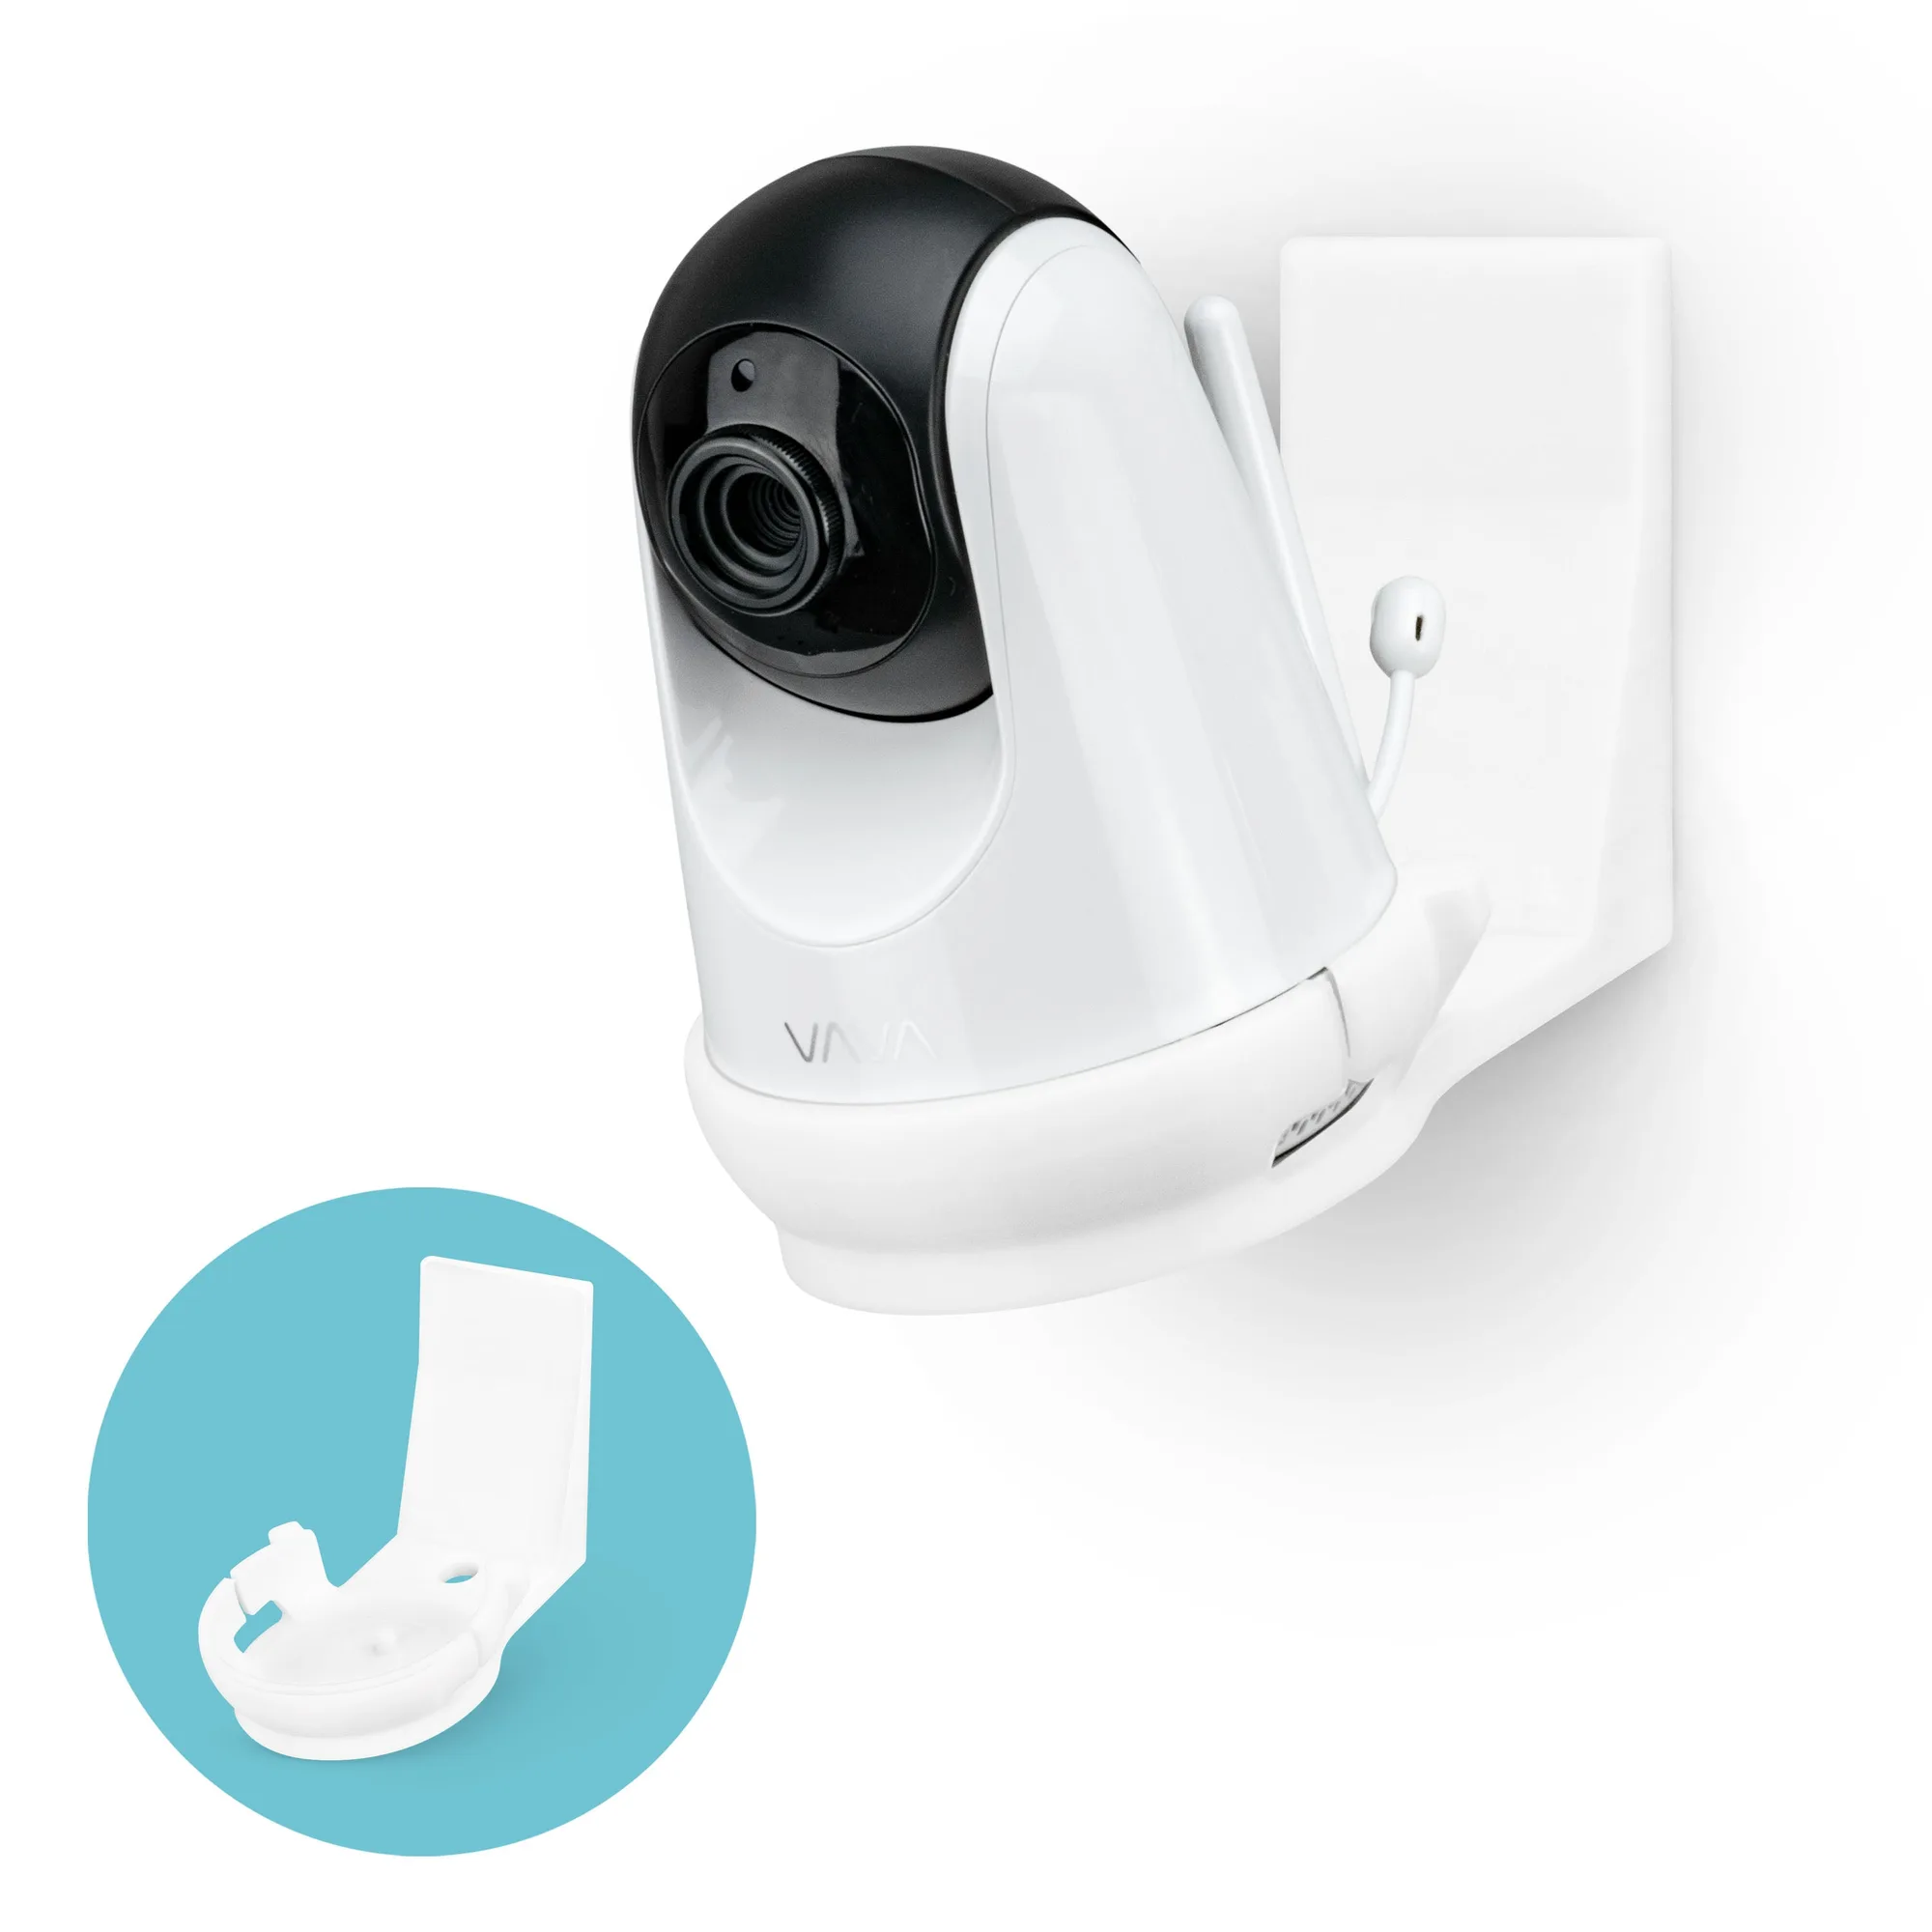
VAVA VA-IH006 Stick On Wall Mount Holder - Easy to Install, No Screws or Mess
-
VAVA VA-IH006 Stick On Wall Mount Holder - Easy to Install, No Screws or Mess: Attaches with super strong VHB tape, no screws or drilling required. Lets you mount the camera in a corner without damaging the wall or needing tools.
-
VAVA VA-IH006 Stick On Wall Mount Holder - Easy to Install, No Screws or Mess: Tilted design for a wider viewing angle. Helps the camera see more of the room from a high corner position.
Surface prep and adhesive limits
The supplied information does not list approved wall surfaces, so treat smooth, clean, dry walls as the safest bet. Avoid textured wallpaper, fresh paint, or damp areas unless you can confirm the tape will bond. If you are unsure, test a small piece of tape in an inconspicuous spot first.
Remember that the 6-hour wait is part of the installation, not an optional step. Pushing the camera in too soon could weaken the bond. Once the mount is in place, check periodically that it still feels secure.
When to consider a different mounting method
If your corner wall is uneven or you need to reposition the camera often, a screw-in mount might be more appropriate. The Brainwavz stick-on holder is designed for a semi-permanent spot. Also note that the supplied information does not cover removal or adhesive residue, so plan your placement carefully before you commit.