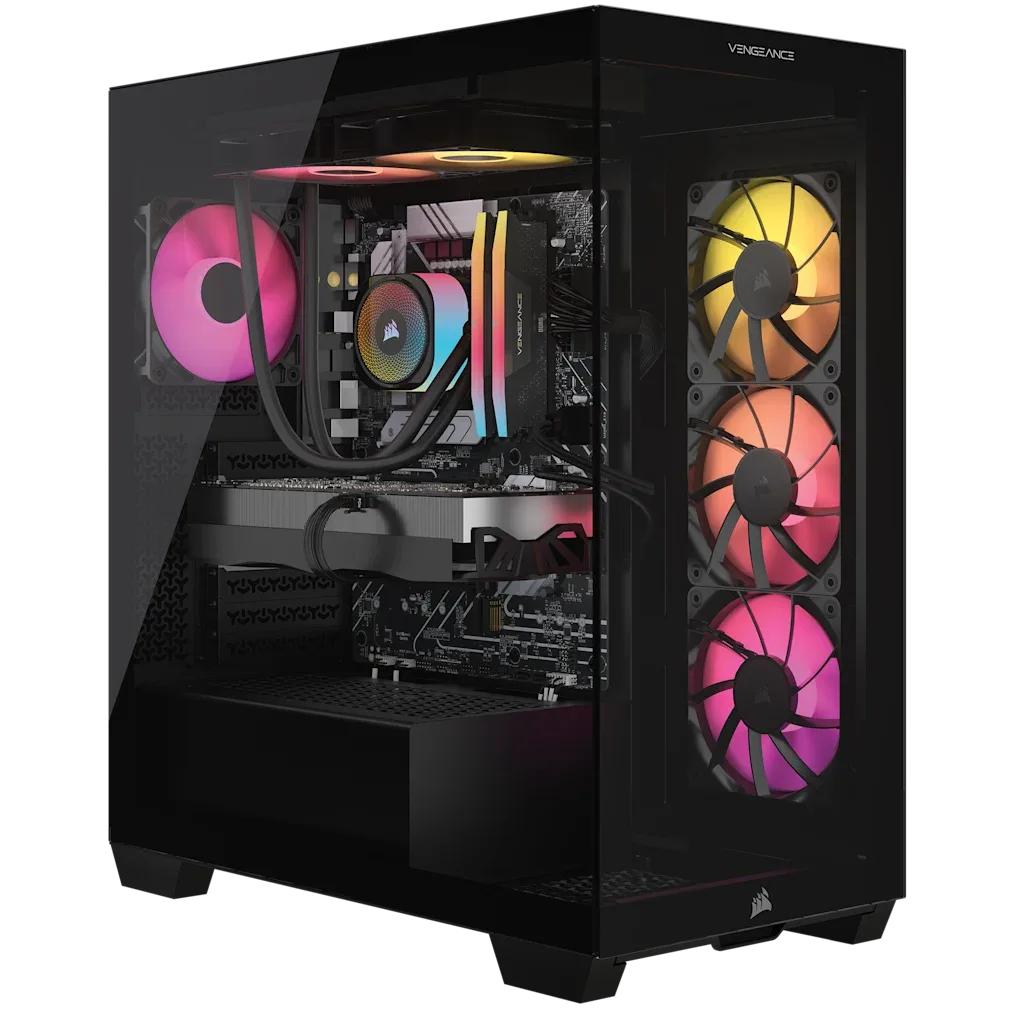
Quick answer
To install additional storage in your VENGEANCE a7500, power down the PC, open the side panel, locate the spare M.2 slot or SATA bay, install the drive, and reconfigure it in Windows Disk Management. This guide walks you through each step and highlights the one mistake most people make.
What You'll Need
Before starting, gather a compatible M.2 NVMe SSD (PCIe Gen4 or Gen5) or a 2.5-inch SATA SSD, a Phillips #1 screwdriver, and a clean, static-free workspace. The VENGEANCE a7500 chassis provides easy access to both M.2 slots and drive bays, so no special tools are required beyond a standard screwdriver.
Identifying Available Slots
The VENGEANCE a7500 motherboard includes two M.2 slots; one is typically populated with the boot drive. The second slot supports additional NVMe storage. If you prefer a SATA drive, the case has dedicated 2.5-inch mounting positions near the PSU shroud. Check your specific configuration before purchasing an extra drive.
Installation Steps
- Power Down and Unplug: Shut down Windows, flip the PSU switch to off, and unplug the power cable. Press the power button for 5 seconds to discharge residual capacitors. Common mistake: Skipping the power drain can leave the motherboard powered and risk shorting components.
- Open the Side Panel: Remove the two thumbscrews on the rear of the left side panel and slide the panel backward. Set it aside on a soft surface. Checkpoint: Ensure the panel is completely free before pulling to avoid bending the latch.
- Locate the Empty M.2 Slot: Find the second M.2 slot on the motherboard, usually labeled M.2_2. If it has a pre-installed heatsink, unscrew it and set it aside. Common mistake: Forgetting to remove the protective plastic film from the thermal pad under the heatsink.
- Insert the M.2 SSD: Align the notch on the SSD with the key in the slot, insert at a 30-degree angle, then press down and secure with the mounting screw. Checkpoint: If the screw feels tight, you may be using the wrong standoff position for your SSD length (2280 is standard).
- Reattach the Heatsink and Close the Case: Replace the motherboard heatsink (if removed), reinstall the side panel, plug in power, and boot the PC. Common mistake: Overtightening the heatsink screws can warp the board; turn until snug, not torqued.
- Initialize the Drive in Windows: Open Disk Management (right-click Start > Disk Management). If prompted, select GPT partition style. Right-click the unallocated space, choose New Simple Volume, and assign a drive letter. Checkpoint: If the drive doesn't appear, reseat it or check BIOS to confirm it's detected.
Storage Upgrade Options for Your VENGEANCE a7500
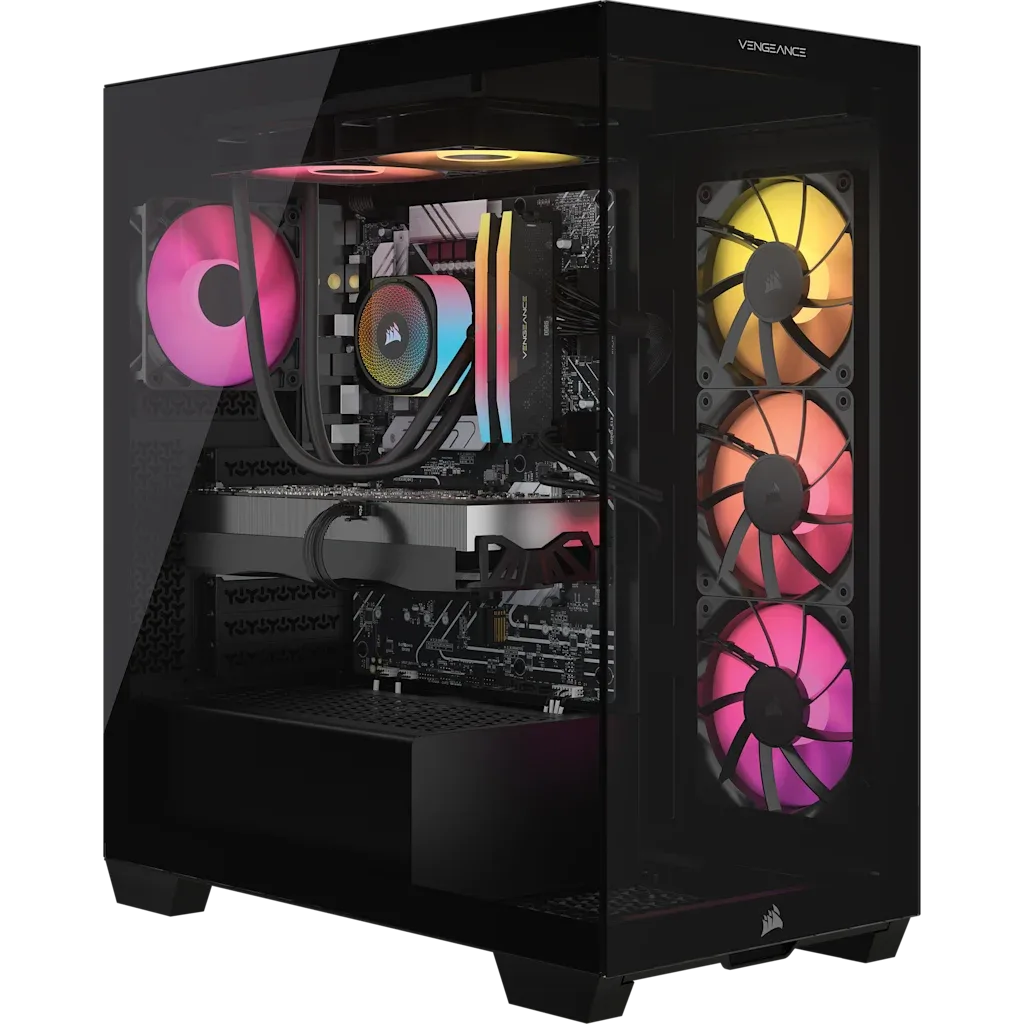
- VENGEANCE a7500 Gaming PC: AMD Ryzen 9 9900X3D, GeForce RTX 5080, 32GB DDR5, 2TB M.2 SSD, Win11 Home: Step up your game with a CORSAIR VENGEANCE a7500 Series Gaming PC, built with a full range of award-winning CORSAIR components, and powered by an AMD Ryzen™ 9000X3D Series CPU and NVIDIA® GeForce RTX™ 50 Series graphics. This model comes with a 2TB M.2 SSD, but adding a second drive lets you separate your OS from your game library for faster load times and easier backups.
- VENGEANCE a7500 Gaming PC: AMD Ryzen 7 9800X3D, GeForce RTX 5090, 64GB DDR5, 4TB (2TB/2TB) M.2 SSD, Win11 Home: Step up your game with a CORSAIR VENGEANCE a7500 Series Gaming PC, built with a full range of award-winning CORSAIR components. With 4TB of total storage (2TB + 2TB), this configuration already offers ample space. Adding a third drive is possible if you use a SATA SSD in the available 2.5-inch bay.