Quick Answer
A VSMS 1/100 kit includes injection-molded plastic parts, a decal sheet, and an instruction manual. Start by checking parts against the manual, then clean, dry-fit, paint, and assemble in sub-assemblies to avoid mistakes.
What to Expect in a VSMS 1/100 Kit
VSMS (Variable-Scale Model Series) kits are injection-molded plastic model kits, not resin garage kits. This means they come on sprues with parts that need to be cut, cleaned, and assembled. The level of detail is high, but the plastic is softer than resin, so care is needed when sanding and cutting.
Each VSMS kit typically includes the main plastic runners, a polycap or joint parts for articulation, a decal sheet for markings, and an instruction manual. You will need your own tools: nippers, hobby knife, sanding sticks, and glue (though some parts may snap-fit).
Because these kits are pre-order items, it's wise to check the release date and pre-order deadline before purchasing. For example, the VSMS 1/100 DACCAS The Black Knight has a pre-order deadline of October 30th, with release in November 2026.
Why Build Order Matters
Assembling a VSMS kit in the wrong order can lead to parts not fitting or paint being damaged. Follow the manual's sequence, which usually builds the inner frame first, then armor, then accessories. This allows you to test articulation before painting.
Some VSMS kits have transformable features, like the S.S.I. Kubalkans Gatexion Mark3 "Ritter Jet" which has a variable twin-swing frame. For such kits, pay extra attention to the transformation joints; test the transformation before painting to ensure parts move freely.
Cleaning and Prep: The Key to a Good Build
Injection-molded plastic has mold lines and nubs that must be removed. Skipping this step results in visible seams and poor paint adhesion. Use a hobby knife to shave off nubs, then sand with fine-grit sandpaper (400-600) for a smooth surface.
Wash the parts in warm soapy water with a mild detergent to remove mold release agents. This is crucial for paint to adhere properly. Rinse and let dry completely before painting.
Step-by-Step VSMS 1/100 Build Guide
- Check Parts Against the Manual: Before cutting anything, lay out all runners and compare the parts to the manual's parts list. Confirm you have all sprues and that no parts are missing or damaged. This is the best time to contact the seller if something is wrong. Missing parts are easier to replace before you start building.
- Cut Parts from Sprues: Use a pair of nippers to cut parts from the runners, leaving a small nub. Cut away from the part to avoid stress marks. Then trim the nub with a hobby knife, but be careful not to cut into the part itself. Cut a little away from the part to avoid stress marks.
- Clean and Sand the Parts: Remove mold lines and sand the cut areas with fine-grit sandpaper (400-600). For curved surfaces, use a sanding stick or wrap sandpaper around a cotton swab. Rinse the parts in warm soapy water to remove dust and mold release agents, then dry thoroughly. Sanding in one direction avoids scratches that are hard to hide.
- Dry-Fit the Inner Frame: Before gluing or painting, assemble the inner frame (or joints) without glue to test fit and articulation. This is especially important for transformable kits like the Ritter Jet. If parts are too tight, sand the peg lightly; if too loose, apply a thin layer of glue to thicken it. Dry-fitting prevents disassembling glued parts later.
- Paint in Sub-Assemblies: Paint parts in groups (armor, inner frame, weapons) rather than as a whole kit. This allows you to reach all surfaces and avoid paint buildup in joints. Use masking tape to protect connection points. Let paint cure fully before handling. Paint joints with a light coat to avoid interfering with articulation.
- Assemble and Apply Decals: Follow the manual to assemble the kit, starting from the inner frame and adding armor. Use plastic cement for permanent bonds, but keep moving parts unpainted or lightly coated. Apply decals after assembly, using decal softener for curved surfaces. Use decal softener to prevent silvering on curved surfaces.
VSMS 1/100 Kit Examples
-
VSMS 1/100 DACCAS The Black Knight =Boos 3074= JOHN WEINZEL: This kit recreates 'Daccas,' the new mount ridden by the young knight JOHN WEINZEL in the 'Bayge Liberation War,' clad in royal blue. The royal blue color scheme is molded in plastic, so you can skip painting the main armor if you prefer a straight build, but be careful when handling to avoid stress marks.
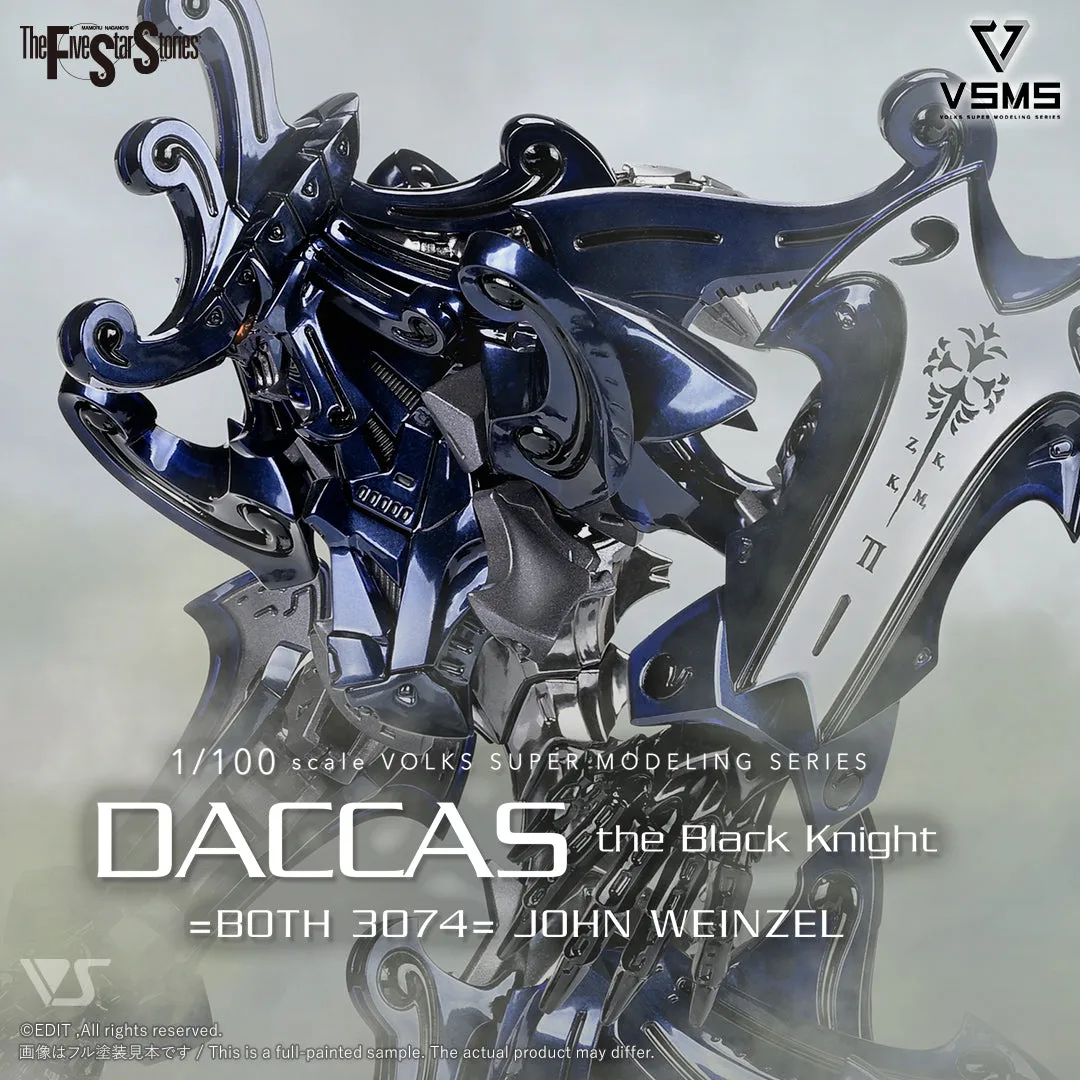
VSMS 1/100 DACCAS The Black Knight =Boos 3074= JOHN WEINZEL
-
VSMS 1/100 S.S.I. Kubalkans Gatexion Mark3 "Ritter Jet" Haretsu no Ningyou HAWK HEAD: This is a transformable GTM featuring a variable twin-swing frame designed by Dr. Stoi Warner, and it is a size larger than typical kits. The transformation mechanism adds complexity, so test the joints before painting and be prepared for a more involved assembly.
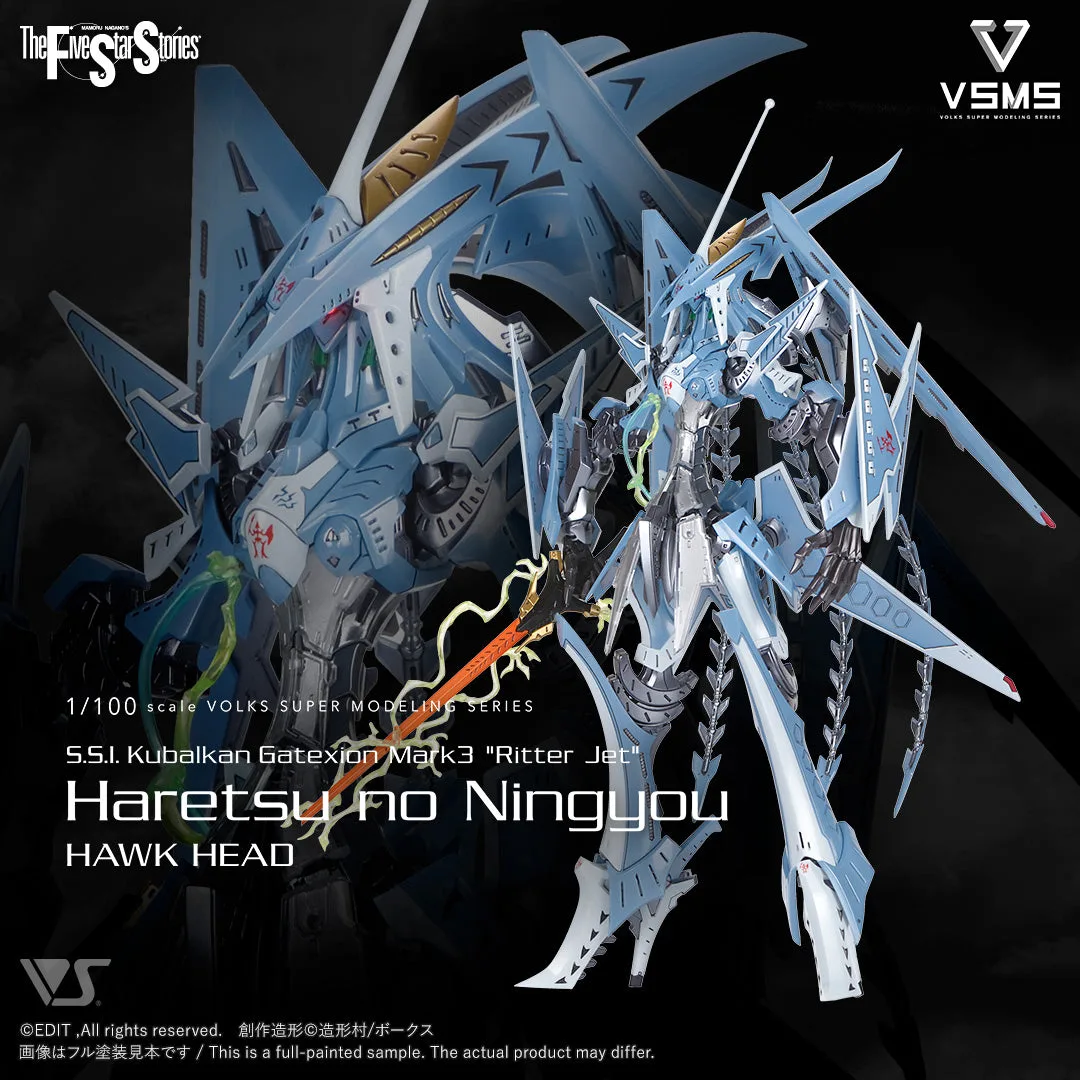
VSMS 1/100 S.S.I. Kubalkans Gatexion Mark3 "Ritter Jet" Haretsu no Ningyou HAWK HEAD
-
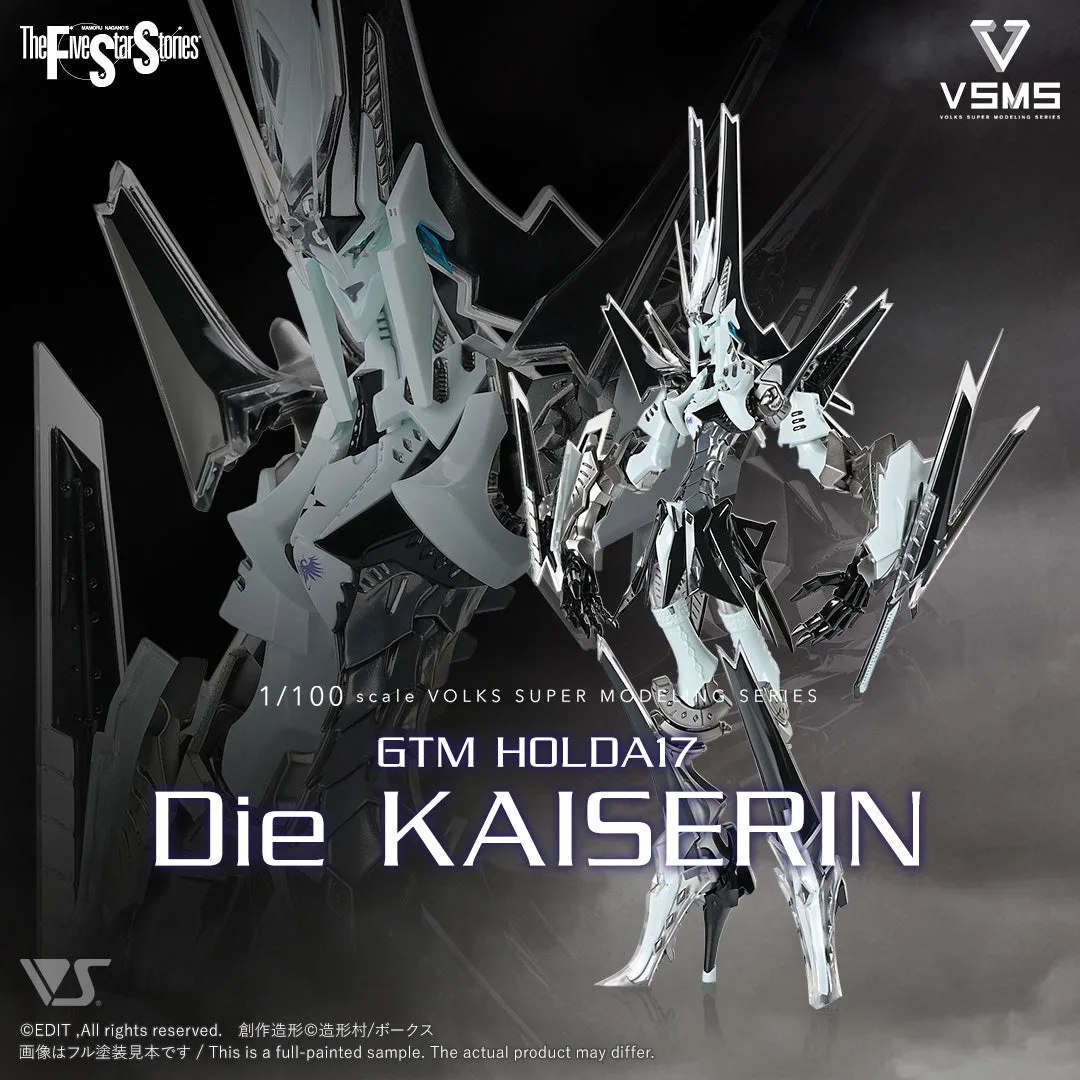
VSMS 1/100 GTM HOLDA17 Die KAISERIN: This is the third model in the twin-swing fully posable VSMS series, featuring the 'Female Emperor of Ice' from the movie 'Hana no Utame: GOTHICMADE.' As a twin-swing model, it offers advanced articulation; build the inner frame carefully to ensure smooth movement.
After your first VSMS build, you'll have a better sense of how these kits fit together. Consider panel-lining or adding a topcoat to enhance the details. If you're new to model building, start with a simpler kit like the DACCAS before tackling a transformable one.