Quick answer
The washi tape ideas that look best in journals and planners follow one rule: tape should support the page, not compete with it. Pick two or three coordinated tapes, use them as borders, tabs, or dividers, and leave enough blank space for writing. Start with a single strip, step back, and add more only if the page still feels balanced.
Washi tape is easy to love and easy to overdo. A few strips can turn a plain planner spread into something that feels intentional and personal, but the same tape can also make a page look busy before you have written a single word. The difference is almost always placement and restraint, not the tape itself.
This guide walks through a repeatable process for using washi tape in journals and planners. You will find specific placement ideas, layering tips, and the common mistakes that make pages feel cluttered. The goal is a layout you can actually write on and enjoy looking back at.
Start with a purpose for each strip
Before you tear off any tape, decide what job it is doing on the page. A strip can mark a section, frame a title, create a tab for quick flipping, or simply add a color accent. When every piece has a purpose, the page reads as designed rather than decorated. A common mistake is adding tape first and trying to write around it later, which usually leaves awkward gaps and cramped text.
If you are decorating journals with washi tape, try assigning one role per area. For example, a horizontal strip across the top can anchor a date or heading, while a vertical strip down the side can separate a sidebar from the main notes. This keeps the layout predictable and makes it easier to repeat on future pages without starting from scratch each time.
- Choose one tape as the anchor color and use it in at least two places on the spread.
- Leave at least one inch of un-taped margin where you plan to write the most.
Pick a limited palette before you place anything
Pull two or three tapes that share a color or theme, then put the rest away. A limited palette is the fastest way to make planner washi tape layouts look cohesive. If you are using a patterned tape, pair it with a solid or a simple stripe so the patterns do not fight each other. This is also a good moment to check that the tapes are not so thick that they create bulk when the journal closes.
A practical checkpoint: lay the tapes side by side on a blank page before sticking anything down. If one tape jumps out as unrelated, remove it. You can always add it to a different spread where it has a better match.
- Use one patterned tape and one or two solids for a balanced look.
- Test tape adhesion on a scrap page first if the paper is thin.
Use tape as structure, not just decoration
The most useful washi tape uses in journals are structural. Tape can create a quick column divider, a header band, or a tab that sticks out past the page edge for easy flipping. It can also cover a mistake or a pre-printed line you do not want. When tape does a job, it earns its space and the page stays functional.
For planner washi tape layouts, try a thin strip along the top of a daily box to mark the date, or a short strip down the left edge to create a margin for priorities. Keep the tape thin enough that it does not eat into writing space. If a strip covers more than about a quarter of the page width, it is probably too wide for a functional layout.
- Cut tape with a straight edge or tear it for a softer, handmade look.
- Fold a small piece over the page edge to make a reusable tab.
Layer with intention and keep it flat
Layering tape can add depth, but it also adds bulk. Stick to two layers at most in any one spot, and press each layer down firmly before adding the next. If you are layering over a curved or textured surface, smooth the tape from the center outward to avoid bubbles. A common mistake is layering too many strips in the same corner, which makes the page bulge and can cause the journal to sit unevenly.
When you layer, vary the widths. A wide tape under a narrow tape reads as deliberate, while two tapes of the same width stacked together often look accidental. If you want a softer effect, use a matte tape over a glossy one, or vice versa, to create a subtle contrast.
- Limit layers to two strips in any single area.
- Press down with a bone folder or your thumbnail to set the adhesive.
Leave breathing room and write first when you can
The easiest way to avoid a cluttered page is to write your notes first, then add tape around them. This reverses the usual order, but it guarantees that the tape supports your content instead of boxing it in. If you prefer to decorate first, mark your writing area with a light pencil line and keep tape outside that boundary.
Blank space is not wasted space. A page with a few well-placed strips and plenty of room to write will look better and be more useful than a page covered edge to edge. When in doubt, add less tape and see how the page feels after you have written on it.
- Leave at least one-third of the page free of tape for writing.
- Use a pencil guide if you decorate before writing.
Your step-by-step washi tape routine
- Choose a page and define its job: Decide whether the page is for notes, a weekly spread, or a tracker. Write a one-line purpose at the top of your planning session so your tape choices have a target. Checkpoint: if you cannot say what the page is for, pick a different page.
- Select two or three tapes only: Pull tapes that share a color or theme and put the rest away. Lay them side by side on a scrap page to confirm they work together before sticking anything down. Checkpoint: if one tape looks unrelated, set it aside for another spread.
- Place structural tape first: Add borders, dividers, or tabs that create the layout. Keep strips thin enough that they do not reduce your writing area by more than a quarter of the page width. Checkpoint: step back and confirm you can still see where you will write.
- Add one accent layer: Layer a narrow tape over a wider one in a single spot, or add a small sticker as a focal point. Press each layer down firmly before adding the next. Checkpoint: stop at two layers in any one area to avoid bulk.
- Write your content, then adjust: Fill in your notes or plans. If the page feels crowded, remove or trim a strip rather than adding more. Washi tape peels up easily, so adjustments are low risk. Next step: note which tape combinations worked so you can repeat them next week.
A tape-friendly extra for your journaling kit
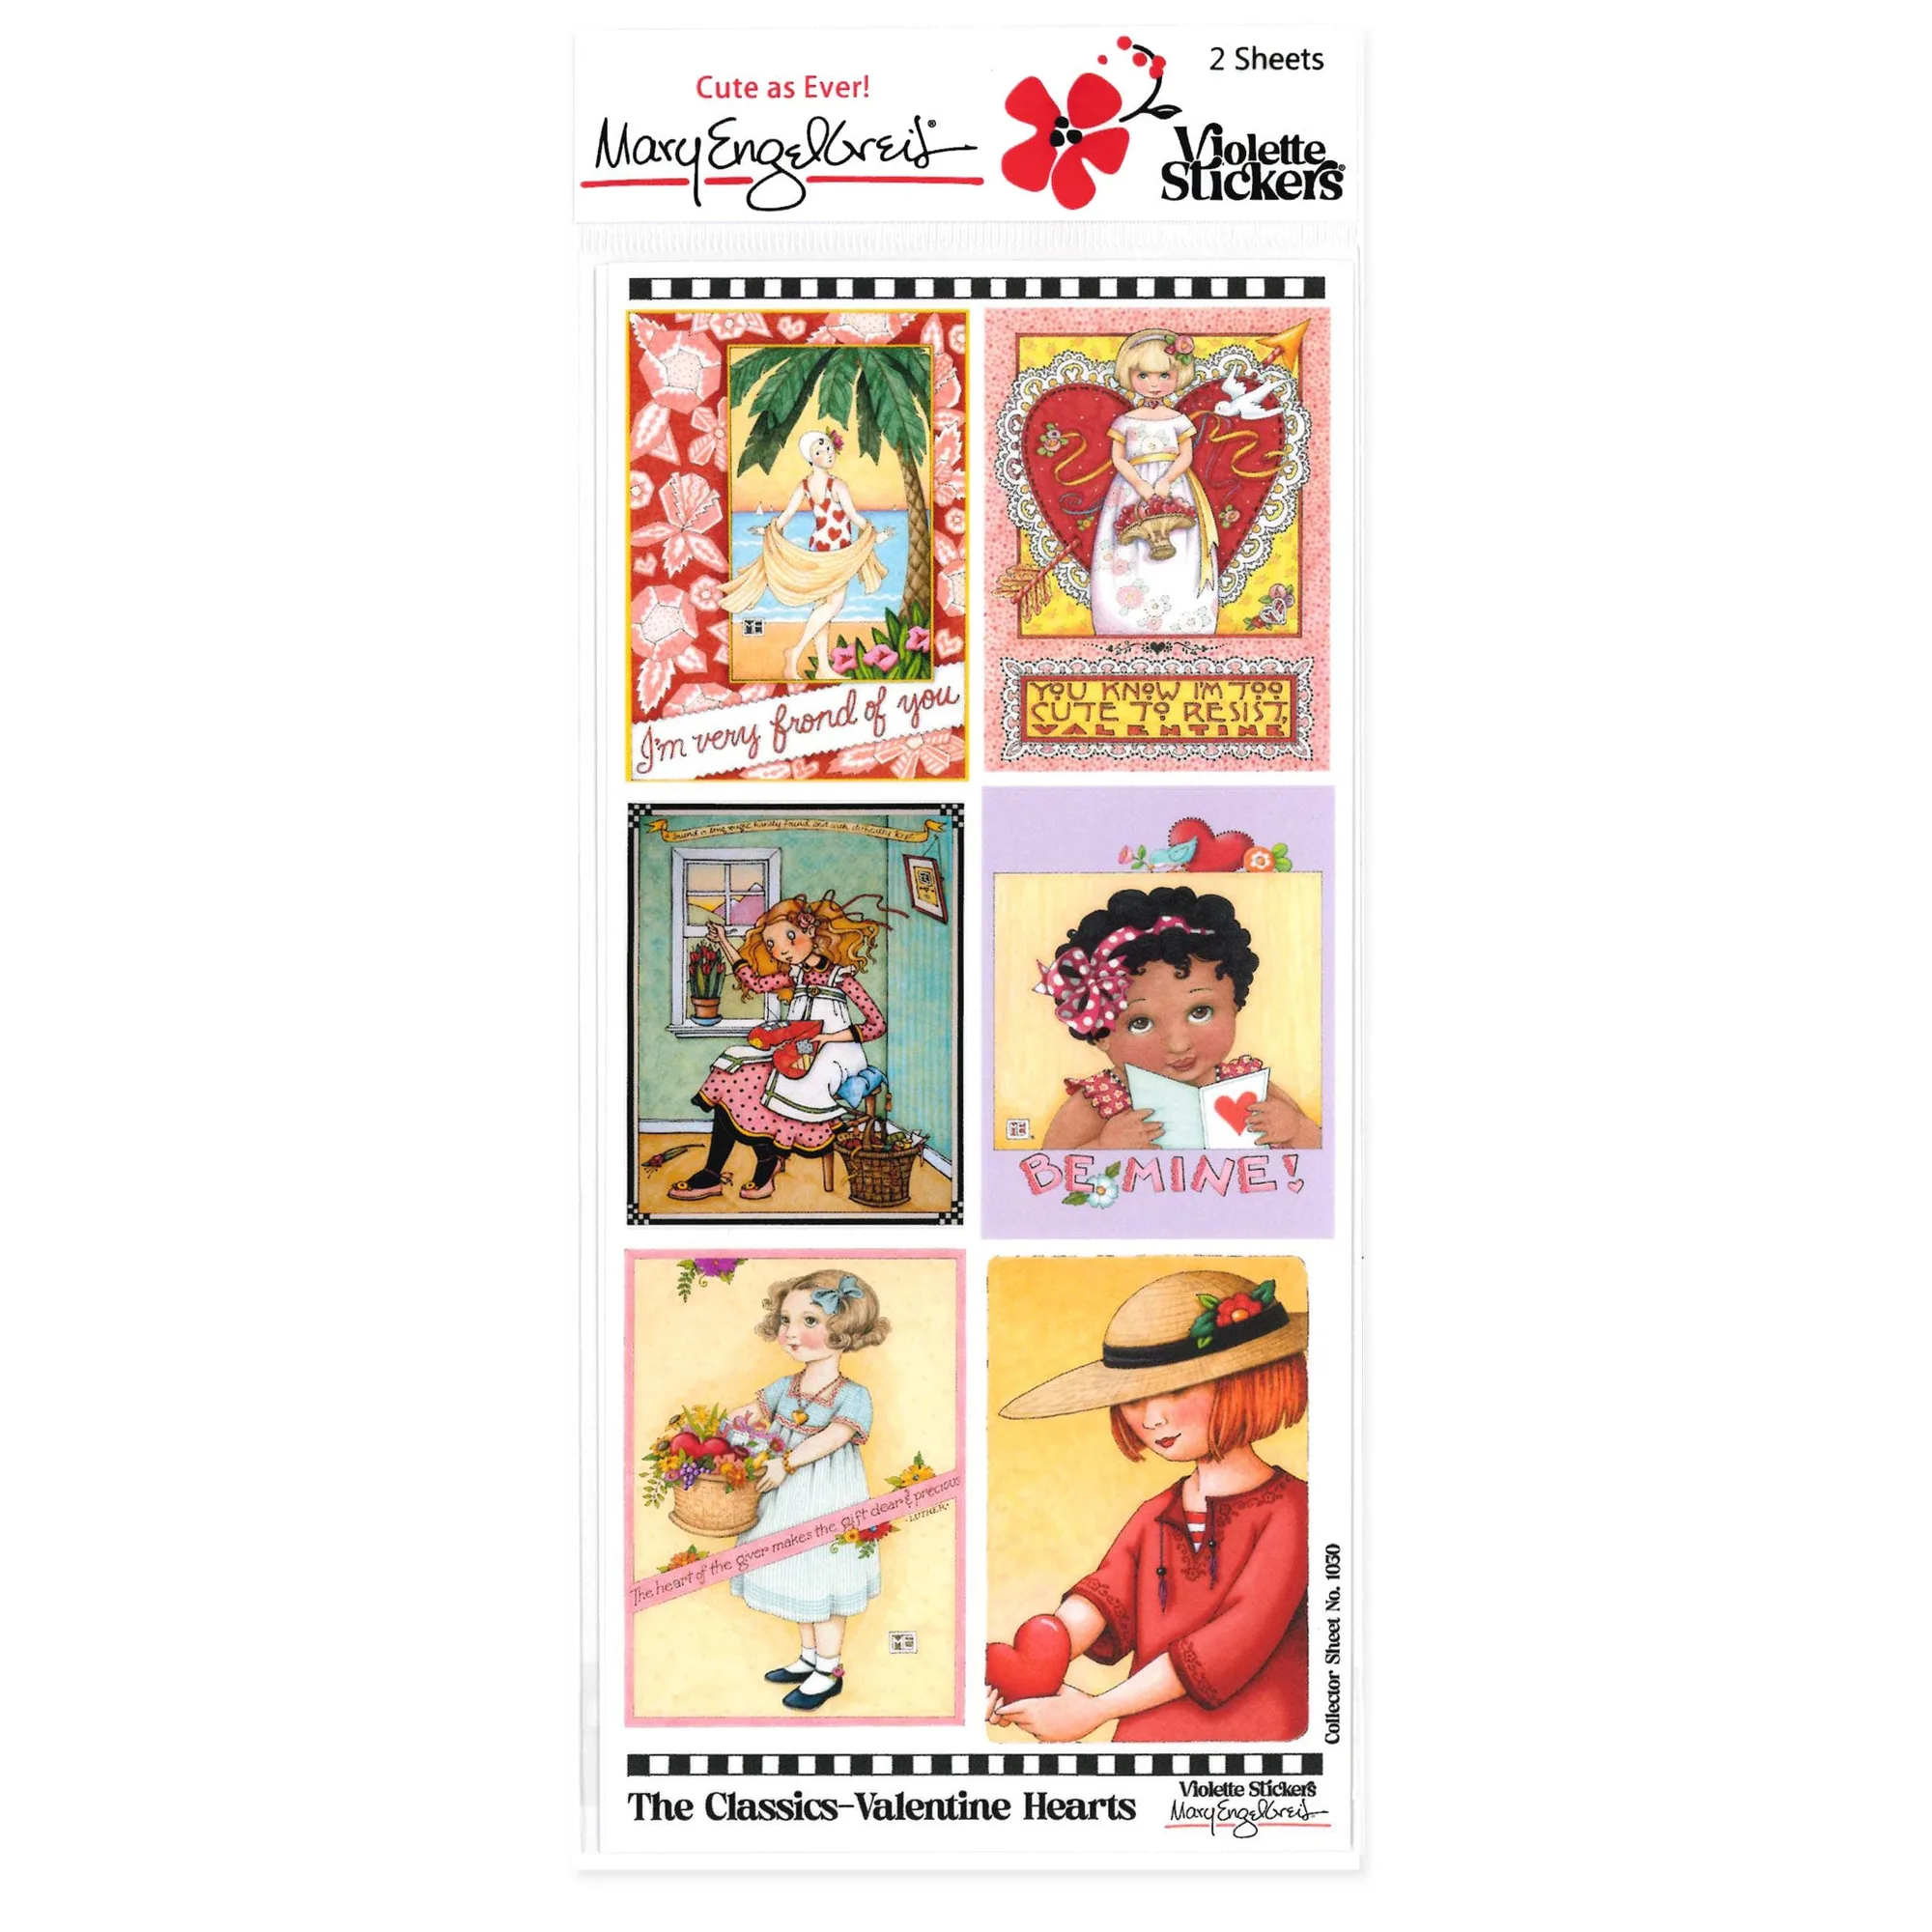
- ME Classics Valentine Hearts Sticker Sheet: This sticker sheet includes 2 sheets of 4" x 8" stickers in a plastic sleeve, with 6 stickers per sheet measuring approximately 1.75" x 2.5". It is part of the Classics series, which showcases best-loved Mary Engelbreit art, including images not seen for years. Small stickers pair well with washi tape because they add a focal point without covering much of the page. Use one sticker as an anchor and let tape frame it, rather than layering both heavily.
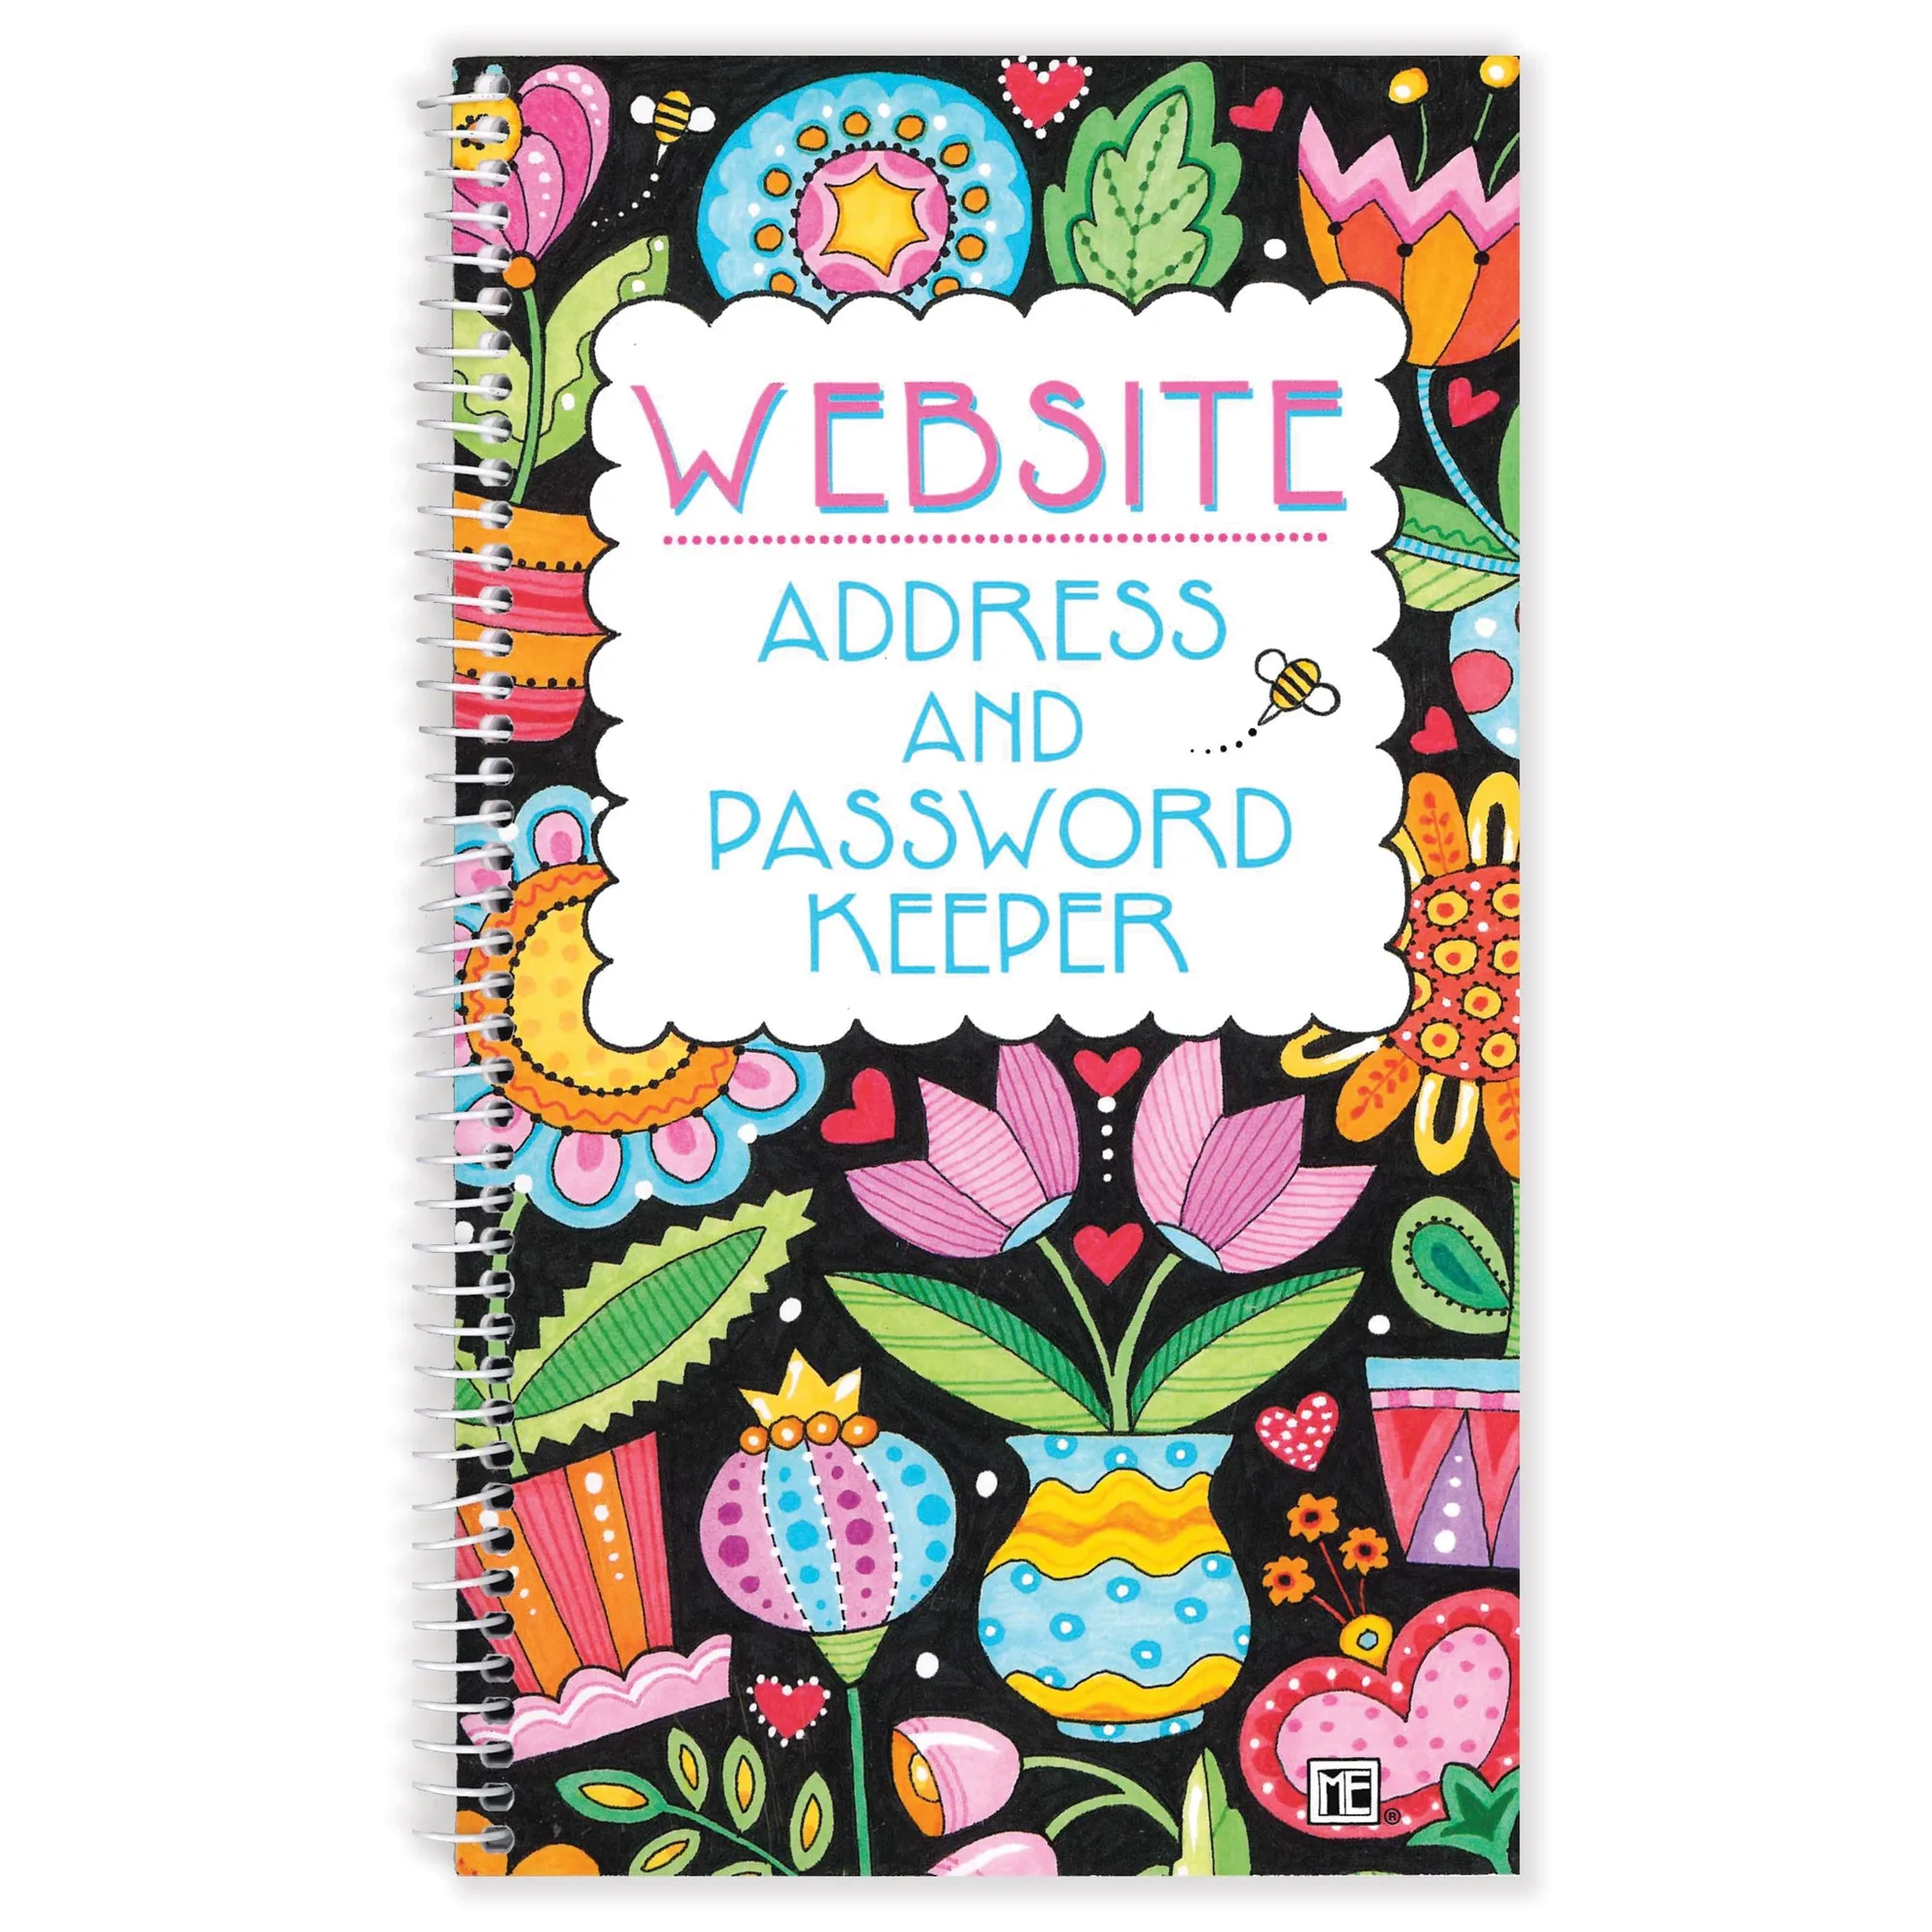
- Web Address and Password Keeper: This soft cover journal has 100 pages, measures 5" x 8.5", and includes fill-ins for user names, passwords, and web addresses. It is printed in the USA. A dedicated keeper journal is a practical place to test washi tape layouts because the pages are uniform and the content is functional. A thin tape tab on the edge can help you flip to frequently used sections.
Good washi tape journaling comes down to a few deliberate choices: a limited palette, tape that does a job, and enough blank space to write. Start with one spread, keep your layers light, and adjust as you go. The pages you enjoy using are the ones worth repeating.