Quick answer
For most classrooms, buy one small wastebasket per activity zone and one drying rack sized to your largest wet project. Prioritize easy-clean surfaces, stable bases, and a footprint that fits your traffic paths. If you have limited floor space, choose a wall-mounted or stackable drying option and place wastebaskets where children naturally finish tasks.
Wastebaskets and drying racks rarely get the spotlight, but they decide whether paint projects dry flat, whether scraps end up on the floor, and whether cleanup takes two minutes or twenty. This guide gives you decision rules for choosing both, plus honest trade-offs so you buy once and place them well.
You will not find a single perfect product here. Instead, you will get concrete sizing guidance, placement rules, and two real catalog examples that show how material and design choices affect daily use.
Start with footprint and traffic flow
Measure the floor area where children line up, wash hands, and move between centers. A wastebasket that blocks a path gets kicked over; a drying rack that juts into a walkway becomes a tipping hazard. Aim for at least 24 inches of clearance around any freestanding rack, and keep wastebaskets within arm's reach of the table or sink where waste is created. If your room doubles as a lunchroom, choose a rack that rolls or folds so you can clear the floor quickly.
For wastebaskets, a 2- to 4-gallon size fits most preschool and early elementary rooms. Larger bins encourage heavy lifting by children and are harder to empty daily. Smaller bins fill too fast and create more trips for adults. The right size is the one a child can empty into a larger bin without dragging it across the room.
- Place a wastebasket at every messy zone: art table, snack area, teacher desk, and door.
- Keep drying racks out of the main walking path, ideally against a wall or in a corner.
Match the drying rack to your project types
Flat drying racks with removable shelves work well for paintings, collages, and small sculptures. If you regularly dry tall or bulky items, look for adjustable shelf spacing or a rack with deeper clearance. An art drying rack that stacks vertically saves floor space but can be awkward if children need to reach the top shelf independently. For mixed ages, choose a rack where the lowest shelf is at child height and upper shelves are for adult loading.
Consider how wet your projects are. Heavy paint or soaked paper needs airflow on both sides, so wire or slatted shelves beat solid trays. If you mostly dry light paper, a simple stackable rack is enough. If you run a full art program, a rolling rack with locking casters lets you move the whole drying load out of the way during other activities.
- Measure your largest wet project before buying; shelf depth and height matter more than total rack size.
- Choose slatted or wire shelves for airflow; solid trays slow drying and can pool water.
Materials, cleaning, and durability
Classroom wastebaskets take a beating. Metal bins dent but resist odors; plastic bins are lighter and cheaper but can crack at the rim. For a wastebasket for preschool, choose a wide, stable base and rounded edges. Avoid decorative bins with small openings that make emptying frustrating. If the bin holds food waste, a lid helps with smell but adds a step children may skip.
Drying racks should wipe clean with a damp cloth. Powder-coated metal resists paint and moisture better than unfinished wood. Wood racks look warm but can warp if projects drip. Check that shelf edges are smooth and that any wheels lock securely. If you stack racks, confirm the manufacturer lists a safe stacking limit; do not guess.
- Test the empty bin: can a child tip it over by leaning on the rim? If yes, choose a wider base.
- For drying racks, look for replaceable shelves or trays so a single damaged part does not ruin the unit.
Capacity planning without overbuying
Count your largest simultaneous wet-project day. If 20 children paint at once, you need drying space for 20 flat pieces or fewer if projects are small. A rack with 10 shelves that each hold two small paintings gives you 20 spots. If you rarely dry more than a few items, a single compact rack plus a countertop drying mat is enough. Oversized racks waste floor space and collect clutter.
For wastebaskets, one per zone is usually better than one large central bin. Children are more likely to use a bin that is within two steps. Empty them at the end of each session rather than letting them overflow; a full bin invites tossing waste toward it instead of into it.
- Estimate peak wet projects, not average, then add 20 percent buffer.
- Use smaller bins in child-height zones and a larger locked bin for adult-only waste.
Decision rules for wastebaskets and drying racks
- Rule 1: One bin per activity zone: Place a small wastebasket within two steps of every messy task: art table, snack area, teacher desk, and door. Choose a 2- to 4-gallon size with a wide, stable base. If children must walk across the room to throw something away, scraps will land on the floor. Checkpoint: stand where a child finishes a task. If the bin is not visible from that spot, move it.
- Rule 2: Size the drying rack to your largest wet project: Measure the biggest item you regularly dry. Shelf depth and clearance matter more than the rack's overall footprint. For heavy paint or soaked paper, choose slatted or wire shelves for airflow. For light paper, a simple stackable rack is enough. Checkpoint: place one wet project on the shelf before buying. If it touches the shelf above, you need more clearance.
- Rule 3: Keep traffic paths clear: Leave at least 24 inches of clearance around any freestanding rack. If your room doubles as a lunchroom or play area, choose a rolling rack with locking casters so you can move the drying load out of the way. Avoid placing bins or racks at the end of a slide or in a doorway. Checkpoint: walk your room's main path. If you have to step around the rack, it is in the wrong spot.
- Rule 4: Prioritize easy cleaning and stable bases: Choose wastebaskets with smooth, rounded interiors and drying racks that wipe clean with a damp cloth. Powder-coated metal resists paint and moisture better than unfinished wood. Test an empty bin: if a child can tip it by leaning on the rim, choose a wider base or a different model. Checkpoint: wipe the rack and bin with a damp cloth. If residue catches on rough edges, it will be harder to clean daily.
Catalog examples that show the trade-offs
- Tru-Ray® Construction Paper, Holiday Red, 12" x 18" - 50 Sheets: Tru-Ray® Construction Paper is tough, heavyweight 100% vat-dyed sulphite construction paper with longer, stronger fibers to fold and curl without cracks or tears. It is acid-free and resistant to fade so projects will stay brighter and fresher longer. The budget-friendly 50-page bulk size makes this a great resource for teachers and parents to use in classrooms, daycares, or the home. Holiday Red color. Heavyweight paper holds up better on drying racks and is less likely to tear when wet, so your rack choice can focus on airflow rather than reinforcing fragile projects.
- Turtle Spin & Pop Pull Along: The turtle counts five rolling, textured balls as they are placed into the shell and plays a melody as it is pulled along. Different learning & play modes and spinning top function. This is a floor-play toy, not a storage item, but it illustrates why clear floor paths matter: rolling toys need open space, so keep wastebaskets and drying racks out of active play lanes.
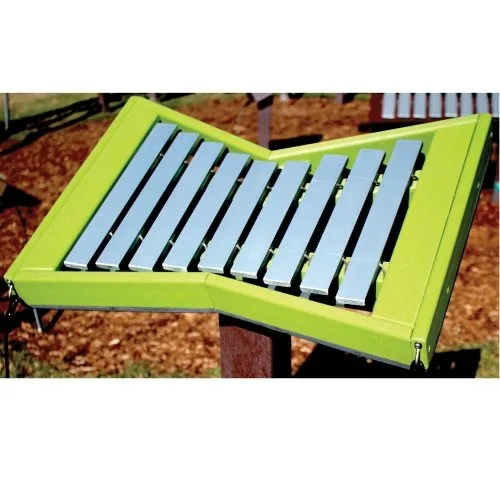
melody
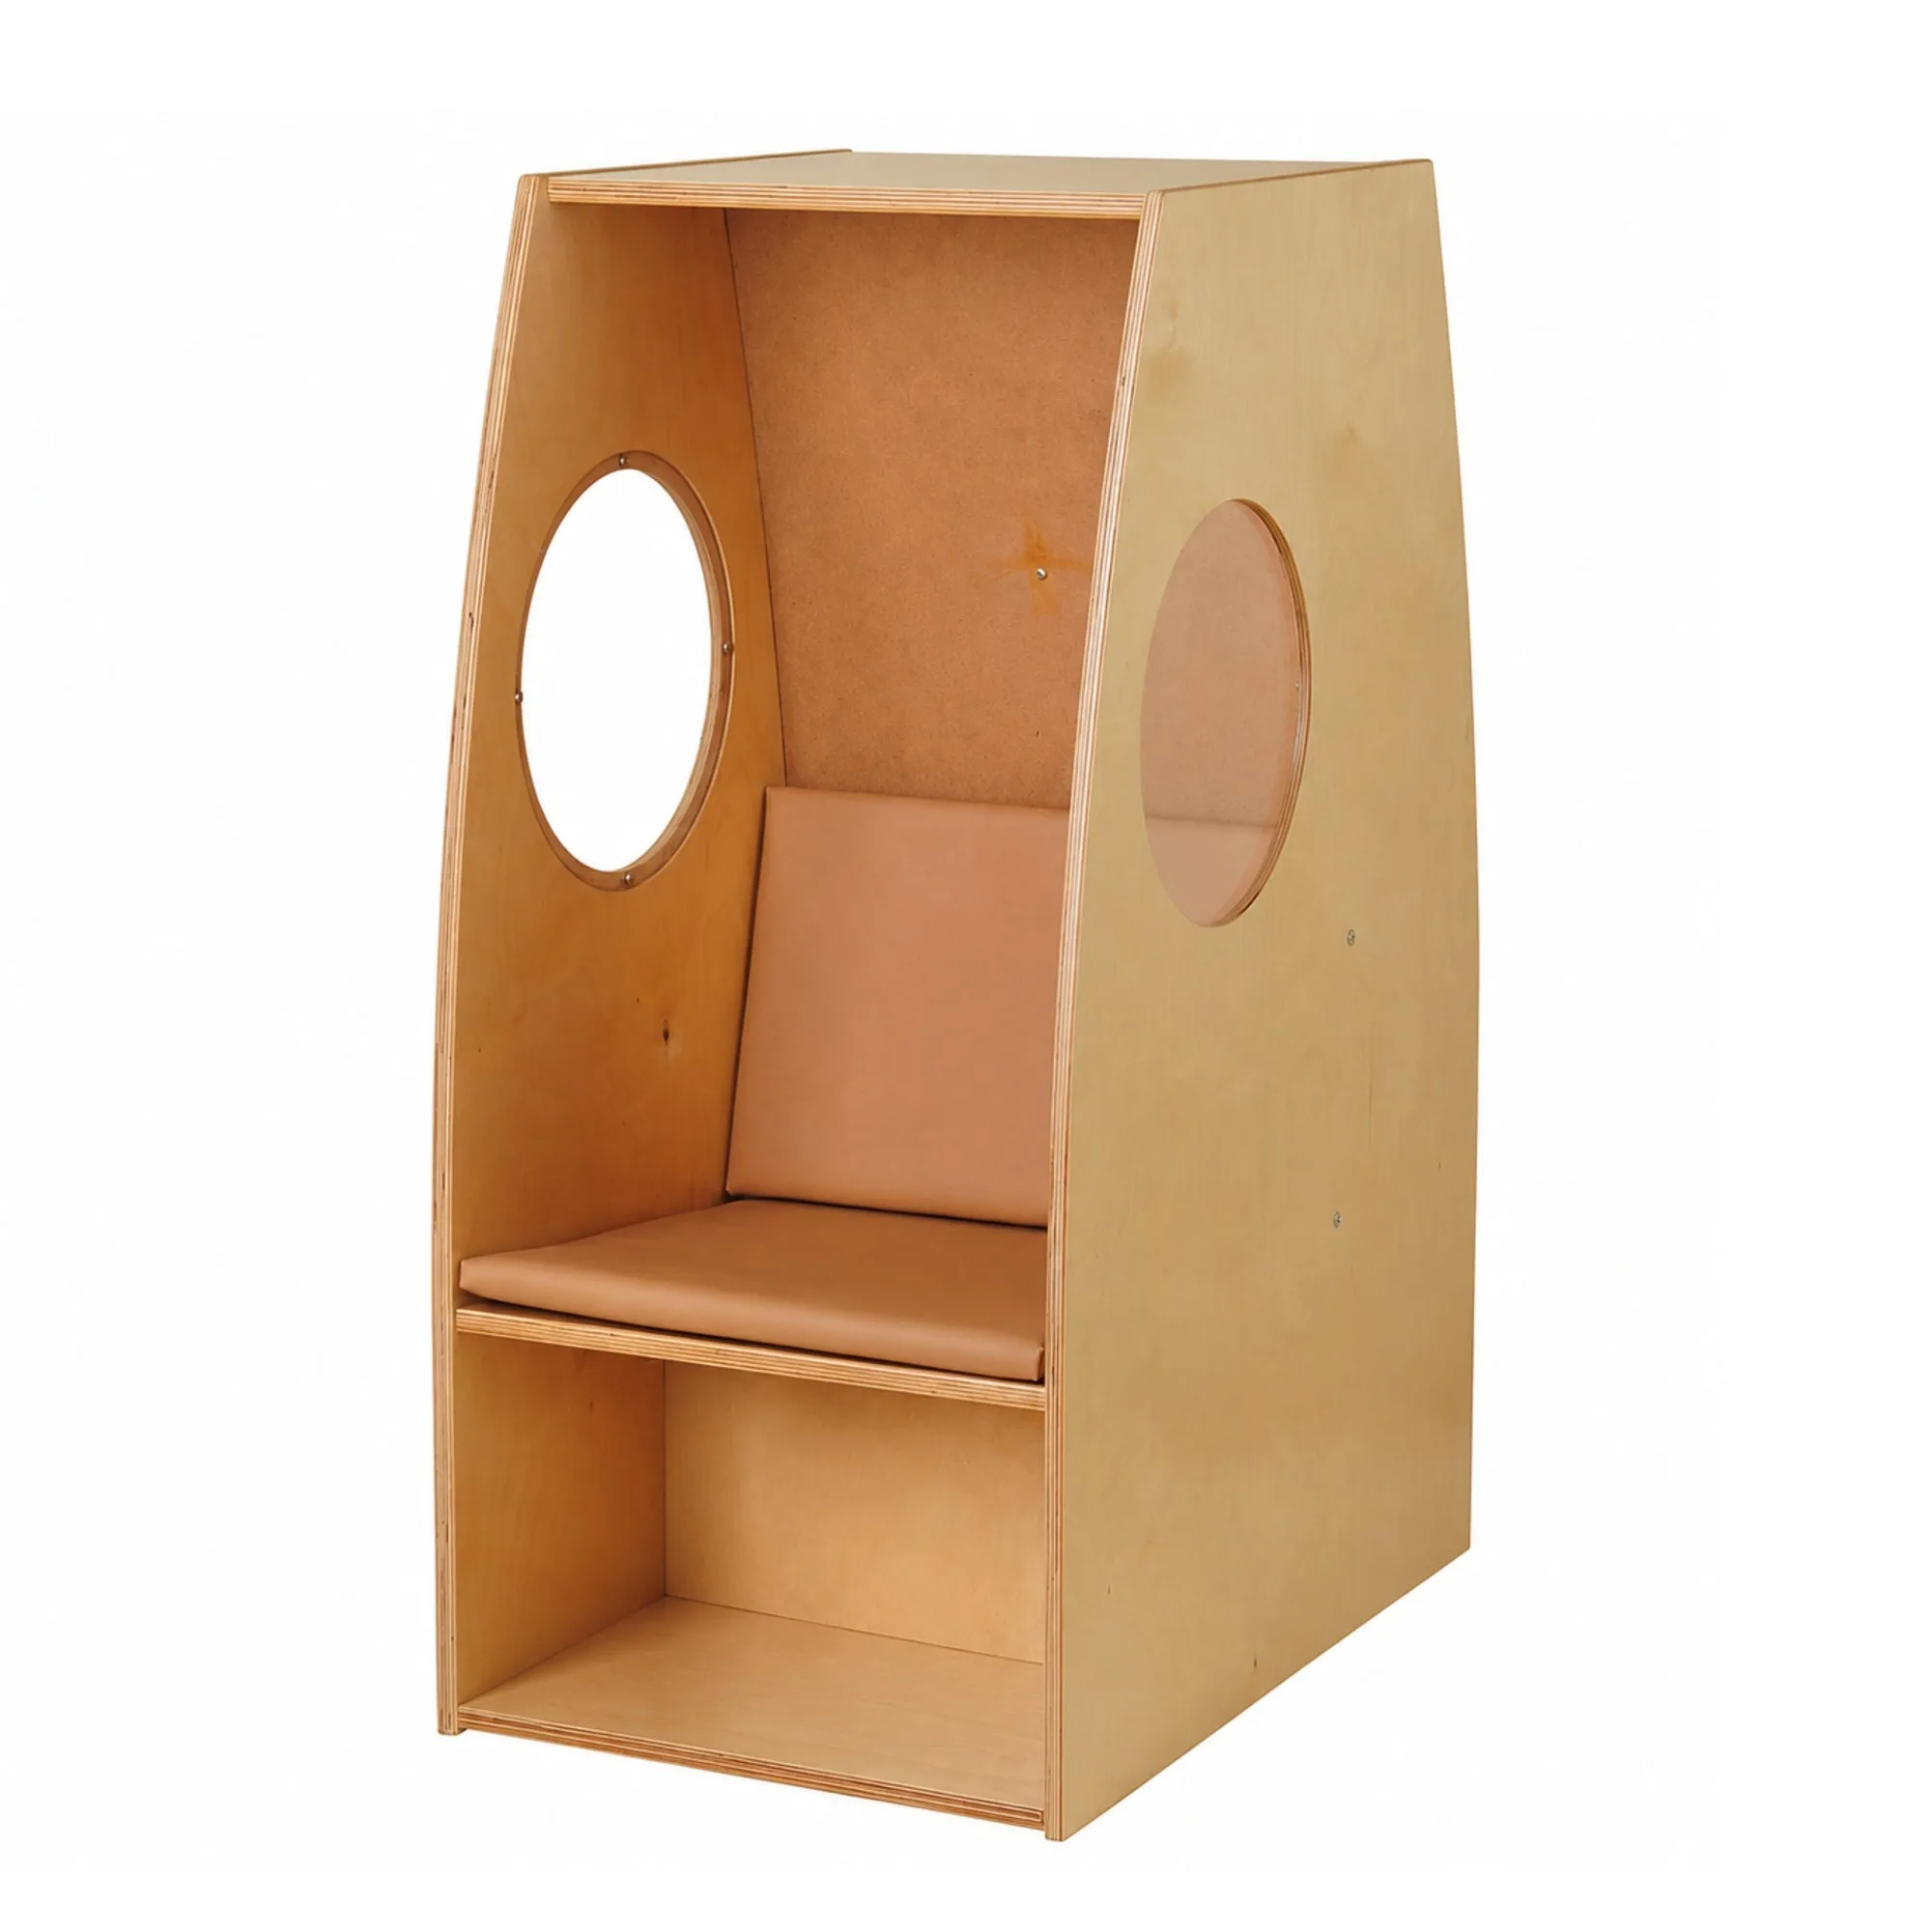
- Nestled Nook | Cozy Sensory Retreat: Create a tranquil retreat in your bustling classroom with the Eco-Friendly Nestled Nook, an ideal spot for children to enjoy a quiet moment. This thoughtfully designed piece features two clear acrylic portholes, allowing visibility from both inside and outside, ensuring safety and supervision while maintaining a sense of privacy for the child. A quiet retreat needs a calm, uncluttered perimeter. Place wastebaskets and drying racks away from this zone so the retreat stays visually and physically separate from messy or high-traffic tasks.
Who these tools fit and who should choose differently
Best for
- Preschool and early elementary classrooms that run daily art or sensory activities
- Teachers who need to dry many flat projects at once without using counter space
- Rooms where children move between centers and need wastebaskets within reach
Not for
- Classrooms with no floor space for a freestanding rack; choose a wall-mounted or stackable drying option instead
- Settings that only dry one or two small items per day; a countertop drying mat may be enough
- Rooms with toddlers who still mouth objects; choose a wastebasket with a child-resistant lid or keep bins out of reach
Buy wastebaskets and drying racks for the way your room actually flows, not for how they look in a catalog. Measure your largest wet project, place bins within two steps of every messy zone, and keep both tools out of active play paths. Done well, these small tools disappear into the background and let the real work of learning happen.