Quick answer
Use waterproof tape to secure bandage edges, hold a dressing over a blister, or seal a gauze pad where splashes are likely. Apply it to clean, dry skin with overlapping ends, and avoid wrapping it fully around a limb or over a wet wound.
When waterproof tape helps, and when it doesn't
Waterproof tape is most useful as a fixing layer: it holds a dressing in place and blocks moisture from reaching the pad. It is not a substitute for cleaning a wound or for a sterile dressing, and it should not be used to close a deep or dirty wound.
The tape's adhesive is strong, which is an advantage on hands and feet but a drawback on thin or sensitive skin. If you need frequent dressing changes, a gentler paper tape may be easier on the skin, even though it will not resist water.
Choose the right width for the job
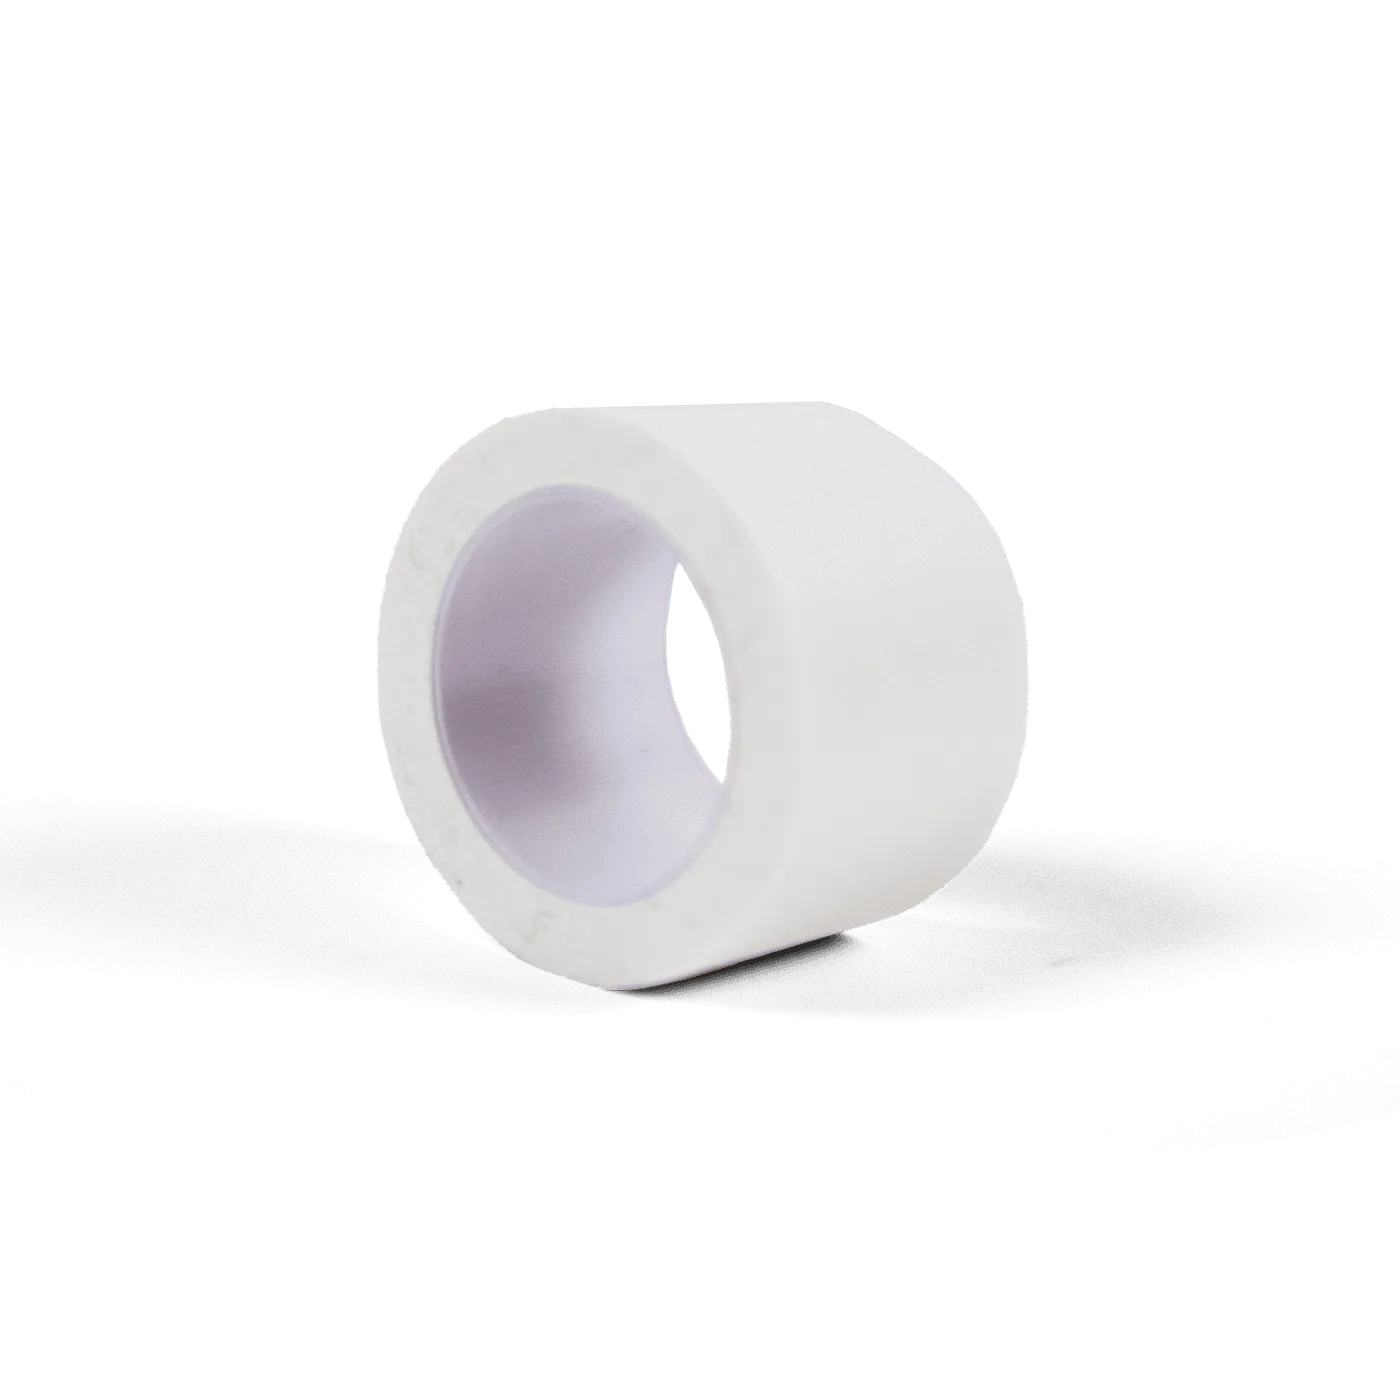
A narrow roll is easier to wrap around fingers and toes, while a wider roll covers more area on a knee or forearm. The supplied Waterproof Tape comes in two sizes, 1 inch by 2.5 yards and 1 inch by 10 yards, so the choice is mainly about how much tape you expect to use rather than width.
Carry the shorter roll in a small kit and keep the longer roll for a home or vehicle kit where you may need to re-tape a dressing several times.
How to apply waterproof tape step by step
- Clean and dry the skin around the dressing: Wipe away sweat, sunscreen, or ointment from the area where the tape will stick, then let the skin dry fully. Common mistake: taping over a wet or oily surface, which makes even strong adhesive lift at the edges. If the skin is hairy, trim the hair rather than shaving it, which can add small cuts.
- Place the dressing first, then tape the edges: Center the gauze or bandage over the wound and press it flat. Tear or cut a strip long enough to extend at least a finger-width past the dressing on each side. Common mistake: taping only the middle of the dressing, which leaves the edges free to roll. For a blister, cut a donut-shaped piece of tape or use a blister pad so the tape does not press directly on the roof of the blister.
- Press the tape down from the center outward: Lay the strip down and smooth it from the middle toward both ends, pressing firmly for a few seconds. Common mistake: stretching the tape tightly as you apply it, which can pull on skin and cause the ends to lift later. Round the corners of each strip with scissors; square corners catch on clothing and peel first.
- Avoid wrapping completely around a limb: Overlap strips so they cover the dressing but leave a gap on the far side, or use two separate strips instead of a full loop. Common mistake: circling a finger or wrist tightly enough to restrict swelling or circulation. Check for numbness, tingling, or cool skin beyond the tape and loosen it immediately if any appear.
- Remove the tape slowly and support the skin: Peel the tape back along the skin rather than pulling it upward, and press the skin down with your other hand as you go. Common mistake: ripping the tape off quickly, which can tear fragile skin or reopen a blister. If adhesive remains, soften it with a little warm water or oil rather than scrubbing.
Product facts
-
Waterproof Tape: Waterproof Tape has a strong adhesive and is latex free, with 1-inch rolls in 2.5-yard and 10-yard lengths. The latex-free construction matters for anyone with a latex sensitivity, and the two lengths let you match the roll to how often you expect to re-tape a dressing.
Waterproof Tape