Whether you're kayaking down a river, hiking through rainforests, or simply caught in an unexpected downpour, water can be one of the biggest threats to your first aid supplies. Moisture can ruin bandages, compromise medications, and render adhesives useless. A waterproof first aid kit isn't just a luxury—it's a necessity for anyone who spends time in wet environments.
In this guide, we'll share practical tips and tricks to keep your medical gear dry and functional, no matter where your adventures take you. From choosing the right bag to smart packing strategies, you'll learn how to protect your first aid from water and ensure your kit is ready when you need it most.
Why Waterproofing Matters for First Aid Kits
Water can silently destroy the integrity of your first aid supplies. Gauze pads and bandages lose their sterility when wet, making them unsafe for wound care. Adhesive bandages and tapes fail to stick, and medications—especially in blister packs—can degrade or become contaminated. Even tools like scissors and tweezers can rust, compromising their function.
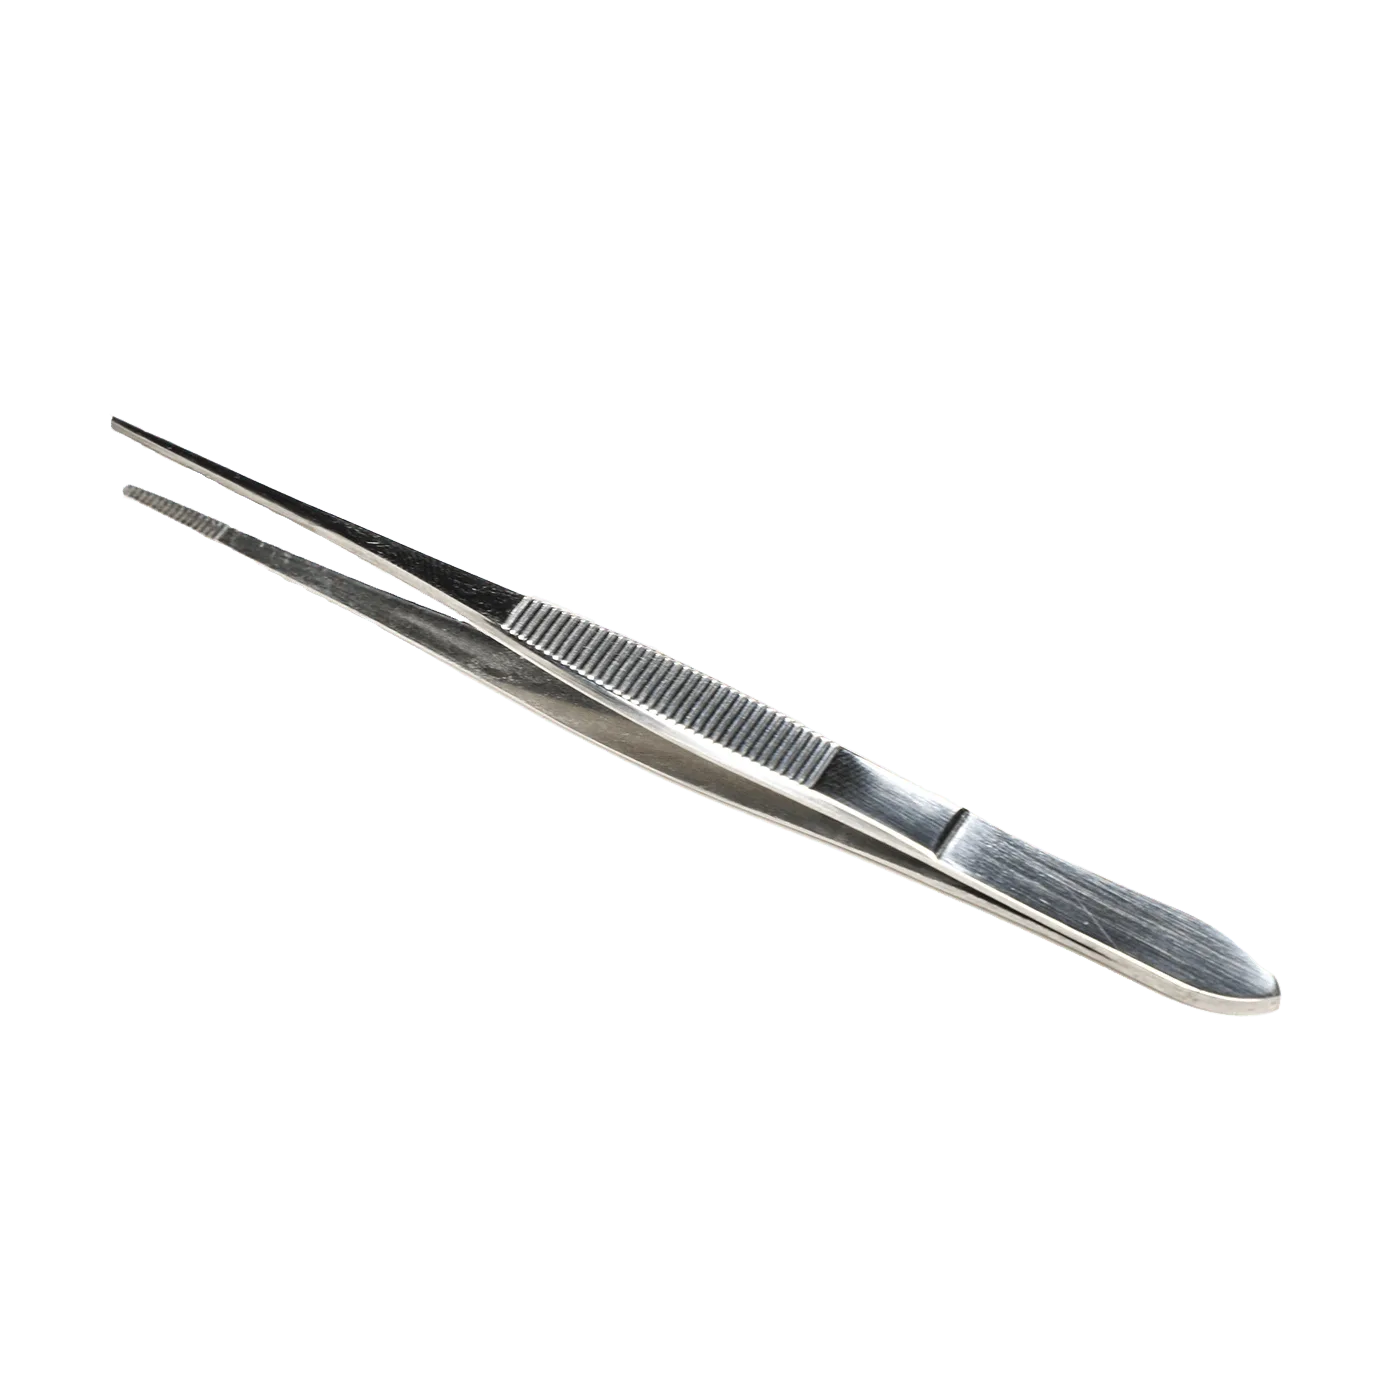
tweezers
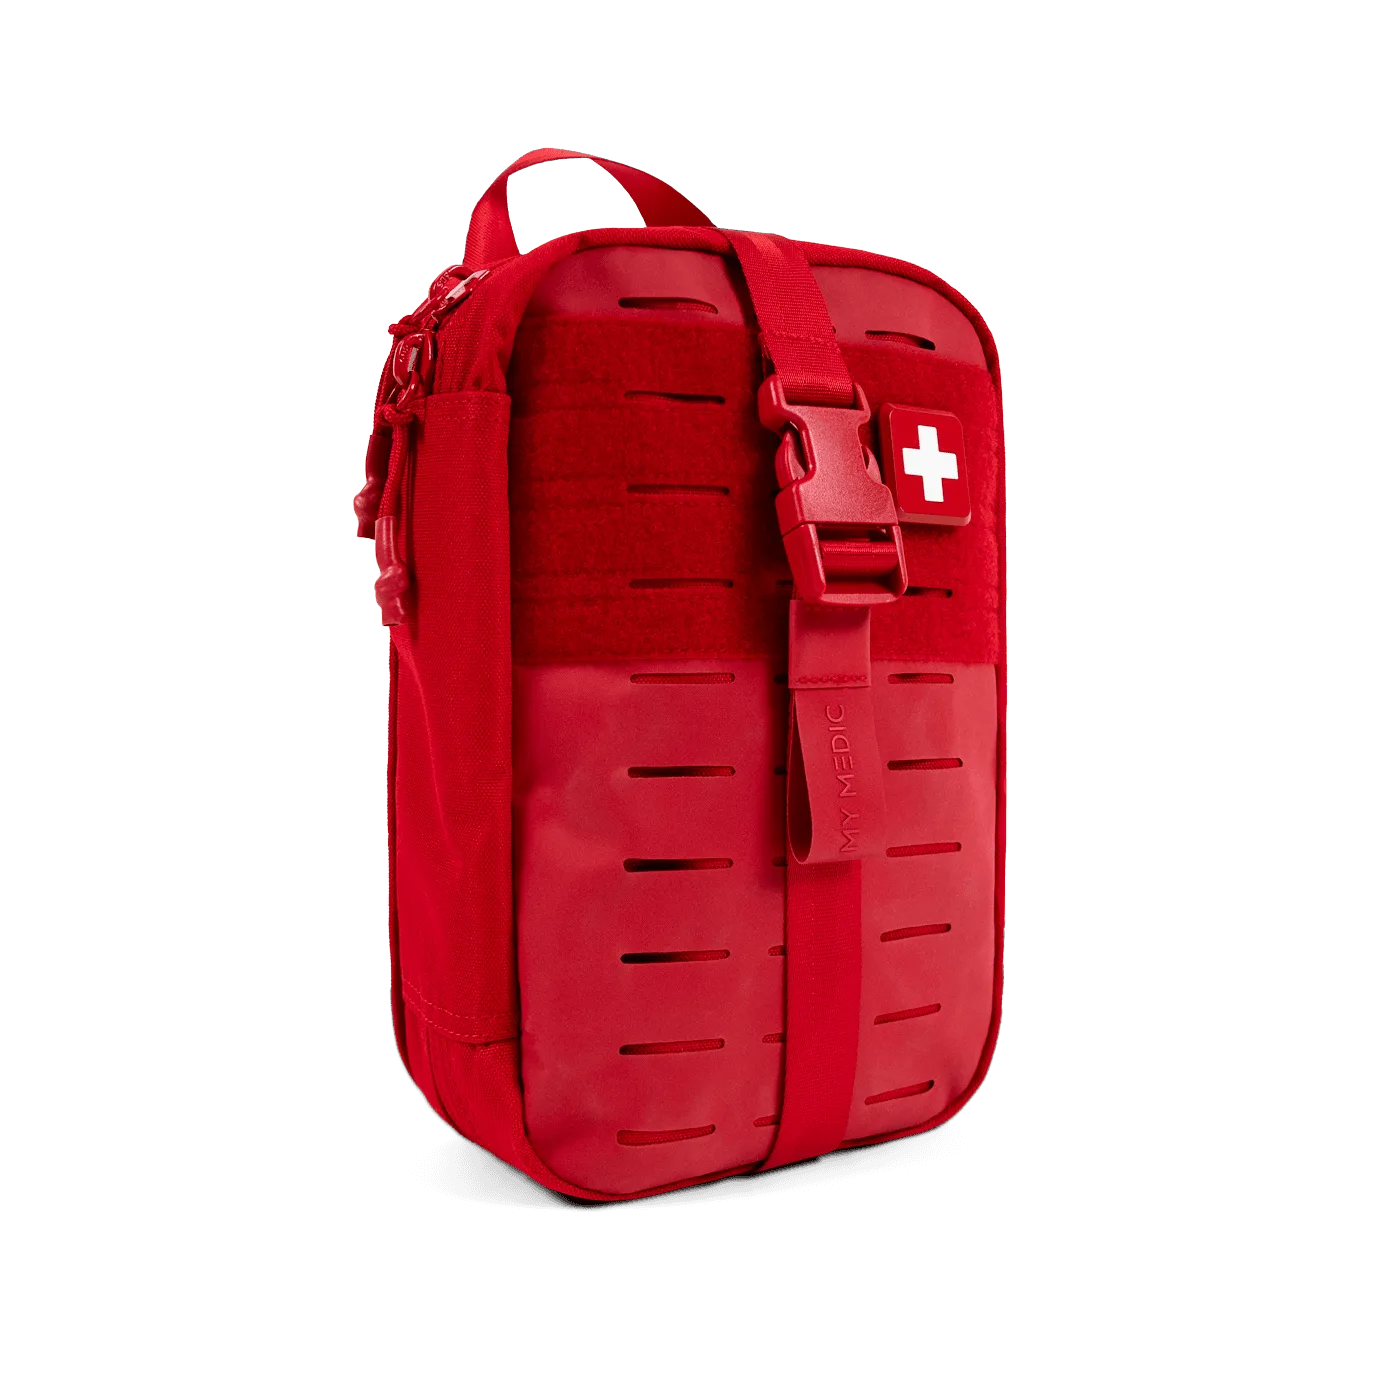
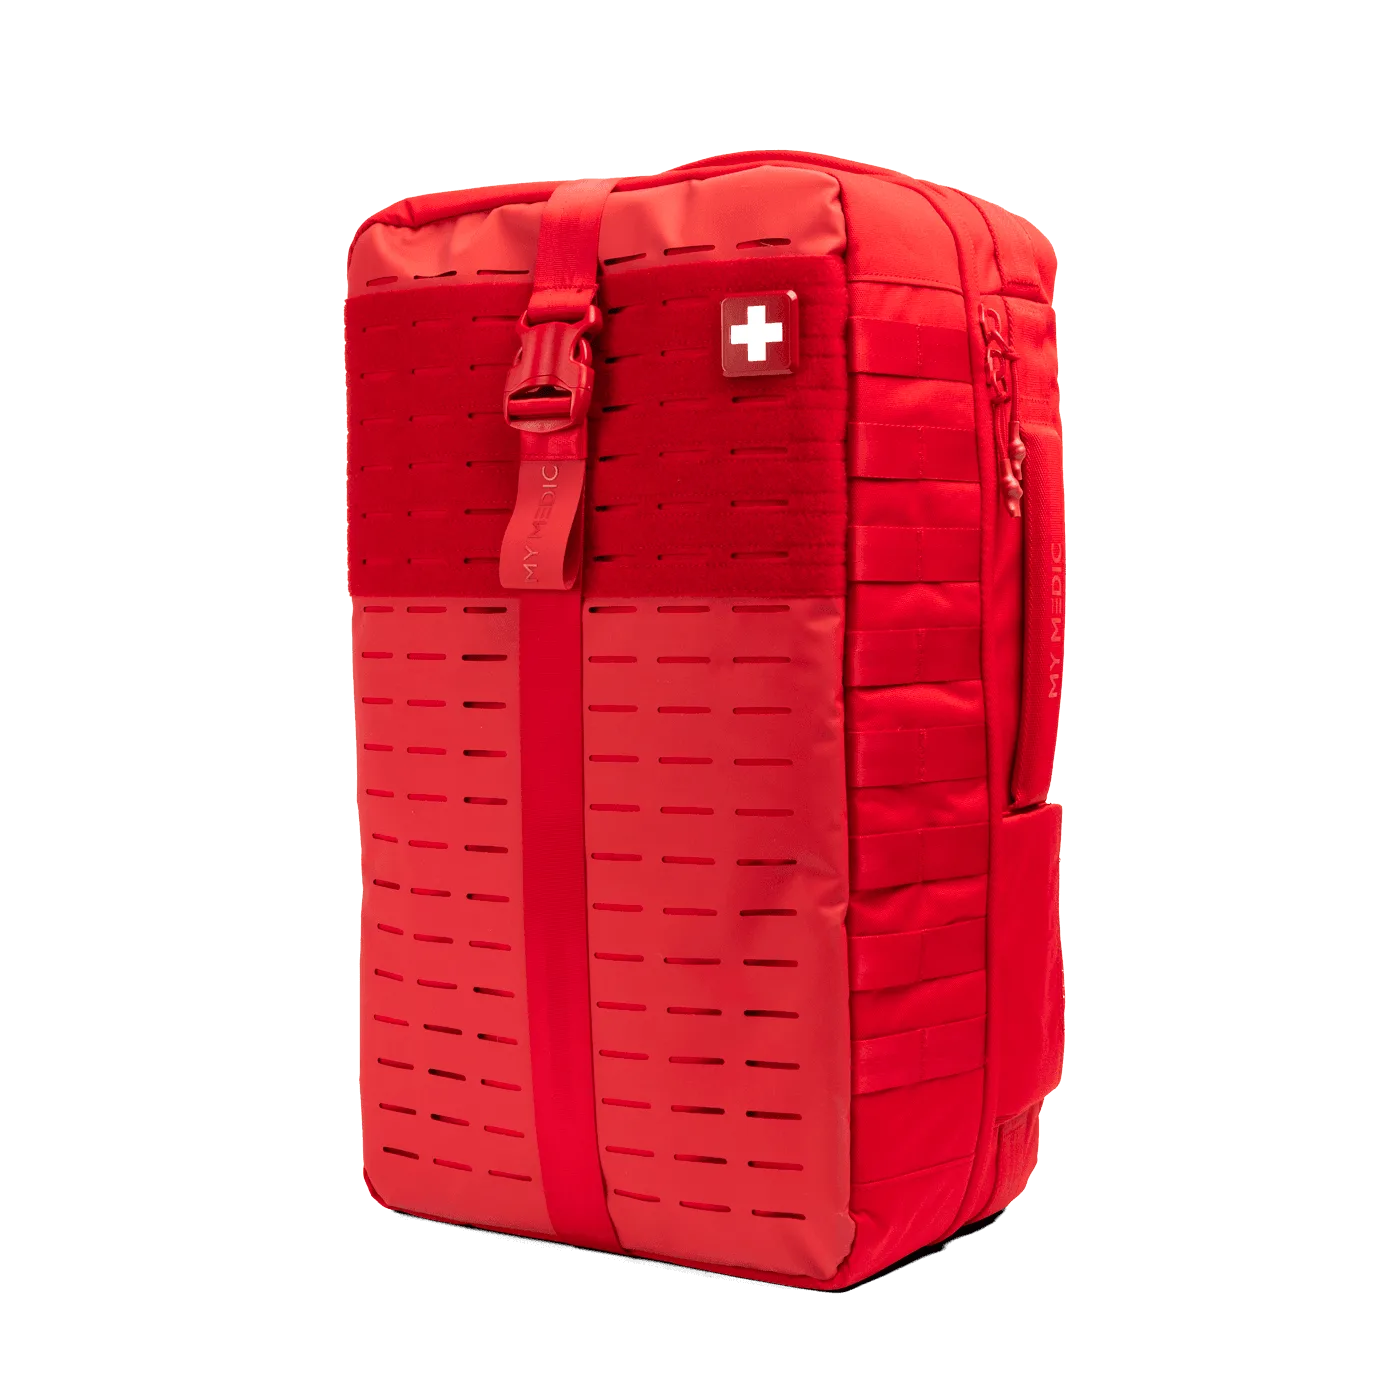
In wet environments, a standard first aid kit is a liability. That's why investing in a waterproof solution is critical. Whether you opt for a dedicated waterproof bag or add waterproofing layers to your existing kit, the goal is to create a barrier that keeps moisture out while allowing quick access to essentials.
- Waterproofing is not just about rain; it includes splashes, submersion, and humidity.
- Check your kit regularly for signs of moisture or mildew, especially after trips.
Choosing the Right Waterproof Bag for Your First Aid Kit
The foundation of any waterproof first aid kit is the container. A dry bag is a popular choice because it's lightweight, flexible, and can be rolled to create a watertight seal. Look for bags with welded seams and roll-top closures, as these provide the best protection against submersion. Some dry bags even come with clear panels, making it easy to see contents without opening them.
If you prefer a more structured option, consider a hard case with a rubber gasket. These are ideal for harsh conditions and can withstand being dropped. However, they can be bulky. For most outdoor enthusiasts, a roll-top dry bag offers the perfect balance of protection and portability.
- Test your dry bag by placing a paper towel inside and submerging it for a minute.
- Use a brightly colored bag to spot it quickly in low-light conditions.
Packing Strategies to Keep Supplies Dry
Even with a waterproof bag, how you pack your supplies matters. Start by grouping items into waterproof pouches or ziplock bags. This adds an extra layer of protection and prevents cross-contamination if one pouch leaks. For example, keep all wound care items in one pouch and medications in another.
Consider using modular organizers like the Mini Medication MOD from My Medic. These small, waterproof pods are perfect for storing pills, ointments, and small items, keeping them dry and organized. Similarly, the Burn MOD is a pre-assembled module that contains burn care essentials in a waterproof case, ready to grab and go.
- Use silica gel packets inside your kit to absorb any residual moisture.
- Roll clothing or towels around fragile items to cushion them and absorb shock.
Protecting Individual Items from Water Damage
Some items need special attention. Medications should be kept in their original blister packs or transferred to waterproof containers. Always carry a list of medications and dosages in a waterproof notebook or on your phone. For electronic devices like a pulse oximeter, use a waterproof case or a ziplock bag.
Your tools, such as scissors and tweezers, should be coated with a light layer of oil to prevent rust. The Needle Holder Smooth Jaw is a stainless steel tool that resists corrosion, but it's still wise to dry it thoroughly after any exposure to water. Similarly, the Hemostat Curved 5.5" is another stainless steel instrument that will last longer with proper care.
- Apply a silicone spray to zippers and buckles to keep them functioning in wet conditions.
- Store sharp tools in protective sleeves to prevent puncturing your waterproof bag.
Maintenance and Regular Checks
A waterproof kit is only effective if it's properly maintained. After every trip, inspect your kit for any signs of water ingress. Check the seals on your dry bag and replace it if damaged. Dry out any pouches that may have accumulated moisture, and replace any supplies that show signs of damage.
It's also a good idea to periodically test your waterproofing. Submerge your kit (with a paper towel inside) to ensure it's still watertight. This simple test can save you from discovering a leak at the worst possible moment.
- Reapply waterproofing treatments to fabric bags if they start to soak through.
- Keep a checklist of items to inspect after each use.
Waterproofing your first aid kit is a simple yet crucial step for anyone who ventures into wet environments. By choosing the right bag, packing smartly, and maintaining your gear, you can ensure your supplies stay dry and ready. For a reliable and waterproof storage solution, check out the Mini Medication MOD from My Medic—it's a versatile addition to any kit.