Quick answer
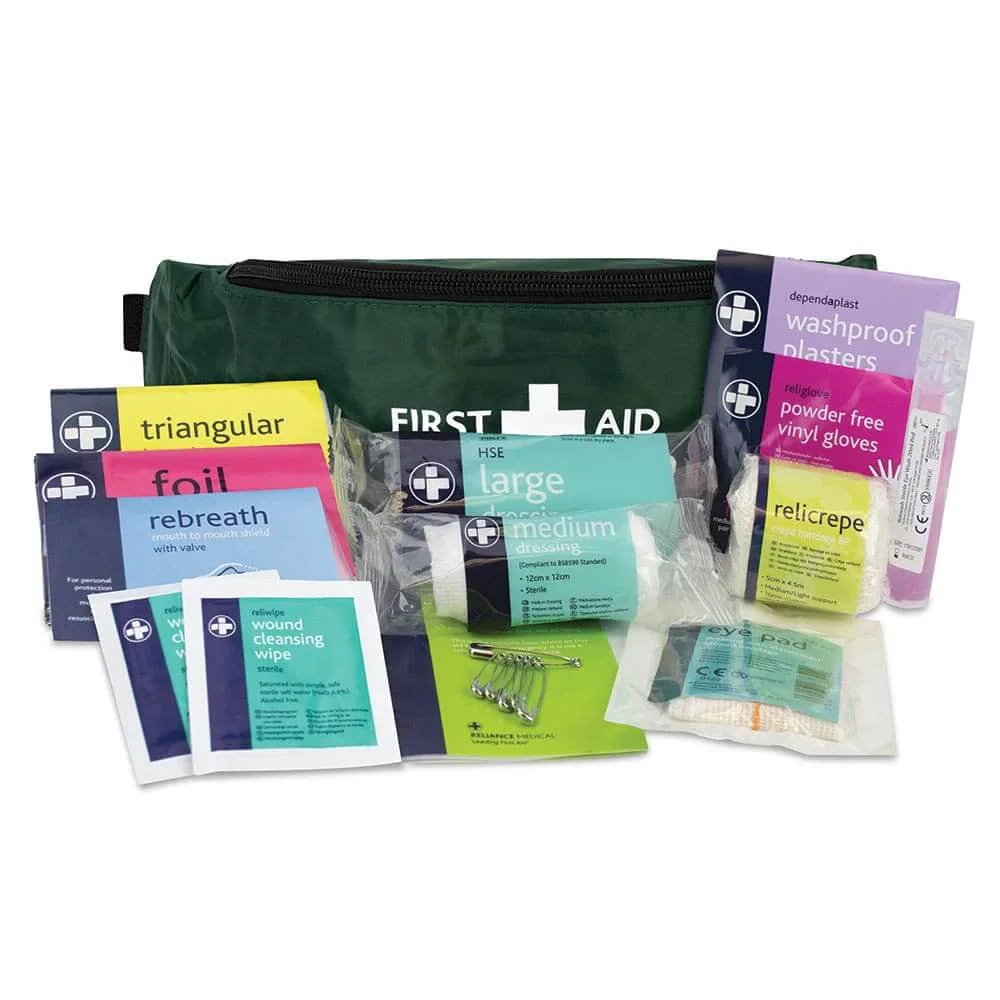
Start with a compact storage case, then pack only the essentials for your most likely minor injuries: adhesive bandages, gauze pads, tape, antiseptic wipes, tweezers, and a small scissors. Keep the case organized by grouping like items together so you can find what you need fast.
Why a storage case beats a loose pouch
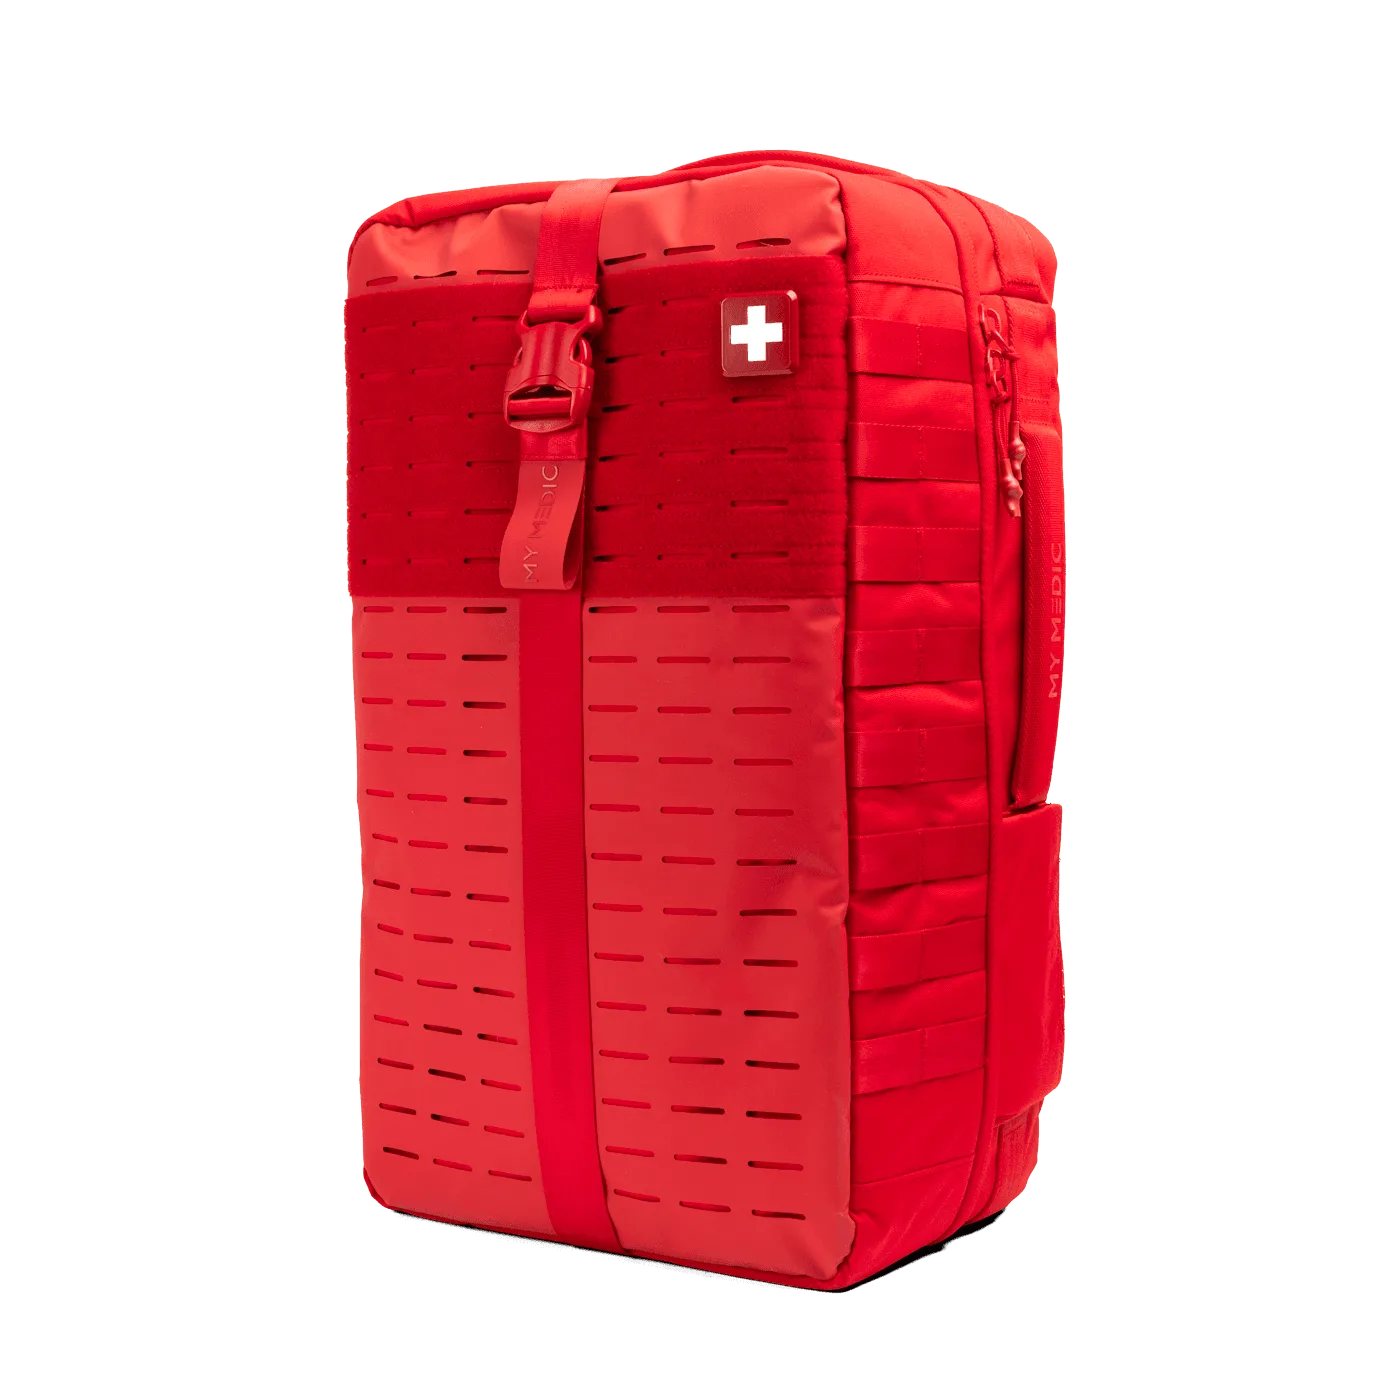
A hard or semi-rigid storage case protects supplies from crushing and spills, and it keeps small items from scattering. That matters whether the kit lives in a desk drawer, a car glovebox, or a backpack. A compact case also forces you to prioritize, which reduces the chance of packing expired or unnecessary items.
Match contents to where the kit will live
A family first aid kit basics list for home may include larger gauze rolls and a digital thermometer, while a travel first aid kit checklist should stay lighter: blister plasters, motion sickness tablets if needed, and a few antiseptic wipes. An office first aid kit contents list can be minimal because serious injuries are less common, but you still want bandages, gloves, and a CPR face shield if space allows. The storage case size should match the setting—don’t buy a large case for a small travel kit.
Steps to pack your first aid kit storage case
- Choose the right case size: Pick a compact case that fits your space and expected use. For a travel kit, aim for something that slips into a backpack pocket; for a family kit, a slightly larger case with compartments works better. Common mistake: buying a case that is too big, which encourages overpacking and makes items harder to find. Measure your storage spot before you buy.
- Group items by category: Use small zip-top bags or dividers to separate wound care (bandages, gauze, tape), tools (tweezers, scissors), and medications. This speeds up access during a minor emergency. Checkpoint: can you grab a bandage without unpacking everything else? Label each group if the case is see-through or if multiple people use it.
- Pack wound care basics first: Include adhesive bandages in several sizes, sterile gauze pads, medical tape, and antiseptic wipes. For a family kit, add a roll of gauze and elastic bandage. For travel, keep it minimal: a few bandages and wipes. Common mistake: packing only small bandages and no gauze for larger scrapes. Check that bandage sizes match the people who will use the kit.
- Add tools and protective items: Place tweezers, small scissors, and disposable gloves in the case. If space allows, include a CPR face shield. These items are easy to forget but essential for safe handling. Checkpoint: are the tools clean and in working order? Test scissors and tweezers before storing them.
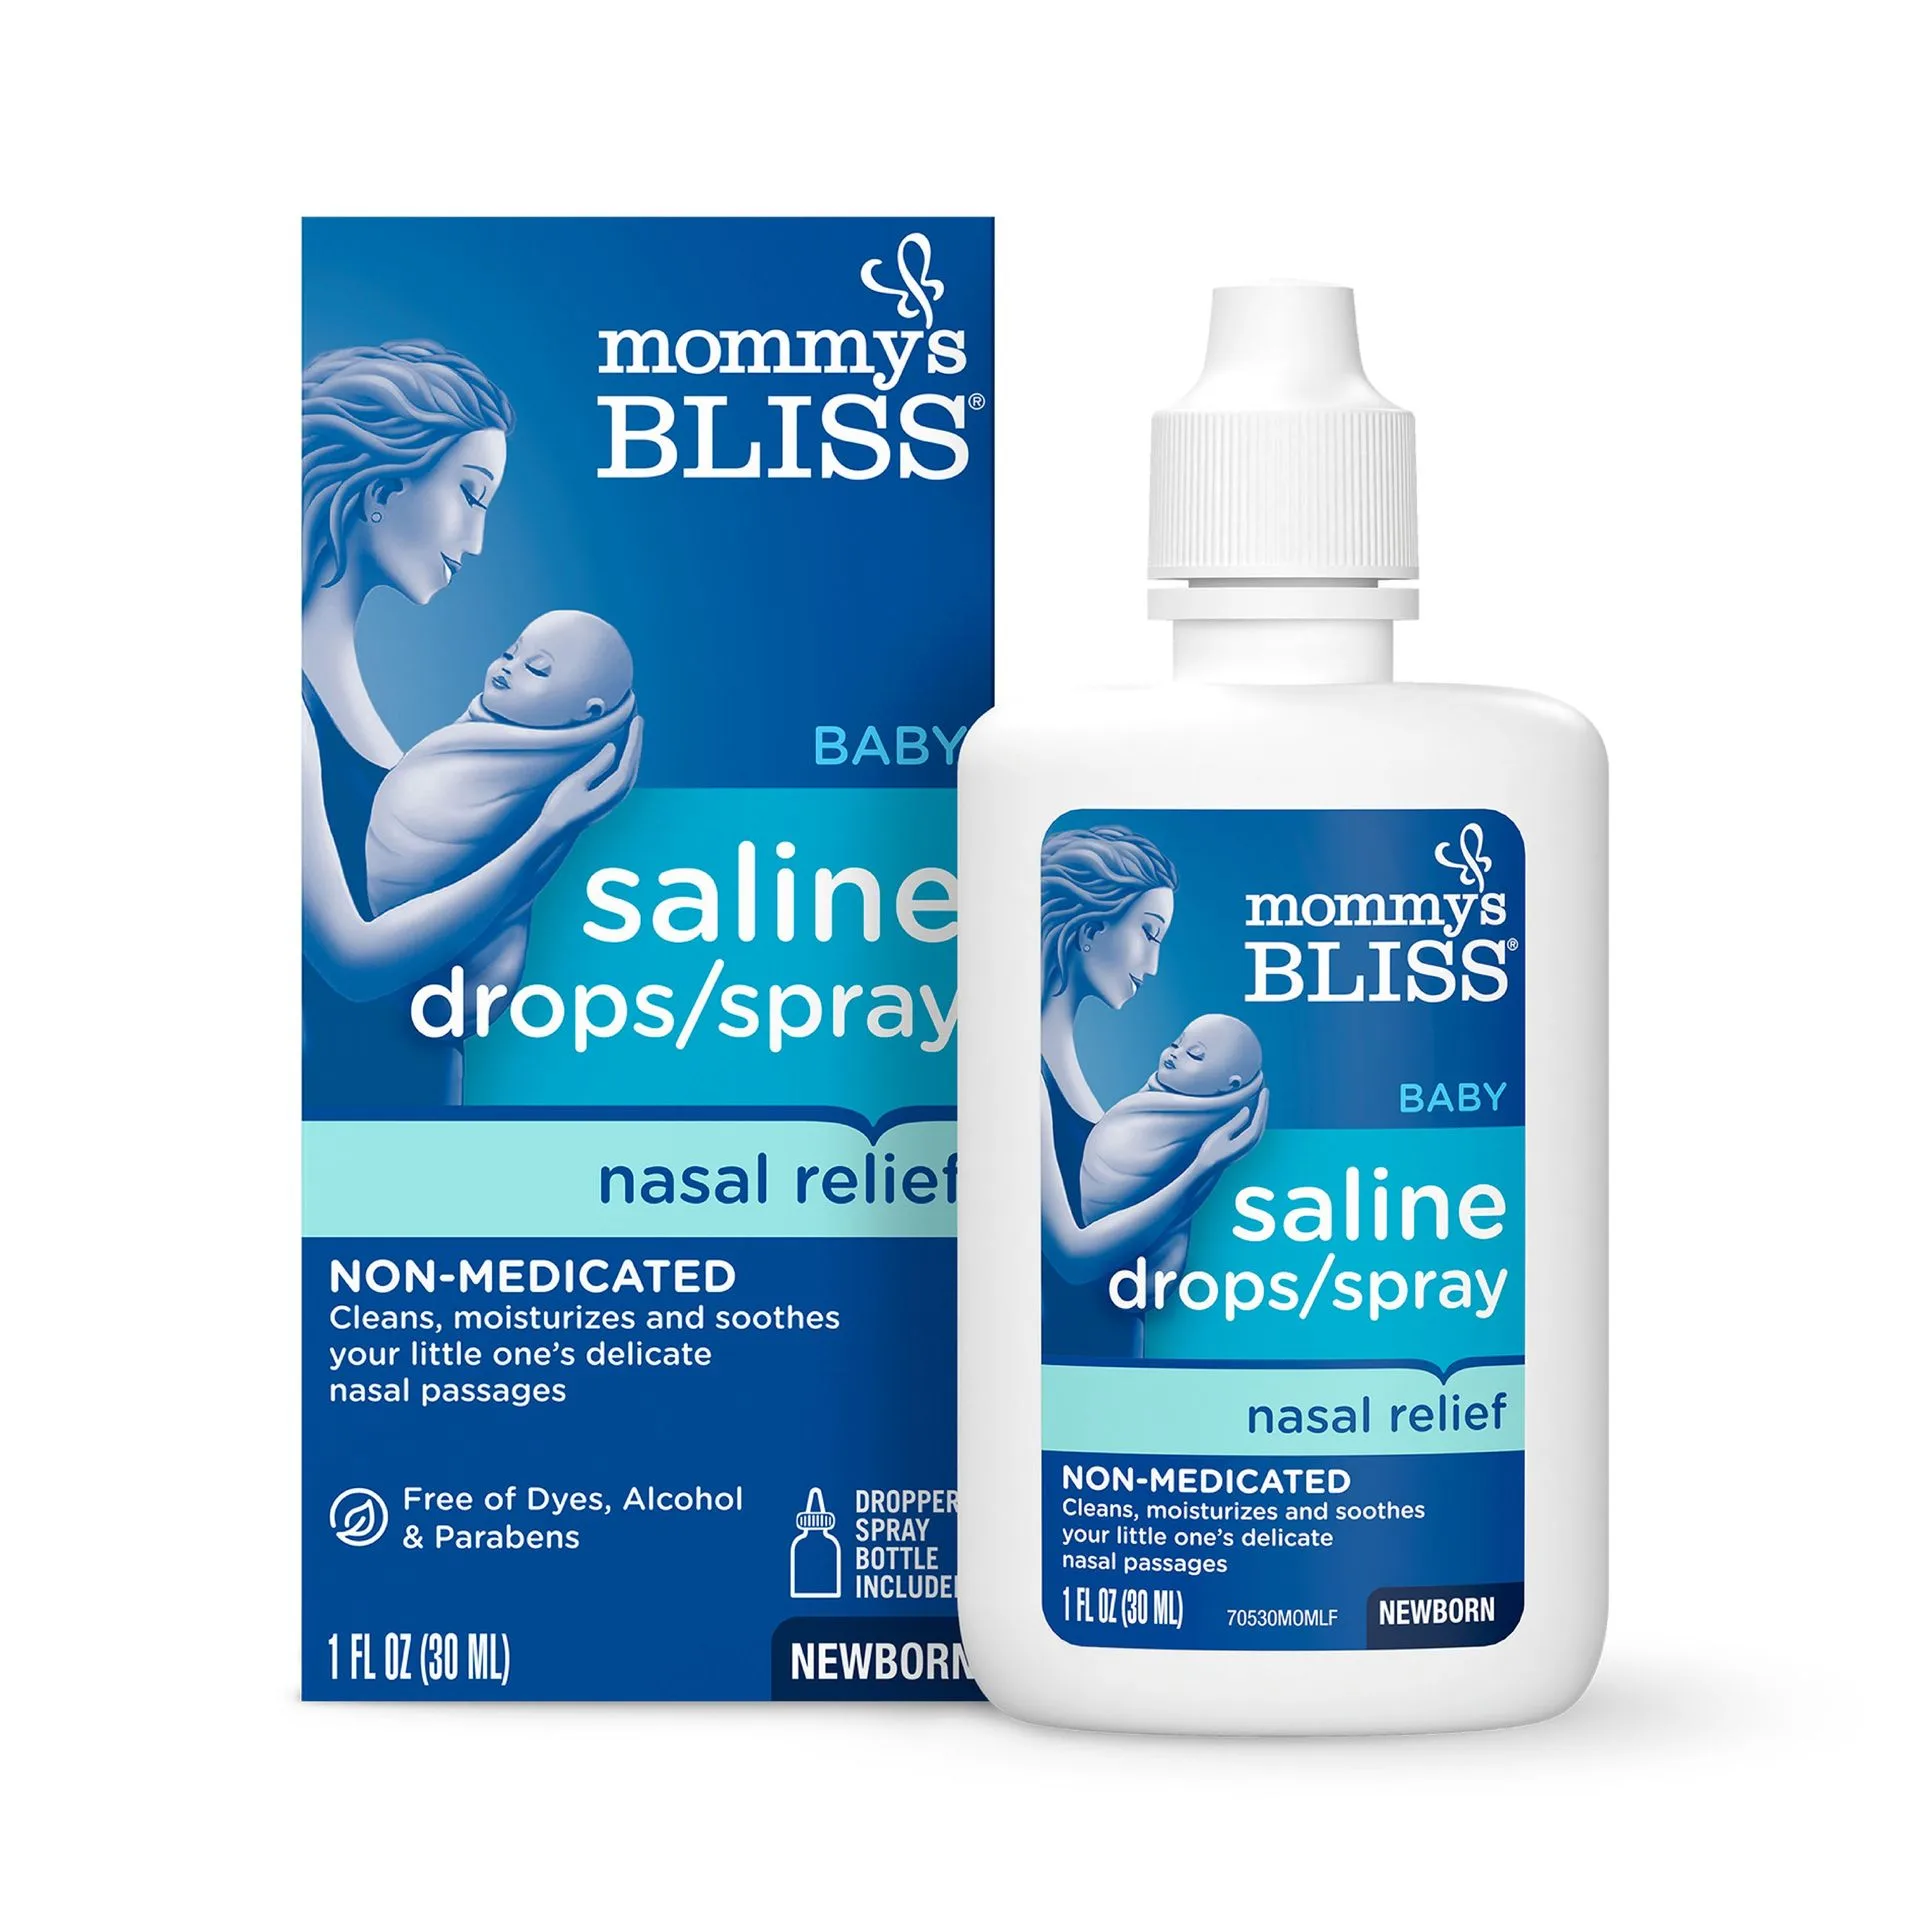
- Include personal medications and copies of prescriptions: For a family kit, add a small supply of any regular medications (with clear labels) and a copy of prescriptions. For travel, keep medications in original packaging. Common mistake: storing loose pills without labels, which is unsafe. Rotate medications before they expire.
- Seal and store the case correctly: Close the case securely and store it in a dry, cool place away from children but easy for adults to reach. For travel, place it in a carry-on rather than checked luggage. Checkpoint: is the case easy to spot and grab? Tell everyone in the household where the kit lives.
- Review and restock every six months: Set a reminder to check expiration dates on wipes and medications, and replace used items. This keeps the kit ready. Common mistake: forgetting to replace items after use, leaving the kit incomplete. Write the next review date on a piece of tape inside the lid.
Product facts
-
First Aid Kit in Storage Case: Compact and lightweight kit in a sturdy storage case. The case keeps supplies organized and protected, making it a practical starting point for a small home or travel kit.

First Aid Kit in Storage Case