Quick answer
Start with a compact container, add hand needles and a few colors of thread, then include buttons, safety pins, and small scissors. Test the kit on a real repair before you rely on it. A good https://mrs-quilty.com/products/mini-sewing-kit-for-quick-repairs-297878be24f3548a7900b6cd-1386832mini sewing kit for quick repairs stays under 4 inches and covers hems, buttons, and seams without weighing you down.
Choose a container that fits your real carry space
Before you buy or build anything, decide where the kit will live: a purse pocket, a glovebox, a carry-on pouch, or a desk drawer. That space sets your size limit. A kit that is too bulky gets left at home, which defeats the purpose.
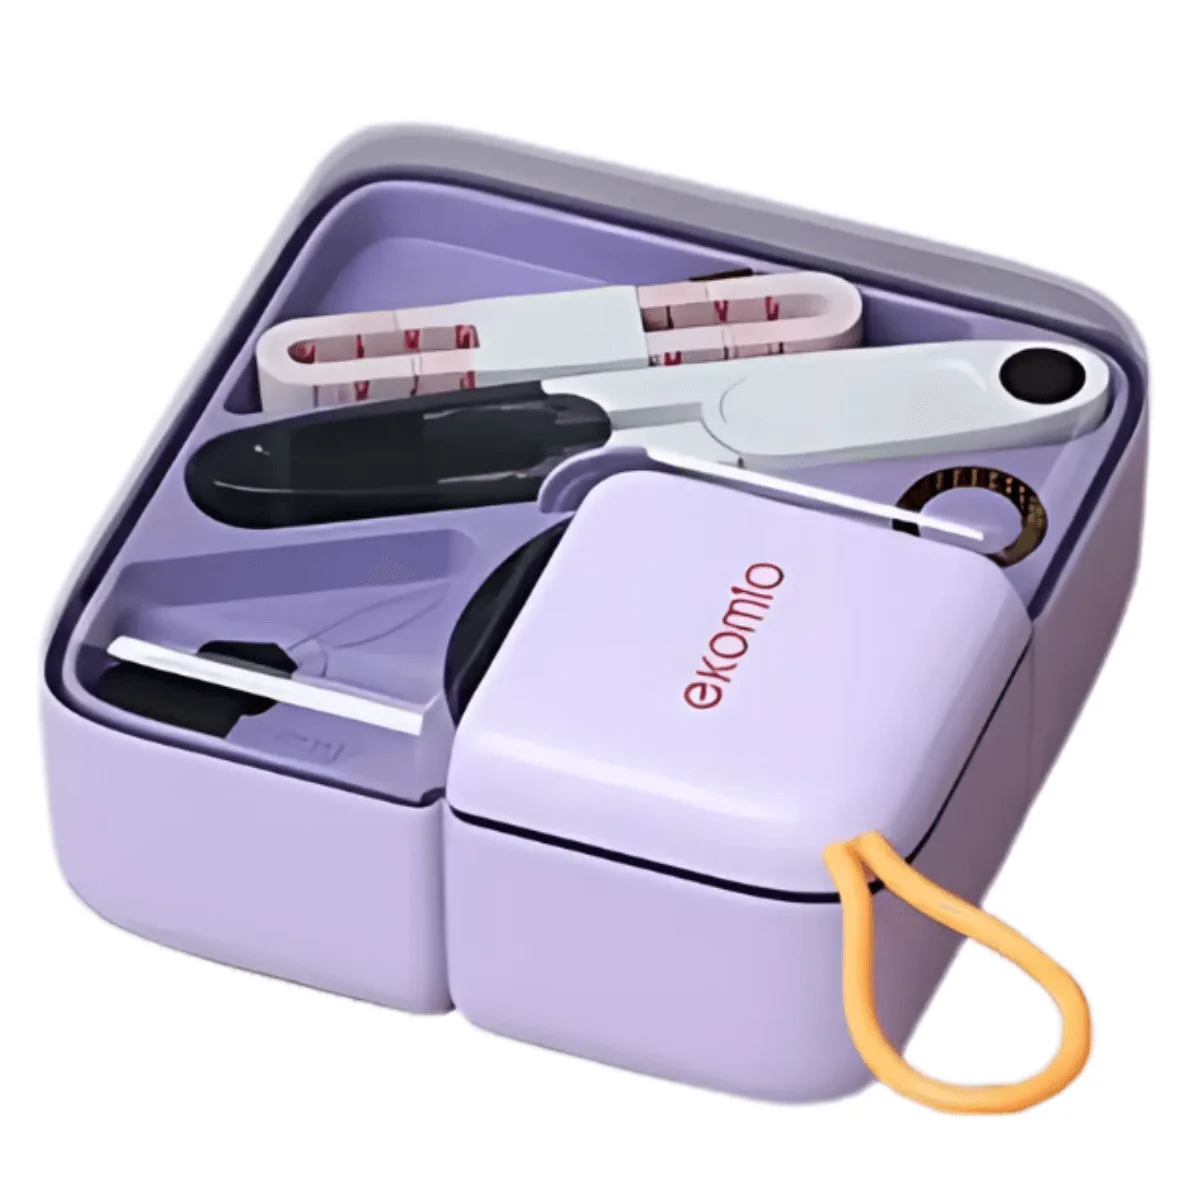
A small tin, a zip pouch, or a repurposed mint box all work. The container should open easily with one hand and close securely so needles cannot escape. If you already own a Mini Sewing Kit for Quick Repairs, its compact design fits in a pocket and already includes a coiling plate with six universal sewing threads, a safety pin, two plastic buttons, two press buttons, and a pair of 4.5 cm sewing scissors. That gives you a ready-made base to expand from.
Pick needles and thread that match your most common repairs
For most quick repairs, you need two hand needles: a sharp for woven fabrics and a slightly larger eye for thicker thread. If you only carry one, choose a medium sharp that can pass through cotton and light denim without bending.
Thread is where most mini kits fail. Six small spools in neutral colors (black, white, gray, navy, tan, and one bright color for visibility) cover the majority of clothing repairs. Polyester thread works for most fabrics and holds up to washing. Avoid silk or heavy upholstery thread in a travel kit because they are overkill and tangle easily.
Add fasteners and small tools that solve the repair in seconds
Buttons fall off at the worst times. Two plastic buttons and two press buttons, like those in the Mini Sewing Kit for Quick Repairs, let you fix a shirt or jacket without hunting for a matching button later. Safety pins are the fastest temporary fix for a broken zipper pull or a torn hem.
Small scissors matter more than you think. A 4.5 cm pair cuts thread cleanly and trims loose fabric without taking up space. If your kit lacks scissors, add a thread cutter or nail clippers as a backup. A thimble is optional unless you frequently push through thick seams.
Test the kit with one real repair before you trust it
Pack the kit, then use it to sew a button back on a shirt or repair a small seam. This test reveals missing items, tangled thread, or a container that is too small to close once you add everything. If the test takes more than five minutes, simplify.
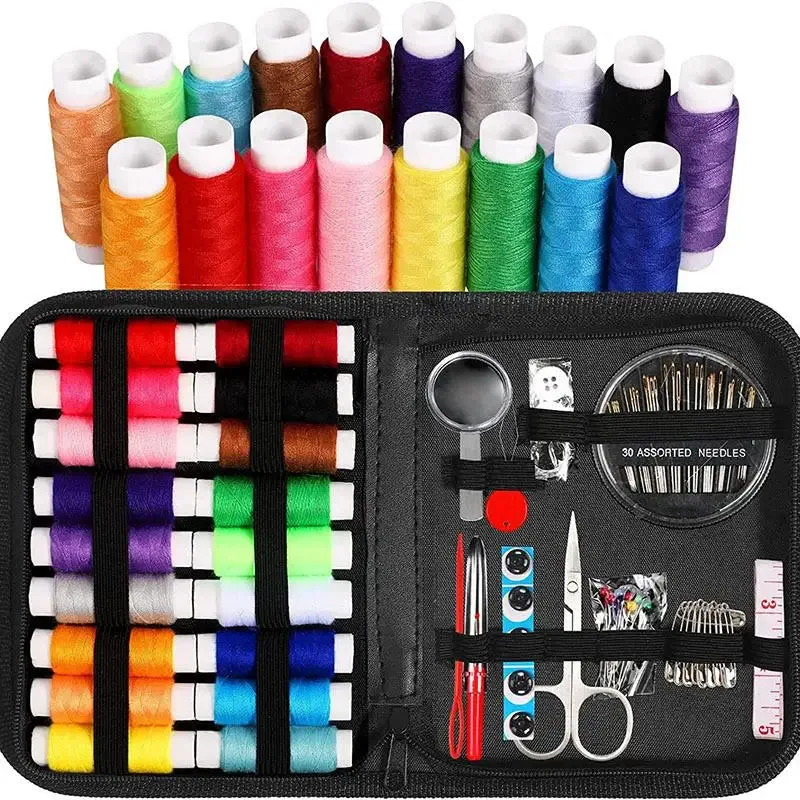
After the test, put the kit back together and store it where you will actually reach for it. A kit that lives in a drawer at home does not help during a travel emergency. For a more complete set of tools at home, a 39 piece & mutli function sewing kits gives you a wider selection of notions for general mending, while the mini kit stays dedicated to quick fixes on the go.
Step-by-step packing process
- Step 1: Set your size limit: Measure the pocket, pouch, or drawer where the kit will live. Choose a container that fits with room to close. Common mistake: picking a cute tin that is too thick for a purse pocket. Checkpoint: the closed kit should fit in your hand and open without forcing.
- Step 2: Add two hand needles: Place one medium sharp and one larger-eye needle in a needle holder or a folded piece of felt. Common mistake: storing loose needles that poke fingers or get lost. Checkpoint: needles stay put when you shake the closed kit.
- Step 3: Wind six thread colors: Wind black, white, gray, navy, tan, and one bright color onto bobbins or the coiling plate. Common mistake: carrying only white thread, which shows on dark fabrics. Checkpoint: each thread end is tucked so it does not unravel.
- Step 4: Add buttons and safety pins: Include two plastic buttons, two press buttons, and at least two safety pins. Common mistake: skipping press buttons, which are needed for jeans and jackets. Checkpoint: fasteners are in a small bag or compartment so they do not scatter.
- Step 5: Include small scissors: Add a 4.5 cm pair of scissors or a thread cutter. Common mistake: packing full-size scissors that do not fit or are not allowed in carry-on bags. Checkpoint: scissors cut thread cleanly in one snip.
- Step 6: Test and store: Sew a button onto a scrap or repair a real hem using only the kit. Then store it where you will grab it during a trip or emergency. Common mistake: never testing the kit until you need it. Checkpoint: the repair holds after you tug gently on the thread.
Products that fit this packing list
- Mini Sewing Kit for Quick Repairs (images): Compact mini sewing kit with 1 coiling plate, 6 universal sewing threads (100% polyester), 1 safety pin, 2 plastic buttons, 2 press buttons, and 1 pair of 4.5 cm sewing scissors. This covers the core of a quick repair kit in one small package, so you only need to add a needle if one is not already included.
- 39 piece & mutli function sewing kits: 39-piece multi-function sewing kit with a selection of sewing tools and notions for general mending and hand-sewing tasks. Useful as a home base for larger repairs, while your mini kit stays packed for travel and emergencies.