Quick answer
Put a finished book nook kit at eye level on a shelf that gets no direct sun, then treat the gap between two hardcover books as your display frame. Measure the footprint first, confirm the surface can take the weight, and plan where the light cable will run before you set the kit down. If you cannot hide the cable, choose a spot near an outlet instead of forcing a prettier but impractical shelf.
Measure the footprint before you clear a shelf
A finished kit is wider and deeper than the box it arrived in, because shop signs, awnings, and potted plants stick out past the base. Set the assembled kit on a table, measure the widest point left to right and the deepest point front to back, then add at least 2 cm of breathing room on each side. That extra margin stops you from wedging the kit so tightly between books that you cannot lift it out for dusting. It also keeps the front edge from overhanging a narrow shelf, which is how kits tip forward when someone brushes past.
Pick a height that lets you see inside
Book nooks are built to be viewed slightly from the front and a little above, so the best height is roughly your standing eye level or one shelf below it. On a tall bookcase, that usually means the third or fourth shelf from the top, not the bottom row where the interior goes dark and the floor of the kit disappears. In a small apartment, the top of a low sideboard or the middle shelf of a wall unit often works better than a floor-level bookcase, because you get the viewing angle without giving up floor space.
Use the space between books as a frame
The classic book nook between books trick works because two upright hardcovers act as bookends and hide the kit's side edges. Leave a gap about 1 cm wider than the kit on each side, and choose books tall enough that their spines rise above the roofline of the miniature. Avoid leaning paperbacks or loose magazines, which slide and let the kit drift. If you would rather not sacrifice book space, a single shelf end, a windowsill that never gets direct sun, or the top of a low cabinet all work as long as the surface is flat and stable.
Plan the light and cable run first
Most kits with LED lighting need a power source, and the cable is the part that ruins an otherwise clean display. Decide where the cable will go before you place the kit: behind a row of books, along the back edge of the shelf, or down the side of the bookcase and tucked behind a curtain or furniture. If the kit takes batteries, check the battery compartment is reachable without lifting the whole model, because you will need to change them. A shelf near an outlet almost always beats a prettier shelf across the room.
Keep it out of sun, heat, and damp
Direct sunlight fades printed surfaces and can warp thin wooden parts over time, so avoid south- or west-facing windowsills unless you use a sheer curtain. Radiators, space heaters, and the top of a fridge are also poor choices because the temperature swings dry out and stress the material. Bathrooms and damp basements invite swelling and mold in the wood and paper parts, so keep finished kits in living areas with stable indoor conditions.
Secure it against bumps and pets
In a small home, shelves sit at hip height and get knocked. If you have cats, toddlers, or a narrow hallway, use a small piece of removable mounting putty under the base, or place the kit on a shelf with a raised lip. Avoid permanent adhesive, which can pull finish off the base if you later move the kit. For a rental, putty and a non-slip mat are the two easiest options because both lift off without marks.
Your step-by-step placement plan
- 1. Measure the finished kit and shortlist three surfaces: Measure the widest and deepest points of the assembled model, then note the usable depth of every shelf, sideboard, or cabinet top you are considering. Checkpoint: if the kit overhangs the front edge by more than a finger's width, cross that surface off the list.
- 2. Choose the height before the exact shelf: Stand where you will normally view the kit and pick the shelf closest to eye level. Lower shelves hide the interior; very high shelves make the base hard to see. Checkpoint: you should be able to see the floor of the miniature without crouching.
- 3. Confirm the light and cable route: Decide whether the kit uses an outlet or batteries, then trace the cable path or confirm the battery door is reachable before you commit to the spot. Checkpoint: if the cable would cross a walkway or the battery door faces a wall, move the kit.
- 4. Frame it with books or a shelf edge: Set two upright hardcovers about 1 cm clear on each side, or align the kit with the end of a shelf so one side stays open and visible. Checkpoint: the kit should lift straight out without moving the books.
- 5. Test the light in place, then secure the base: Turn the lights on at the final spot to check for glare or washed-out color, then add removable putty or a non-slip mat under the base. Checkpoint: if the glow looks flat or the kit slides when nudged, adjust before you walk away.
How two kits fit different small-space spots
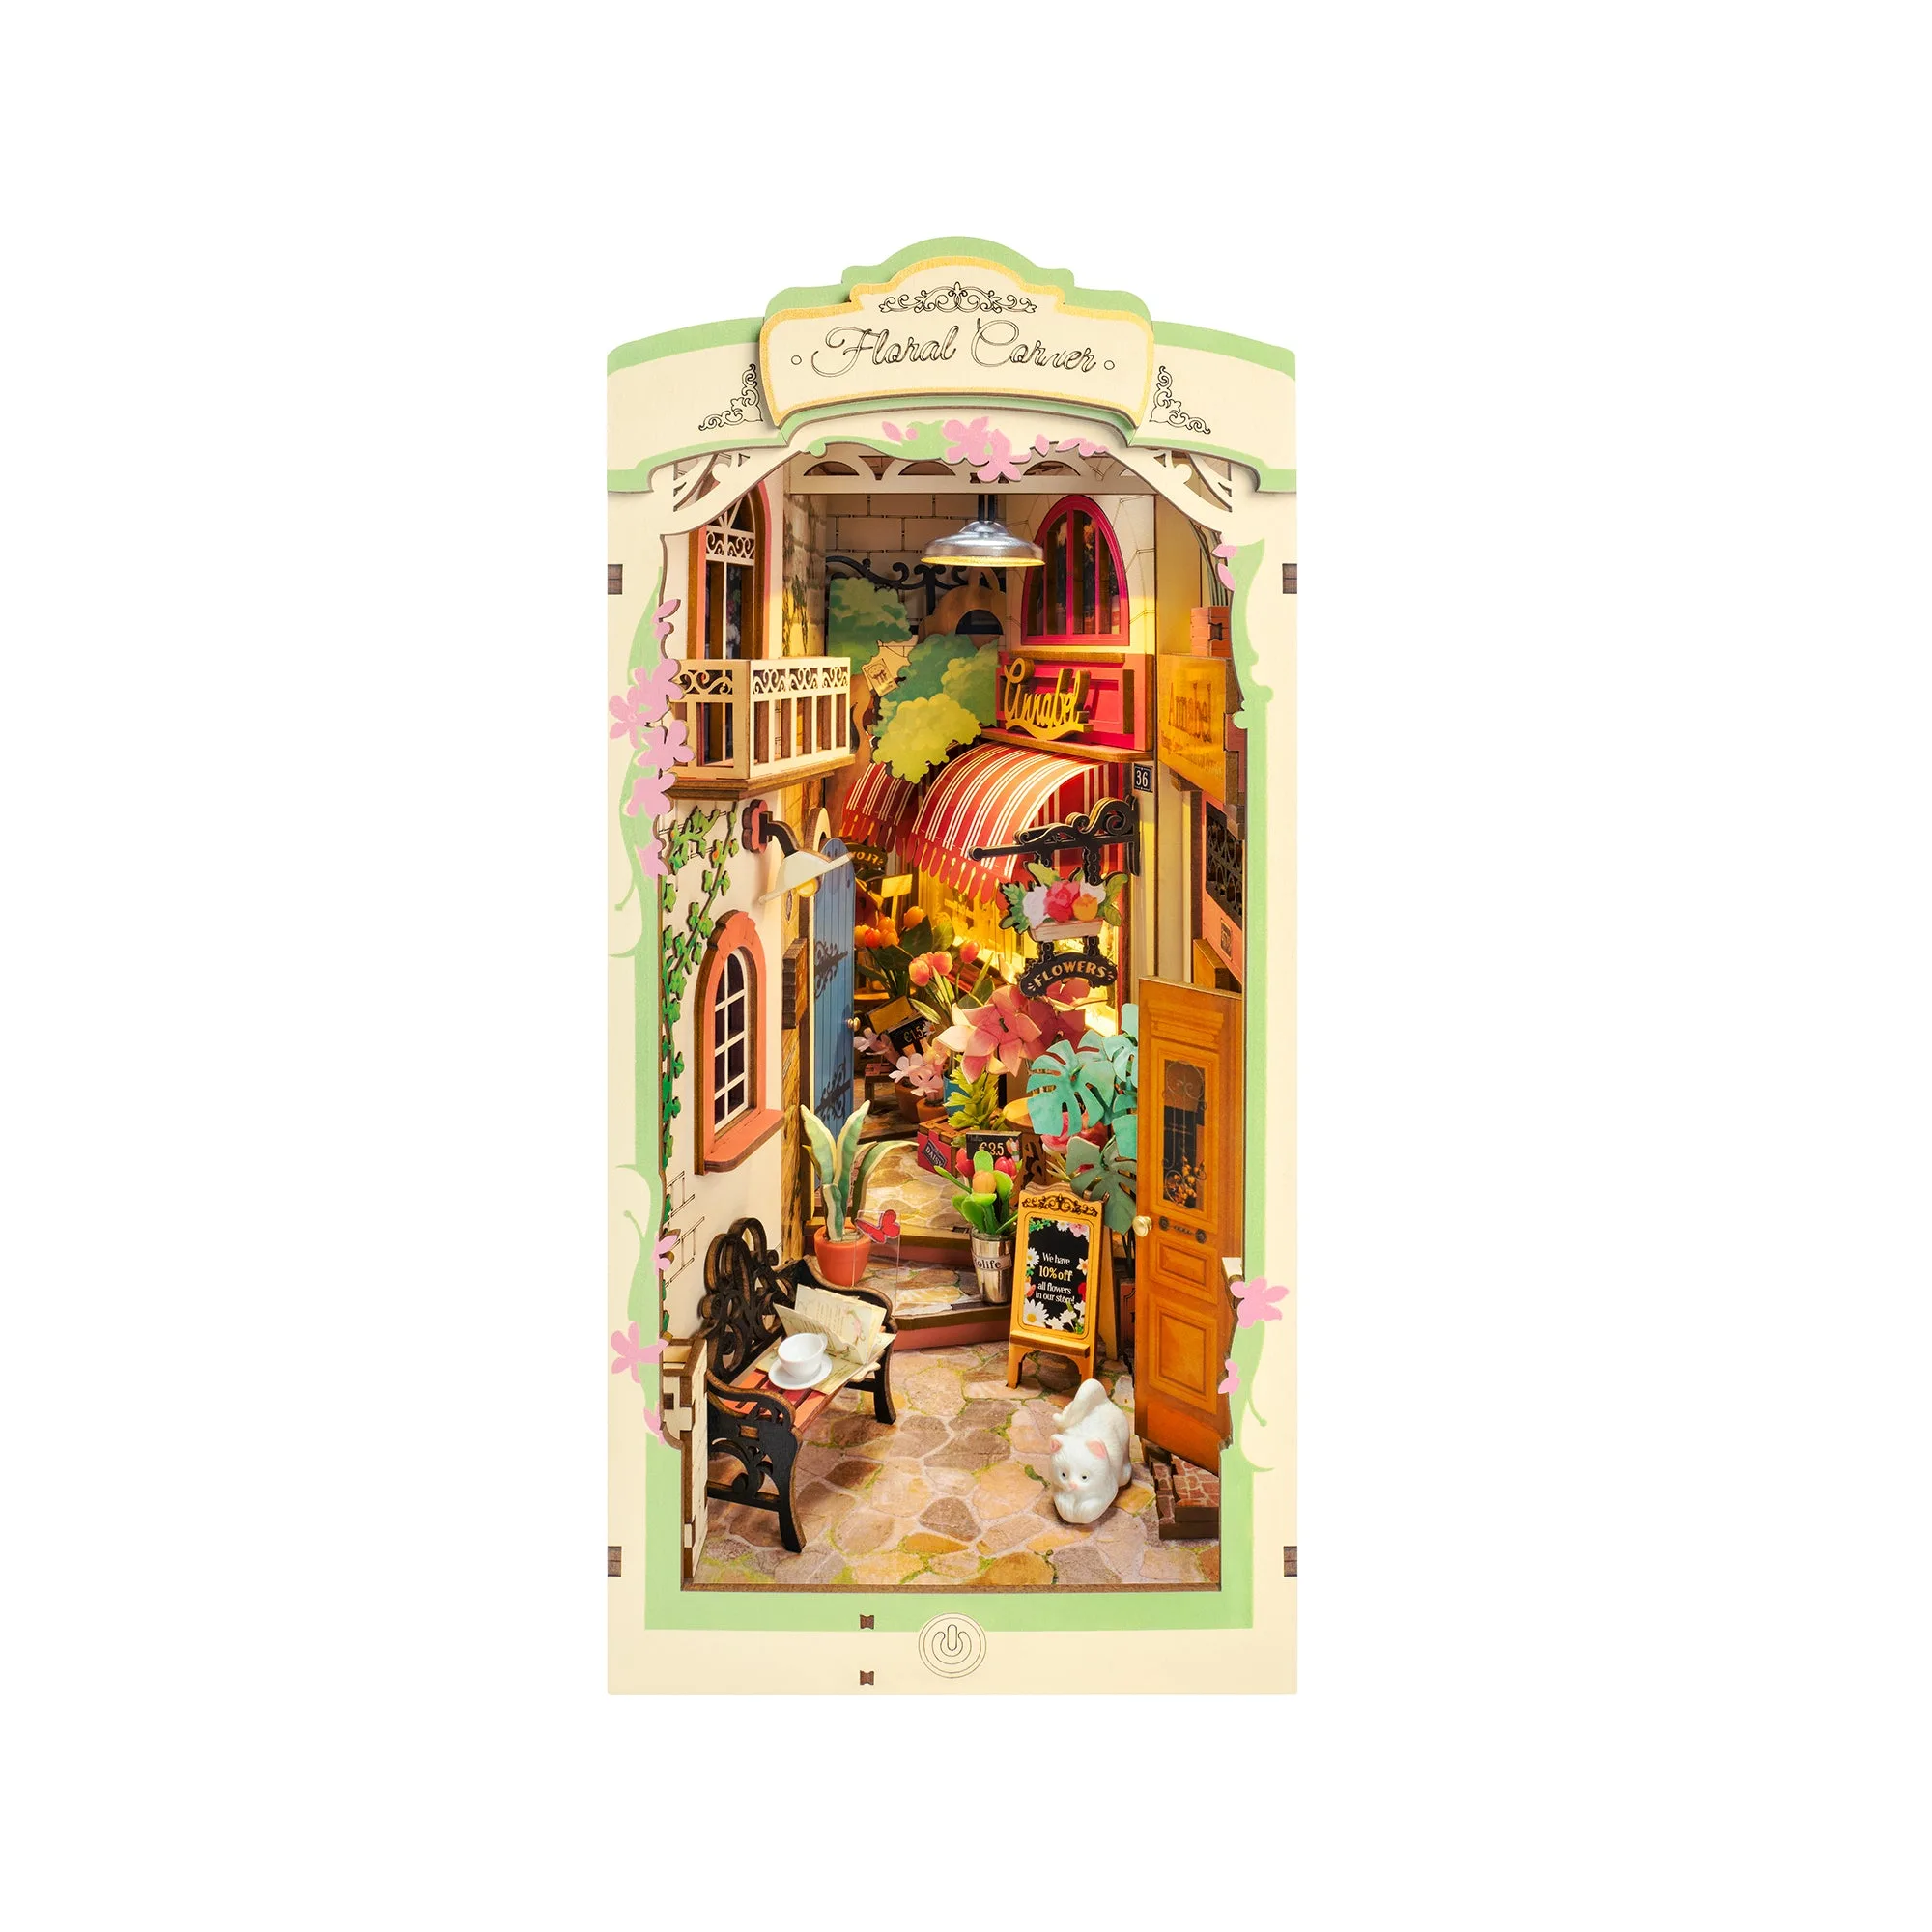
- Hands Craft | Floral Corner w/ Dust Cover: This book nook kit features flower shops with hanging baskets, window displays, cobblestone paths, and storefronts, plus details like shop signs and potted plants. The storefront and cobblestone details read best from the front, so give it a shelf at eye level rather than a low row where the path is hidden.
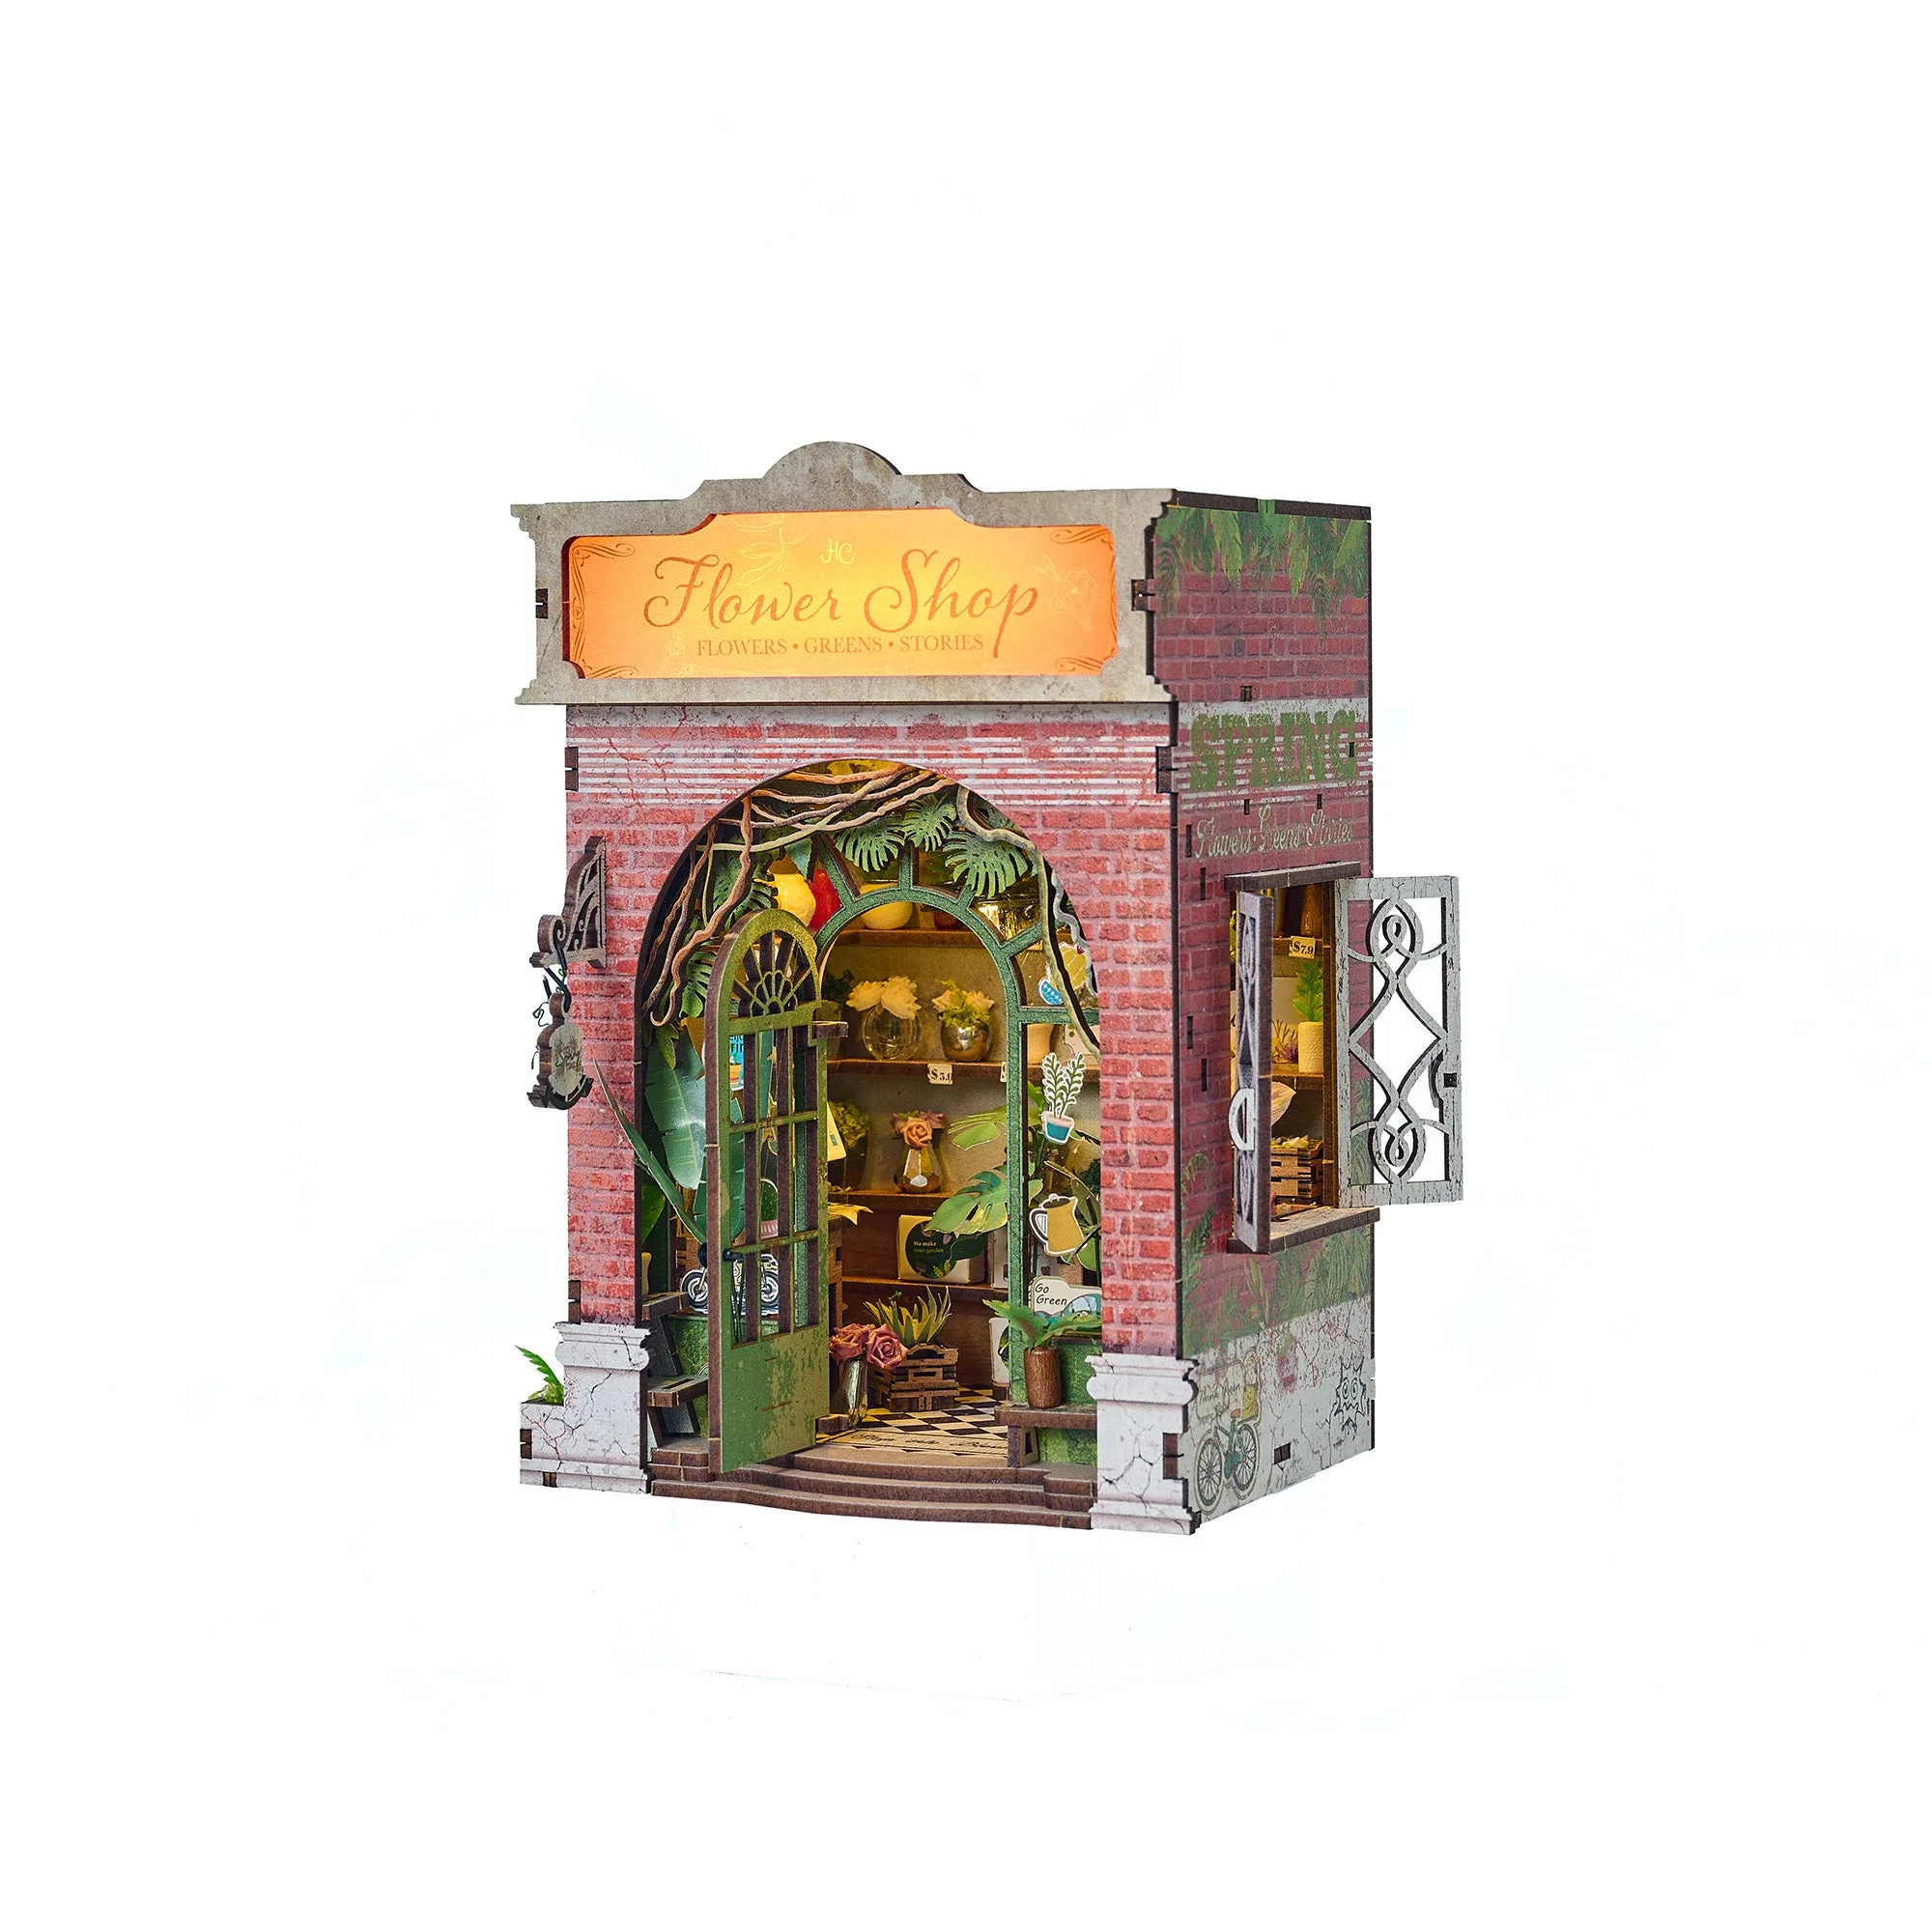
- Hands Craft | Flower Shop: This model requires 2 AAA batteries, which are not included, and does not include glue. If you place it on a high shelf or inside a tight book gap, make sure you can still reach the battery compartment to swap batteries without dismantling the display.
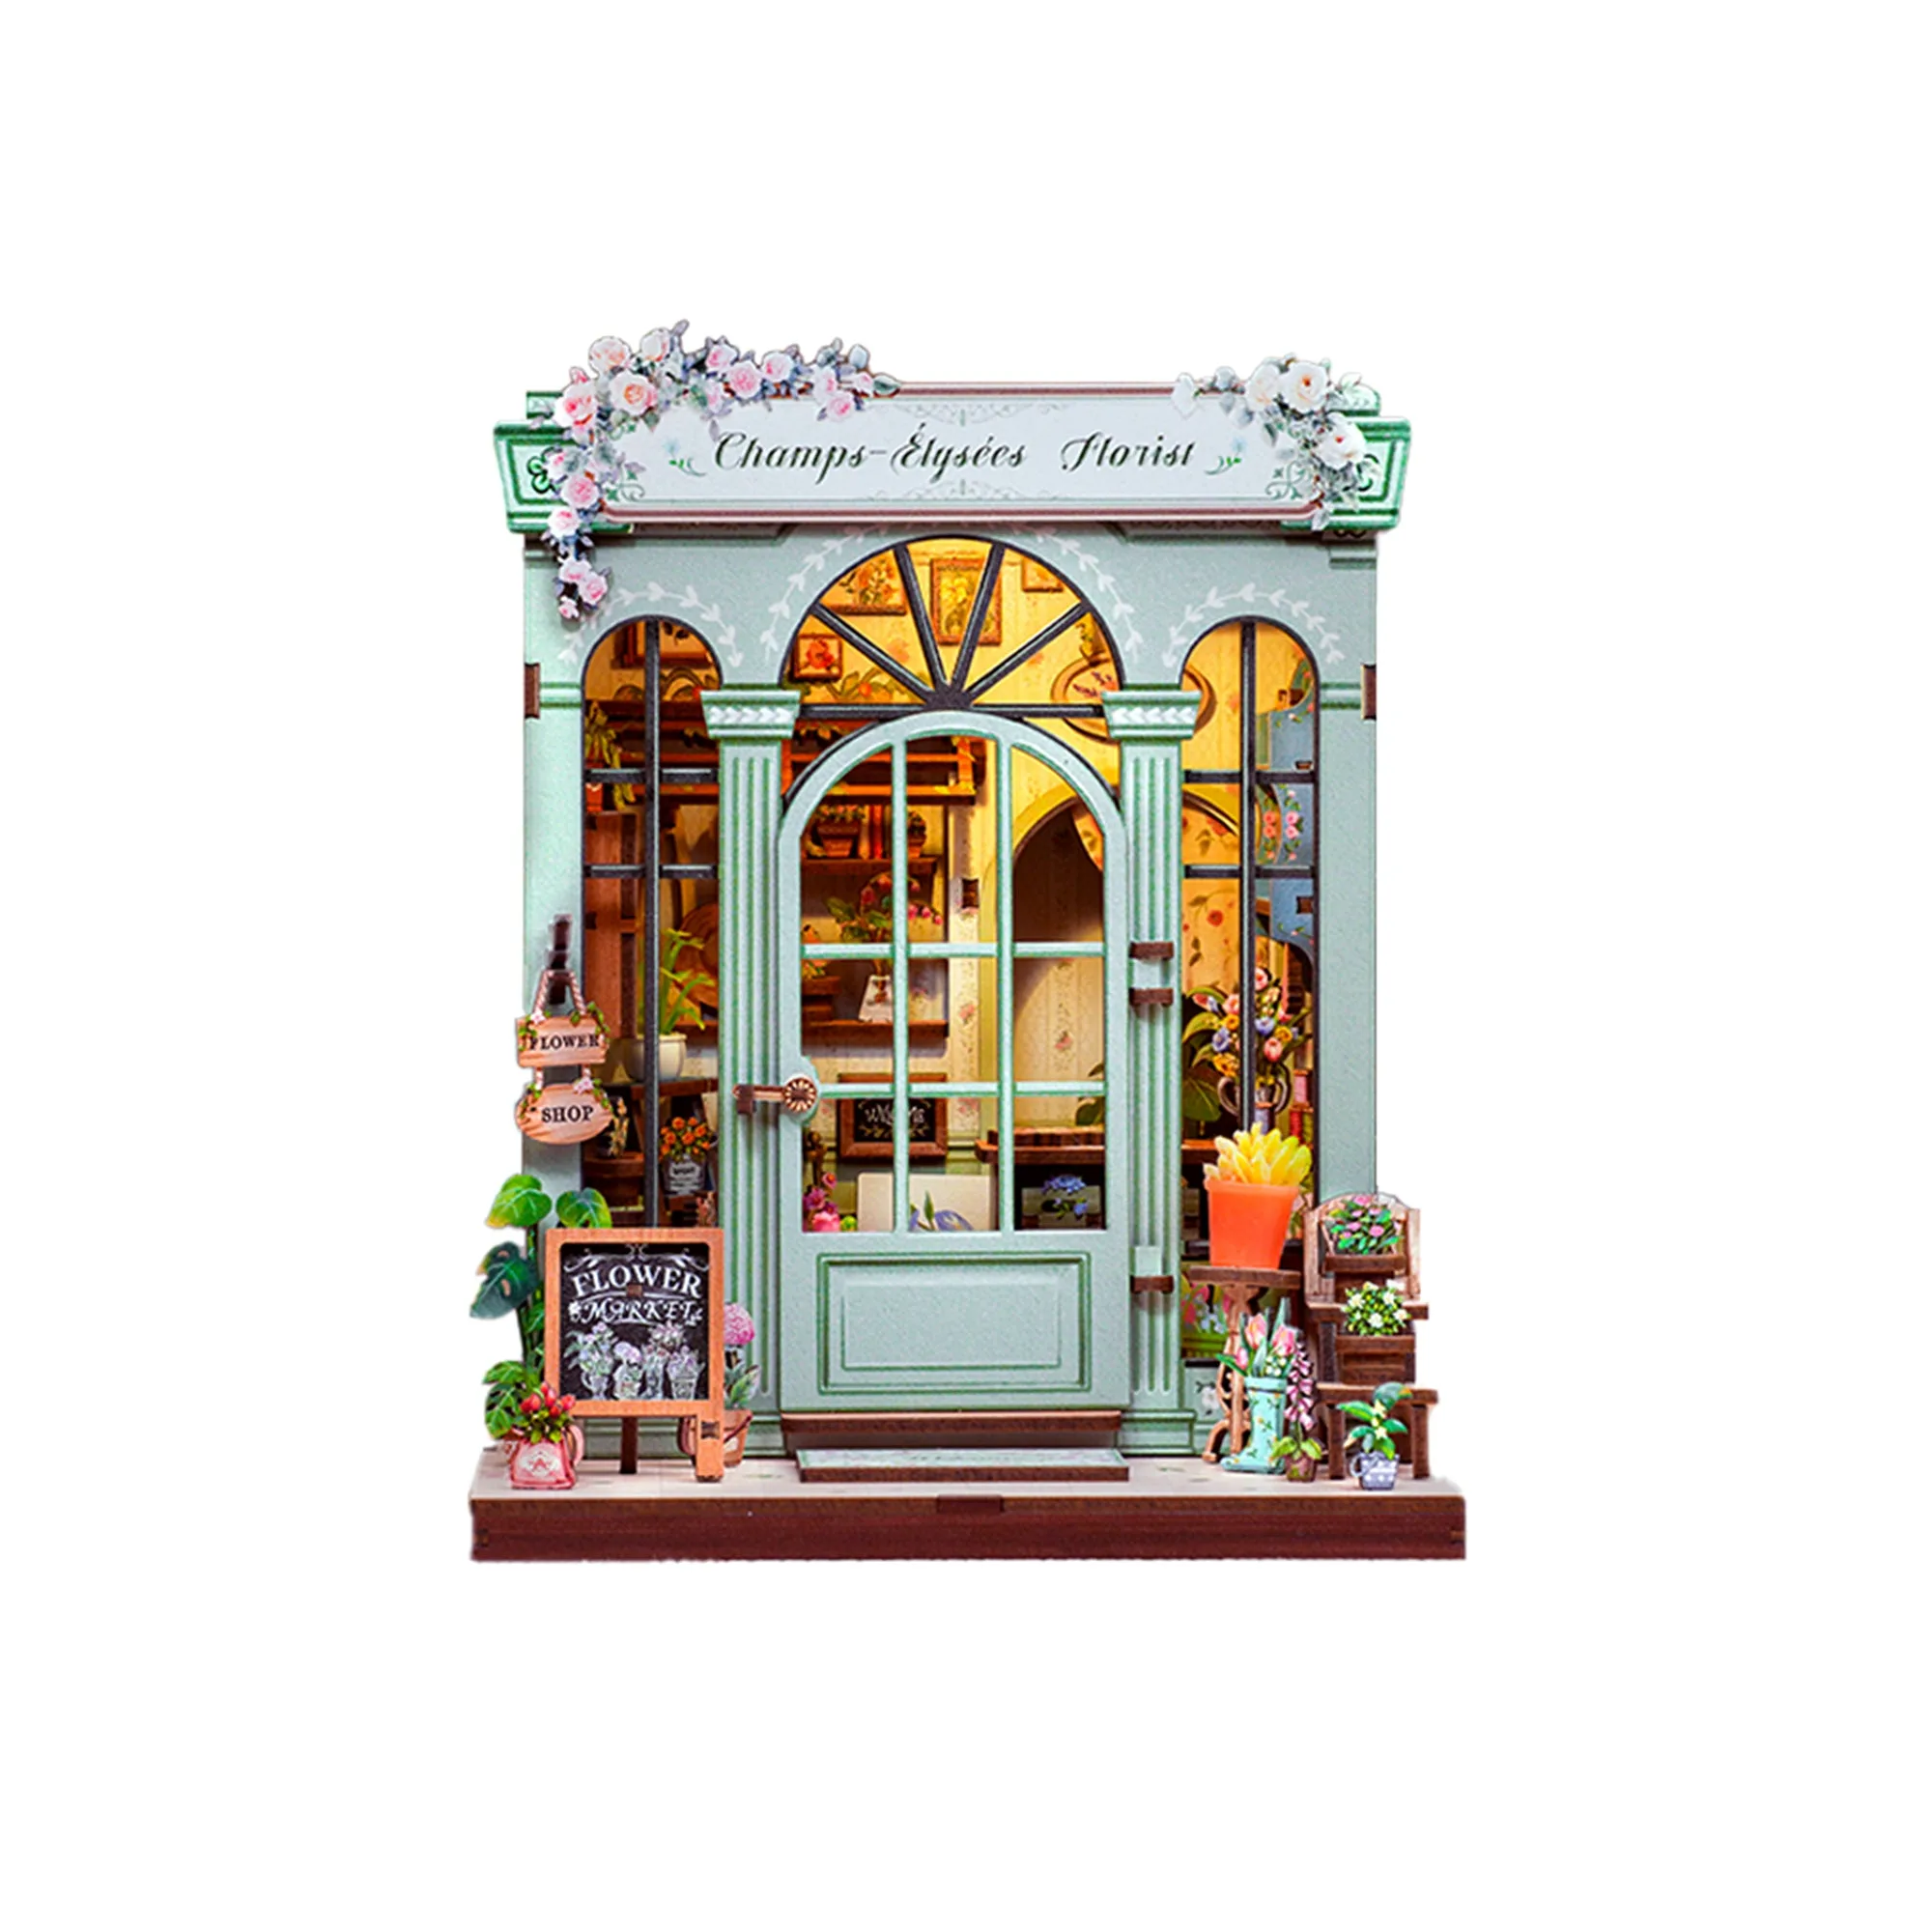
- Hands Craft | Champs-Élysées Florist: This miniature flower shop has soft LED lights that cast a warm glow and highlight rows of blooms, with pastel accents and an arched doorway. Because the lighting is a visible feature, plan the cable route and avoid placing it where strong room light washes out the warm glow.