Quick answer
Candle tunneling is almost always caused by a first burn that was too short or a wick that was left too long. The fix is to trim the wick to about 1/4 inch, then burn the candle long enough for the melted wax to reach the edge of the jar. If the tunnel is deeper than a quarter inch, you can sometimes rescue it with a foil tent, but a severe tunnel may mean the candle is past saving.
What tunneling actually looks like
A tunneling candle has a crater of melted wax in the center with a ring of hard, unmelted wax around the edge. It usually starts on the very first burn: if you light the candle for 20 minutes and blow it out, only the middle melts. Each subsequent burn follows that same narrow path, and the tunnel gets deeper while the outer wax stays solid. The wick also gets shorter relative to the wax, so the flame struggles and may drown in its own melt pool.
Why candles tunnel: the three usual suspects
The first burn sets the memory of the wax. Most candles need one to two hours per inch of diameter to form a full melt pool. If you stop before that, the tunnel is set. Second, a wick that is too long or untrimmed creates a large, flickering flame that burns hot in the center but never spreads heat to the edges. Third, drafts from windows, vents, or ceiling fans push the flame to one side, so one section melts while the rest stays hard. In rare cases, a candle poured with an off-center wick will tunnel no matter what you do.
The foil fix for a mild tunnel
If the tunnel is less than a quarter inch deep, you can sometimes correct it. Trim the wick to 1/4 inch, then wrap a piece of aluminum foil loosely over the top of the candle, leaving a small opening in the center for the flame. The foil traps heat and reflects it back to the edges, helping the outer wax catch up. Burn in one- to two-hour sessions, checking every 30 minutes, and stop as soon as the wax pool reaches the glass. Never leave a foil-wrapped candle unattended.
How to prevent tunneling from the first light
Prevention is simpler than repair. On the first burn, plan for two to three hours of uninterrupted time—enough for the melt pool to touch the edge of the jar. Trim the wick to 1/4 inch before every burn, and keep the candle away from drafts. If you only have 30 minutes, use a candle warmer instead of a flame, or save the candle for a longer session. For 8.5 oz candles, a full melt pool typically takes about two hours; larger sizes need longer.
When to stop trying and choose another option
If the tunnel is deeper than half an inch or the wick is buried under solid wax, stop. Digging out wax or pouring it off can crack the glass or create a fire hazard. At that point, the safest move is to retire the candle. Use the remaining wax in a wax warmer if you have one, or repurpose the jar. For your next candle, start fresh with the first-burn rule and a wick trimmer so you do not repeat the mistake.
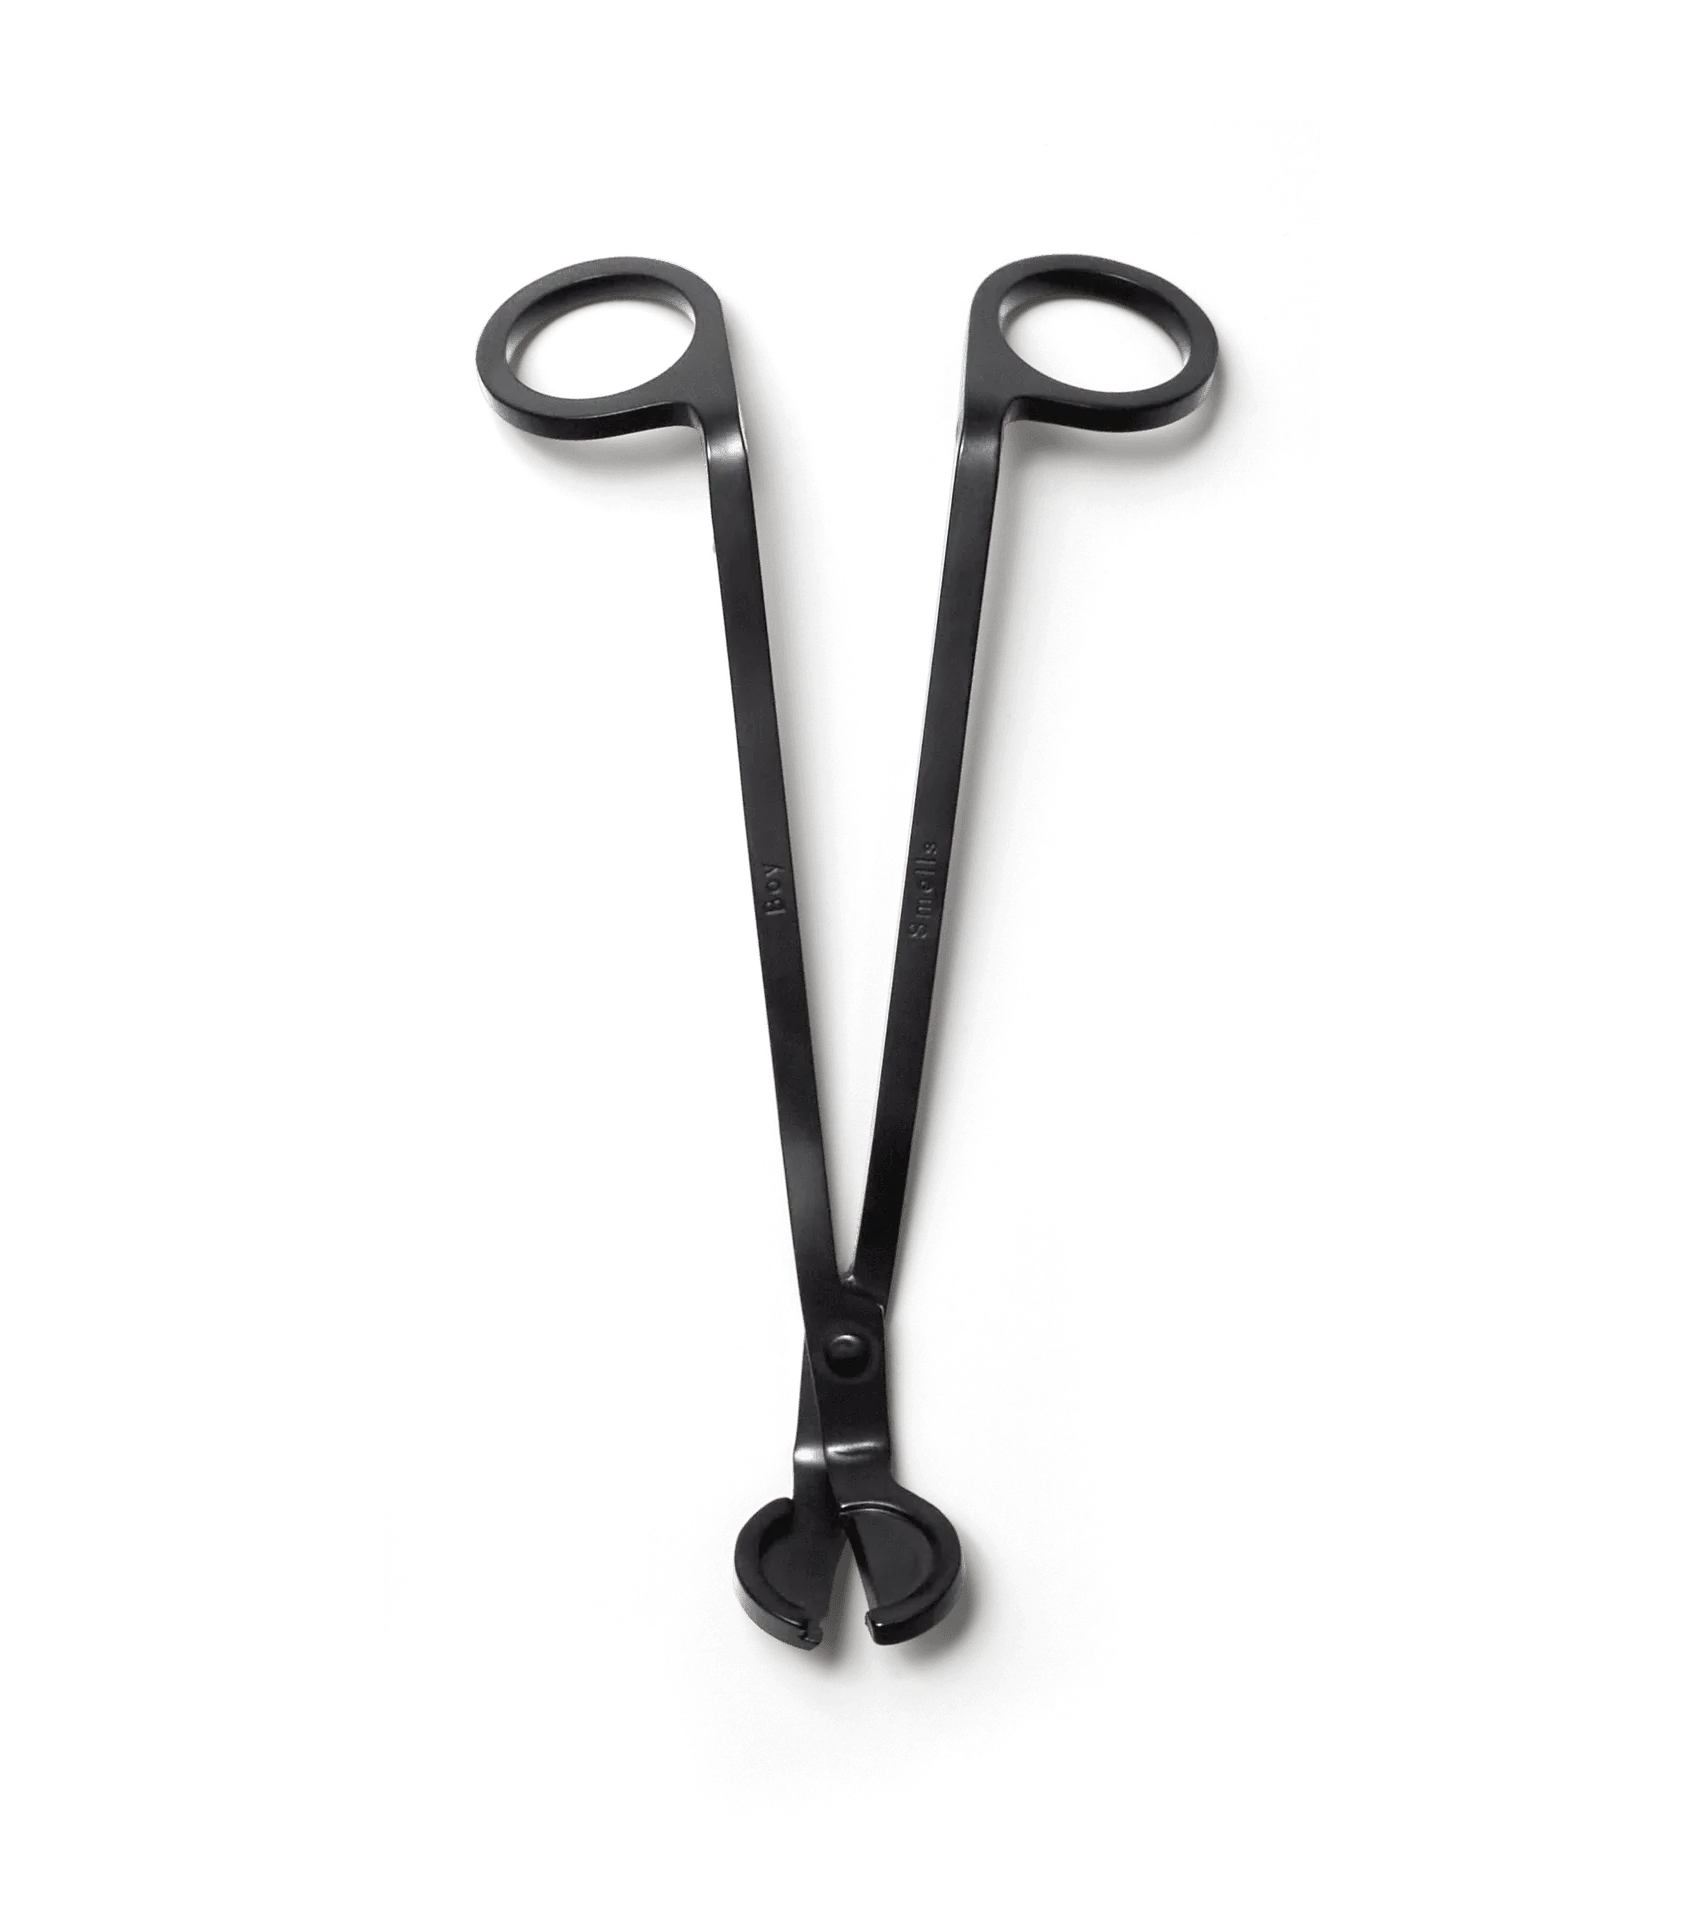
wick trimmer
Tunneling diagnosis: symptom, cause, fix
- Thin tunnel, wick still centered: The first burn was cut short or the wick was slightly long. Trim the wick to 1/4 inch and burn for two hours. The wax pool should spread to the edge. If the pool reaches the glass, you have fixed it.
- Deep tunnel, wick buried: The wick is drowning in wax and the tunnel is more than a quarter inch deep. Try the foil tent for two hours. If the wick still struggles, stop. If the wick stays buried, retire the candle.
- Off-center wick or lopsided melt: The wick is not centered or a draft is pushing the flame. Straighten the wick after blowing out the candle, and move it away from vents. If the wick is permanently off-center, no fix will fully correct it.
Tools that make prevention easier
- CANDLE CARE TOOL SET: The Boy Smells Candle Care Tool Set includes tools for trimming wicks and removing debris, designed to help maintain a clean, even burn. A proper trimmer cuts the wick to the right length every time, which is the single most effective way to prevent tunneling.