Quick answer
Decorative nails pull loose when the hole no longer grips the shank, when the nail is driven into soft or crumbling material, or when the head is struck at an angle. Fix loose decorative nails by pulling the nail, tightening the hole with a small amount of wood filler or a sliver of matching material, and resetting the nail straight with light, controlled hammer taps. If the surrounding material is rotten, split, or too thin to hold anything, stop and reinforce or replace that section instead of adding a larger nail.
A decorative nail that pops out is rarely a bad nail. It is almost always a hole problem, a material problem, or a hammer problem. The nail is just the messenger.
This guide separates the symptom from the cause so you can choose the right corrective action, and it tells you when to stop before you make the damage worse.
Symptom: the nail lifts, spins, or falls out
A loose decorative nail usually announces itself in one of three ways. It lifts slightly above the trim, it spins freely under your fingertip, or it drops out entirely and leaves an open hole. Each symptom points to a different stage of failure. A lifted nail means the shank is only partly engaged. A spinning nail means the hole has widened past the shank diameter. A fallen nail means the grip is gone completely.
Check whether the nail is loose by itself or whether the whole run of trim is moving. If one nail is loose, the fix is local. If several nearby nails are loose, the material underneath is probably the real problem.
- Press the head gently with your thumb. If it rocks, the shank is not seated.
- Try to rotate the nail. Free spinning means the hole has enlarged.
- Look for a dark ring or crushed fibers around the head, which suggests overdriving.
Likely cause: the hole is too large or the material is too soft
Decorative nails hold by friction and compression. The shank pushes fibers or wood aside, and those materials press back. If the hole is drilled or punched too wide, or if the material is soft, crumbling, or thin, there is nothing left to press back. The nail can only sit there until vibration or handling works it free.
This is common on particleboard, old upholstery frames with dry rot, and foam-backed panels where the nail passes through fabric but barely enters anything solid. In those cases the nail was never really holding. It was resting.
- Test the material with a spare nail in a hidden spot before committing to a full row.
- If a spare nail pulls out with light finger pressure, the material cannot hold a decorative nail.
- Avoid enlarging the hole to make the nail go in. That removes the grip you need.
Likely cause: the nail was driven at an angle or overdriven
A nail struck at an angle enters the material diagonally. Only part of the shank contacts the sides of the hole, so holding power drops immediately. Overdriving is the other common mistake. Striking too hard crushes the material around the shank, creating a funnel-shaped hole that widens as the nail works loose.
The fix is technique, not force. Hold the nail perpendicular to the surface, start with light taps to set the shank, then increase to moderate taps until the head sits just above the fabric or trim. Stop before the head compresses the surface.
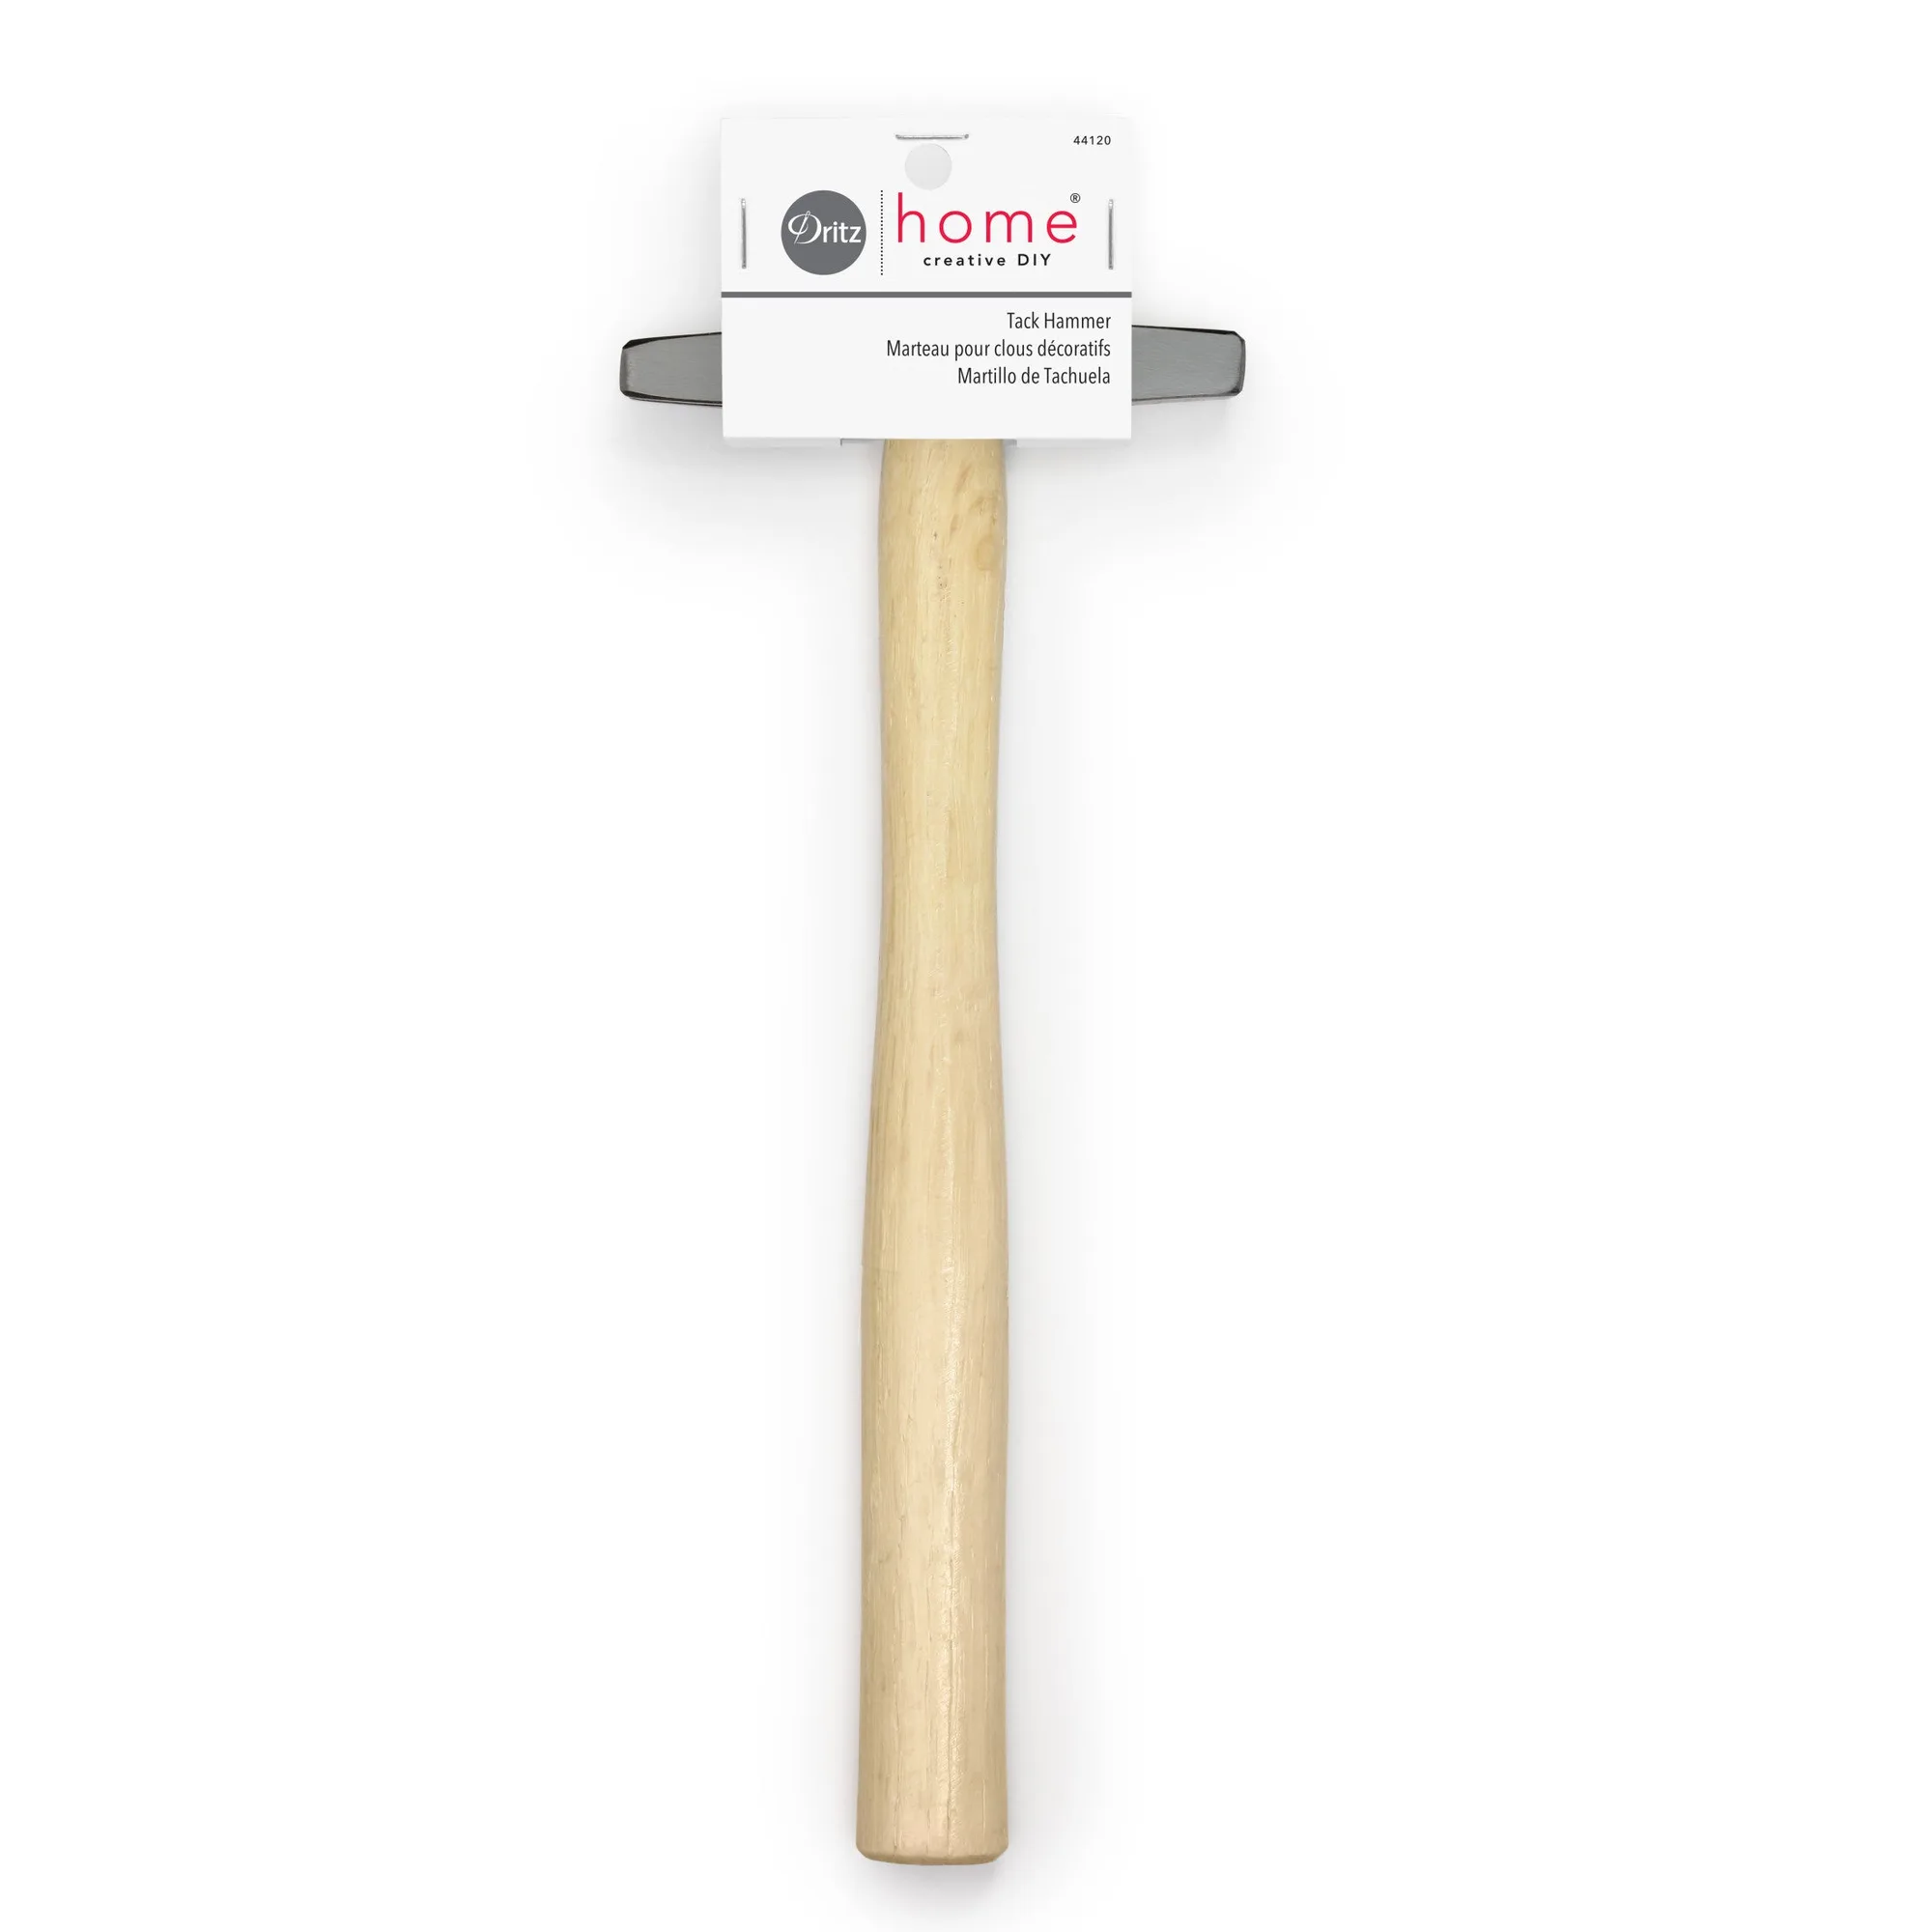
- Use a https://prymamerica.com/products/44120-cb0d93db390a1c00eecfd77d-1316609tack hammer or a small hammer with a light head for control.
- Support the back of the panel if you can reach it, so the material does not flex with each strike.
- If the nail bends, discard it. A bent shank will never hold straight.
Corrective action: reset the nail in a tightened hole
For a single loose nail in otherwise sound material, remove the nail and tighten the hole. A small amount of wood filler, a drop of wood glue mixed with sawdust, or a thin sliver of matching material pushed into the hole can restore enough grip. Let the filler set according to its instructions, then reset the nail straight with light taps.
If the hole is only slightly enlarged, you can sometimes rotate the nail a quarter turn and reset it in fresh material. Do not simply hammer the same nail back into the same loose hole. It will loosen again the next time the piece is moved.
- Clean loose fibers or old filler out of the hole before adding new material.
- Use a nail set or a scrap of wood between the hammer and the head to avoid marring the finish.
- Test the reset nail with a gentle pull. If it moves, the hole is still too wide.
Prevent nails from loosening in the first place
Prevention comes down to three habits: spacing, alignment, and material selection. Space decorative nails evenly so no single nail carries more load than its neighbors. Keep every nail perpendicular to the surface. And choose a nail size that matches the material thickness, not the look of the head alone.
For projects where the material is thin or delicate, consider a different fastener. Dritz Fabric & Craft Clips are not a decorative nail replacement, but they show the principle: match the fastener to the material. Where a nail would tear through, a clip or a sewn snap may be the better choice.
- Mark nail positions with a spacing guide or a strip of tape before driving.
- Drive a test nail in a hidden area to confirm the material holds.
- Recheck the row after a few days of use and reset any nail that has started to lift.
When to stop and choose another option
Stop adding decorative nails when the material crumbles around the hole, when the panel is too thin to accept the shank, or when the same nail has loosened three times. At that point the problem is structural, and another nail will not solve it. Reinforce the area with a solid backing, replace the damaged section, or switch to a fastener that distributes load differently.
If the decorative nail is purely ornamental, you can also glue the head in place after the structural work is done. That keeps the look without pretending the nail is holding anything.
- Do not step up to a larger nail in a damaged hole. It will split the material.
- If the trim itself is brittle, remove and replace it rather than fighting the nails.
- When in doubt, test on a scrap piece before touching the finished project.
Diagnosis: match the symptom to the fix
- Nail lifts but does not spin: The shank is partly engaged. Reset the nail straight with light taps and check that the head sits just above the surface. If it lifts again within a day, treat the hole as enlarged.
- Nail spins freely in the hole: The hole has widened past the shank. Remove the nail, tighten the hole with wood filler or a sliver of matching material, let it set, then reset. Do not reuse the same hole without tightening it.
- Nail falls out and the hole is crumbly: The material itself is failing. Stop adding nails and reinforce or replace the section with a solid backing. A larger nail will split the material, not fix it.
Products that help with related repairs
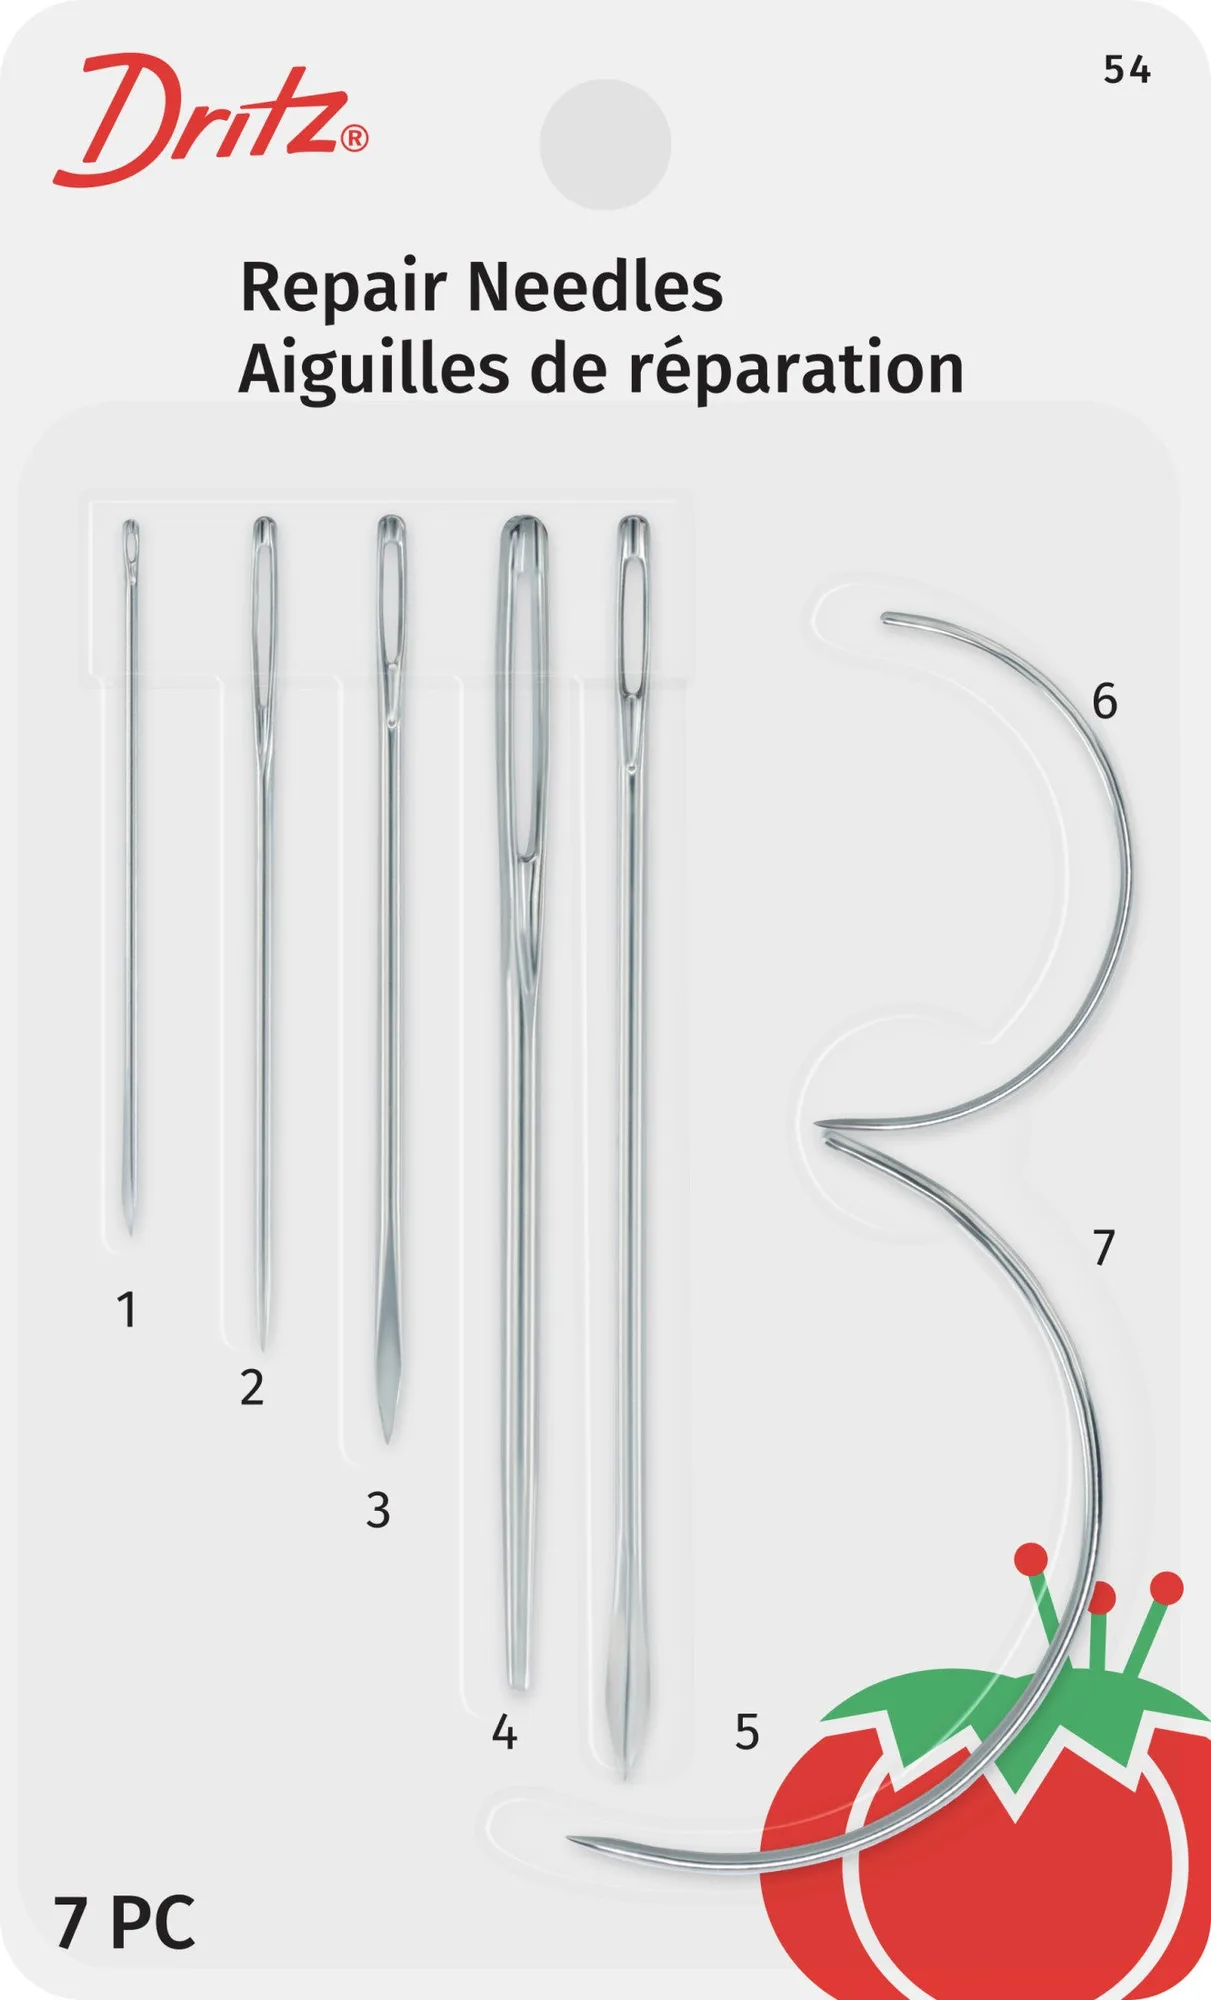
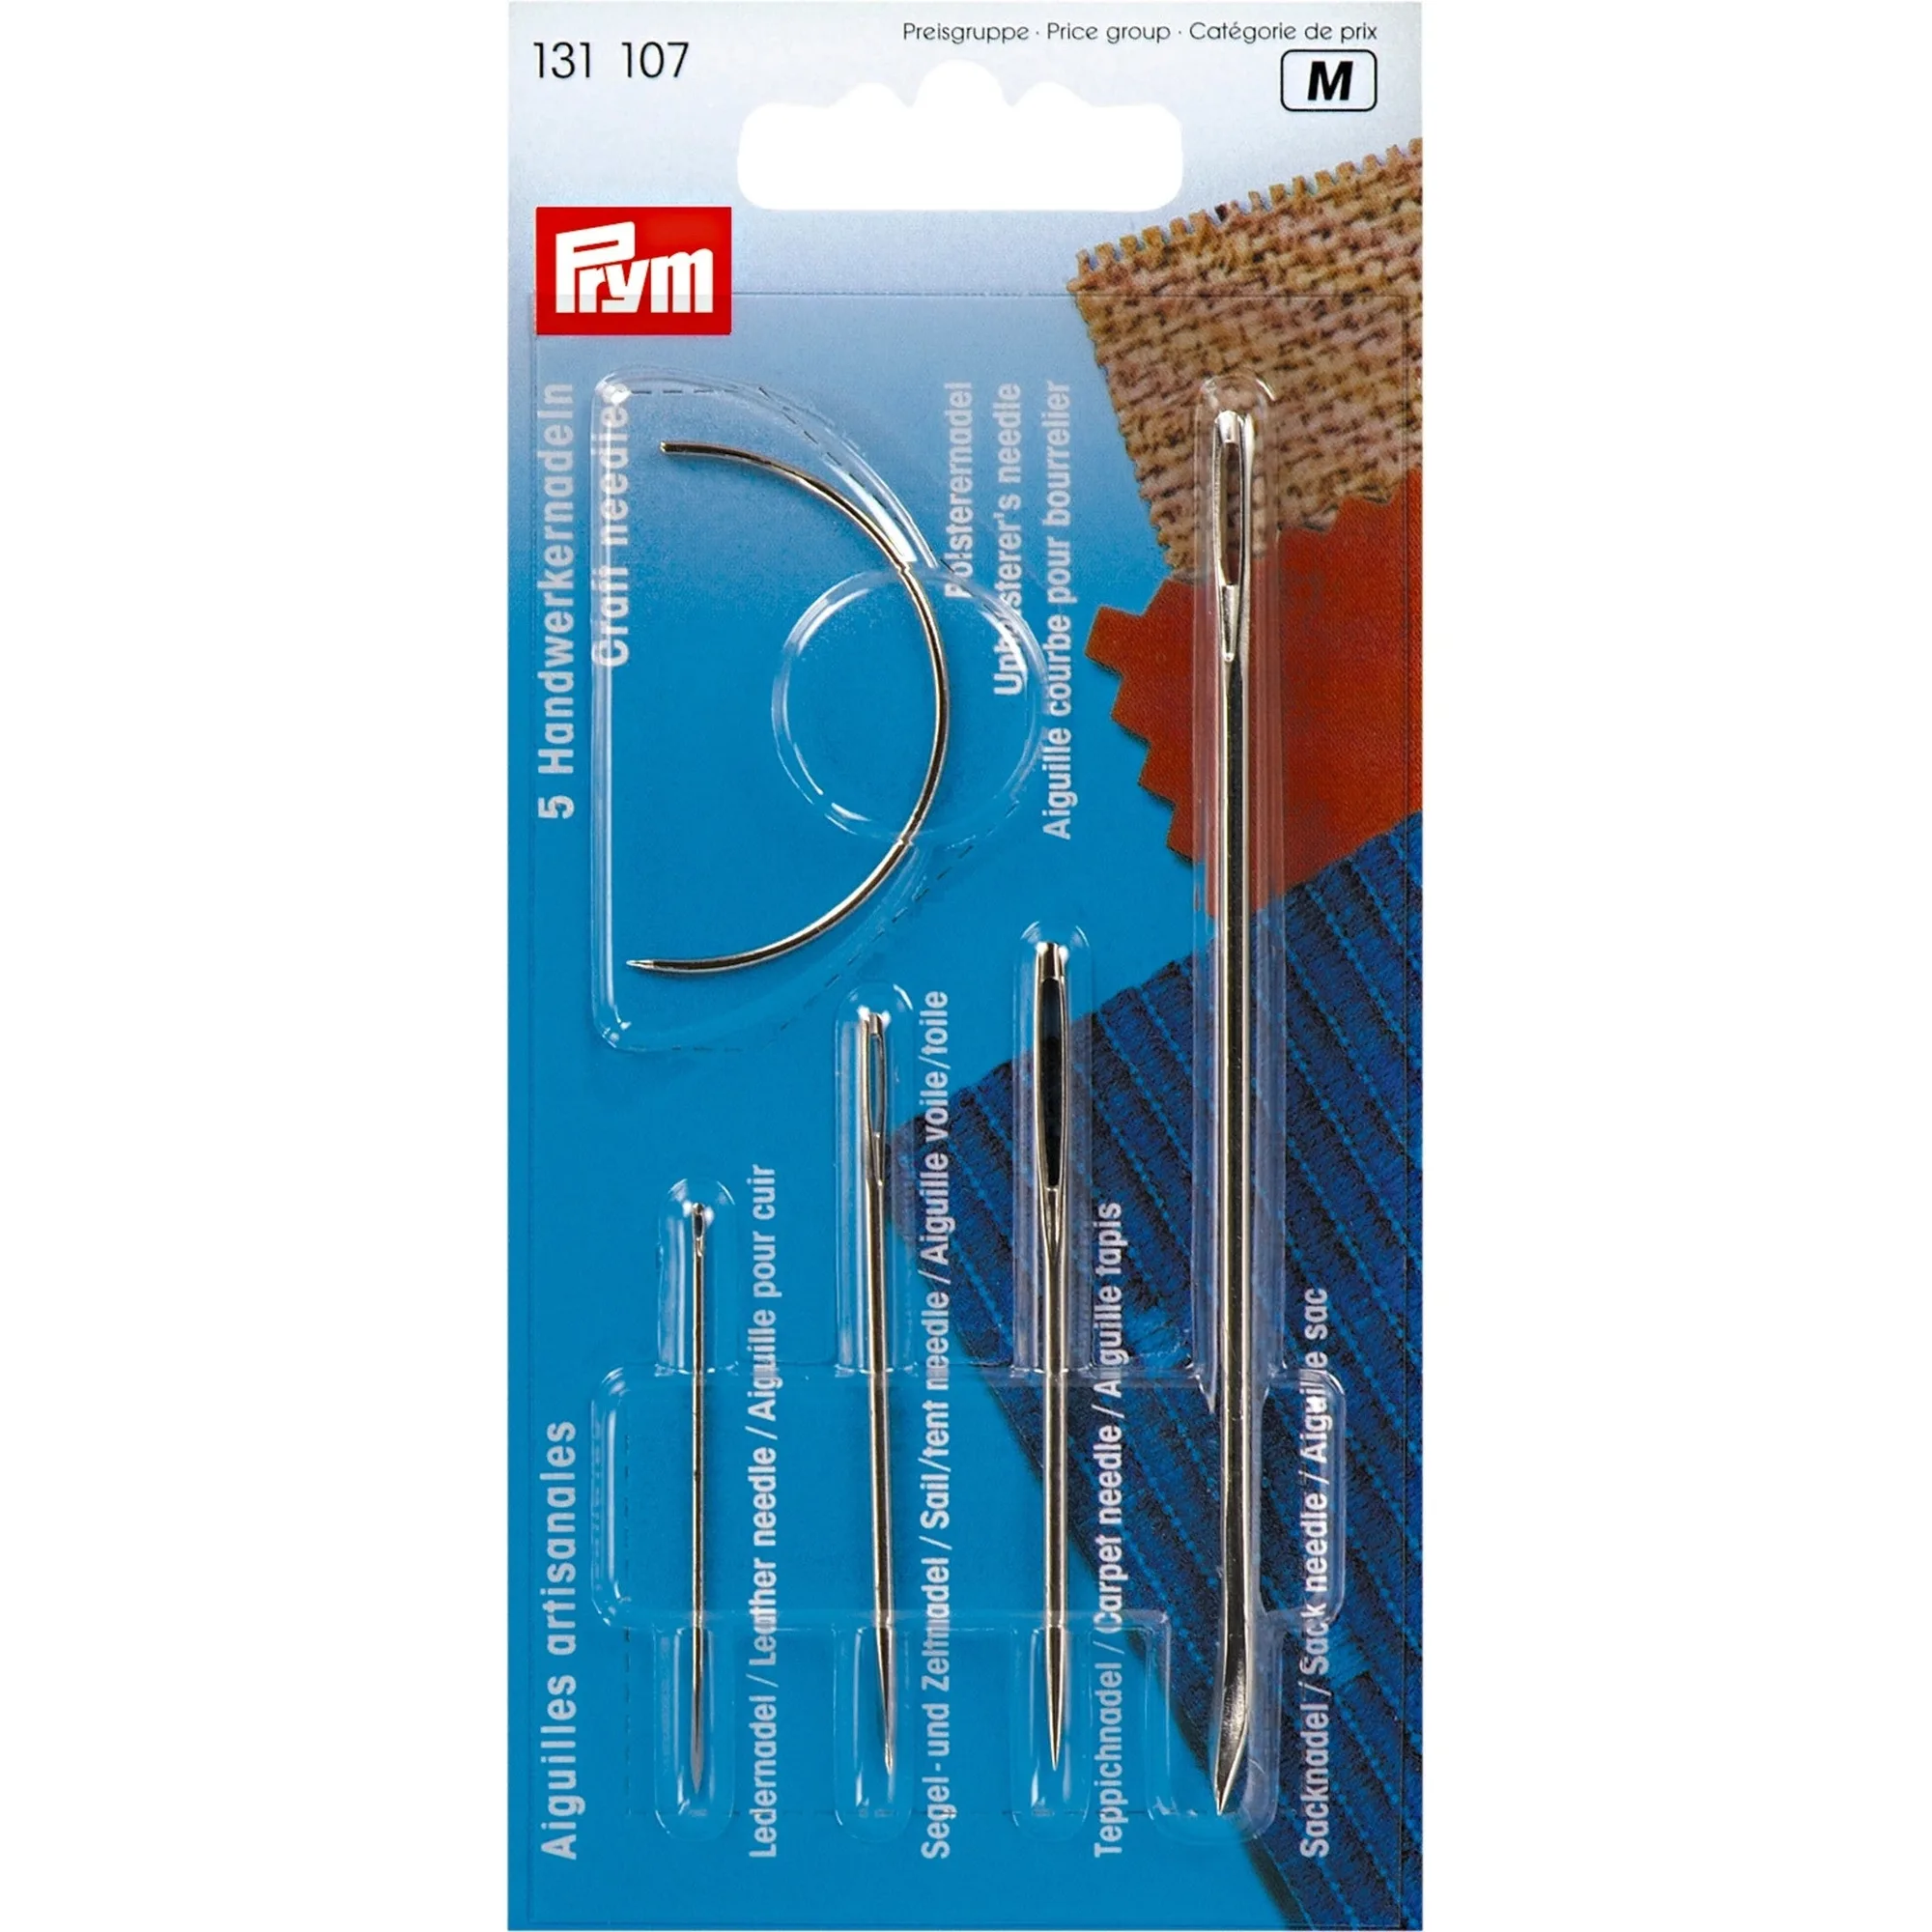
- https://prymamerica.com/products/54-ffc09fa70b1de5ccdd0c118c-1316119Repair Needles Pack, 7 pc: The Dritz Repair Needles Pack of 7 includes seven different types of needles which can be used to mend a variety of materials, from fabric tears to upholstery nicks, and can also repair heavy-duty items like sails, sacks, canvasses and carpets. If a decorative nail has torn the surrounding fabric, these needles let you close the tear before you reset the nail, so the nail has sound material to grip.
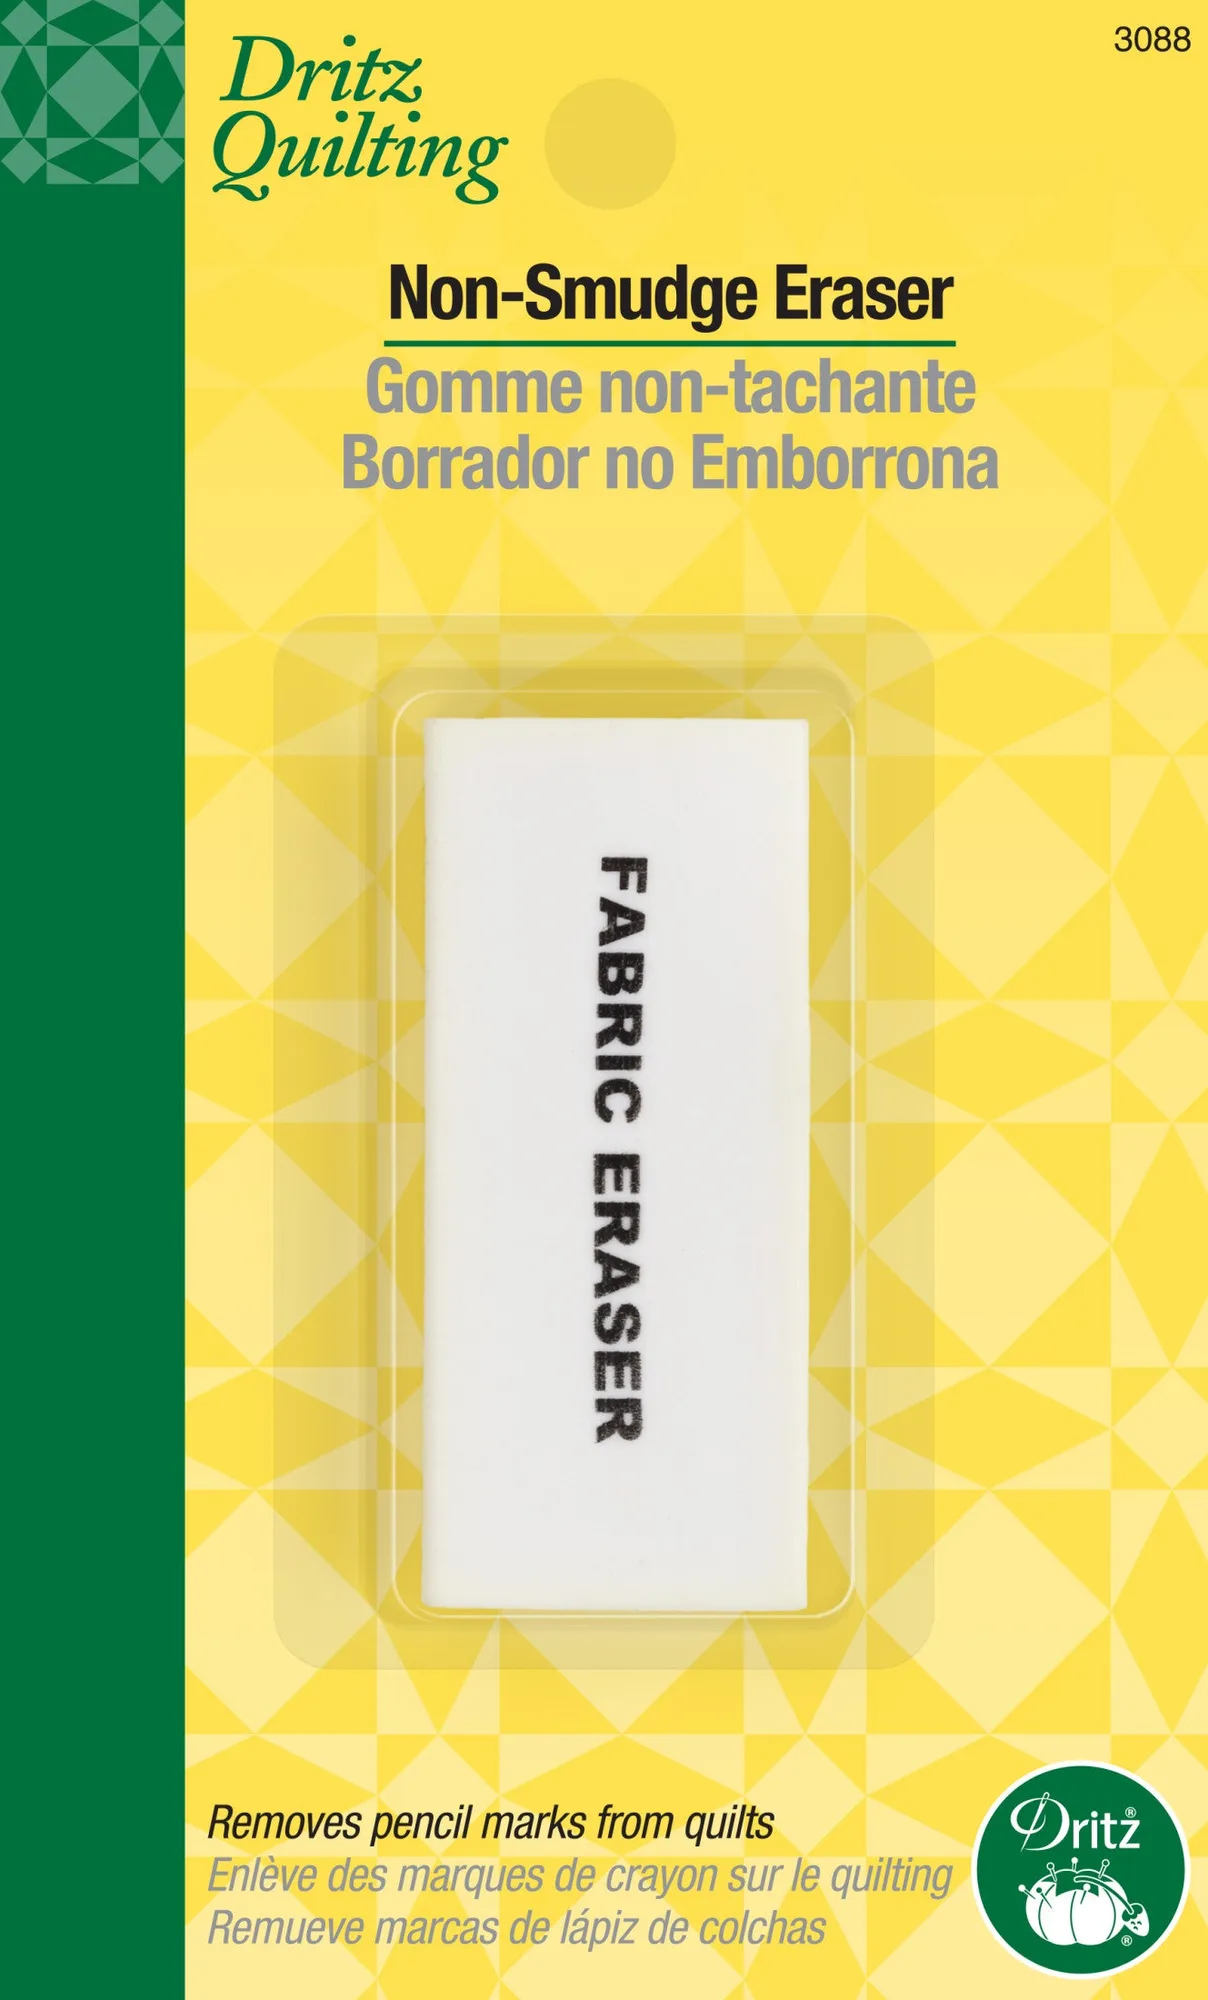
- Non-Smudge Fabric Pencil Eraser, White: Remove reference markings made on quilts and fabrics with the Dritz Non-Smudge Eraser. Markings are removed neatly without leaving any smudges so that the fabric surface is kept clean. When you mark nail spacing on fabric or trim, this eraser removes the guide lines cleanly after the nails are set, so the finished surface stays presentable.
Decorative nails pull loose for reasons you can see and fix. Diagnose the hole, the material, and your hammer technique before you reach for another nail. When the material cannot hold, stop and reinforce it. That is the difference between a repair that lasts and a row of nails you keep resetting.