Quick answer
Most nail polish bubbling is trapped air, not a bad bottle. Let a shaken bottle rest 10 to 15 minutes before painting, load the brush lightly, and apply two thin coats instead of one thick one. If bubbles still appear, your top coat is usually going on too thick or too soon over wet polish.
What bubbling actually looks like on the nail
Bubbles are small round craters that sit under the surface of the dried film, so the polish looks pitted or cloudy rather than glassy. You can usually see them best in daylight or under a lamp. They form while the polish is still drying, so once the surface is hard, you cannot smooth them out with another coat. The only real fix at that point is to remove the polish and start again on that nail.
This matters because bubbling is easy to confuse with other texture problems. Gritty or grainy texture is usually pigment or shimmer settling, not trapped air. Streaks are brush marks from too few strokes or a drying formula. If the surface is bumpy but not dotted with round craters, you are probably dealing with a different issue.
The causes behind air bubbles in nail polish
Shaking the bottle is the most common trigger. Shaking whips air into the formula, and that air has to go somewhere as the polish dries. Rolling the bottle between your palms warms and mixes the polish without introducing as much air. If you already shook it, set it down and let it sit for 10 to 15 minutes before you paint.
Rushing the coats is the second big cause. A thick coat skins over on top while the solvent underneath is still trying to escape, and that trapped vapor pushes up through the surface. Thin coats dry more evenly and let air out before the film seals. Painting over polish that is still tacky can also trap air between layers.
Application technique adds to the problem. Pumping the brush in and out of the bottle pushes air into the polish. Dragging the brush back and forth over a half-dry coat lifts the surface and folds air in. A fan or open window blowing directly on wet nails can dry the top layer too fast and trap solvent underneath.
How to prevent nail polish bubbles
Start by rolling the bottle, not shaking it, and give it a few minutes to settle. Wipe one side of the brush against the neck so you are not carrying a heavy drop to the nail. Apply the first coat thin enough that you can still see a hint of the natural nail through it, then let it dry until it is no longer tacky before adding the second.
Keep the room still and avoid direct airflow while the polish sets. If you use a quick-dry top coat, apply it to polish that has had a few minutes to flash off, not to a wet, freshly painted nail. A thick top coat over wet polish is one of the most reliable ways to trap bubbles.
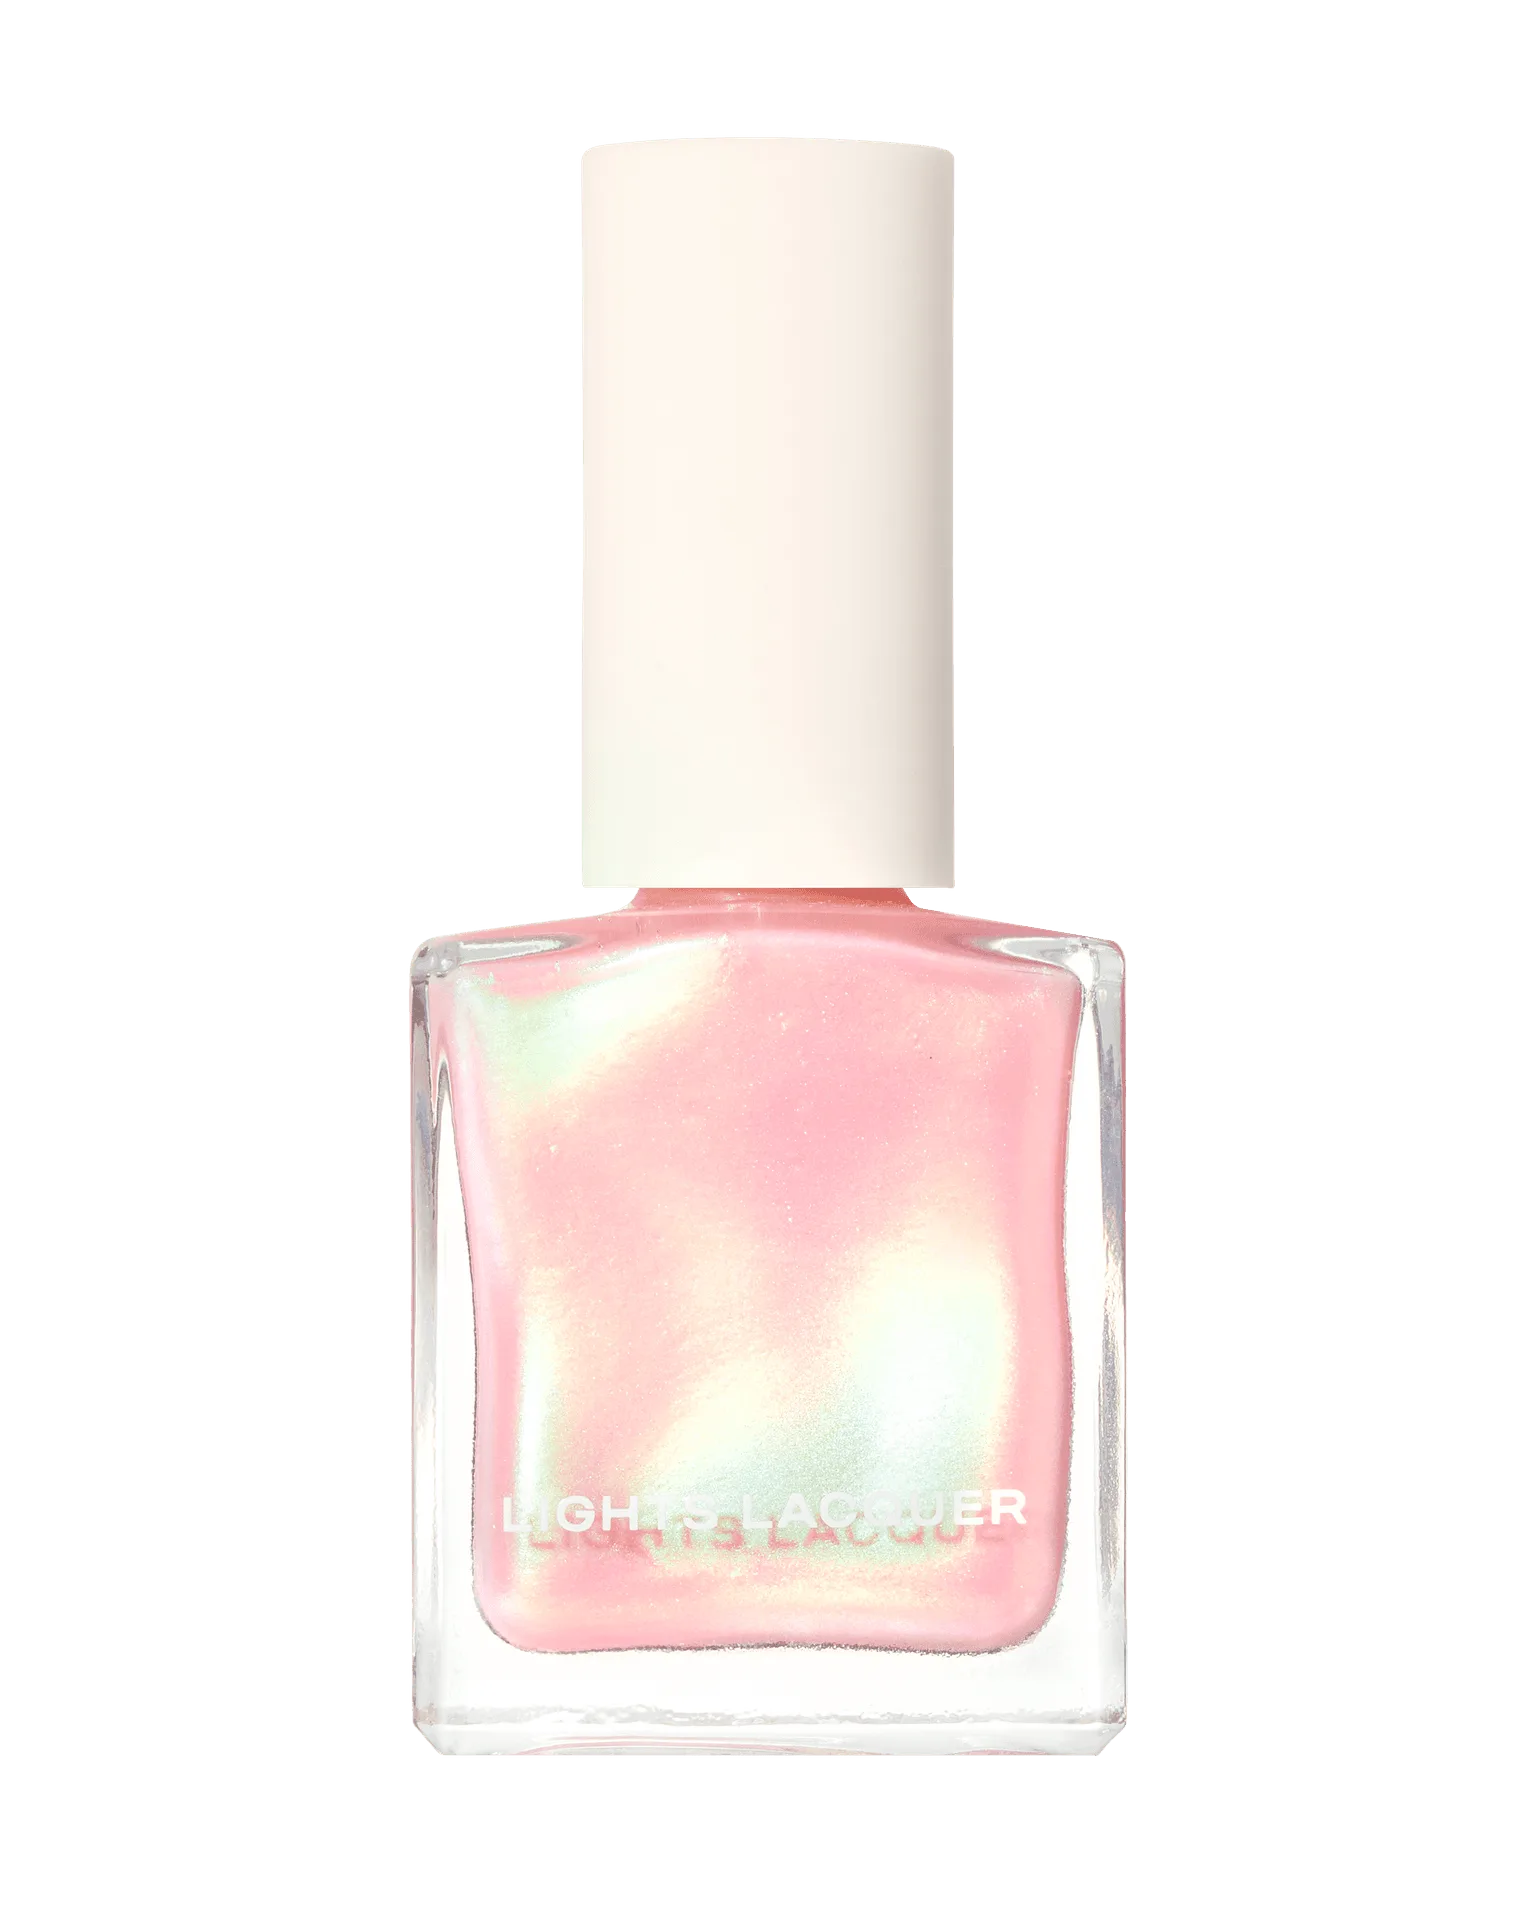
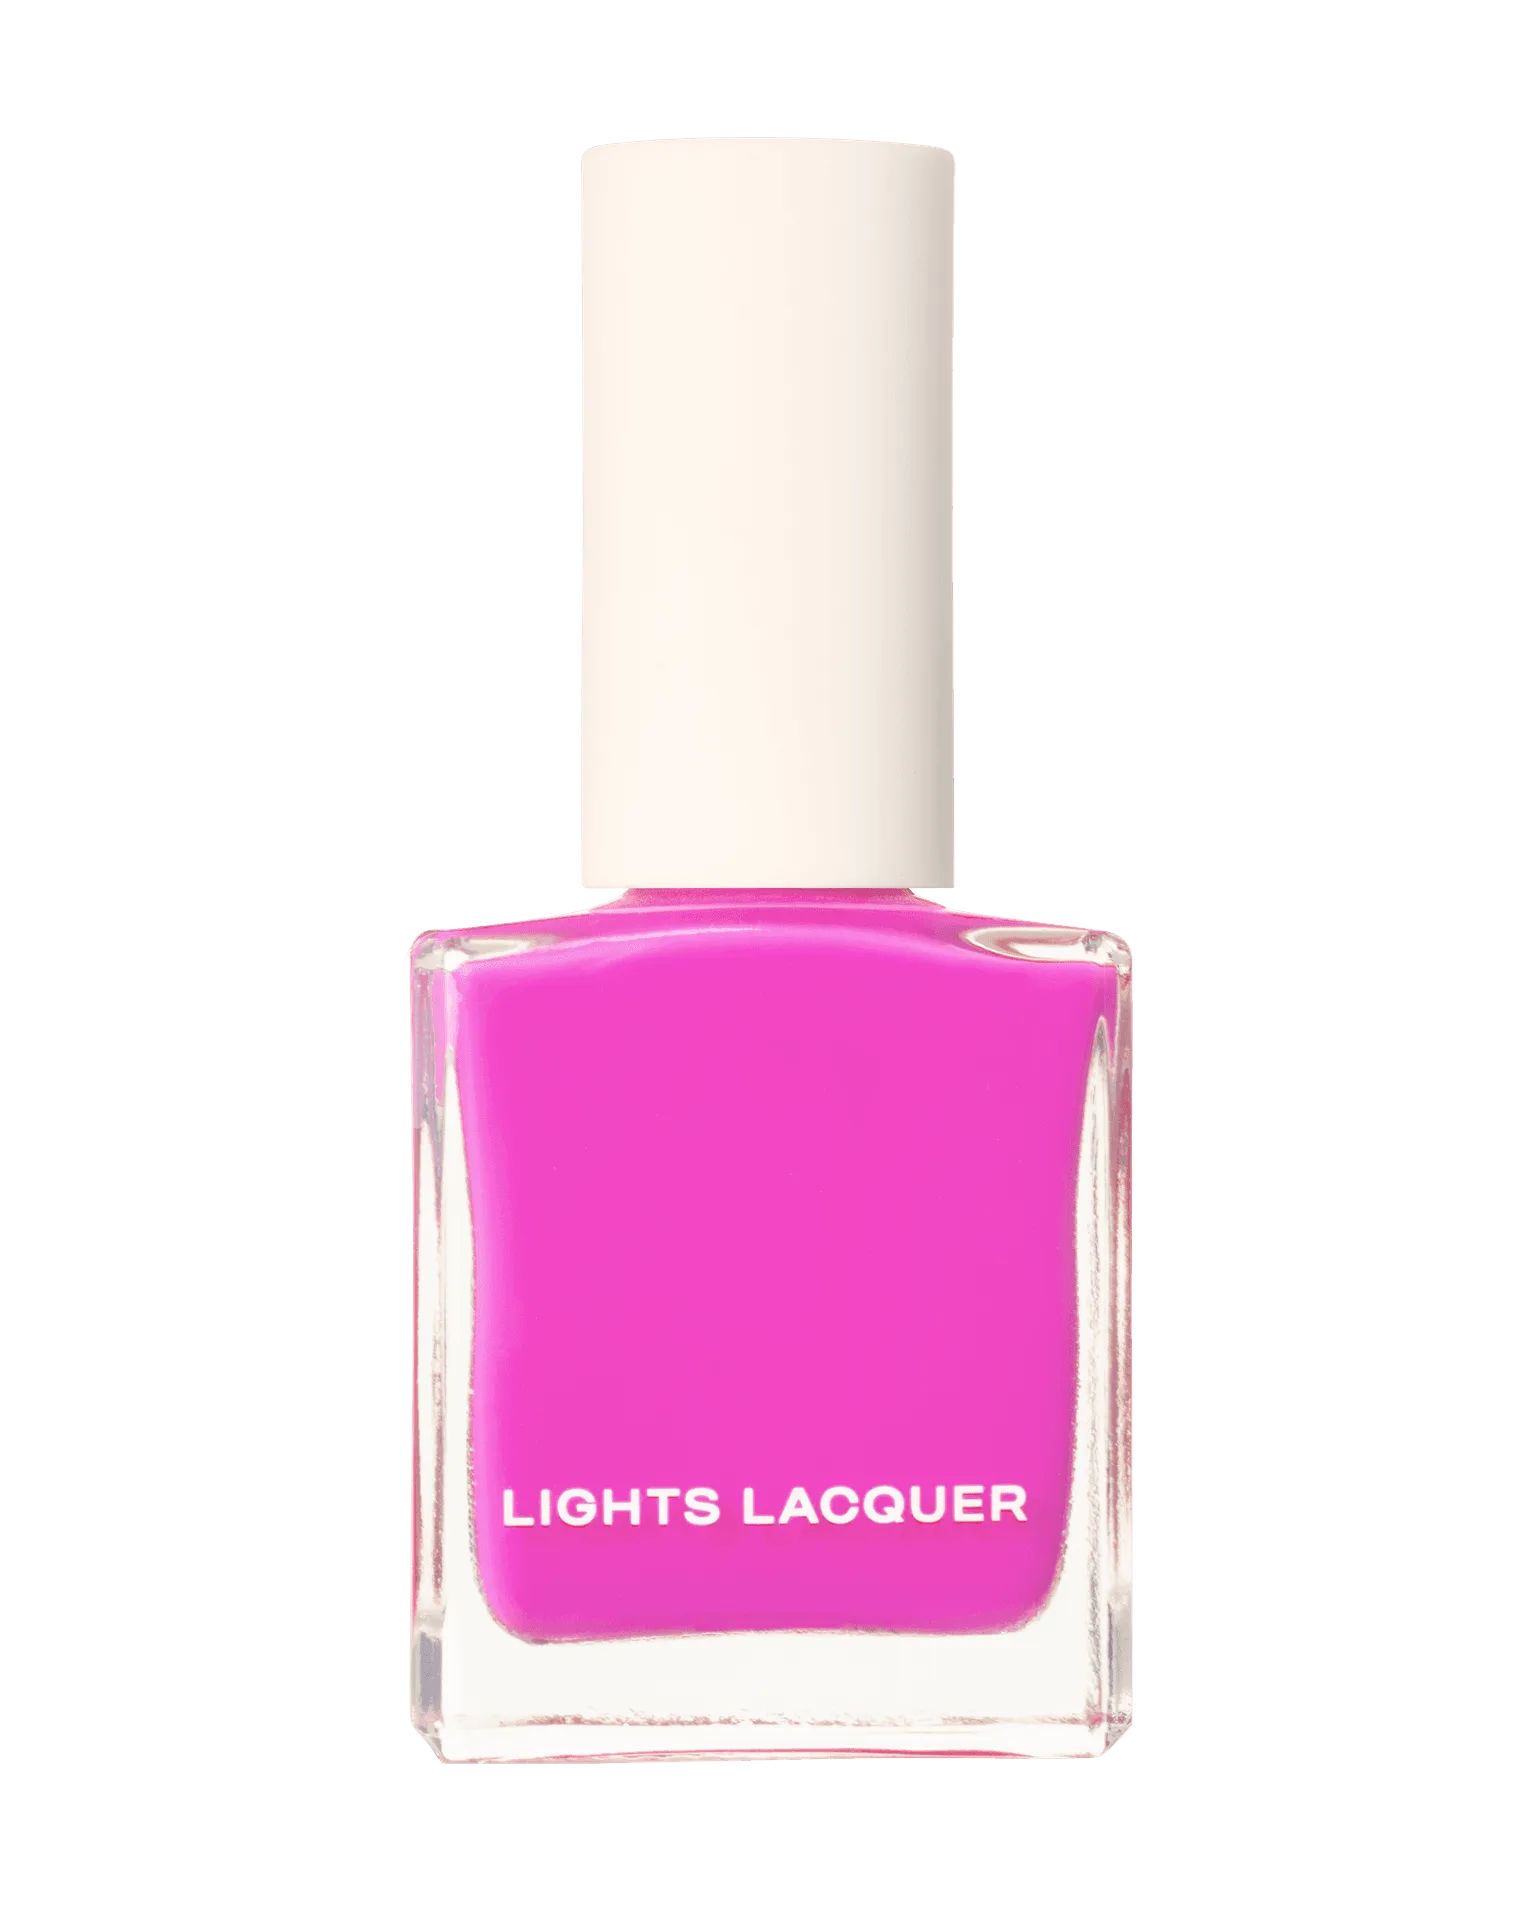
Some finishes show bubbles more than others. Sheer and shimmer polishes are translucent, so any trapped air is visible through the layers. A buildable crelly like Room Key is more forgiving because you control coverage with one to three coats, but each coat still needs to dry before the next. If you are working with a shimmer like Wings & Things, expect to build two or three thin coats rather than one heavy pass.
The bubbly nail polish fix for a manicure already done
If the bubbles are shallow and only on one or two nails, you can sometimes hide them under a thin layer of the same polish applied after the surface is fully dry, then a thin top coat. This works best when the bubbles are minor and the polish underneath is completely set. If the craters are deep or cover most of the nail, remove the polish with remover, clean the nail, and repaint with thinner coats.
Do not try to smooth bubbles by pressing them down or adding more wet polish on top. That just adds another layer of trapped air. If you are short on time, remove the bubbled nail and leave it bare or use a single thin coat of a forgiving shade rather than fighting the finish.
When to stop and choose a different approach
If you have tried thin coats, resting the bottle, and a still room, and the polish still bubbles every time, the formula may be too thick or old. A few drops of nail polish thinner can help a gummy bottle, but do not use remover or acetone to thin polish. If the bottle is very old or the pigment has separated and will not mix, replace it rather than keep repainting.
If your nails themselves are the problem, such as ridges or peeling, bubbling may be a symptom of uneven surface rather than application. In that case, a ridge-filling base coat or a smooth base layer will do more than changing your top coat. Stop adjusting your technique and address the nail surface instead.
Diagnose your bubbling
- Bubbles across all ten nails: You likely shook the bottle or painted over tacky polish. Roll the bottle next time, let it rest 10 to 15 minutes, and wait until each coat is dry to the touch before the next. If this fixes it, the issue was application, not the formula.
- Bubbles only in the top layer: Your top coat went on too thick or over polish that was still wet. Apply a thin top coat to polish that has flashed off for a few minutes. If bubbles remain, switch to a thinner top coat or skip it on humid days.
- Bubbles in one or two nails only: Those nails probably got a heavier coat or were painted while a fan or window was blowing on them. Repaint just those nails with a thinner coat in a still room. Spot-repair is enough; you do not need to redo the whole manicure.
- Bubbles even with thin coats and a still room: The bottle may be old or too thick. Try a few drops of nail polish thinner. If the polish is separated or stringy, replace it. Stop adjusting technique and replace the bottle or address nail surface ridges.
Products that help you control the finish
- Room Key: Buildable medium coverage crelly finish; apply 1 to 2 coats for a soft jelly-to-crelly look or 2 to 3 coats for a crelly-to-creme finish. Because you choose the coverage, you can keep each coat thin and let it dry, which is the easiest way to avoid trapped air.
- Wings & Things: Sheer coral pink opalescent polish with a green shift and shimmer finish. Sheer and shimmer formulas are translucent, so trapped air shows through more easily; build thin coats rather than one thick layer.
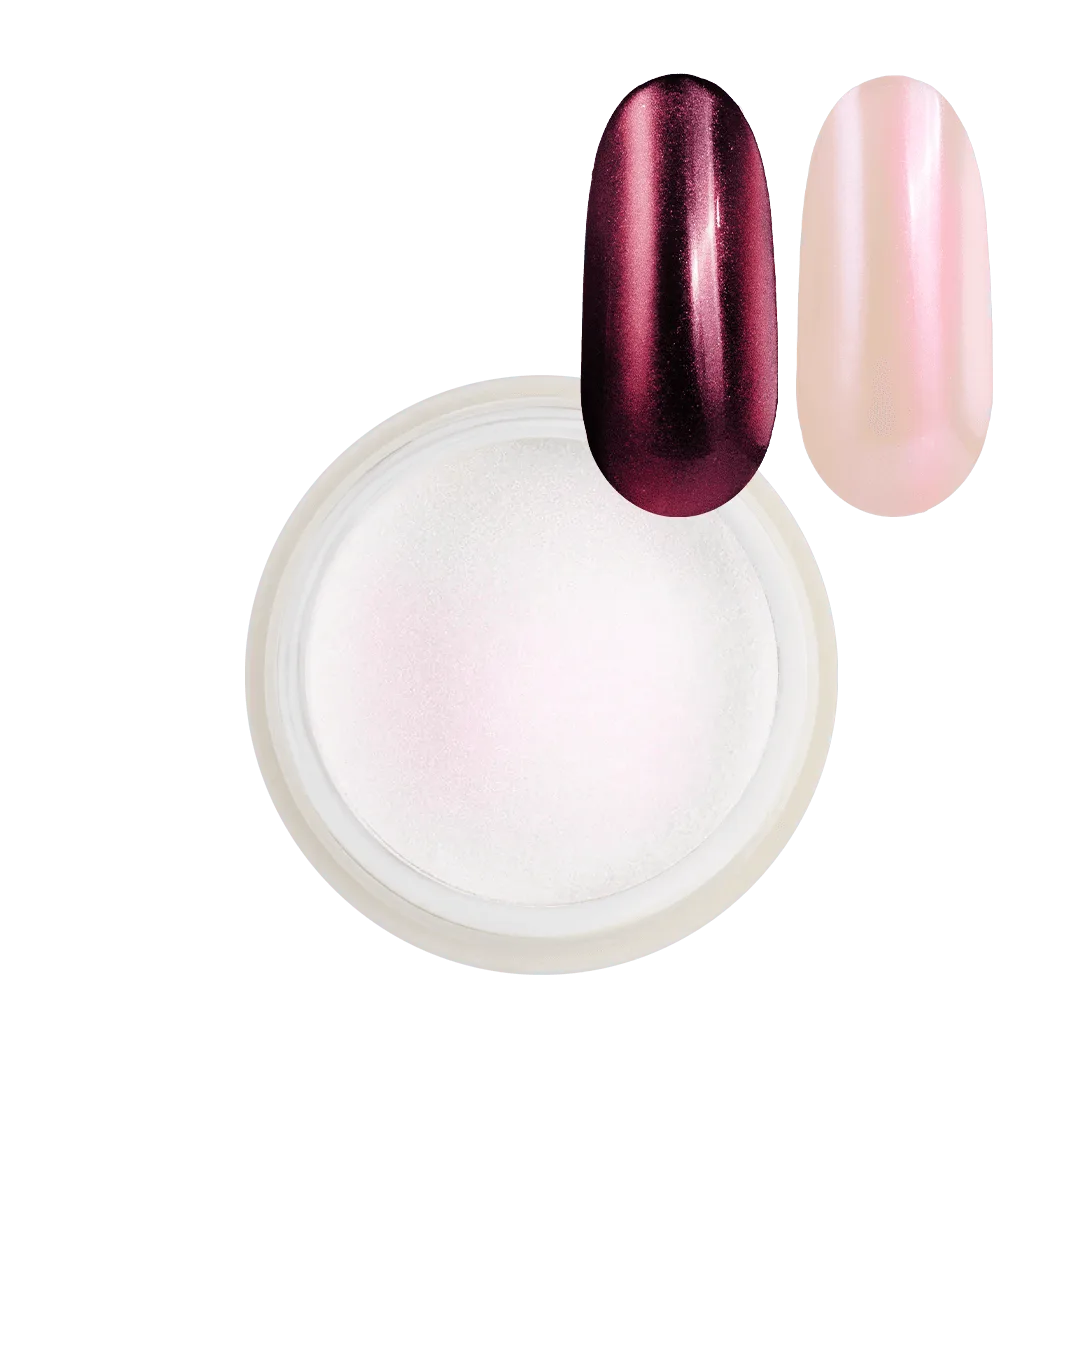
- Love Potion Aurora Powder: Fine pearlized aurora red shift powder, best applied with a dual-ended sponge tool and paired with a glossy top coat. Powder goes over a fully dry polish layer, so it is a good option when you want a smooth, reflective finish without adding more wet polish coats.