Quick answer
Glitter and gilding flakes fail to stick for three main reasons: the adhesive is too dry or too thin, the surface is too smooth or coated, or you're handling the project before it's fully cured. Switch to a tacky, slow-drying adhesive, press the flakes or glitter firmly into it, and let everything cure completely before touching or sealing. If shedding continues after that, the adhesive itself is the problem, not your technique.
You've pressed glitter into a card front or rubbed gilding flakes onto a stamped design, and half of it ends up on your fingers, your desk, or the floor. It's one of the most common frustrations in papercraft, and it almost always comes down to one of a few fixable issues. Before you blame your glitter or your flakes, check the adhesive and the surface first.
This guide walks through the most likely causes of glitter shedding and gilding flakes that won't stick, with a practical fix for each. It also tells you when to stop troubleshooting and switch to a different product or technique, so you don't waste time on a method that was never going to work for your project.
Start With the Adhesive, Not the Glitter
The single biggest cause of glitter not sticking to cards is an adhesive that dries too fast or too thin. Glue sticks, thin white craft glue, and double-sided tape can all work, but they leave very little tacky surface for glitter to grab onto. If the glue has started to skin over before you add glitter, the particles sit on top rather than embedding, and they brush straight off.
For a reliable hold, use a tacky, slow-drying adhesive or a dedicated glitter paste. Apply a generous, even layer, then press the glitter in firmly with your fingers or a small piece of foam. Let it sit for a minute before tapping off the excess. If you're using a glue pen for detail work, work in small sections so the adhesive stays wet until the glitter goes on.
- Test your adhesive on scrap card first: apply a line, wait 30 seconds, then press glitter on. If it doesn't grab, the adhesive is too dry.
- For large areas, spread adhesive with a spatula or old credit card for an even layer.
- Always tap off excess glitter over a sheet of paper so you can funnel it back into the jar.
Gilding Flakes Need a Sticky, Slow-Drying Base
Gilding flakes are ultra-thin metallic sheets, and they only stick where the adhesive is still tacky. If your base has dried even slightly, the flakes will slide off or leave bare patches. This is why pigment inkpads with a slow-drying, sticky texture are the go-to choice for gilding flakes. Dye inks dry too fast and won't hold the flakes.
Apply the inkpad firmly to your stamp, stamp onto your card, and then press the gilding flakes onto the inked area while it's still wet. Use a soft brush or your finger to burnish the flakes into the ink, then brush away the excess. If you're working on a large area, stamp and gild in sections so the ink never dries out before the flakes go on.
- If your inkpad feels dry, re-ink it or switch to a fresh pigment inkpad.
- Work on a craft mat or scrap paper to catch loose flakes; they're delicate and can tear easily.
- Seal finished gilding with a spray sealant or a thin layer of matte medium if the project will be handled a lot.
Surface Prep: Smooth and Coated Papers Repel Glitter
Glitter and gilding flakes need something to grip. Very smooth, coated, or glossy cardstock gives them almost nothing to hold onto, so even a good adhesive can struggle. If you're working on a slick surface, lightly sand it with fine sandpaper or use a primer, or simply switch to a matte cardstock with a bit of texture.
For card bases, a premium cardstock with a smooth side for stamping and a linen-textured side for layering gives you options. The textured side holds glitter and flakes better, while the smooth side is ideal for detailed stamping and die-cutting. Choose the side that matches your technique rather than fighting the surface.
- Test on a scrap of the same cardstock before committing to your final project.
- If you must use glossy card, apply a thin layer of gesso or matte medium first to give the adhesive something to bite into.
- Avoid touching the adhesive area with your fingers before adding glitter; natural oils can reduce tack.
Curing and Sealing: The Step Most People Skip
Even with the right adhesive, glitter can shed if you handle the card too soon. Most adhesives need time to fully cure, and that can take longer than the surface feels dry. Give your project at least an hour, preferably overnight, before you bend it, stack it, or put it in an envelope. If you're in a hurry, a quick blast with a heat tool on a low setting can speed things up, but keep the tool moving to avoid scorching.
Sealing is optional but helpful for projects that will be handled often, like cards or tags. A light mist of spray sealant or a thin coat of matte medium over the glittered area locks the particles in place. Test on a scrap first, because some sealants can dull the sparkle or react with certain adhesives.
- Don't stack glittered cards until they're fully cured; use wax paper between them if you must.
- If you're using a heat tool, hold it at least 6 inches away and keep it moving.
- For gilding flakes, a sealant is especially useful on areas that will be rubbed, like card fronts.
When to Stop and Try a Different Approach
If you've tried a tacky adhesive, prepped the surface, and allowed full curing, but glitter still sheds, the problem may be the glitter itself. Some glitters are heavier or coated in a way that makes them resist adhesion. In that case, switch to a glitter paste or a glitter marker, which deposit colour and sparkle in one step and don't rely on a separate adhesive.
Similarly, if gilding flakes keep tearing or won't release from the sheet, they may be too brittle or the adhesive too weak. Try a different brand of flakes or switch to a metallic marker or foil transfer for a similar effect with less fuss. There's no shame in choosing a simpler method that gives you a reliable result.
- Glitter markers are a great alternative for lettering and small details where loose glitter is impractical.
- For large metallic areas, consider foil transfer instead of gilding flakes if you need a flawless finish.
- Keep a small test piece of every new glitter or flake product so you know how it behaves before using it on a project.
Diagnosis: Match the Symptom to the Fix
- Glitter brushes off in a fine dust: The adhesive was too dry or too thin when the glitter went on. Use a tacky, slow-drying glue or glitter paste, apply a thicker layer, and press the glitter in firmly before tapping off the excess. If it still sheds after switching adhesive, try a glitter marker or glitter paste instead.
- Gilding flakes slide off or leave bare patches: The ink or adhesive was already dry. Switch to a slow-drying pigment inkpad, stamp in small sections, and apply the flakes while the ink is still wet and tacky. If the flakes tear or won't release from the sheet, try a different brand or use a metallic marker for a similar effect.
- Glitter sticks at first but falls off later: The project wasn't fully cured or sealed. Let it cure overnight, then seal with a spray sealant or a thin coat of matte medium if the item will be handled often. If shedding continues after sealing, the glitter itself may be too heavy or coated; switch to a glitter paste or marker.
Products That Help You Get a Reliable Stick
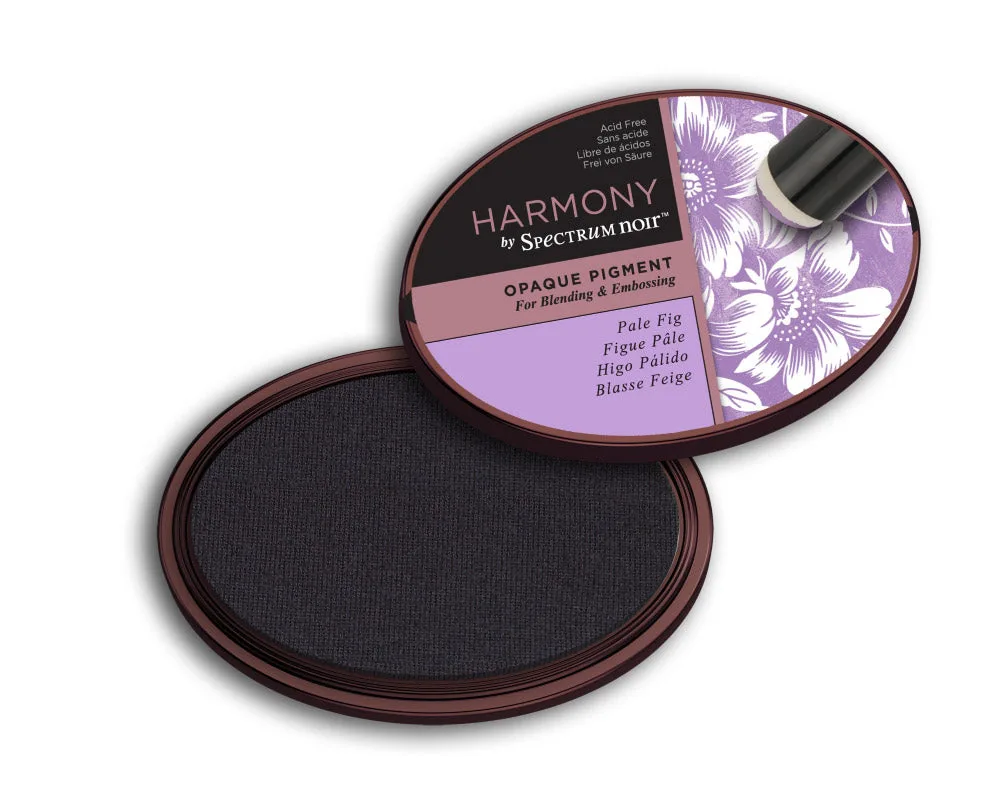
- Spectrum Noir Harmony Opaque Pigment Inkpad - Pale Fig: These inkpads have a sticky, slow-drying texture that gives you time to add clear embossing powder or gilding flakes before the ink dries. A slow-drying pigment inkpad is the key to getting gilding flakes to stick without rushing. If your current inkpad dries too fast, this is the fix.
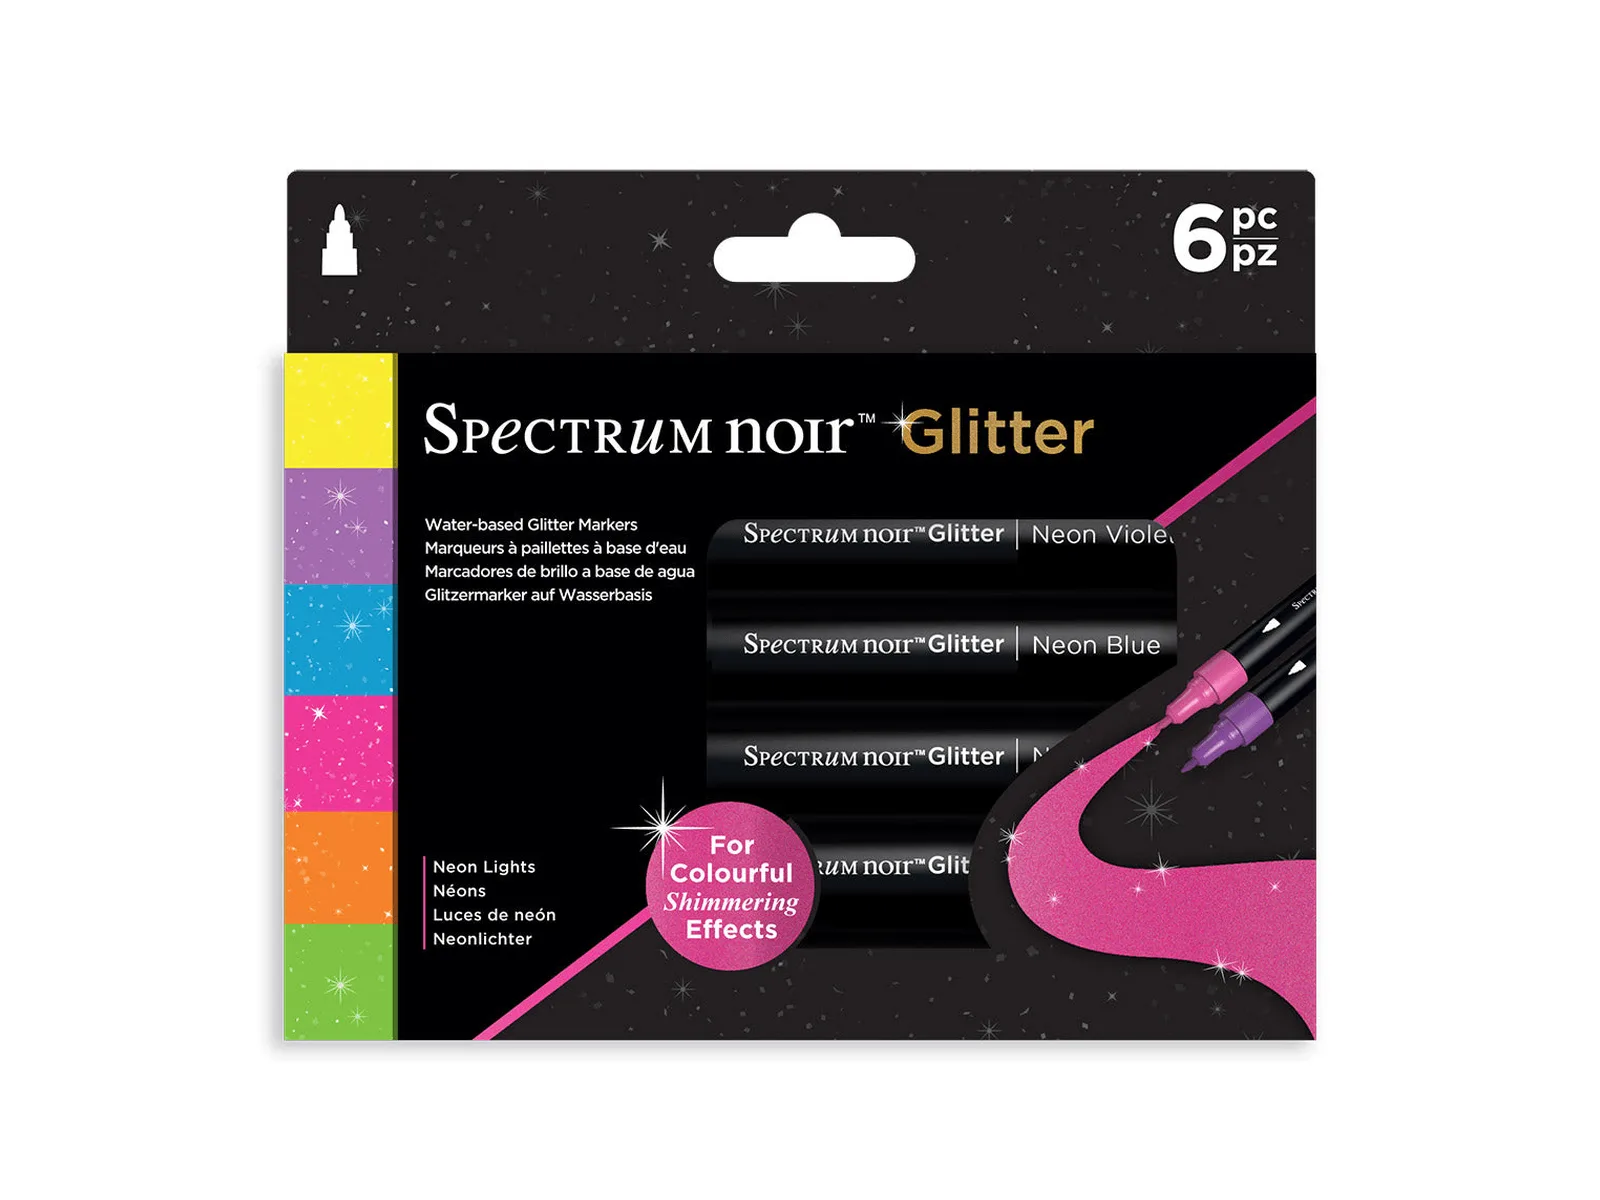
- Spectrum Noir Glitter Marker-Neon Lights 6pc: These markers are packed with glitter and deliver a rich, opaque swoop of shimmering colour with a rounded tip for smooth application. When loose glitter keeps shedding, a glitter marker gives you sparkle with no adhesive required. It's a practical fallback for lettering and detail work.
- Arden Creative Studio Premium Cardstock Dawn Red 12" x 12" - 20 Pack: Each sheet has a smooth finish on one side and a linen-textured finish on the other, so you can choose the side that suits your technique. The textured side gives glitter and gilding flakes more grip than a slick coated card, while the smooth side is better for stamping and die-cutting.
Glitter and gilding flakes are two of the most rewarding finishes in papercraft, but they demand the right adhesive and a little patience. Start with a tacky, slow-drying base, prep your surface, and let everything cure before you handle it. If a product keeps failing, don't force it—switch to a glitter marker, paste, or foil transfer and get back to enjoying the sparkle.