Quick Answer
Gel polish chips fast for one of three reasons: the nail plate wasn't fully dehydrated and oil-free, the gel went on too thick or flooded the sidewalls, or the color wasn't cured long enough under the lamp. Fix the prep first, then check your coats and cure time. If chips appear within 24 hours, prep is almost always the culprit.
You finished a gel manicure, and two days later a corner has lifted and peeled away. Before you blame the polish, know that gel polish chipping rarely comes from a bad bottle. It usually comes from something that happened before or during application.
This guide separates the symptom from the cause, gives you a fix for each, and tells you when to stop troubleshooting and switch to a different approach.
Symptom: Chips at the Free Edge Within 1-3 Days
Chipping at the tip of the nail is the most common complaint. The free edge takes the most impact from typing, opening packages, and daily wear, so any weakness there shows up fast. If the chip is clean and the gel looks like it snapped off, the problem is usually mechanical: the tip wasn't sealed, or the gel was applied too thin at the edge.
The fix is to cap the free edge with every coat — base, color, and top coat. Wrap the brush over the tip so the gel seals the edge like a cap. If you skip this step, even a well-cured manicure will chip from the tip inward.
- Cap the free edge with base, color, and top coat
- Keep the tip layer thin — a thick cap cures unevenly and lifts
Symptom: Peeling from the Cuticle or Sidewalls
When gel polish peeling off starts at the cuticle or sidewall, the cause is almost always prep or flooding. Oil and moisture on the nail plate stop the gel from bonding. Cuticle left on the plate creates a ledge the gel can't grip. And if color floods the sidewall or touches the skin, it cures with a lip that catches and lifts.
Fix it by dehydrating the plate, pushing back and removing cuticle, and applying color in thin strokes that stop short of the skin. Leave a hairline gap at the cuticle and sidewalls. If you're using a creamy, anti-spread formula, that gap is easier to control because the gel stays where you place it instead of bleeding into the skin.
- Wipe the plate with dehydrator or 91% isopropyl alcohol before base coat
- Leave a hairline gap at cuticle and sidewalls — never touch skin
- Use thin strokes and let the gel self-level
Symptom: Whole Nail Lifts or Pops Off
If the entire gel layer lifts as one piece, the bond failed across the whole plate. This points to under-curing or a base coat that didn't adhere. Under-curing leaves the gel soft underneath, so it flexes and releases. A base coat applied too thickly, or one that's incompatible with your lamp, does the same thing.
Check your lamp's wattage and bulb type against the gel's cure time. If your gel calls for 60 seconds and you're curing for 30, that's your answer. Cure time is not a suggestion — it's the minimum for a full cure.
- Match cure time to the gel's instructions, not your habit
- Replace lamp bulbs or the lamp itself if cure feels weak
- Keep base coat thin — one swipe, not a puddle
Symptom: Hairline Cracks or Shattering
Cracks that look like shattered glass usually mean the gel is too thick. Thick layers cure unevenly: the top hardens while the bottom stays soft, and the stress cracks the surface. This is common when you try to get full coverage in one coat instead of building thin layers.
The fix is to build in two or three thin coats rather than one thick one. A pigment-forward gel with extreme pigment helps here because you need less product per coat to get full opacity, so you're less tempted to gloop it on. Thin coats also cure faster and more evenly.
- Build color in 2-3 thin coats, not one thick coat
- If you can see ridges before curing, it's too thick
Symptom: Chips Only on Certain Nails
If only two or three nails chip while the rest hold, the issue is likely localized. Those nails may have more curve, more wear, or a spot of cuticle you missed. It could also be that those nails are your dominant hand's working nails — the ones that do the most gripping and opening.
Treat those nails with extra prep and a slightly thicker cap at the free edge. If one specific nail always fails, check for a ridge or damage on the plate that needs light buffing before base coat.
- Identify your working nails and give them extra edge sealing
- Lightly buff ridges or damaged spots before base coat
When to Stop Troubleshooting and Switch Options
If you've fixed prep, thickness, and cure time and the gel still chips within a day or two, stop. At that point, the problem may be your nail plate itself — naturally oily, very flexible, or damaged from prior removals. No application technique will overcome a plate that can't hold gel.
Your options are: switch to a peel-off base coat so removal is gentler and you can reapply without damage, or take a break from gel and let the plate recover. If you're set on gel, try a different base coat system or consult a technician who can assess your plate in person.
- If chips persist after fixing prep, thickness, and cure, change your base system
- A peel-off base coat trades longevity for gentler removal
- Give a damaged plate time to recover before your next gel manicure
Chipping Diagnosis: Match the Symptom to the Fix
- Chip at the free edge within 1-3 days: The tip wasn't sealed or was applied too thin at the edge. Cap the free edge with every coat — base, color, and top coat.
- Peeling from cuticle or sidewalls: Oil, moisture, or cuticle left on the plate, or color flooded the skin. Dehydrate the plate, remove cuticle, and leave a hairline gap at the skin.
- Whole nail lifts or pops off: Under-curing or a base coat that didn't bond. Match cure time to the gel's instructions and keep base coat thin.
- Hairline cracks or shattering: Gel applied too thick, so it cured unevenly. Build in 2-3 thin coats instead of one thick layer.
- Chips only on certain nails: Localized wear, curve, or missed cuticle on those nails. Give working nails extra edge sealing and check for ridges.
- Still chipping after fixing all of the above: Your nail plate may be too oily, flexible, or damaged to hold gel. Switch to a peel-off base coat or take a break from gel.
Product Facts That Affect Chipping
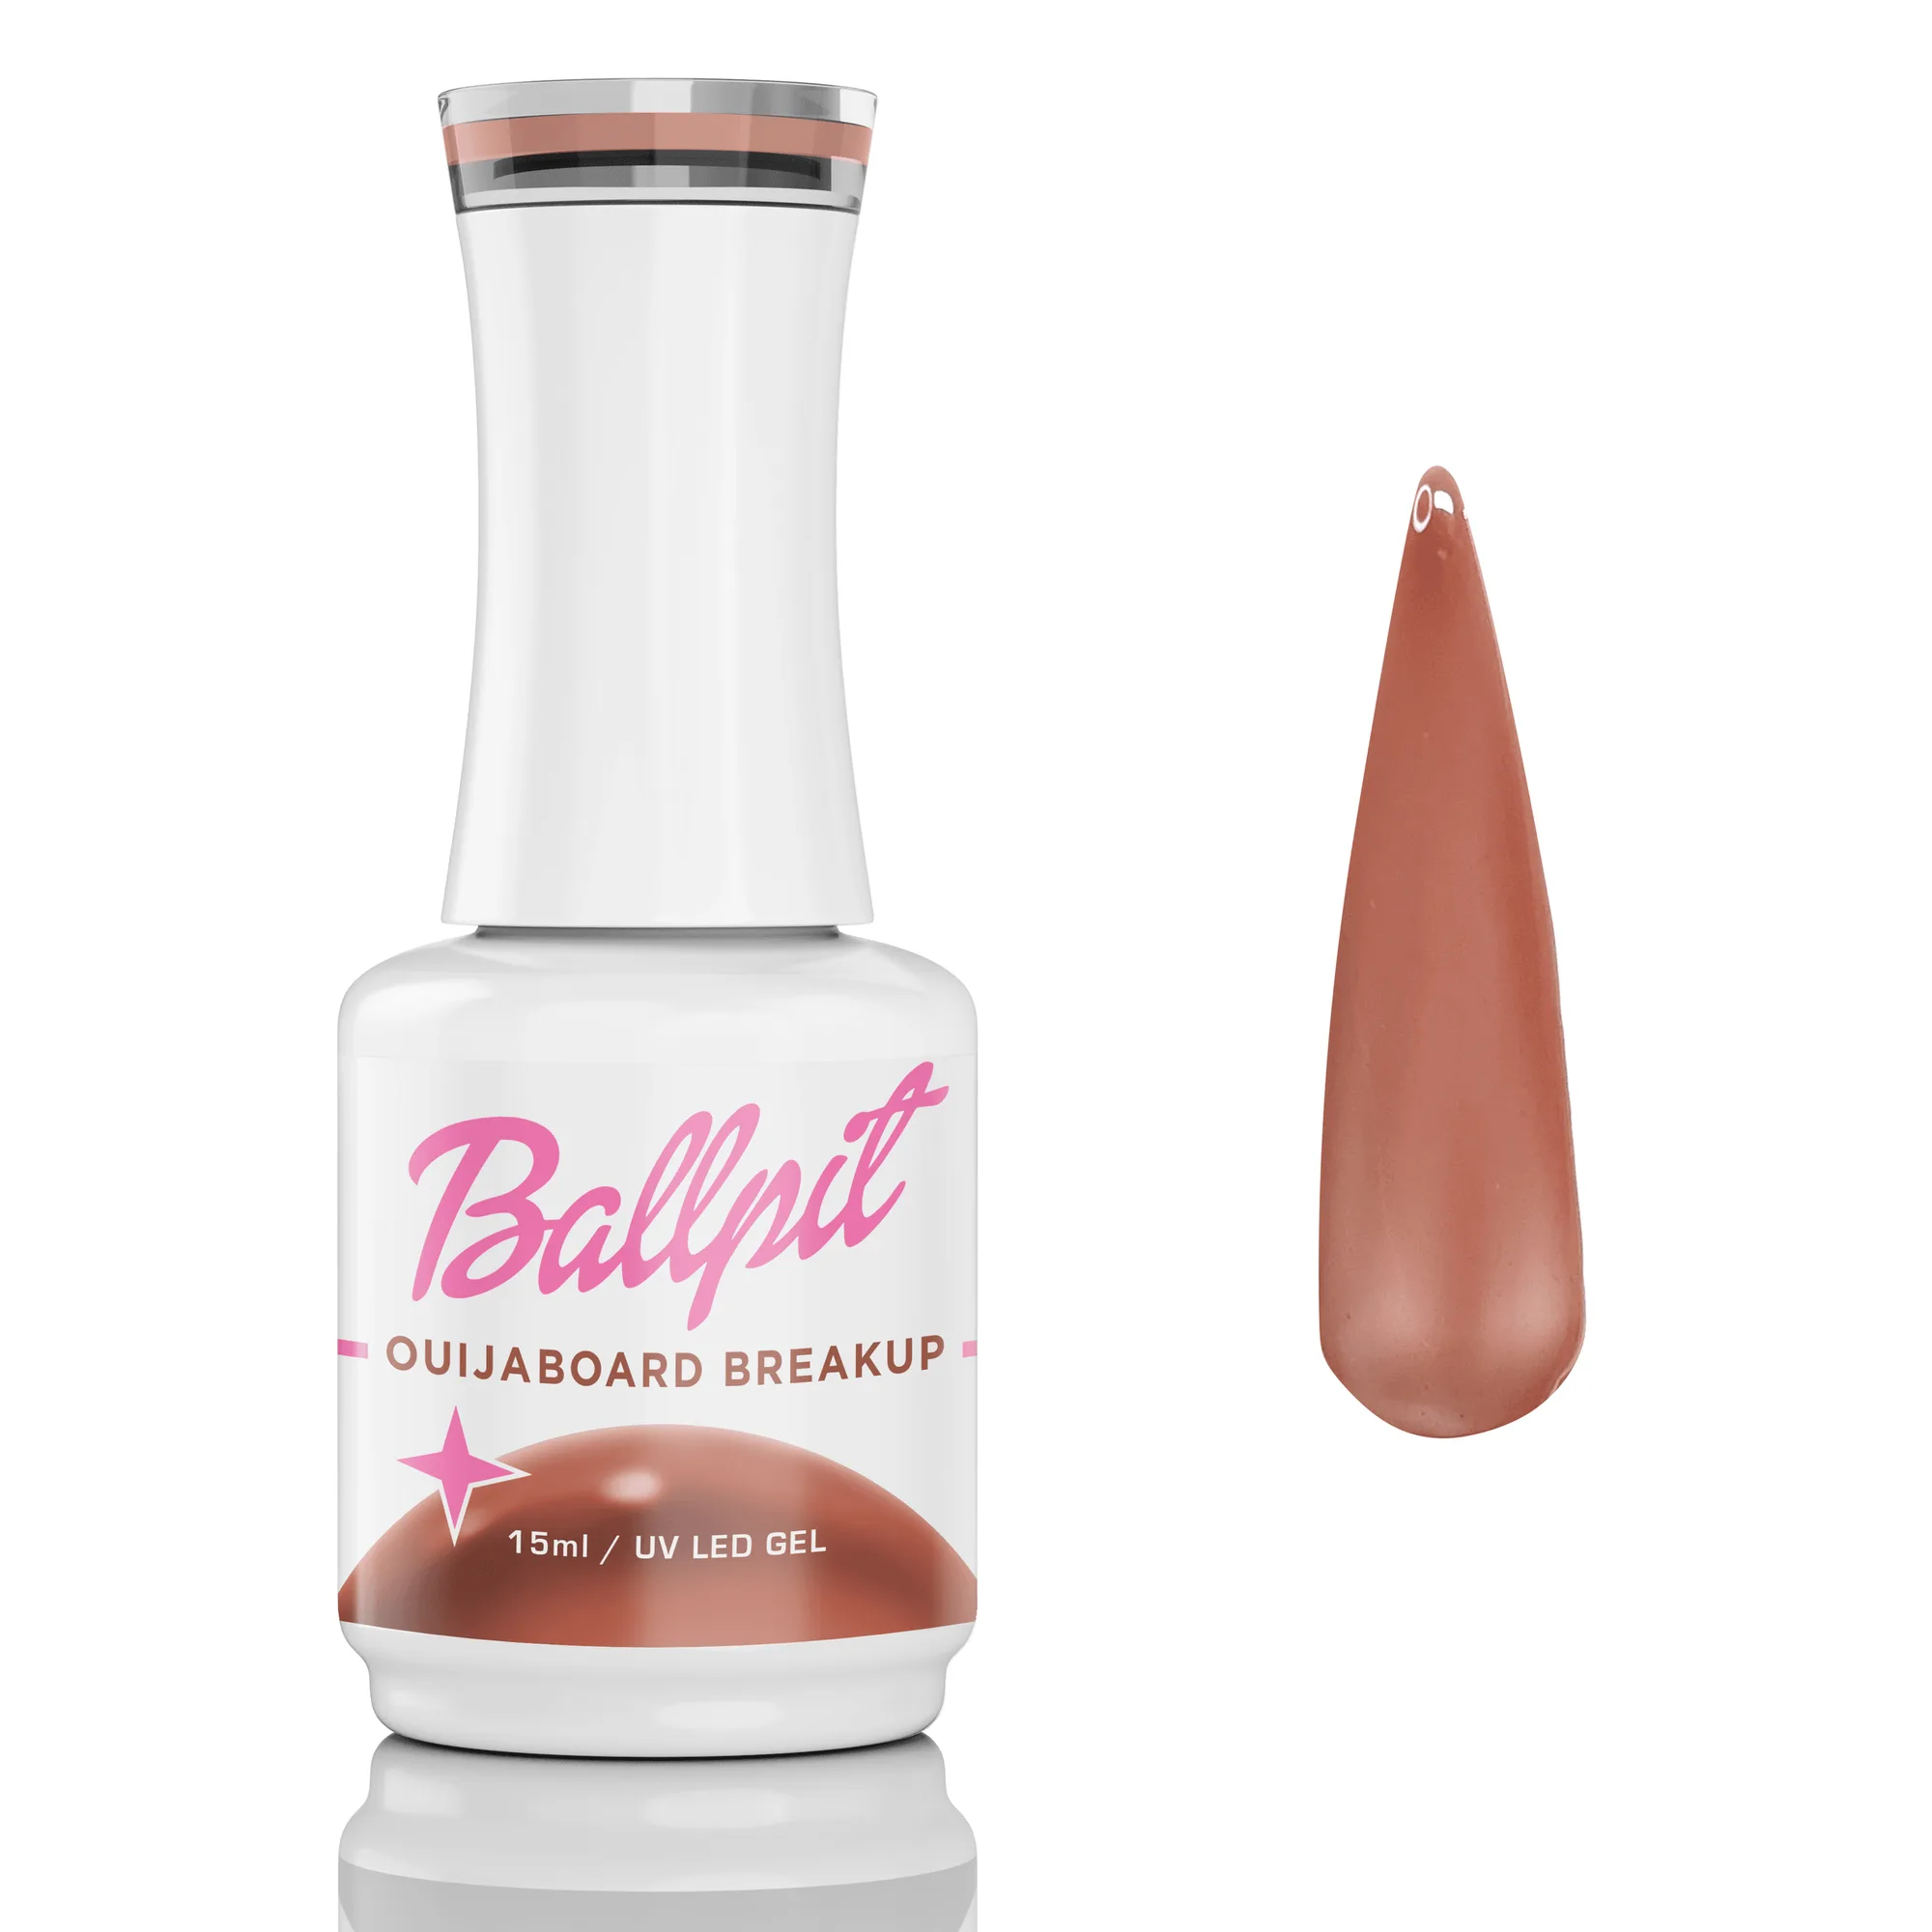
- Ouija Board Breakup - Gel Polish: 15ml UV / LED soak-off gel with a classic creamy gel formula, extreme pigment, and anti-spread performance. High pigment means you need less product per coat, so you're less likely to apply too thick — a common cause of cracking and lifting.
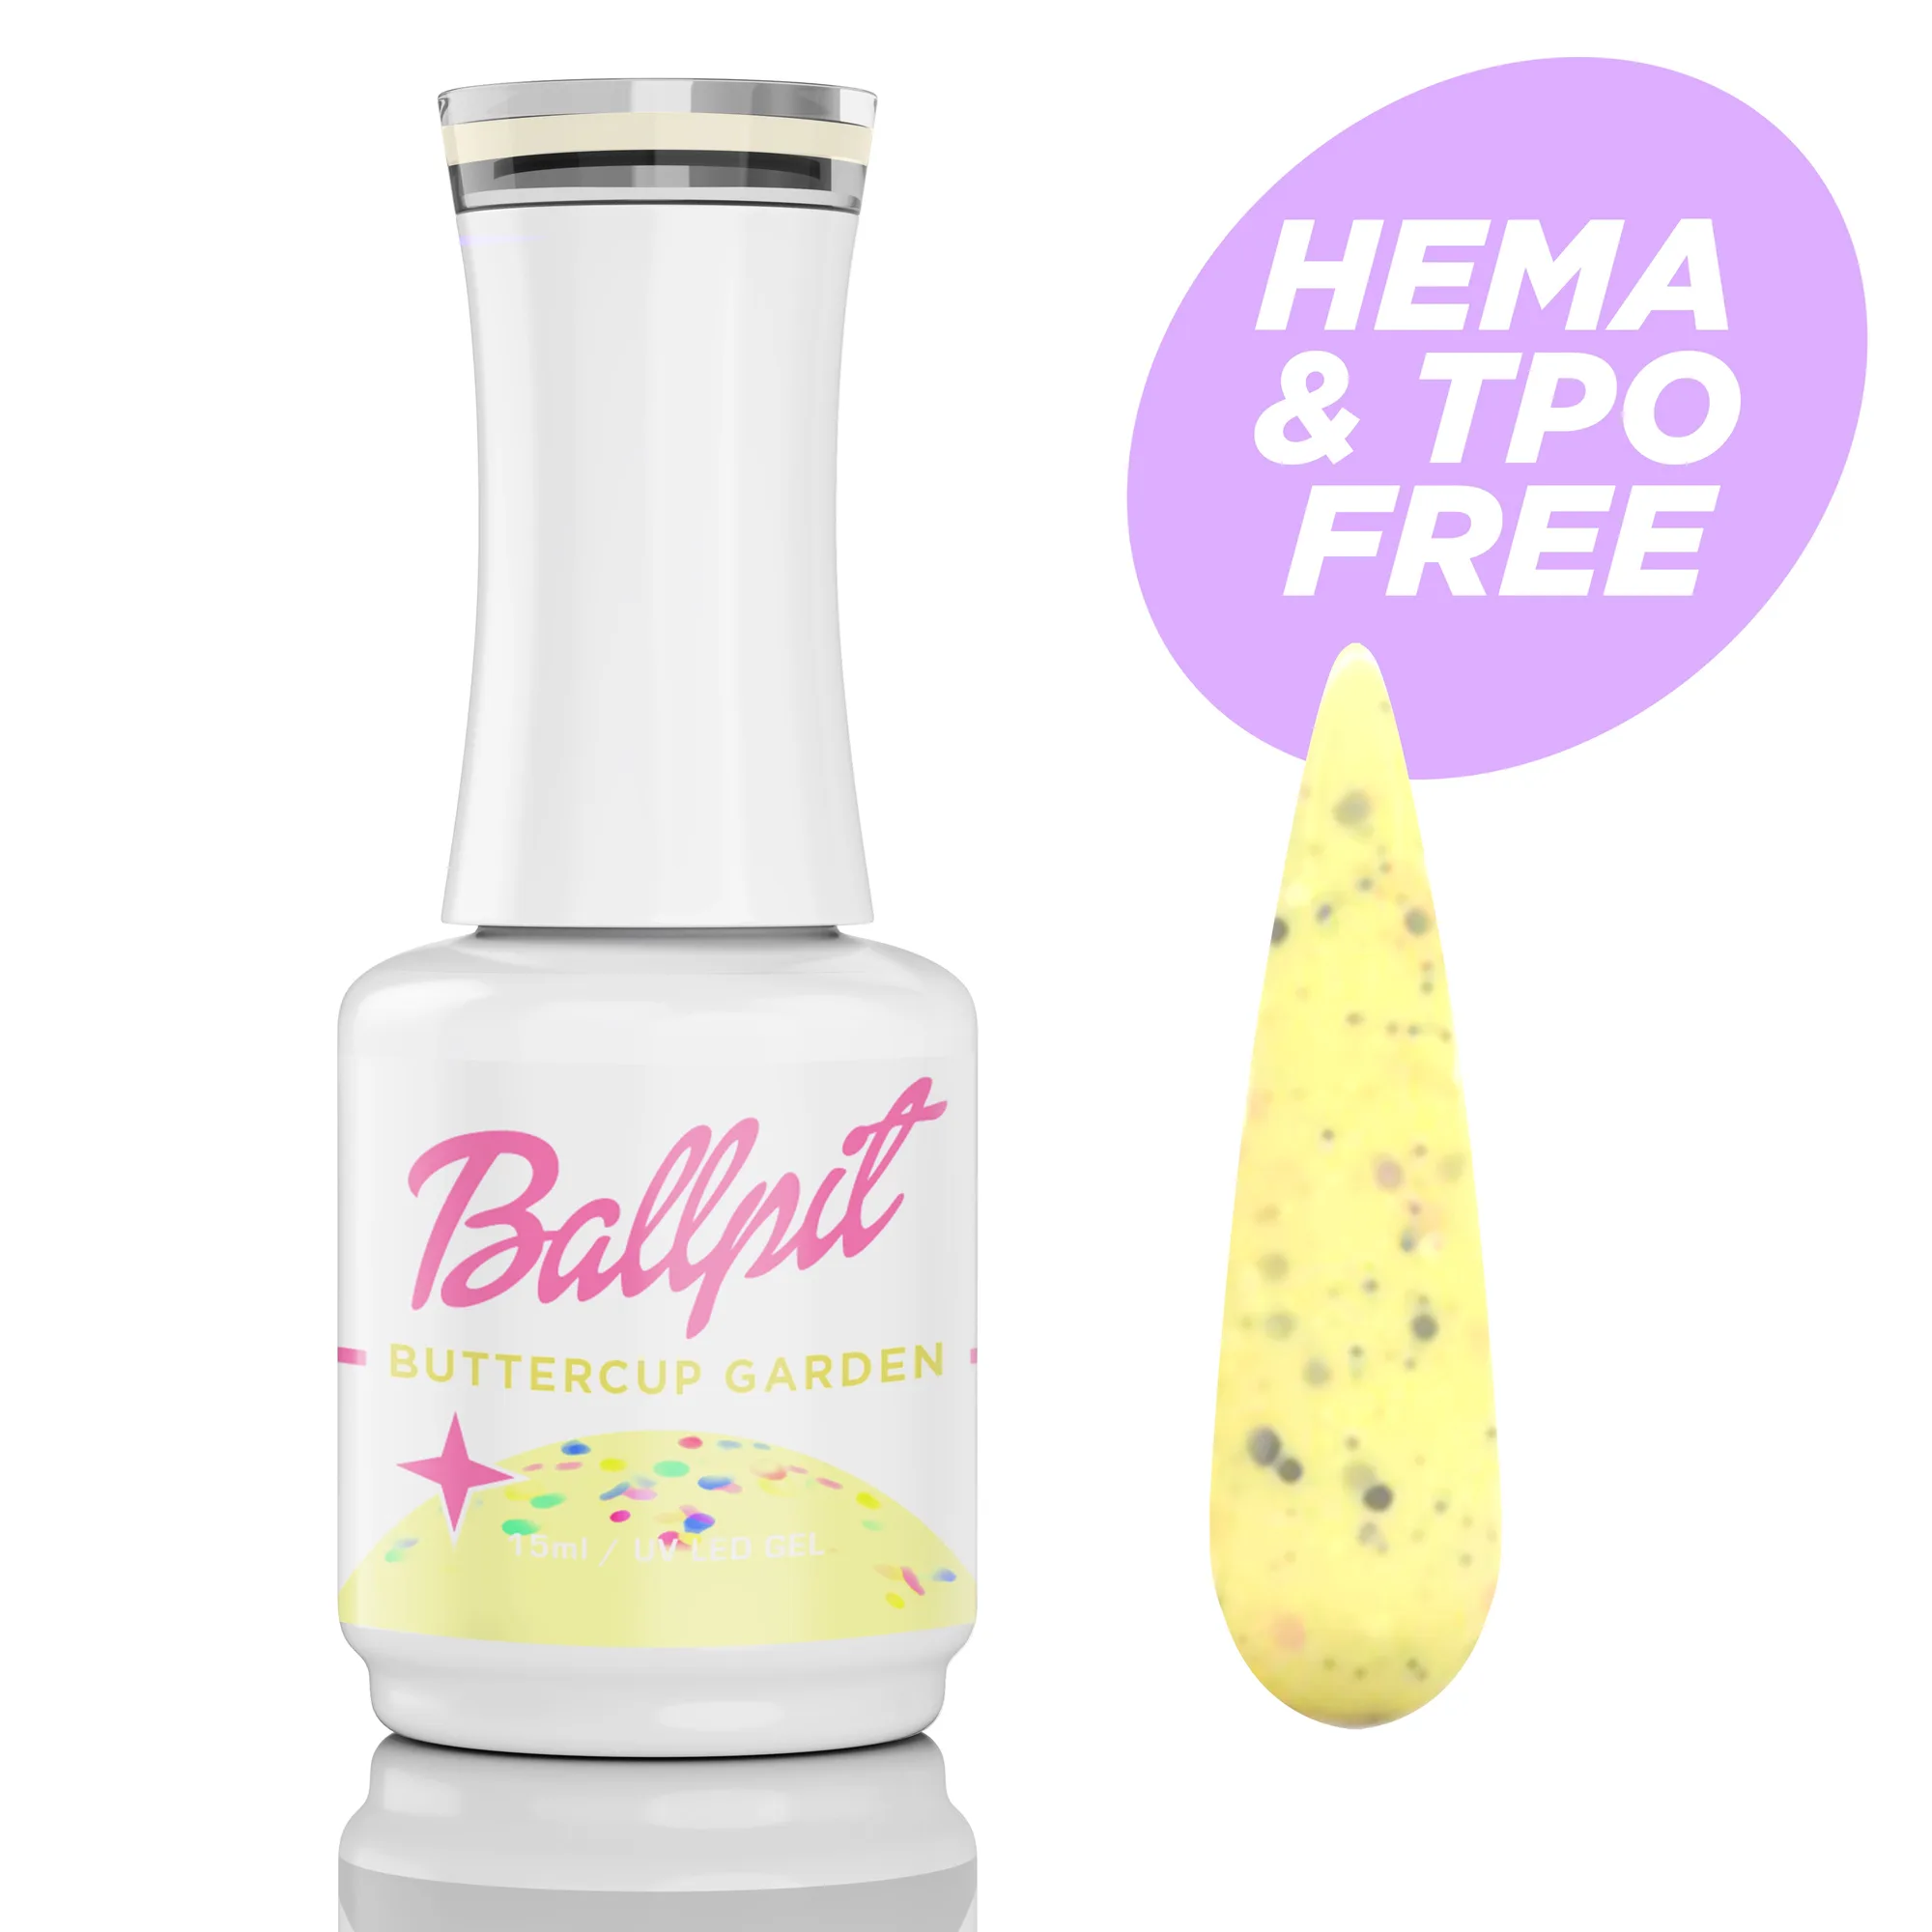
- Buttercup Garden - Gel Polish: Light buttercup yellow confetti polish, now HEMA and TPO Free, with a 60-second cure time and anti-spread, creamy body. A stated 60-second cure time gives you a clear target. Under-curing is a leading cause of whole-nail lifting, so set a timer rather than guessing.
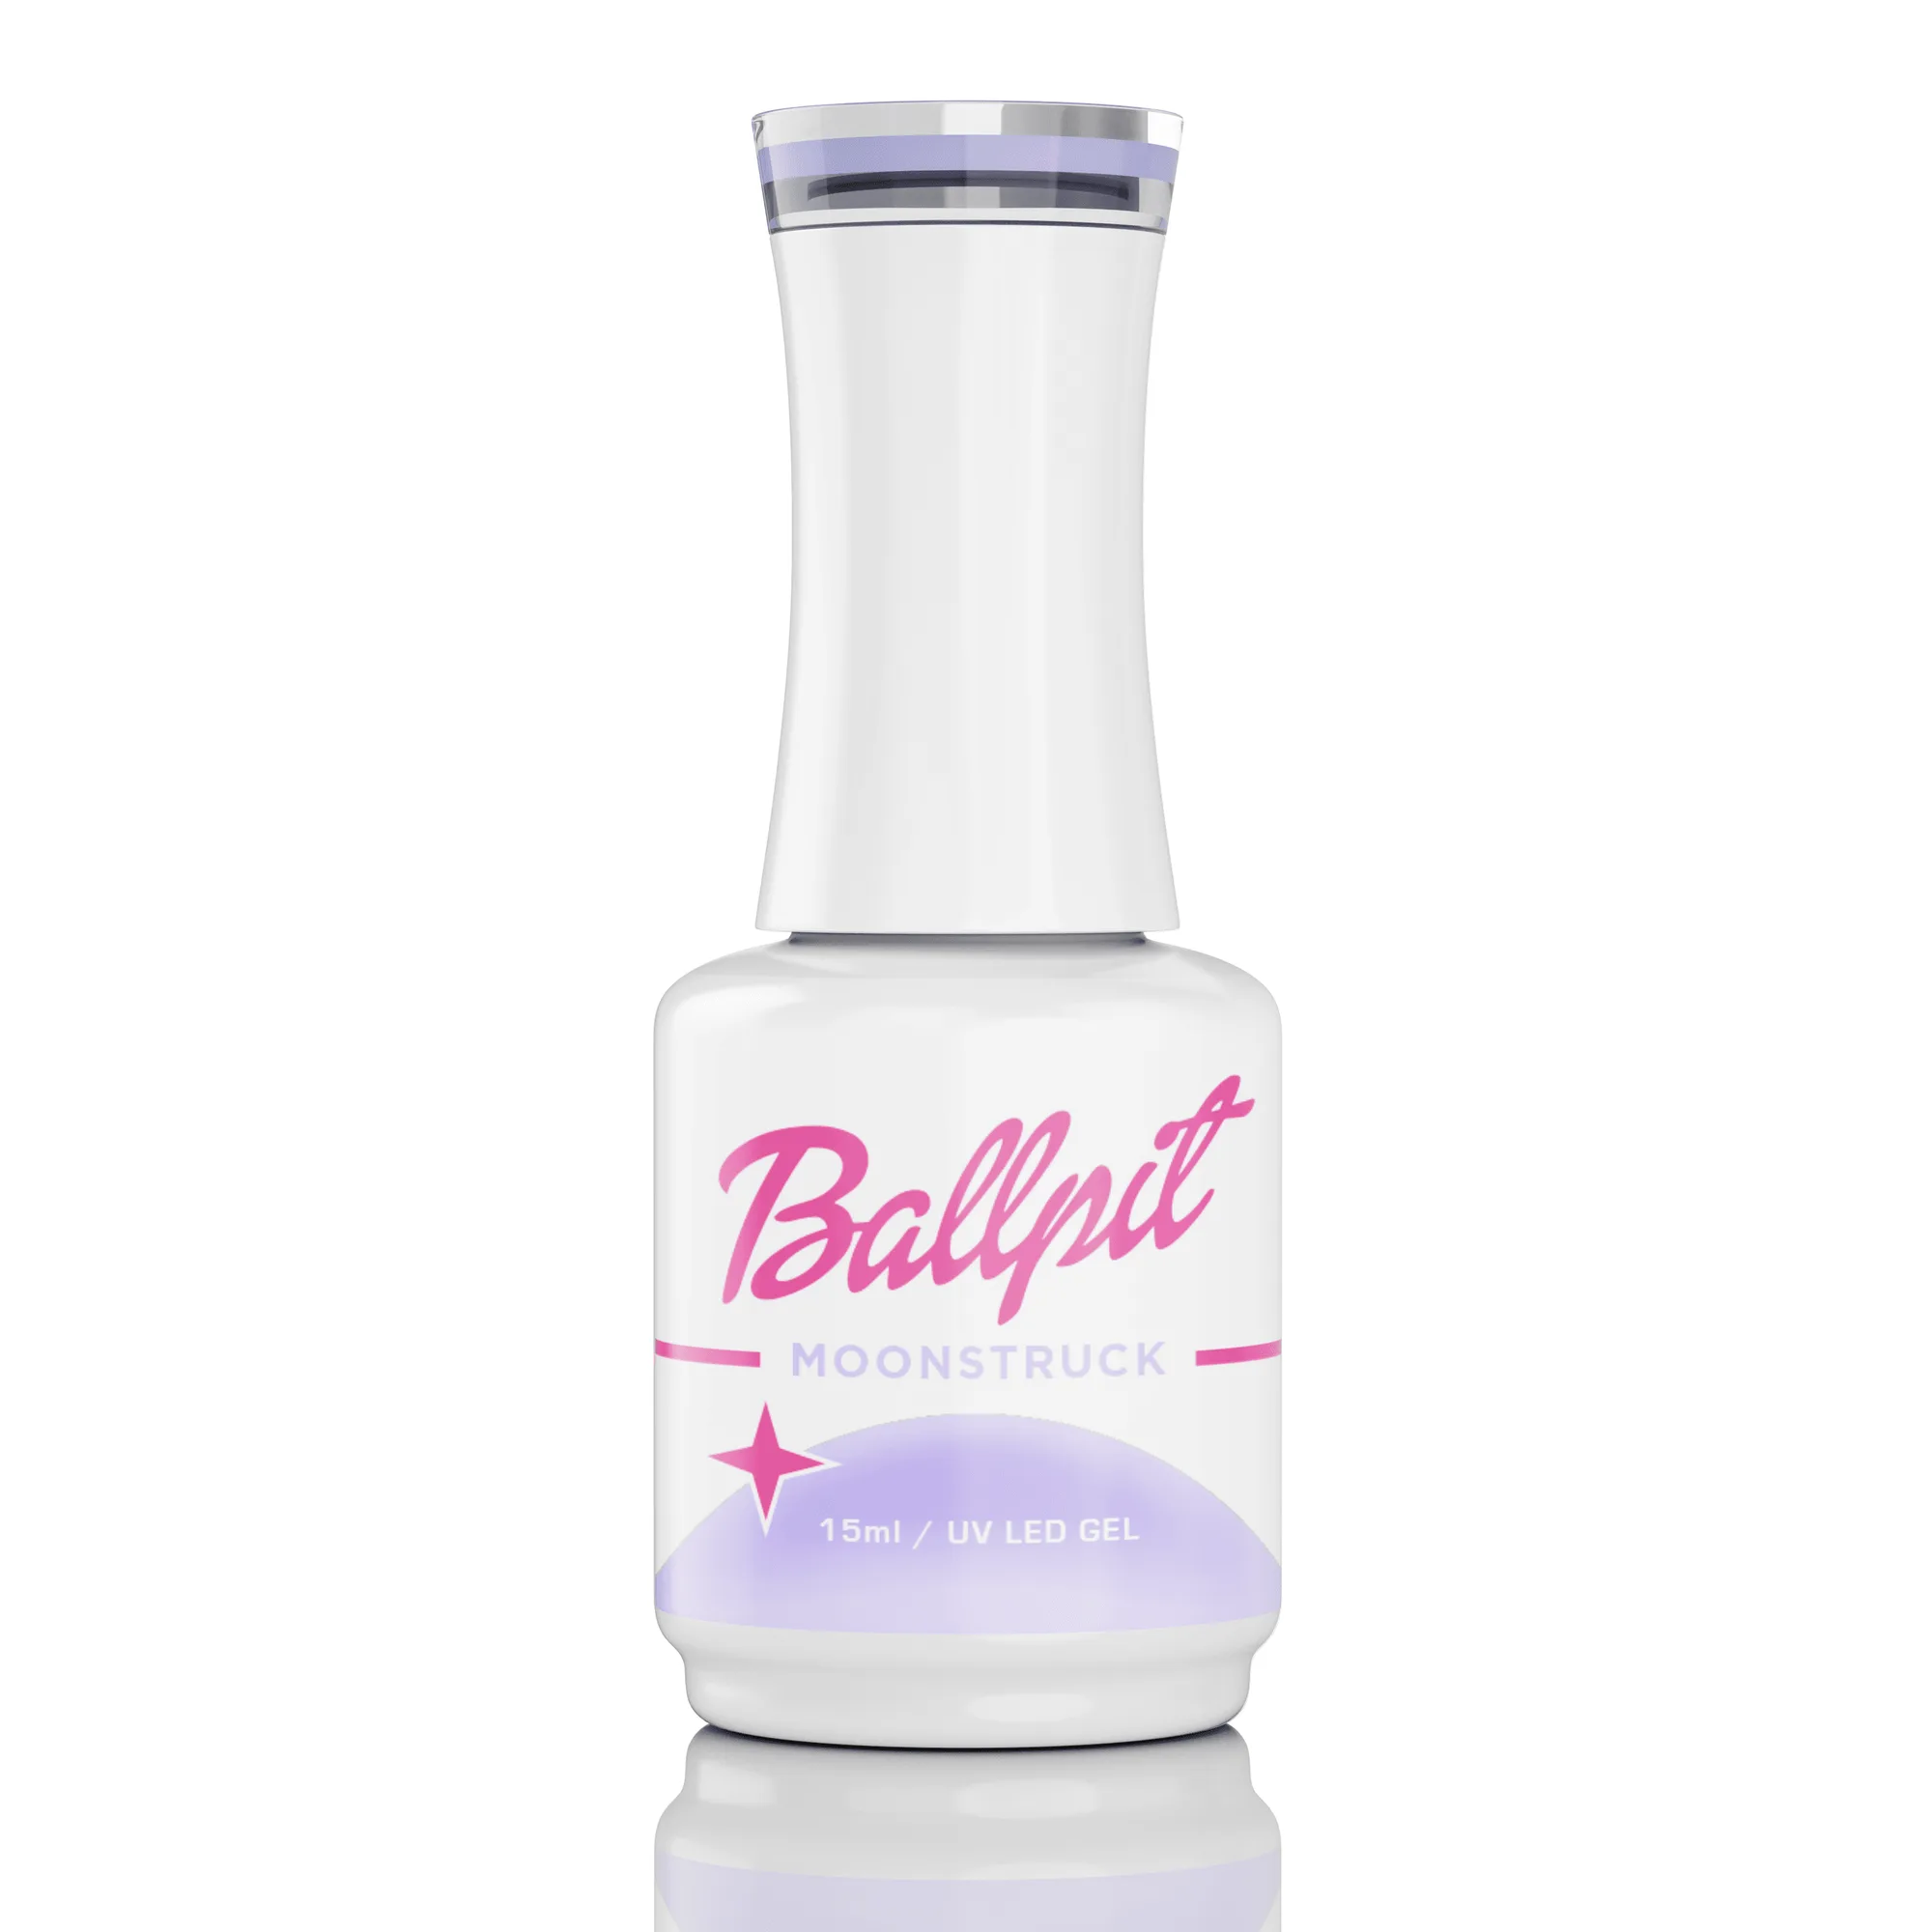
- Moonstruck - Gel Polish: 15ml soak-off gel polish in a creamy periwinkle shade, for use with UV or LED lamps, with extreme pigment and anti-spread formula. The anti-spread formula helps you keep color off the sidewalls and cuticle, which prevents the flooded edges that lead to peeling.
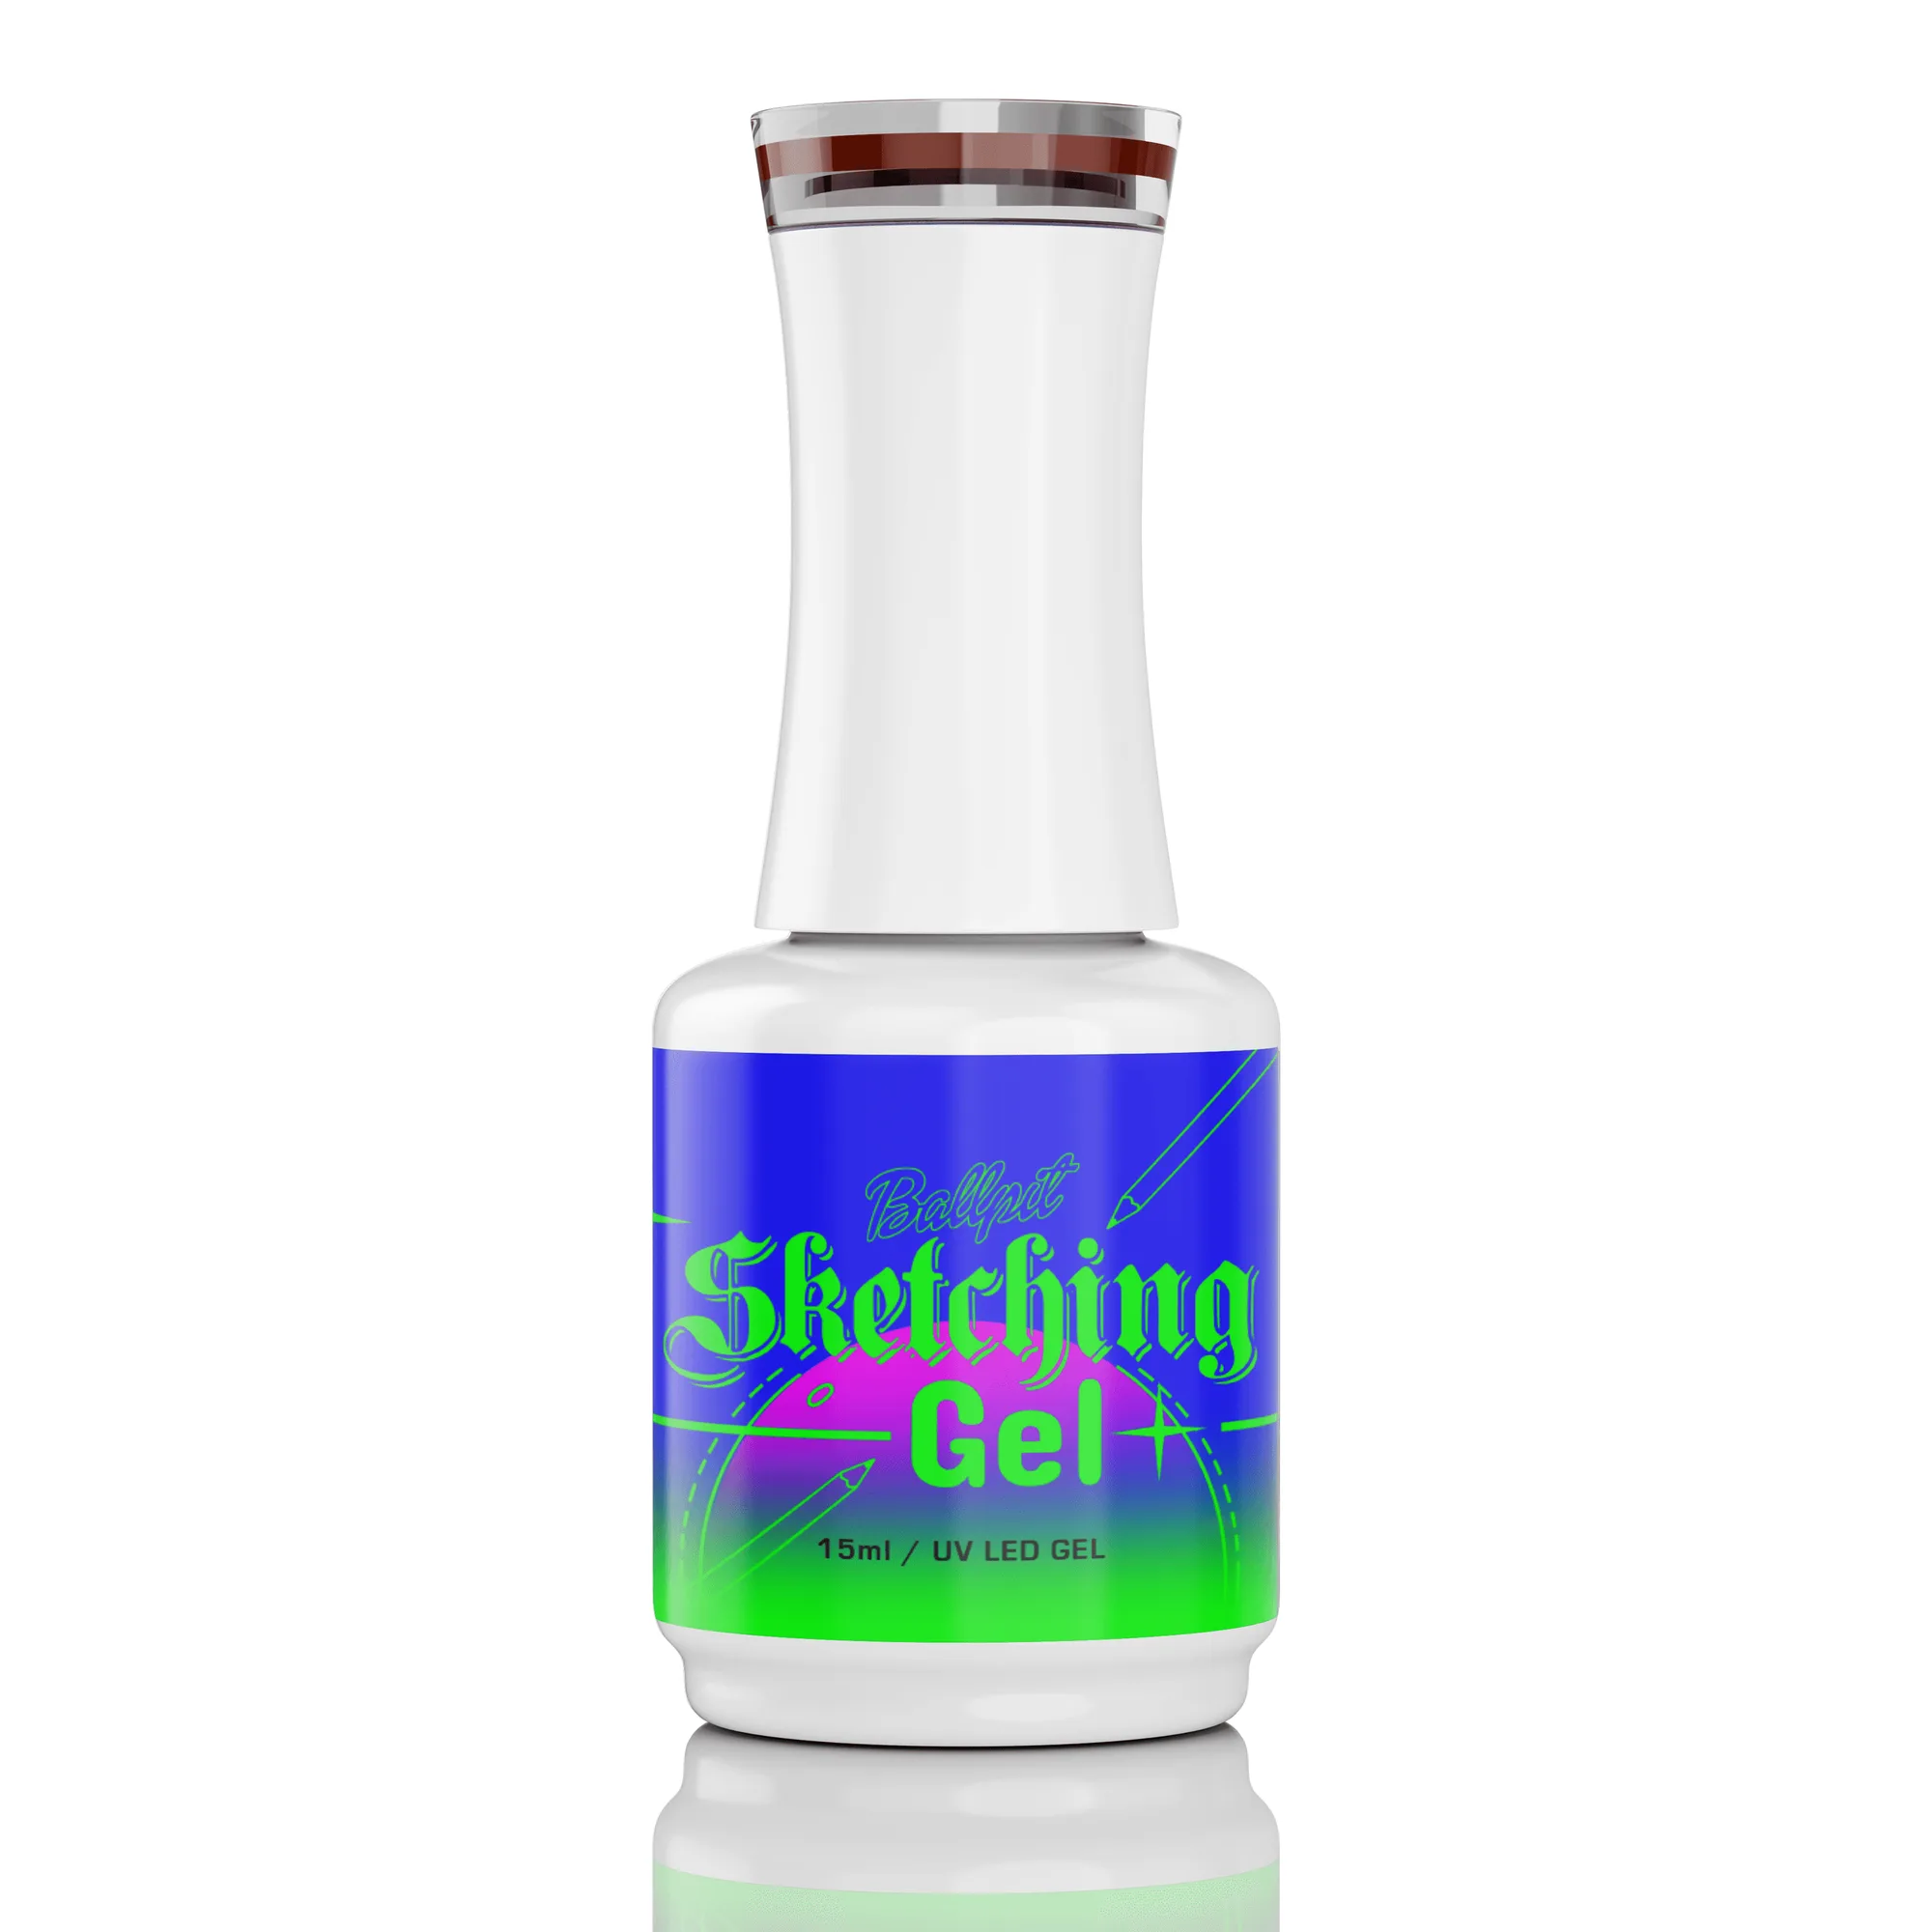
- Sketching Gel - Gel Polish: 15ml UV / LED soak-off gel built on a classic creamy gel formula with extreme pigment and anti-spread performance. A creamy, anti-spread body self-levels in thin coats, so you can build color without the thick layers that crack under stress.
Gel polish chipping is a signal, not a sentence. Read the symptom, fix the cause, and stop chasing it once prep, thickness, and cure time are ruled out. Your nails will tell you which option they prefer.