Quick answer
Cracking starts when leather loses its internal moisture and the fibers stop flexing. If the surface still feels dry but smooth, condition it and change your routine. If you can see deep splits along crease lines, that damage is permanent and conditioning will only slow it down. Prevent it by conditioning every two to three months, or whenever the leather feels dry, and by storing boots where humidity stays moderate.
Cracked leather rarely happens overnight. It is the end of a slow process that begins the first time your boots dry out and stay that way. The good news is that most early dryness is reversible, and the routine that prevents cracking is simple enough to fit into a normal week.
This guide separates what you are actually seeing from what caused it, so you can choose the right fix instead of guessing. It also tells you when to stop treating a boot and start planning a replacement.
Symptom: fine lines versus true cracks
Fine lines across the vamp and at the flex point are normal. Leather creases where your foot bends, and those lines appear on every well-worn boot. True cracking looks different: the leather separates into distinct fissures, often with a lighter, fuzzy interior showing through. Run a fingernail lightly across the area. If it catches in a gap, you are past surface dryness.
Color change is another clue. Dry leather often looks dull or ashy, especially along creases. If the leather is still supple when you press it and springs back, you are dealing with dryness, not structural failure.
- Press the leather with your thumb: it should feel cool and slightly yielding, not stiff or brittle.
- Check the flex point first, since that is where cracking usually begins.
- Look at the welt and heel counter too; dryness there often goes unnoticed.
Likely cause: moisture leaves and never returns
Leather is skin, and it holds a small amount of moisture that keeps fibers flexible. Heat, dry air, and repeated wet-dry cycles pull that moisture out. Once the fibers dry, they lose elasticity and crack under the same flexing that used to be harmless. This is why boots crack in winter, near heaters, and in dry climates.
The other common cause is inconsistent care. A single deep conditioning after months of neglect helps, but it does not undo the repeated cycles that already weakened the leather. Cracking is a pattern problem, not a one-time event.
- Rotate boots so each pair has at least a day to dry between wears.
- Keep boots away from radiators, fireplaces, and direct sun.
- Never dry wet leather with a hair dryer or space heater.
Corrective action: fix dry leather boots before cracks form
Start with a clean surface. Wipe off dust and let the boots air dry at room temperature if they are damp. Apply a leather conditioner in thin layers with your fingers or a soft cloth, working it into creases and seams. Let it absorb, then buff off any excess. The leather should look richer, not greasy.
For dry but uncracked leather, repeat conditioning every few weeks until the surface feels supple again, then move to a maintenance schedule. If the leather is very dry, a second thin coat after an hour is better than one heavy coat.
- Condition the whole boot, not just the visible creases.
- Pay attention to the flex point and the area above the heel.
- Let boots rest overnight after conditioning before wearing them.
Prevention: a conditioning schedule that actually works
A practical leather boot conditioning schedule is every two to three months for regular wear, and more often in dry or cold conditions. If you wear the same pair daily, condition monthly. The test is touch: if the leather feels dry or looks dull, it is time, regardless of the calendar.
Clean before you condition. Dirt trapped in the grain blocks conditioner and can abrade the surface. A soft brush or damp cloth handles most dust. For heavier grime, use a cleaner made for the material, then let the boots dry completely before conditioning.
- Mark conditioning dates on your calendar so you do not rely on memory.
- Condition new boots before the first wear to start the routine early.
- Keep a small tin of conditioner with your boot care kit for touch-ups.
Storage and humidity: the part most people skip
Leather boot storage humidity matters more than most owners realize. Very dry air pulls moisture from the leather, while damp air encourages mold. Aim for a stable indoor environment, neither bone-dry nor humid, and keep boots out of closed plastic bags. Breathable cotton bags or open shelving are better.
Boot trees or crumpled paper help the boot hold its shape and absorb residual moisture. Cedar trees also manage odor. If you live in a very dry climate, a room humidifier can help, but do not aim for damp air. If you live somewhere humid, a dehumidifier or air-conditioned closet is the better choice.
- Store boots upright and spaced so air can move around them.
- Avoid garages and attics where temperature and humidity swing widely.
- Use boot trees or stuffing to prevent the shaft from collapsing.
When to stop treating and replace
If you can see deep splits that open when you flex the boot, or if the leather feels brittle across a wide area, the damage is structural. Conditioner can soften the surface and slow further cracking, but it cannot rebuild torn fibers. At that point, the boot is no longer reliable for wet or rough conditions.
A single small crack at a flex point can sometimes be stabilized with conditioner and careful wear, but expect it to worsen over time. If the crack is on a seam, in the middle of the vamp, or accompanied by separation from the sole, replacement is usually the smarter choice. Cracking is also a sign that your care routine needs to change before the next pair suffers the same fate.
- Stop wearing boots with deep cracks in wet conditions; water will accelerate the damage.
- Do not try to glue or fill structural cracks at home.
- If one boot is badly cracked, check the other for early signs before deciding.
Diagnose your boots in three checks
- Touch test: Press the leather at the flex point. If it feels stiff, dry, or ashy, you are in the prevention window. If it feels brittle or you hear a faint crackle, damage has started. Dry but flexible: condition now. Brittle: condition gently and avoid heavy flexing.
- Visual check: Look for fine lines versus open fissures. Fine lines are normal creasing. Open fissures with a lighter interior are true cracks. Fine lines: maintain your schedule. Open fissures: treat as structural and plan for replacement if they are deep.
- Storage and humidity audit: Check where boots sit between wears. Dry heat, direct sun, and sealed plastic are the three most common causes of recurring dryness. Move boots to a stable, breathable spot and add boot trees or stuffing. If the spot is very dry, add gentle humidity; if damp, reduce it.
Products that support a better leather routine
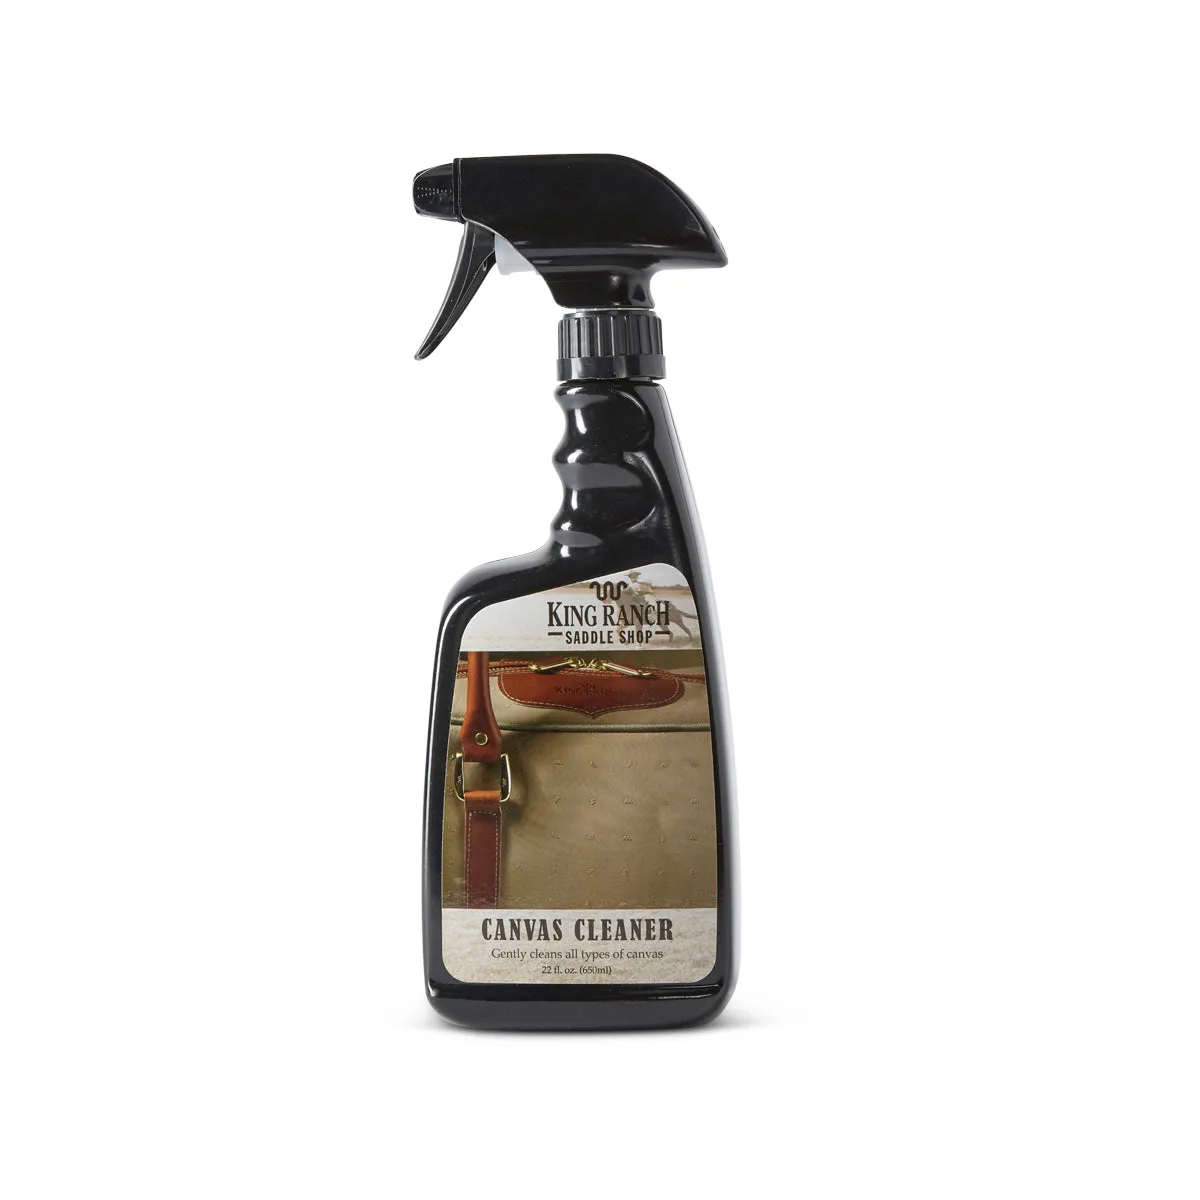
- Canvas Cleaner: All-natural Canvas Cleaner is formulated for both treated and untreated materials and is designed for canvas gear such as King Ranch luggage, handbags, and outdoor items. Cleaning before conditioning removes grit that can abrade leather and block conditioner. Using a cleaner made for the material keeps canvas and leather items in better shape between deep care sessions.
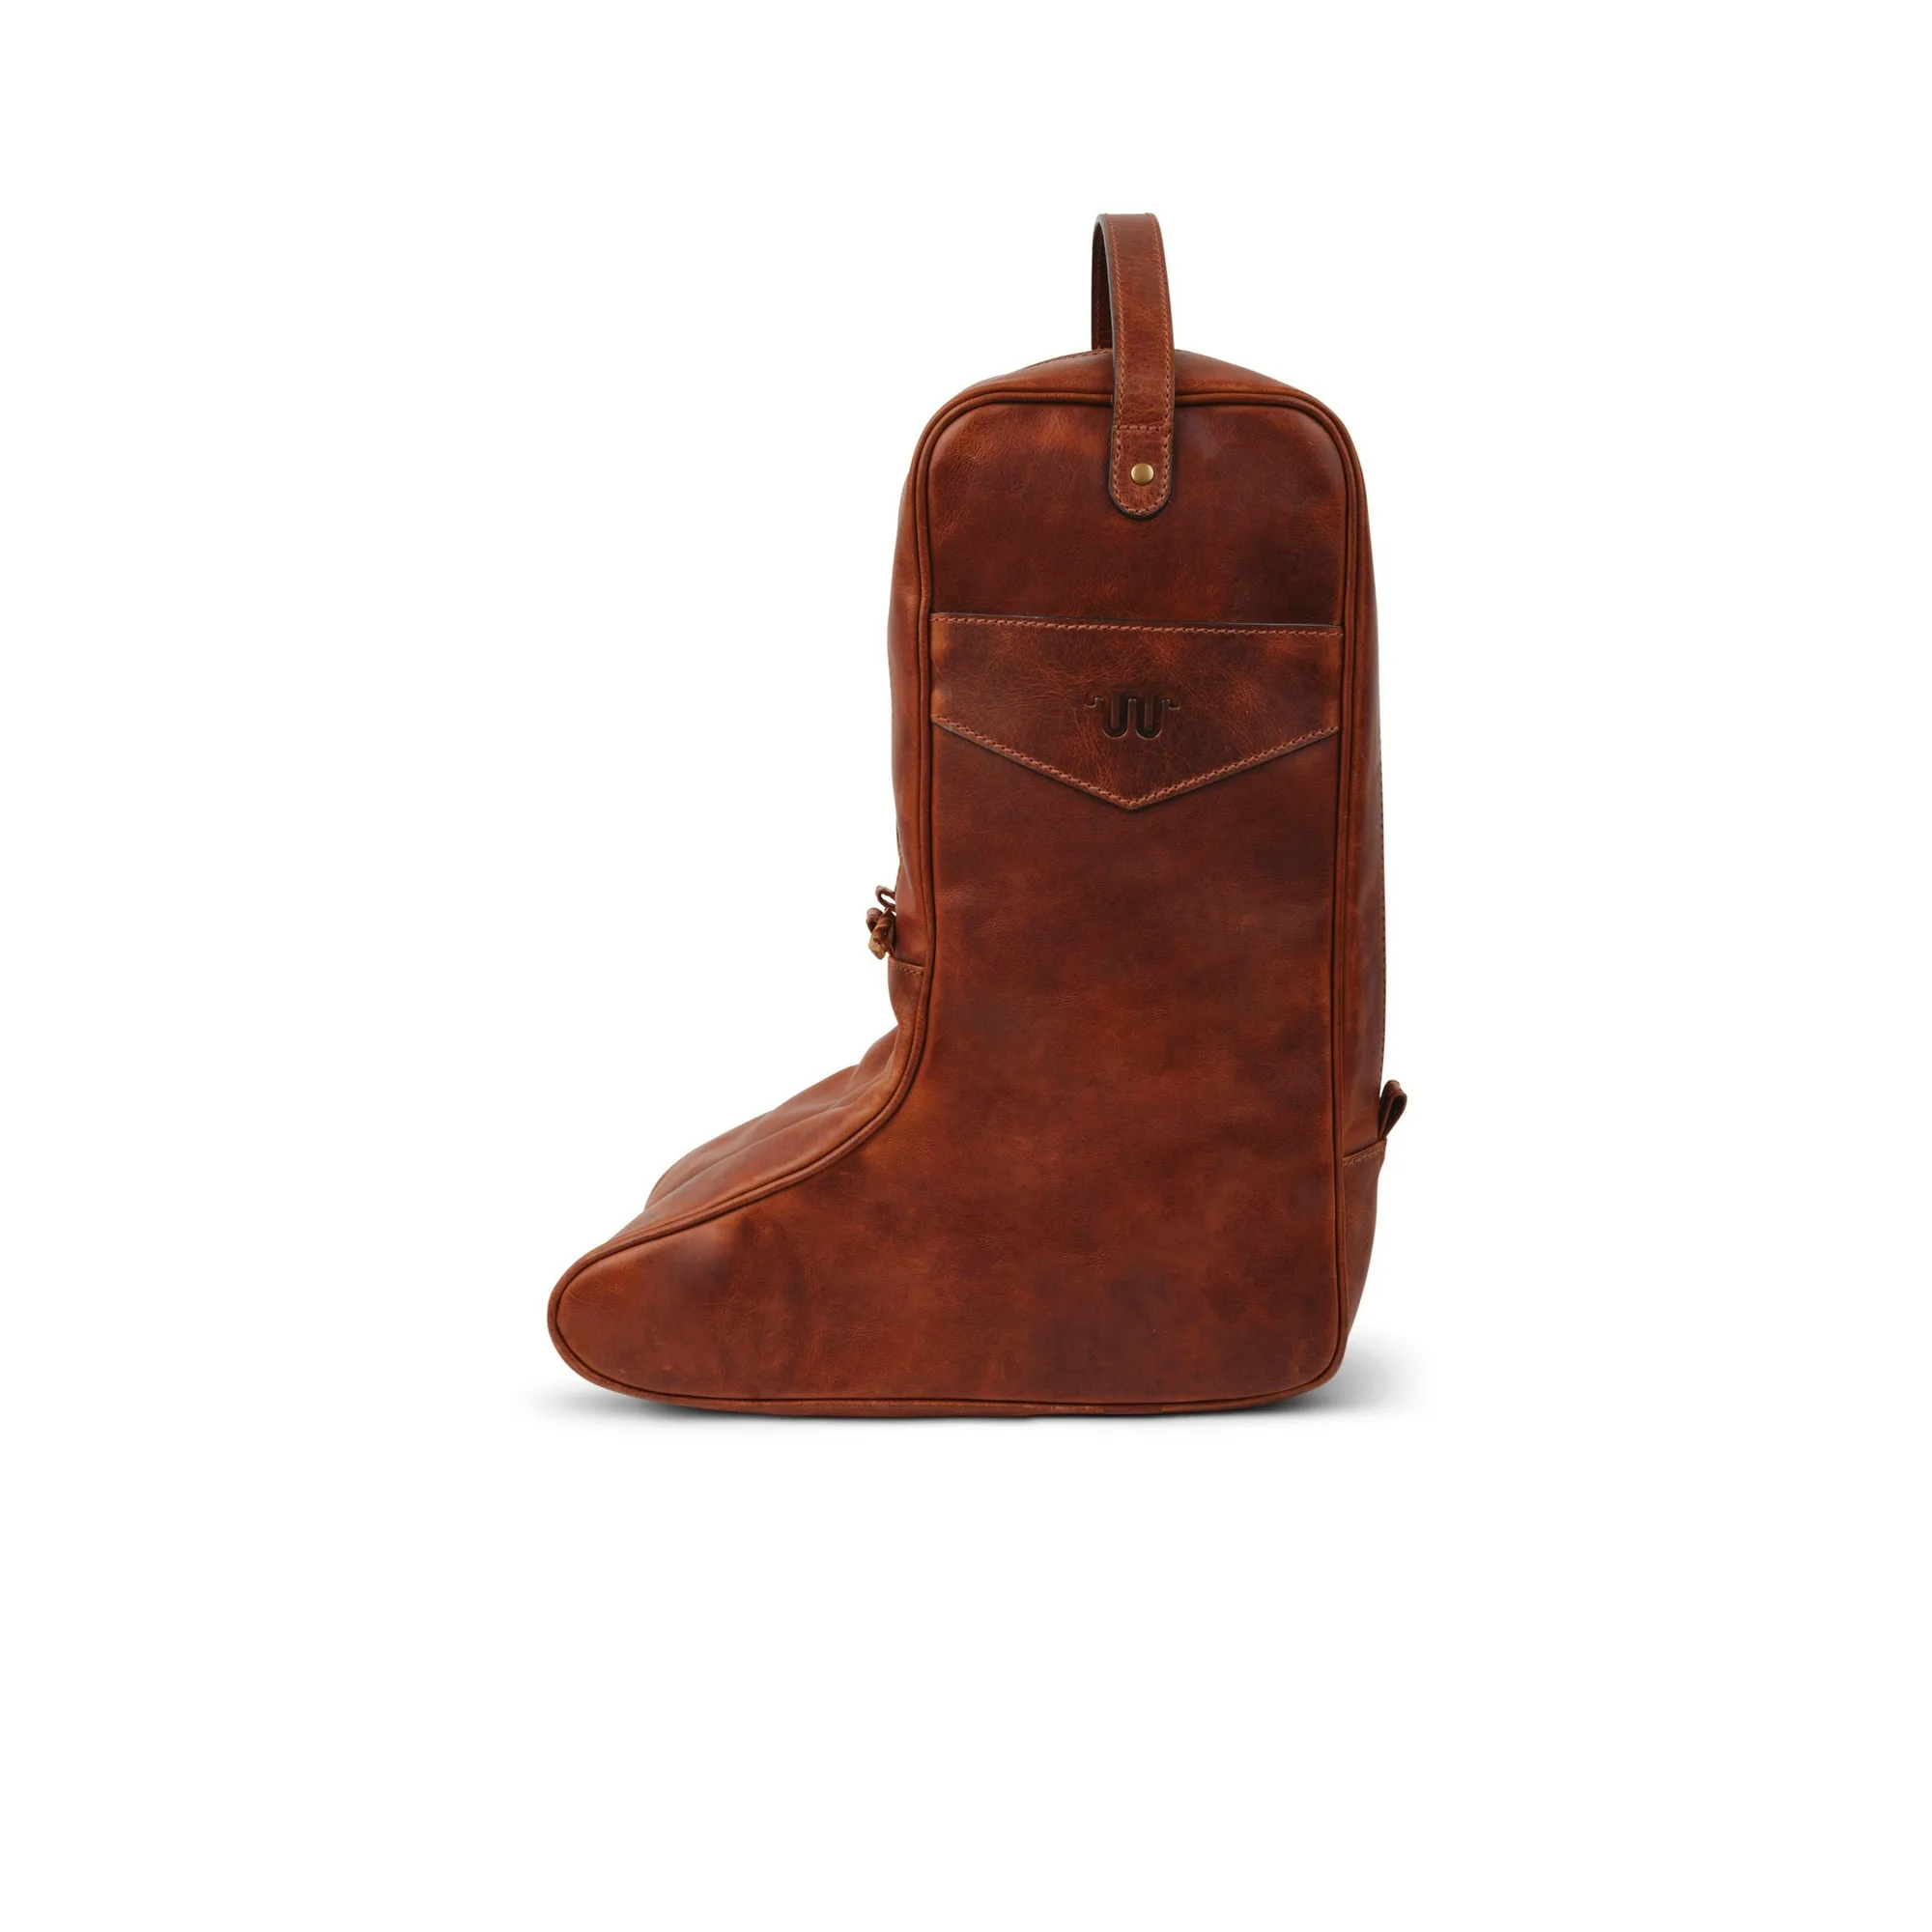
- Kineño Leather Boot Bag: The Kineño Leather Boot Bag is made from full-grain leather with a zip-around closure and saddle-braided pull tabs, plus sturdy loops for a secure grip. A dedicated boot bag keeps boots protected from dust and scuffs in storage or travel, which reduces the surface damage that often precedes cracking. Full-grain leather also ages well with the same conditioning routine you use on your boots.
Cracking is a moisture problem you can manage. Condition on a schedule, clean before you condition, and store boots where the air is stable. Catch dryness early and most boots will keep flexing for years.