Quick answer
Stop forcing the piece. Most fit failures come from a bent knob, a burr left by the die cut, or a piece you have misread as belonging in that spot. Check the piece against its neighbors on a flat surface before you press. If the knob is crushed or the image lines up but the shape will not seat, set it aside and keep building around the gap.
Check the piece before you check the puzzle
Pick up the piece and lay it face down on a hard, flat surface. A piece that rocks instead of lying flush has a bent knob or a warped body. Cardboard puzzles tolerate gentle correction: press the knob flat with your thumb, working from the base of the tab outward. Do not bend the piece back and forth to loosen it. Repeated flexing separates the printed layer from the board and creates the fuzzy edge that makes future fits worse.
If the piece lies flat, flip it face up and compare its printed lines with the pieces already placed around the gap. A piece that matches the shape but not the image is in the wrong hole, and forcing it will lift the neighbors you already set.
Look for die-cut burrs and paper dust
New puzzles often arrive with tiny cardboard burrs clinging to the cut edges. These are the most common cause of a piece that almost fits. Run a dry fingertip or a soft brush along the knob and the socket, then wipe the dust away. Do not use water, oil, or sandpaper. Moisture swells the board, and abrasives round the edge so the piece never seats cleanly again.
If the burr is stubborn, a dry cotton swab along the cut line removes it without changing the shape. Work over a tray so the debris does not end up back in the box.
When the piece is genuinely damaged
A crushed knob, a torn surface layer, or a missing tab cannot be repaired into a reliable fit. You can still finish the puzzle. Place the damaged piece in its correct spot at the end, support it from underneath, and avoid pressing hard on that area. If the puzzle is a display piece, mount it on a board or in a frame so the damaged section is held in place rather than handled.
For anatomy puzzles with die-cut shapes matched to real structures, a damaged piece is more than a cosmetic problem. The shape is part of the learning content, so a crushed tab can make the illustration harder to read. Check the piece against the box image before deciding it is damaged.
Rule out the wrong-piece trap
Two pieces in the same region can look interchangeable until you compare the printed image. Before you force anything, lift the piece you think belongs there and set it beside the gap. If the image lines do not continue across the seam, the piece is wrong even when the shape feels close.
A useful habit on large puzzles is to sort by image region rather than by shape alone. Shape sorting speeds up the border, but image sorting prevents the misreads that lead to forced fits.
Know when to stop and choose another option
If a piece will not seat after you have checked for bends, burrs, and image mismatch, stop. Continued pressure damages the piece and the surrounding ones. Leave the gap, build the rest of the puzzle, and return to it with fresh eyes.
If multiple pieces in the same area refuse to fit, the problem may be a manufacturing defect rather than your technique. Contact the seller or manufacturer with the puzzle name and piece count. Most publishers will replace a defective piece or puzzle, and that is a better outcome than a repaired edge that never sits right.
Diagnosis: match the symptom to the cause
- Piece rocks on a flat surface: A bent knob or warped body. Press the tab flat from its base with your thumb. If it still rocks after one gentle press, set it aside and keep building.
- Piece almost fits but stops short: A die-cut burr or paper dust on the edge. Brush the knob and socket dry, then retry. Never use water, oil, or sandpaper on a puzzle edge.
- Shape fits but image lines break: The piece belongs somewhere else. Compare the printed lines across the seam before pressing. Wrong-piece misreads are the most common cause of a puzzle won't go together.
- Knob is crushed or the surface layer is torn: This is damage, not a fit problem. Place the piece last and support it from underneath. For display puzzles, mount the finished puzzle so the damaged area is not handled.
- Several pieces in one area refuse to fit: Likely a manufacturing defect rather than technique. Note the puzzle name and piece count. Contact the seller or manufacturer for a replacement piece before you keep forcing.
Fit notes from our puzzle range
- Pregnant Mother Anatomy Jigsaw Puzzle | 488-Piece Science Accurate Adult Puzzle | Educational and Entertaining 3ft x 2ft Poster Size Puzzle | Ideal Gift for Mothers, Educators & Medical Professionals: 488-piece jigsaw illustrated by certified medical illustrator Mesa Schumacher, assembled at 3ft x 2ft poster size. The large finished size means small fit errors accumulate across a wide surface, so checking pieces on a flat board before pressing saves time later.
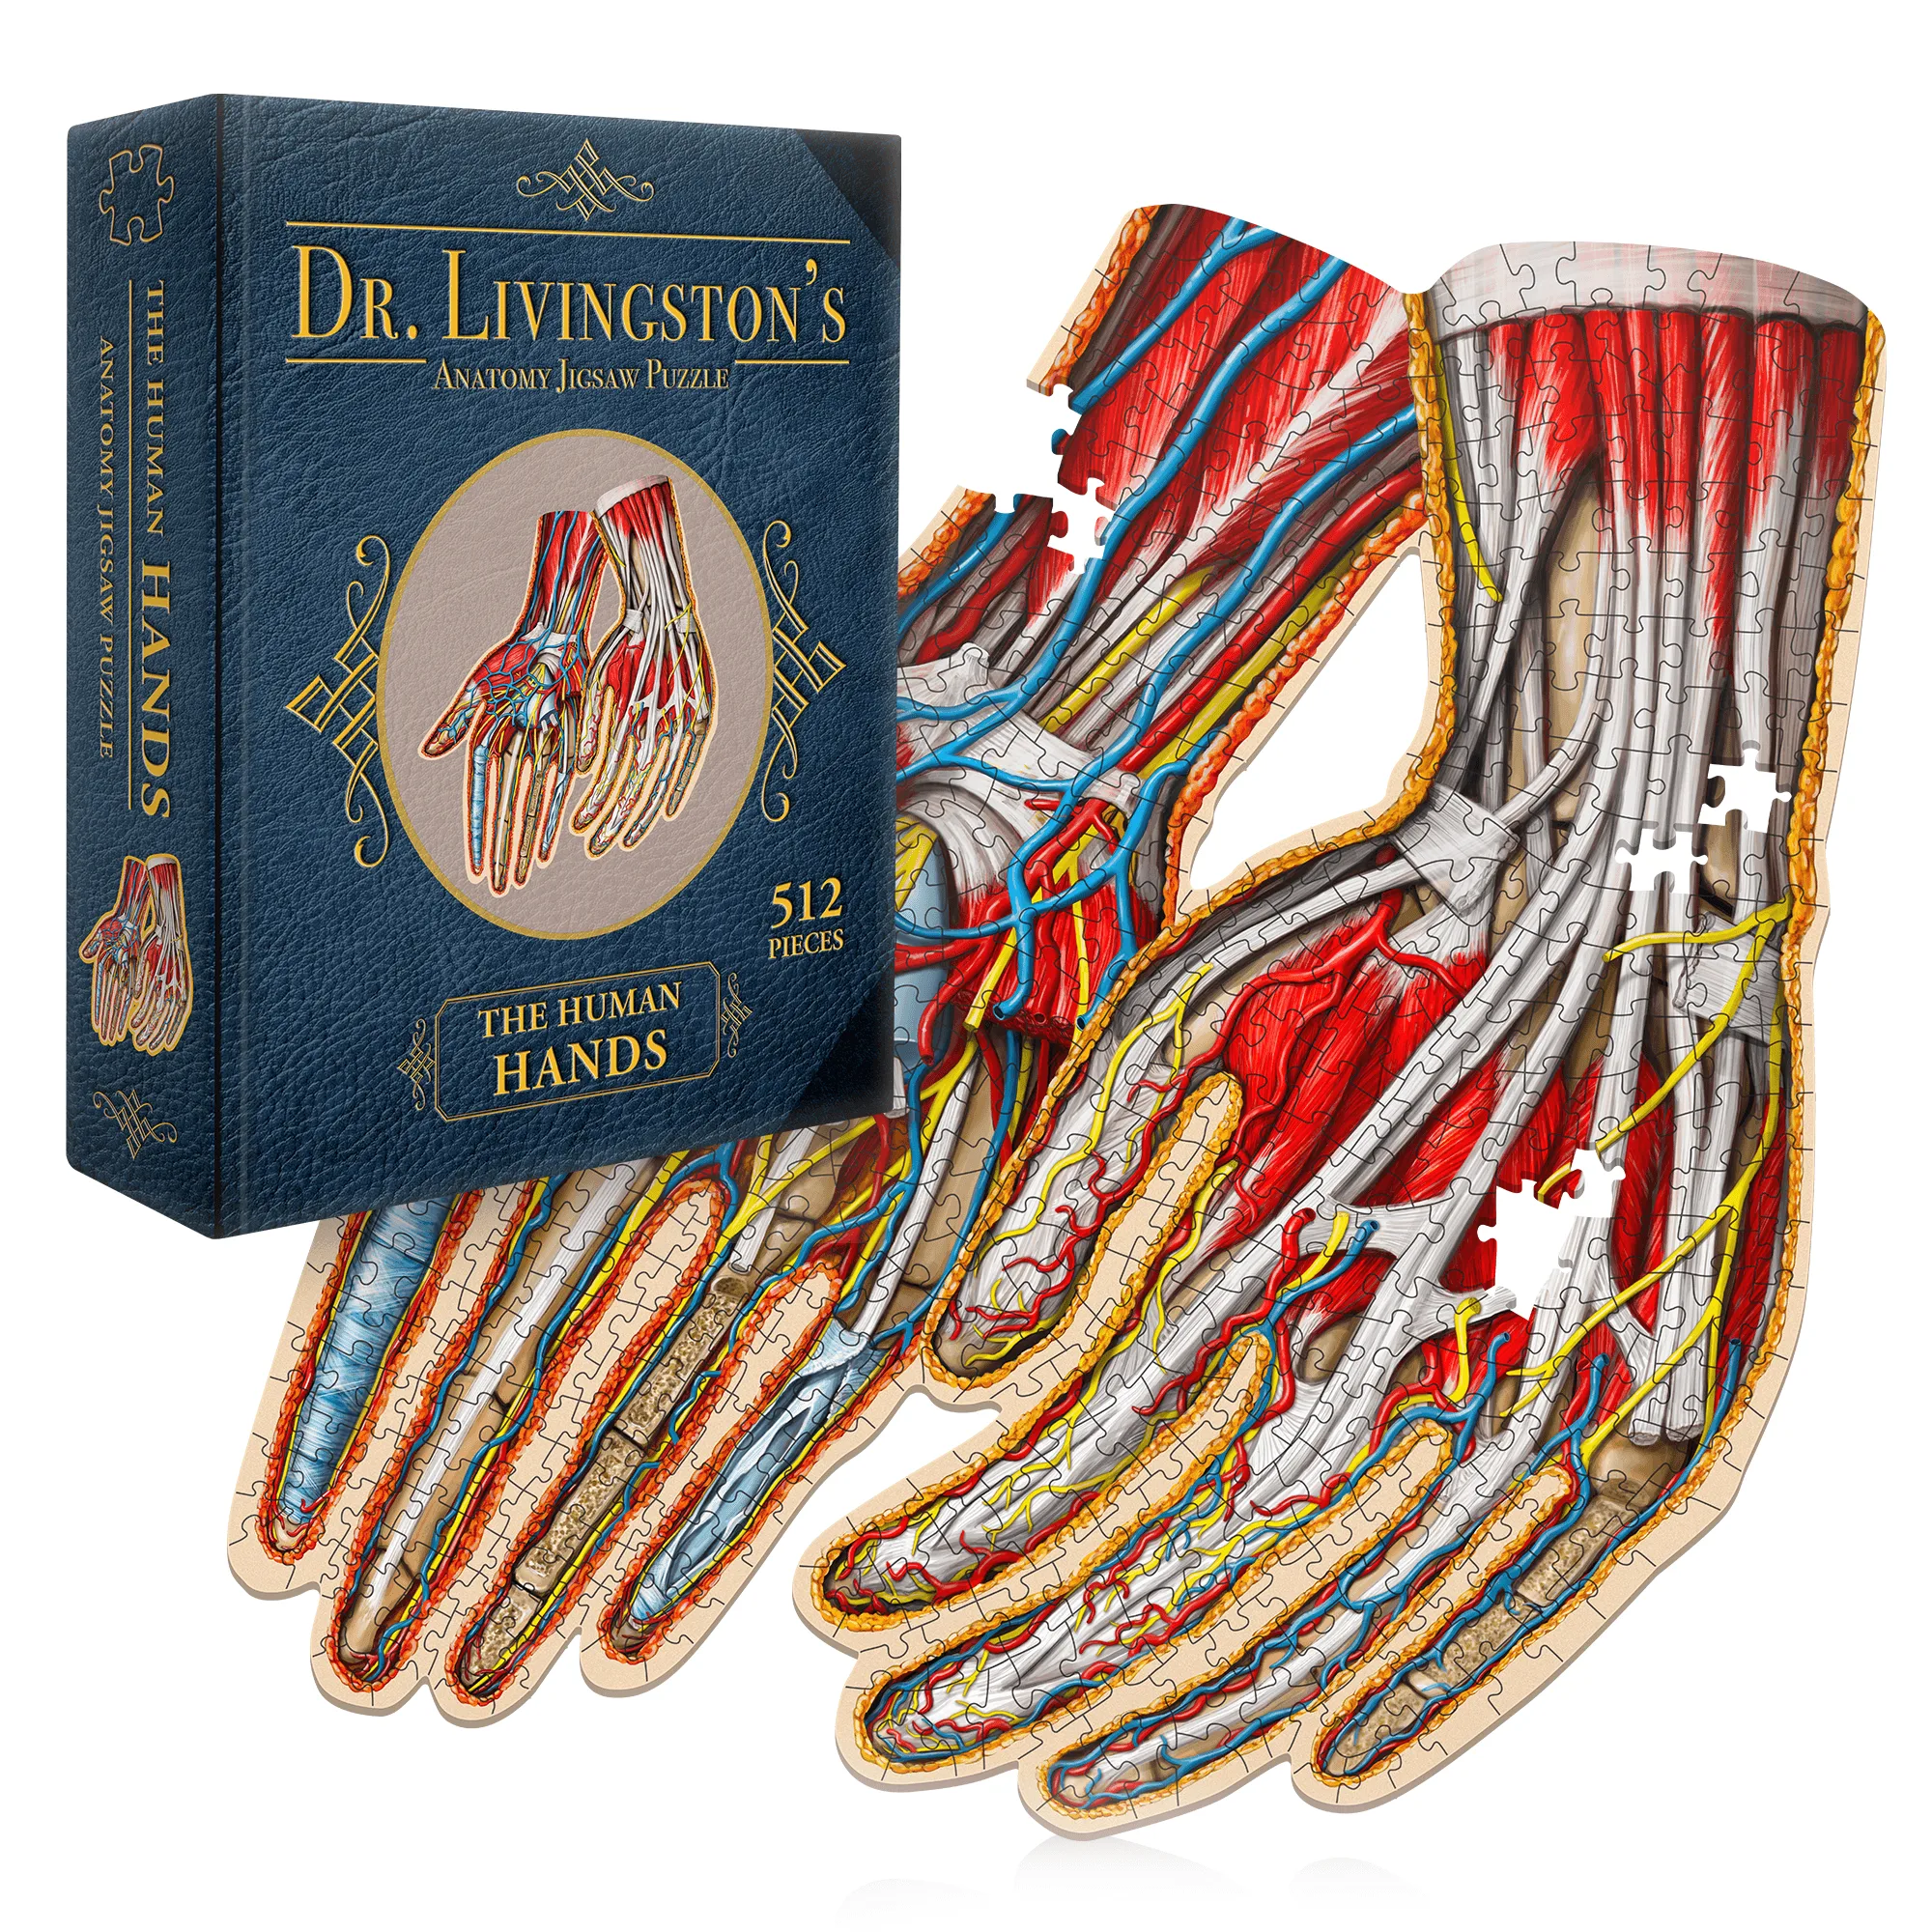
- Human Hands Anatomy Jigsaw Puzzle | Dr. Livingston's Unique Shaped Science Puzzles: 512 pieces, die-cut to highlight real anatomy, designed to assemble the human hands at over 400% magnification. The shaped cuts are part of the learning content, so a forced fit can distort the anatomical structure the piece is meant to show.
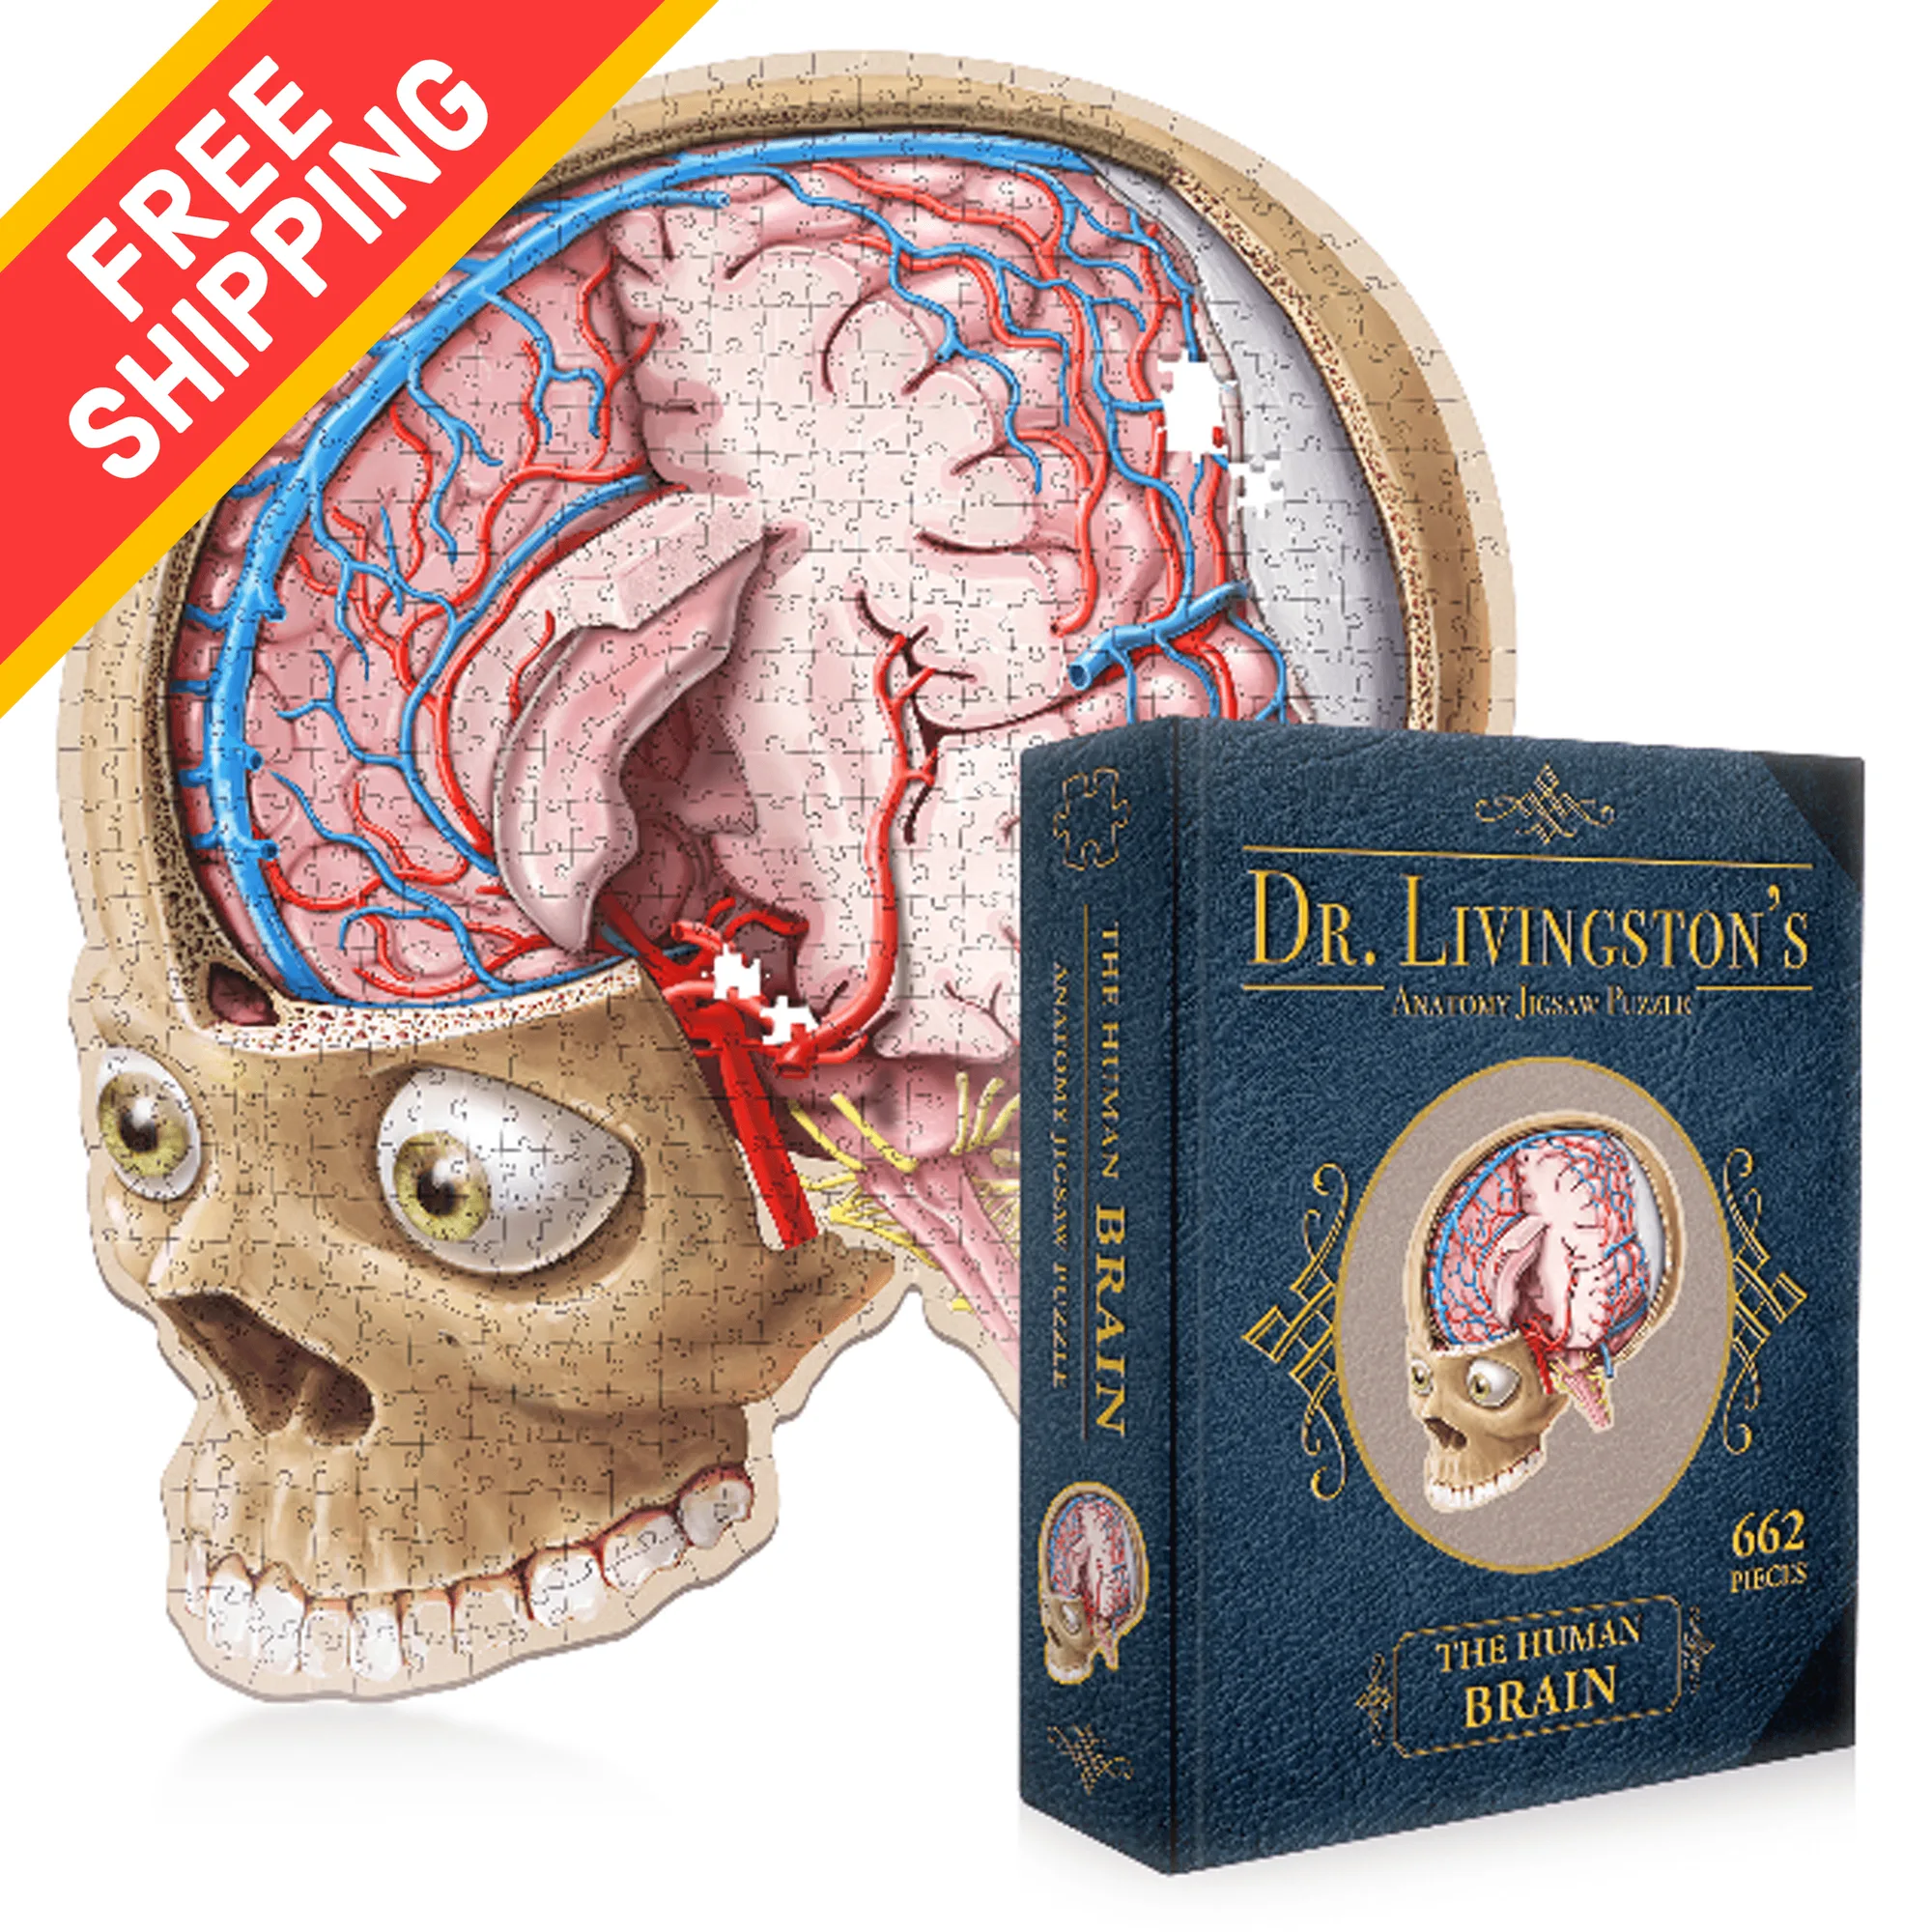
- Human Brain Anatomy Jigsaw Puzzle | Dr. Livingston's Unique Shaped Science Puzzles: 662 pieces, die-cut to highlight real anatomy, designed to assemble the human brain at 500% magnification. With more pieces and higher magnification, misread shapes are more likely, so image matching matters as much as shape matching.