Quick answer
A camera bag insert turns any tote, backpack, or duffel into a safe, organized camera bag — often for less than the cost of a dedicated bag. Pick one that fits your gear and bag, then pack it with dividers in the right order.
Why inserts beat dedicated camera bags
A dedicated camera bag is convenient, but it locks you into one carry style. An insert gives you the same padding and organization inside a bag you already own — a hiking pack, a work tote, or a weekend duffel. That flexibility matters if you travel light or want to blend in on the street.
Inserts also make it easier to switch bags for different shoots. Move the whole padded core from your everyday backpack to a roller bag in seconds, without repacking each lens and body individually.
The trade-off is access. A bag insert sits inside a larger compartment, so you often have to unzip the outer bag fully to reach your gear. If you need quick draw from a side pocket, a dedicated camera bag is still the better choice.
What to look for in an insert
Size is the first thing to check. Measure the interior of the bag you plan to use, then compare it to the insert's external dimensions. An insert that's too large won't fit through the opening, and one that's too small leaves your gear rattling around.
Padding thickness matters more than you'd think. Soft, dense foam absorbs knocks and keeps lenses from colliding. The Lowepro GearUp Pro Camera Box XXL II uses a rigid shell with padded dividers, so it holds its shape even in a loosely packed bag.
Divider layout is the second big factor. Adjustable Velcro dividers let you reconfigure the interior for a body with a lens attached, a flash, or a drone. Fixed foam blocks are cheaper but less flexible.
When a cheaper insert is enough
If you carry a single mirrorless body with one or two lenses, a simple padded insert like the ProMaster Bag Insert (Extra Large) gives you solid protection without the bulk or the price tag. It's a great way to test whether an insert workflow suits you before investing in a more rigid case.
For heavier DSLR kits or gear you toss into a checked bag, the extra structure of a hard-shell insert is worth the upgrade. The decision comes down to how much protection you need and how often you'll move the insert between bags.
How to choose and pack a camera bag insert
- Measure your bag and your gear: Measure the interior height, width, and depth of the bag you'll use, then measure your camera body with the largest lens attached. The insert must fit through the bag's opening and leave at least 1 cm of clearance on all sides. Write down both sets of measurements before shopping — it prevents buying an insert that won't fit.
- Pick the right insert size and padding: Choose an insert that matches your gear volume, not the bag's total size. A rigid shell like the Lowepro GearUp Pro XXL II offers maximum protection for heavy kits, while a soft insert like the ProMaster Extra Large is lighter and cheaper for mirrorless setups. If you're between sizes, size up only if the bag opening allows it — a too-tight fit is worse than a slightly loose one.
- Arrange dividers before loading gear: Lay out the dividers to create a snug compartment for the camera body with lens attached, then add separate cells for extra lenses, batteries, and memory cards. Leave a little room for a lens hood or a small flash. Test the fit with the dividers in place before you go out — reposition them now, not in the field.
- Pack the insert into your bag with padding on all sides: Place the loaded insert in the center of your bag, surrounded by soft items like clothing or a jacket. Avoid putting heavy objects on top of the insert, and make sure the insert doesn't shift when the bag is carried. If the insert slides around, add a rolled-up shirt or a small pouch to fill the empty space.
- Check access and adjust your workflow: Zip the outer bag and practice reaching your camera. If you need faster access, consider a bag with a top opening or a side zipper that lets you reach the insert without unpacking everything. If access feels too slow, you may prefer a dedicated camera bag — that's a valid reason to skip the insert.
Products that help
-
Lowepro Gearup Pro Camera Box XXL II (Dark Gray): Price Guarantee Rent Now The Lowepro GearUp Pro Camera Box XXL II is a rigid, padded insert that holds its shape, so it's ideal for protecting a larger camera kit inside a soft-sided bag.
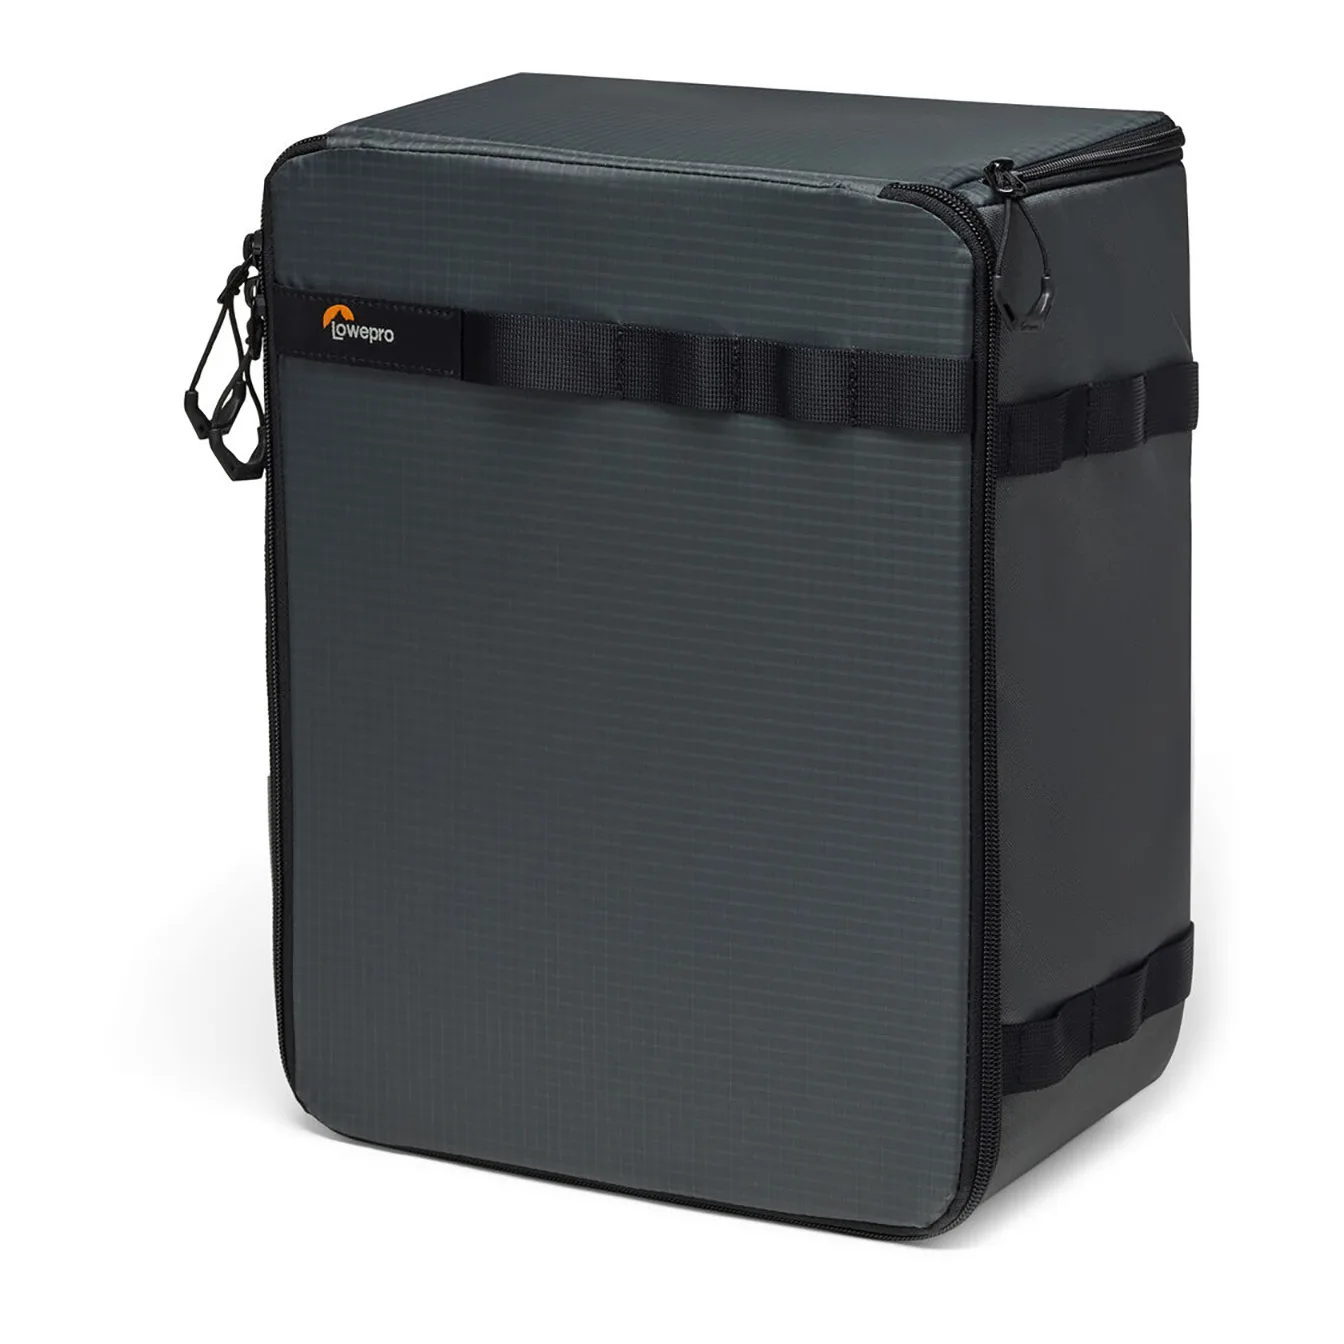
Lowepro Gearup Pro Camera Box XXL II (Dark Gray)
-
ProMaster Bag Insert (Extra Large): Price Guarantee Rent Now The ProMaster Bag Insert (Extra Large) is a more flexible, budget-friendly option that works well for lighter mirrorless setups and everyday carry.
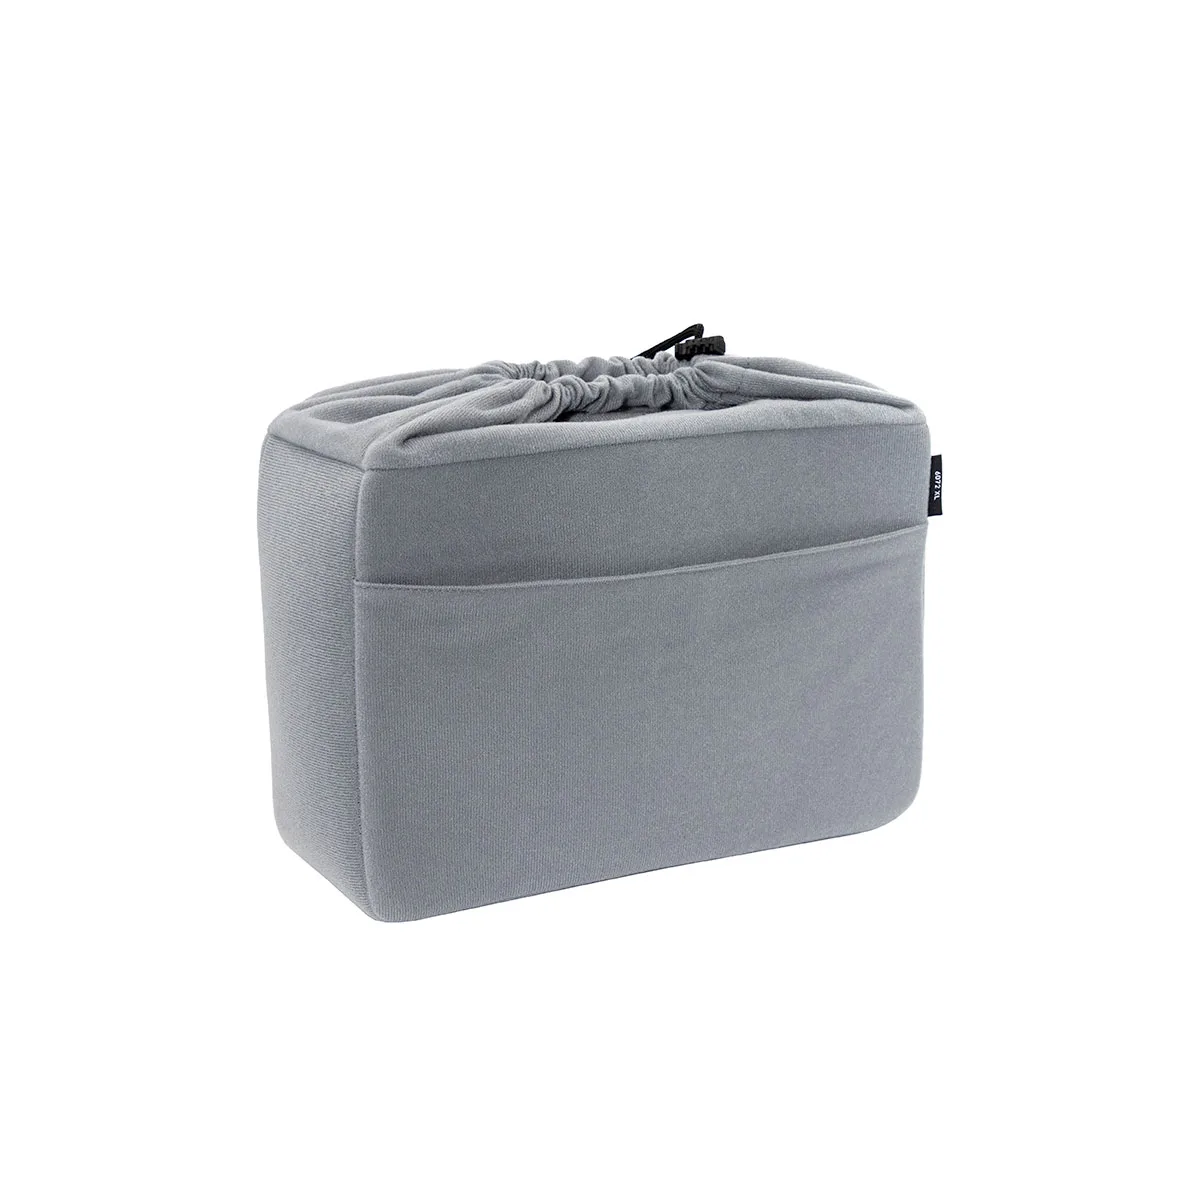
ProMaster Bag Insert (Extra Large)