Quick answer
Most inconsistent tape measure readings come from the end hook's intentional play, inconsistent pulling force, or a bent blade. Check hook rivets for looseness, measure from the same reference point each time, and retire the tape if the blade is kinked or the hook no longer slides and returns correctly.
You measure a board three times and get three different numbers. Before you blame your eyes or the tape, know that some variation is built into every tape measure. The end hook is designed to move slightly so it can measure both inside and outside edges accurately. That movement is called hook play, and it is supposed to be there.
The problem starts when hook play becomes excessive, when the blade bends, or when your measuring technique changes between passes. This guide walks through the most common causes of inconsistent readings, how to test each one, and the point where a tape measure is no longer worth fixing.
Check the end hook first
The end hook on most tape measures slides by roughly the thickness of the hook metal, usually around 1/16 inch. This lets the hook catch on the outside of a board and compress when you push it against an inside edge. If the rivets holding the hook are loose, that movement grows beyond the designed tolerance and your readings drift.
Test it by extending the blade a few inches and gently wiggling the hook side to side and in and out. A small, consistent slide is normal. A hook that rattles, tilts, or moves more than about 1/16 inch needs attention. Tighten the rivets with a pin punch if you have one, or retire the tape if the hook plate is bent.
- Measure a known 12-inch span three times to see how much your readings vary.
- Compare your tape against a second tape on the same board to isolate the tool.
Technique errors that mimic a broken tape
Even a perfect tape gives different numbers if you hold it differently each time. Angling the blade, pulling too hard, or letting the tape sag between long spans all change the reading. On long measurements, the blade can bow downward and add or subtract fractions depending on how you support it.
Pick one reference point and one pulling force, then repeat the same motion every pass. For spans over a few feet, support the blade along its length or use a second person. If your numbers settle down when you standardize your technique, the tape was never the problem.
- Mark your reference point with a pencil so you start from the same spot.
- Use consistent, moderate tension rather than yanking the blade tight.
Blade damage and wear
A kinked, rusted, or bent blade will not lie flat, and a blade that will not lie flat will not measure straight. Run the blade out its full length and sight down the edge. Any visible bend, twist, or corrosion patch is a sign the tape is done. Retraction problems, where the blade hesitates or fails to return fully, also point to a worn spring mechanism.
Print wear is another quiet culprit. If the first inch of graduations is rubbed off or faded, you may be estimating the start point rather than reading it. Compare the first inch against a steel rule to confirm the markings are still legible and correctly spaced.
- Extend the full blade and look for kinks or twists before trusting a reading.
- Check that the first inch of markings matches a known steel rule.
When to fix and when to replace
Tightening a slightly loose hook or cleaning a dirty blade is worth ten minutes. But once the blade is kinked, the spring is weak, or the hook plate is bent, repairs rarely restore the accuracy you need for finish work. A tape measure is a precision instrument, and a compromised one will keep giving you inconsistent numbers.
If you rely on a double sided tape measure for layout work, remember that the bottom scale adds its own variable. Confirm which scale you are reading and measure from the same edge every time. When a tape fails the known-distance test twice in a row, replace it rather than adjusting your projects around a bad tool.
- Retire any tape that varies by more than 1/16 inch over a 12-inch test span.
- Keep a spare tape on hand so a failure never stalls a project.
Tape measure diagnosis: symptom to solution
- Readings drift by 1/16 inch or more: The end hook rivets are loose or the hook plate is bent, allowing more play than the designed tolerance. Tighten rivets if the hook is straight; replace the tape if the plate is bent.
- Numbers change only on long spans: The blade is sagging or you are varying your pulling force between passes. Support the blade along its length and use consistent tension.
- Blade will not lie flat or retract fully: The blade is kinked or the retraction spring is worn. Stop using the tape for precision work and replace it.
- First inch markings look faded or worn: Print wear makes the starting reference unreliable. Verify against a steel rule; replace if the markings are illegible.
Excel Blades measuring tools that hold their reference
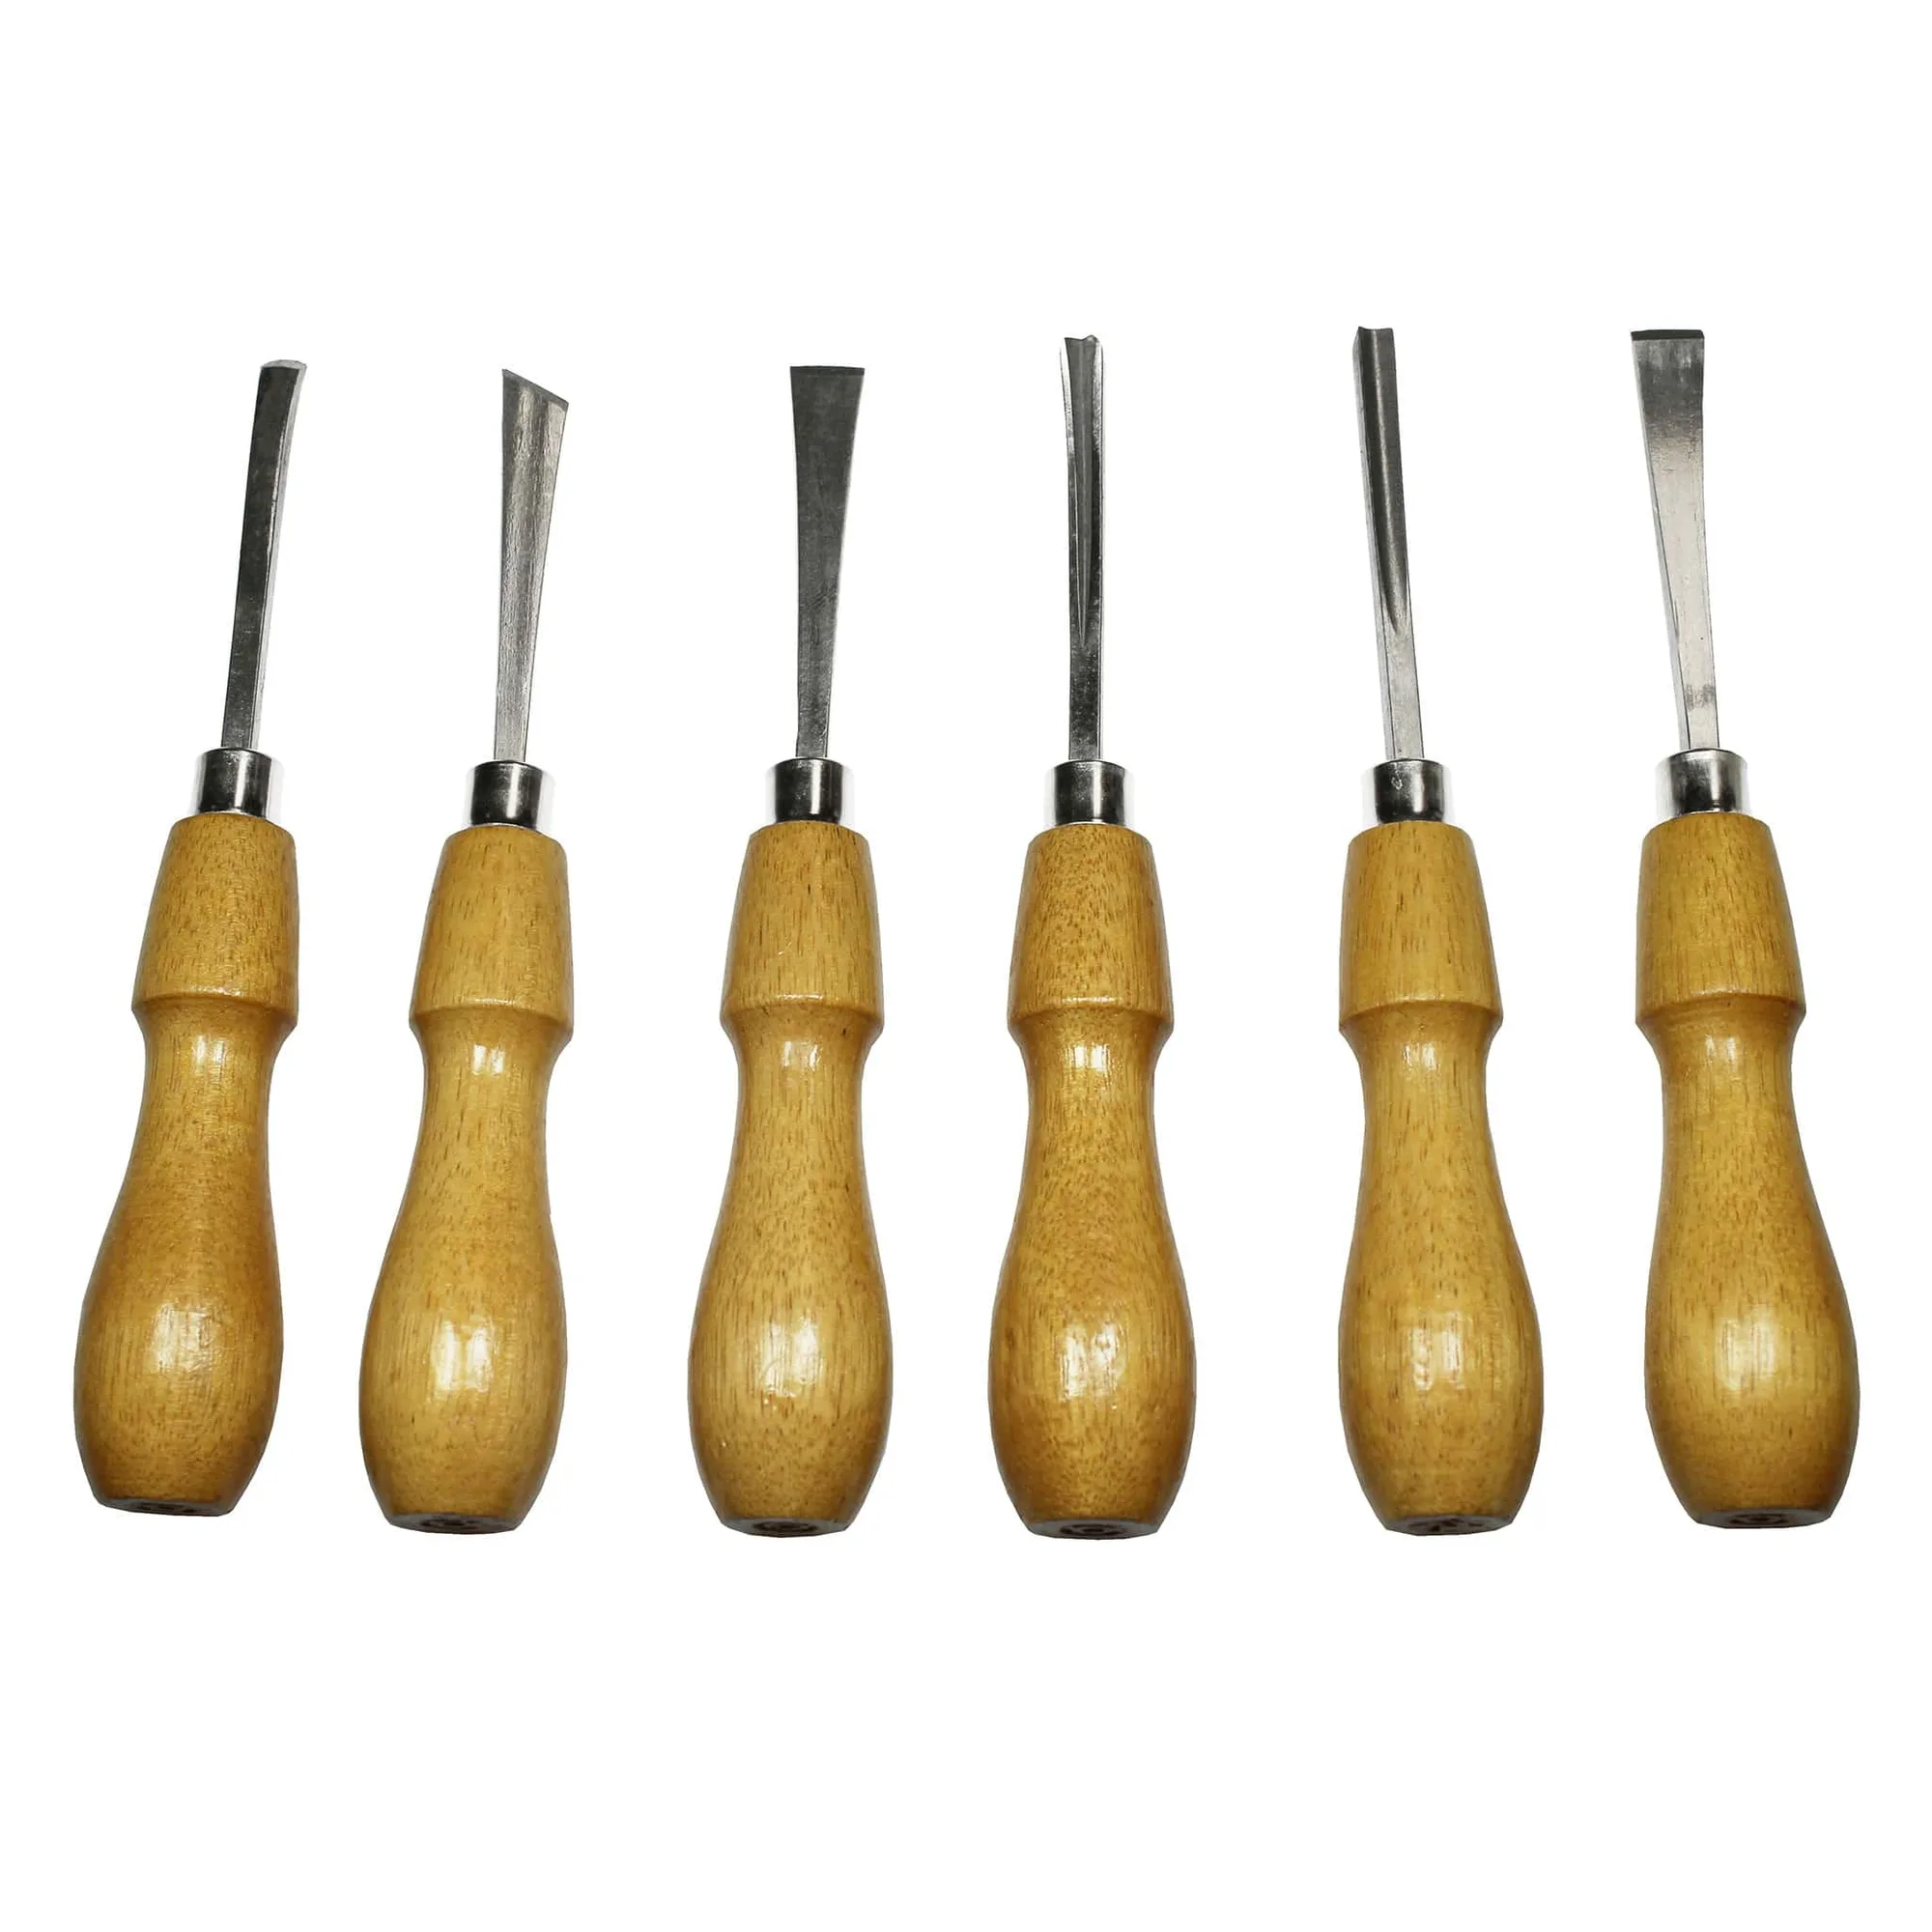
- Deluxe Wood Chisel Set: Excel Blades Deluxe Woodcarving Chisel Set 56009 includes shaped beech wood handles and chisels for carving, chiseling, and detailing wood. When you are trimming a workpiece to fit a measurement, a controlled chisel cut is more predictable than trying to sand or force a piece into place.
Inconsistent tape readings are usually a hook, technique, or blade problem, not a mystery. Run the known-distance test, standardize your method, and replace the tape when it fails twice. A reliable measuring tool is cheaper than a ruined project.