Quick answer
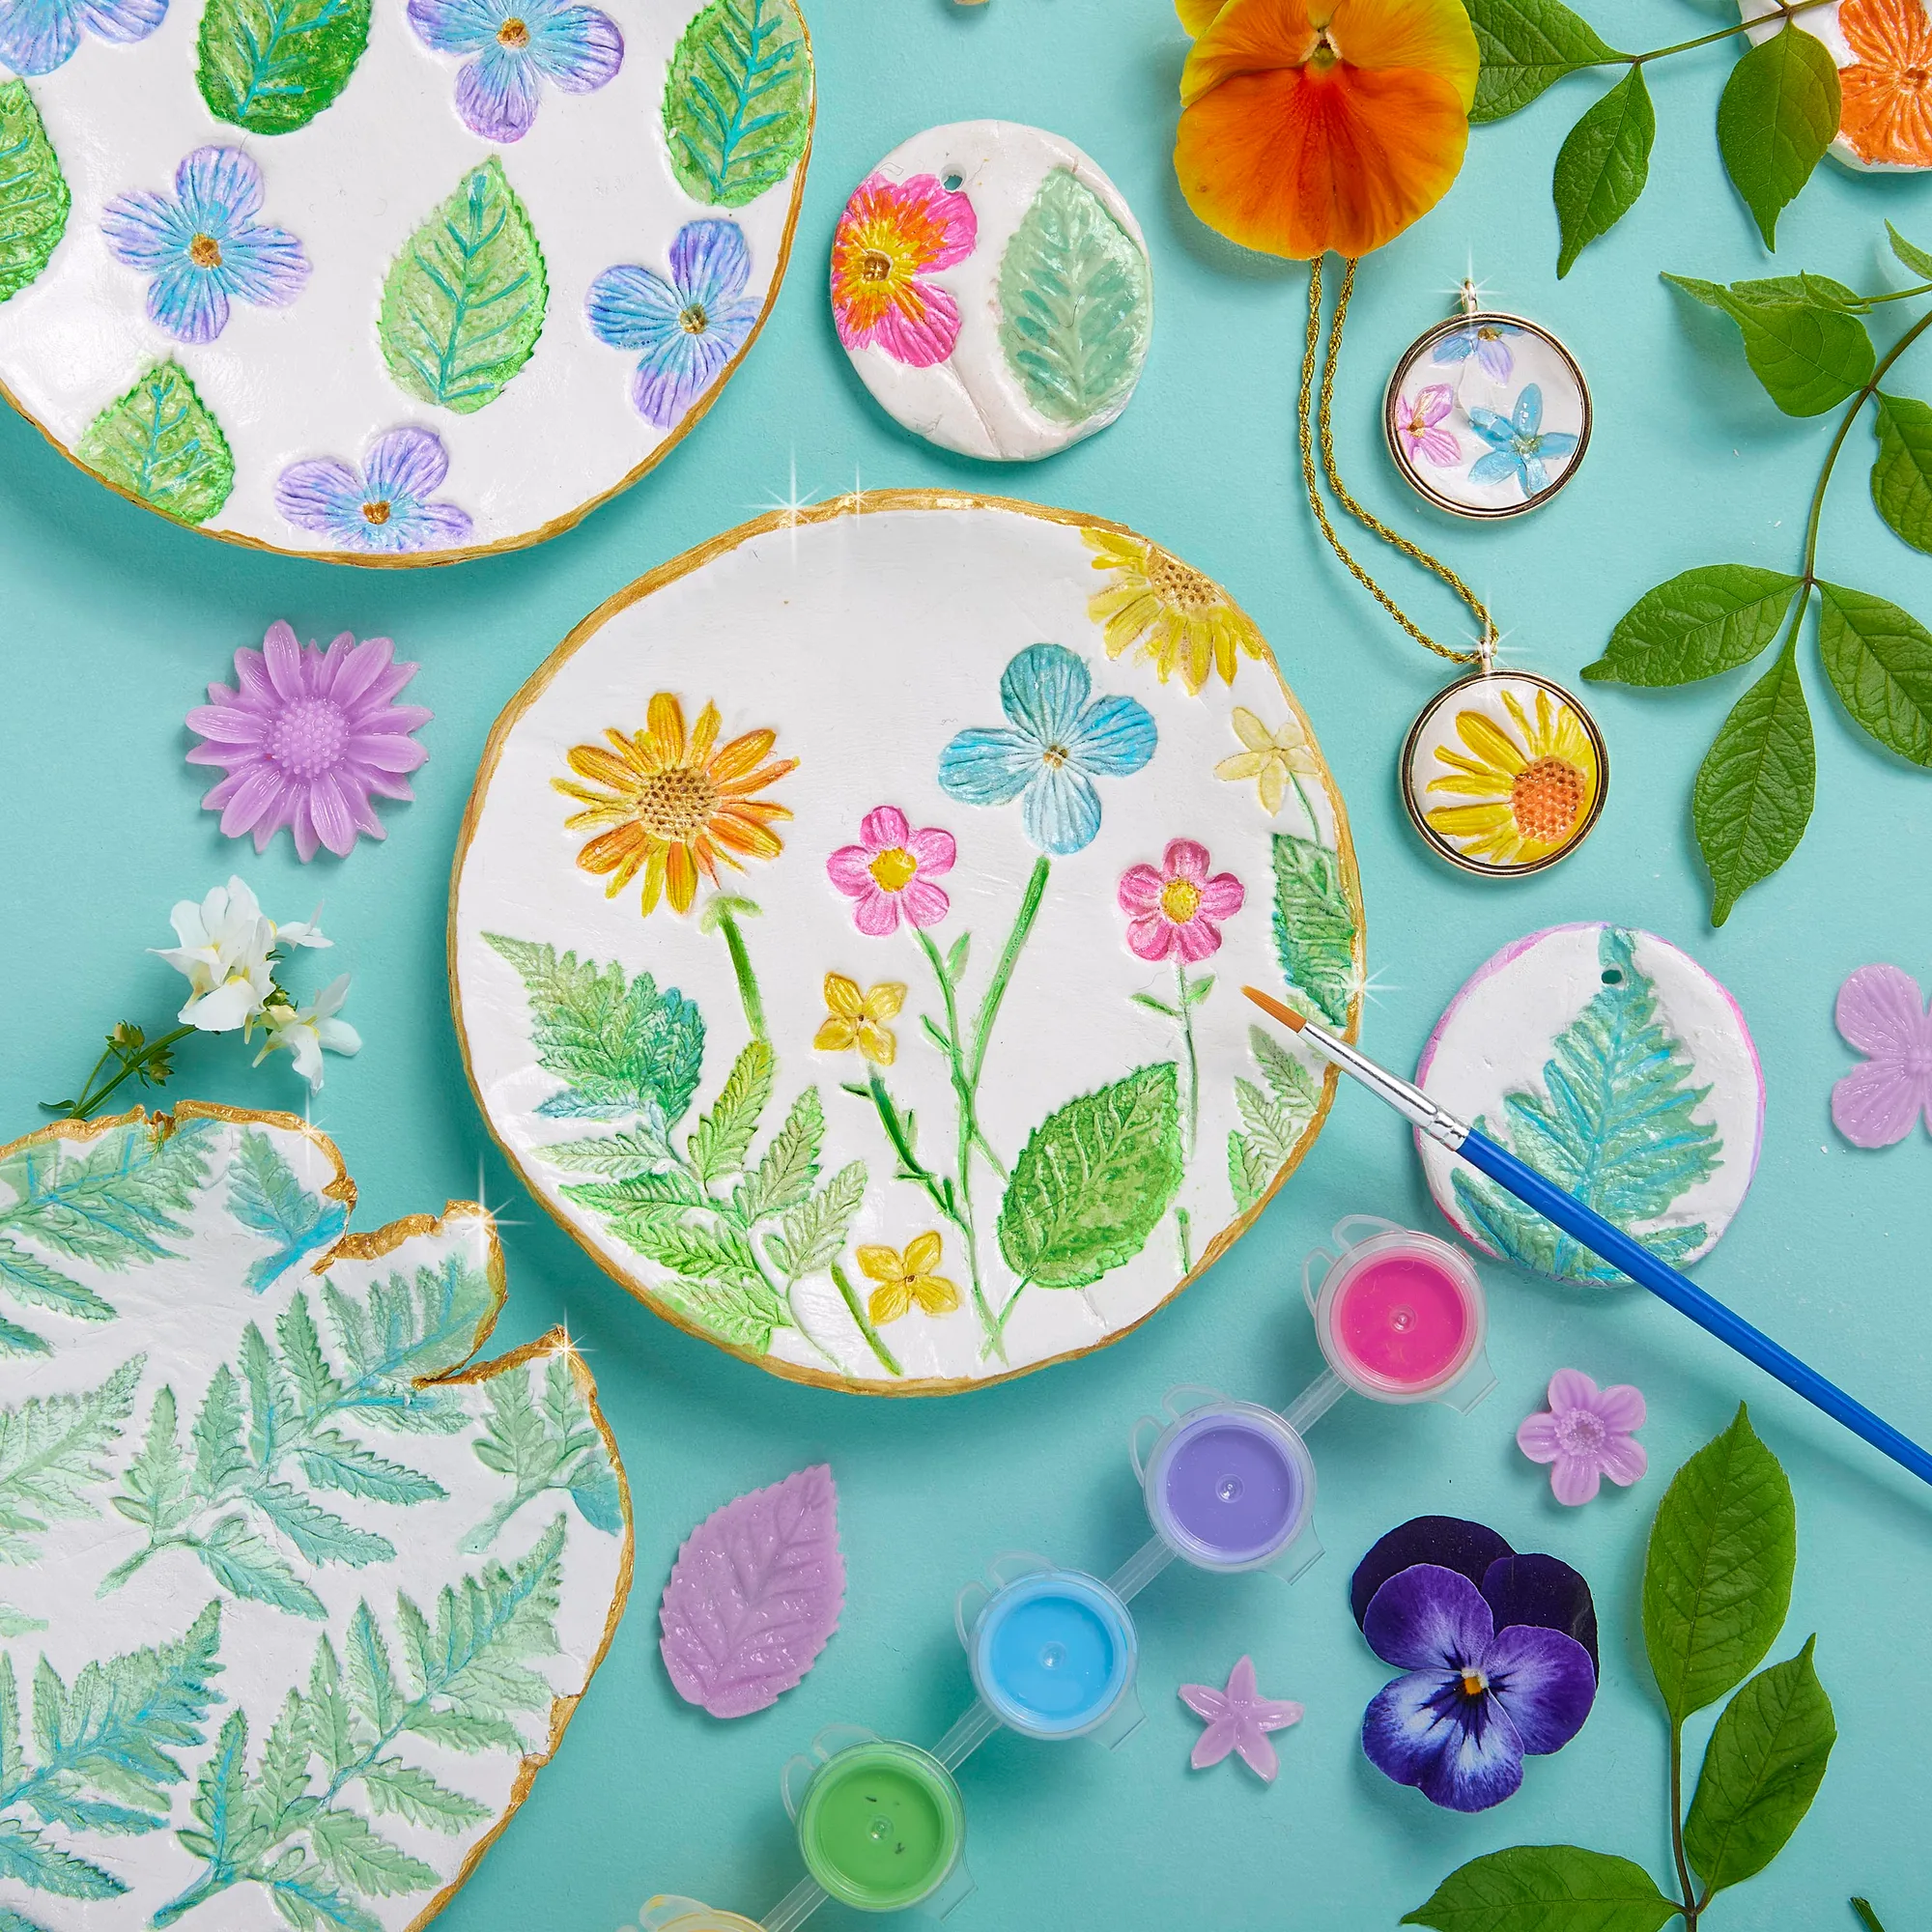
The Wish*Craft Flower Power Pottery kit lets you roll, stamp, paint, and glaze air-dry clay into jewelry pendants and trinket dishes using real leaves or the included botanical stamps.
Why use real leaves vs. the included stamps?
The kit comes with 7 botanical stamps, but you can also press real leaves and flowers into the clay for unique textures. Real botanicals create finer vein patterns but may stick or tear if the clay is too moist. The stamps are more consistent and easier for younger crafters to control.
Both methods work on the same clay base, so you can mix them in one project. Just be sure to clean any plant residue off the clay before painting.
How to make your Flower Power Pottery project
- Prepare your work surface and clay: Lightly dust a clean, flat surface with cornstarch or flour to prevent sticking. Knead the air-dry clay for about 30 seconds until soft and pliable. Roll it out evenly with the wooden rolling pin to about 1/4 inch thickness. If the clay cracks at the edges, it's too dry—sprinkle a few drops of water and knead again.
- Press botanical stamps or real leaves into the clay: Choose a stamp or a clean, dry leaf. Press it firmly but evenly into the clay, then peel away carefully. For deeper impressions, roll over the stamp with the rolling pin. Repeat to create a pattern across the clay surface. Avoid rocking the stamp side to side—it can blur the impression.
- Cut and shape your pieces: Use the included stencil or a small knife to cut out pendant shapes, or press the clay into the bowl template to form a trinket dish. Use the rod to poke a hole for jewelry findings if needed. Smooth any rough edges with a damp finger. Make the hole slightly larger than you think—clay shrinks as it dries.
- Let the clay dry completely: Place shaped pieces on a flat surface and let them air-dry for 24–48 hours. Turn them over halfway through to ensure even drying. Do not use an oven or microwave—it can cause cracking. If a piece feels cool to the touch, it's still damp inside. Wait another day.
- Paint and glaze your dried pieces: Use the 6 paints to color the impressed areas. Let the paint dry, then apply the glaze with the brush for a glossy, protective finish. Attach jewelry clasps or pendants once the glaze is fully dry. Apply glaze in thin, even coats—thick layers can drip and obscure detail.
What's in the box
-
Wish*Craft Flower Power Pottery: Kit includes 1 lb of air-dry clay, a wooden rolling pin, 7 botanical stamps, stencil, 6 paints, glaze, paintbrush, 4 jewelry pendants and clasps, bowl template, and rod. You have everything needed for several projects in one box—no extra tools or trips to the craft store required.
Wish*Craft Flower Power Pottery