Quick answer
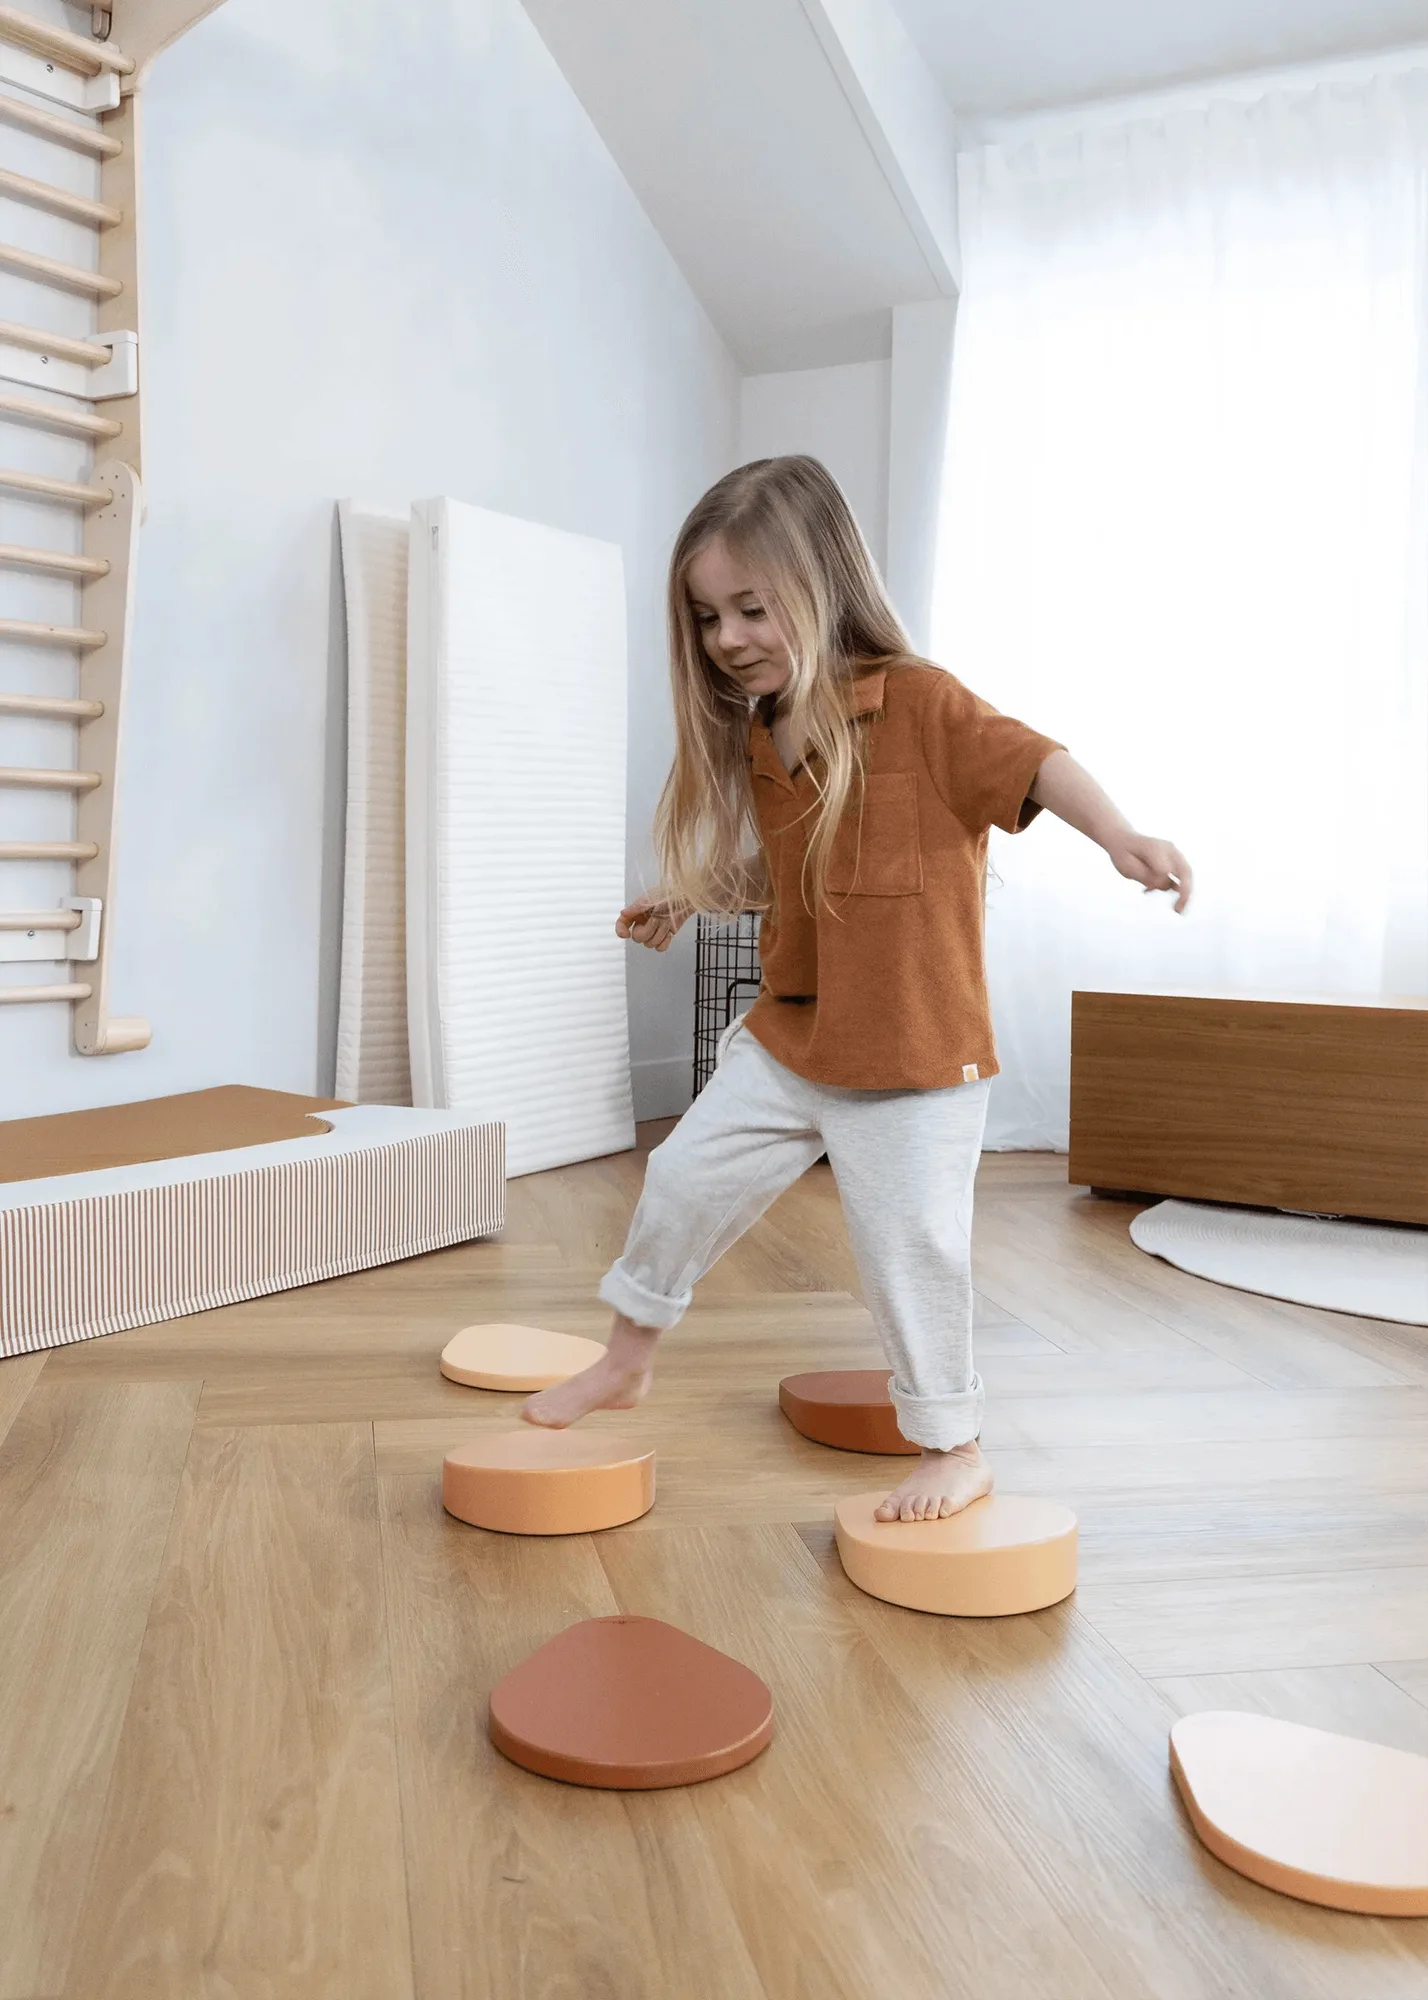
Start with three stones in a short, non-slip line on a flat floor, then add distance and angled surfaces only after your child steps across without looking down. Keep sessions to 10–15 minutes for ages 3–5, stay within arm's reach, and store the set dry. The Set of 6 Wooden Balance Stepping Stones is a practical starter because its flat and angled surfaces let you adjust the challenge as balance improves.
Set up a safe stepping stone zone in five minutes
Clear a 2-by-2-metre area of hard toys, cords, and furniture corners. Wooden balance stepping stones grip best on carpet, a low-pile rug, or a non-slip mat; on bare tile or hardwood, place a yoga mat underneath so the stones cannot slide out from under a foot. Start with three stones spaced about one adult foot-length apart in a gentle curve, not a straight line, so your child has to shift weight side to side. Face the stones so the first and last are the easiest to mount and dismount.
- Check that each stone sits flat with no wobble before your child steps on.
- Keep a clear landing zone at both ends, at least one metre deep.
- Remove socks on smooth floors; bare feet or grip socks reduce slips.
- Put pets and younger siblings outside the zone while the course is in use.
Teach the basic step pattern before adding speed
Model the movement first: step onto the centre of the stone, pause with both feet briefly if needed, then step down. Say the pattern out loud — 'step, stop, look, step' — so your child links balance with a checkpoint rather than rushing. For a 3-year-old, hold one hand for the first few passes; for a 4- or 5-year-old, walk alongside without touching and only steady them if a foot lands off-centre. Once five clean passes happen without a wobble, move the stones slightly farther apart.
- Common mistake: spacing stones too far apart on day one, which teaches jumping instead of balancing.
- Checkpoint: your child can step on and off each stone without grabbing you.
- If they look down constantly, lower the challenge rather than pushing forward.
Turn the stones into balance games for toddlers and older kids
Once the basic pattern is solid, add a purpose to each crossing. A colour call-out game works well because the Set of 6 Wooden Balance Stepping Stones comes in three vibrant colours: you call a colour and your child steps only on that colour, which adds a thinking task to the physical one. For an indoor obstacle course for kids, link the stones to a cushion 'tunnel', a line of painter's tape to walk, and a basket to drop a beanbag into at the end. Rotate the course every few sessions so it stays novel without becoming harder than your child can manage.
- Carry-a-beanbag crossing: hold a small soft object while stepping to build core control.
- Freeze game: pause music and freeze on a stone; restart to continue.
- Story crossing: name each stone a 'river rock' and cross without touching the floor.
- Common mistake: turning every crossing into a race, which trades control for speed.
Keep stepping stones safety in check as skills grow
Re-check the floor and stone positions at the start of every session, because a stone that shifted yesterday may slide today. Watch for the moment your child starts leaping between stones instead of stepping — that is the signal to widen the spacing or add an angled surface, not to add height. Stop the game when your child is tired, distracted, or showing off; most balance injuries happen in the last few minutes of a session when attention drops. Wipe stones with a damp cloth and dry them fully before stacking, since moisture on wood can make the surface slick.
- Never place stones on stairs, beds, or raised platforms.
- Keep the set indoors on stable flooring; grass and gravel hide uneven ground.
- Store flat or stacked in a dry spot, away from radiators and direct sun.
- Retire any stone that develops a splinter, crack, or loose edge.
Step-by-step: run a balance session that actually builds skills
- 1. Clear and check the floor: Remove toys, cords, and rugs that bunch up, then press each stone down to confirm it sits flat. Checkpoint: no stone should rock or slide when you push it sideways.
- 2. Lay out three stones in a gentle curve: Space them about one adult foot-length apart and keep a clear landing zone at each end. Common mistake: starting with all six stones in a long line, which overwhelms beginners.
- 3. Model the step-stop-look pattern: Step onto the centre, pause, look at the next stone, then step down. Say the words as you move. Checkpoint: your child copies the pause rather than rushing straight across.
- 4. Add one challenge at a time: Introduce wider spacing, an angled surface, or a colour call-out — but only one change per session. Common mistake: changing spacing, height, and rules at once, which hides what caused a stumble.
- 5. End on a clean pass and store dry: Finish while your child is still succeeding, then wipe the stones and stack them in a dry spot. Next step: note the spacing that worked so you can start there next time.
Product facts that shape how you use the set
- Set of 6 Wooden Balance Stepping Stones: Set of 6 Wooden Balance Stepping Stones, suitable for children aged 3 and up, with flat and angled surfaces in three vibrant colours. The mix of flat and angled tops lets you start with the steadiest stones and introduce the angled ones as balance improves, so one set covers several skill stages.
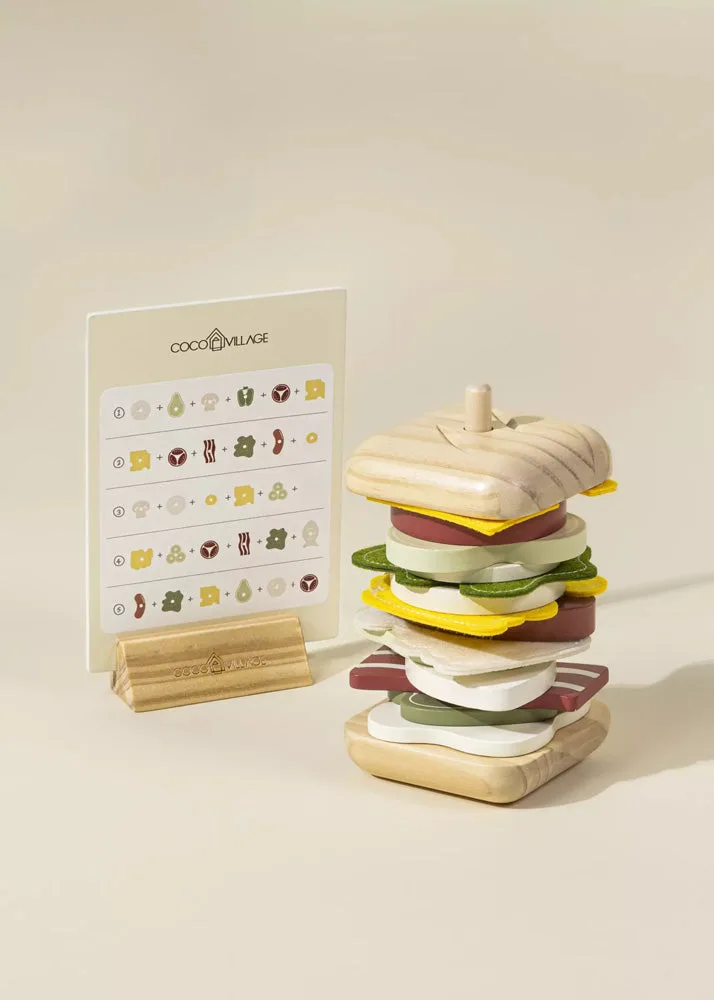
- Wooden Stackable Sandwich: Wooden Stackable Sandwich includes an illustrated guide, a wooden base, two ciabatta bread slices, and play pieces such as cucumber, tomato, cheese, lettuce, and onion. The small play pieces make a good carry-along challenge for a stepping-stone crossing, adding a coordination task without extra equipment.
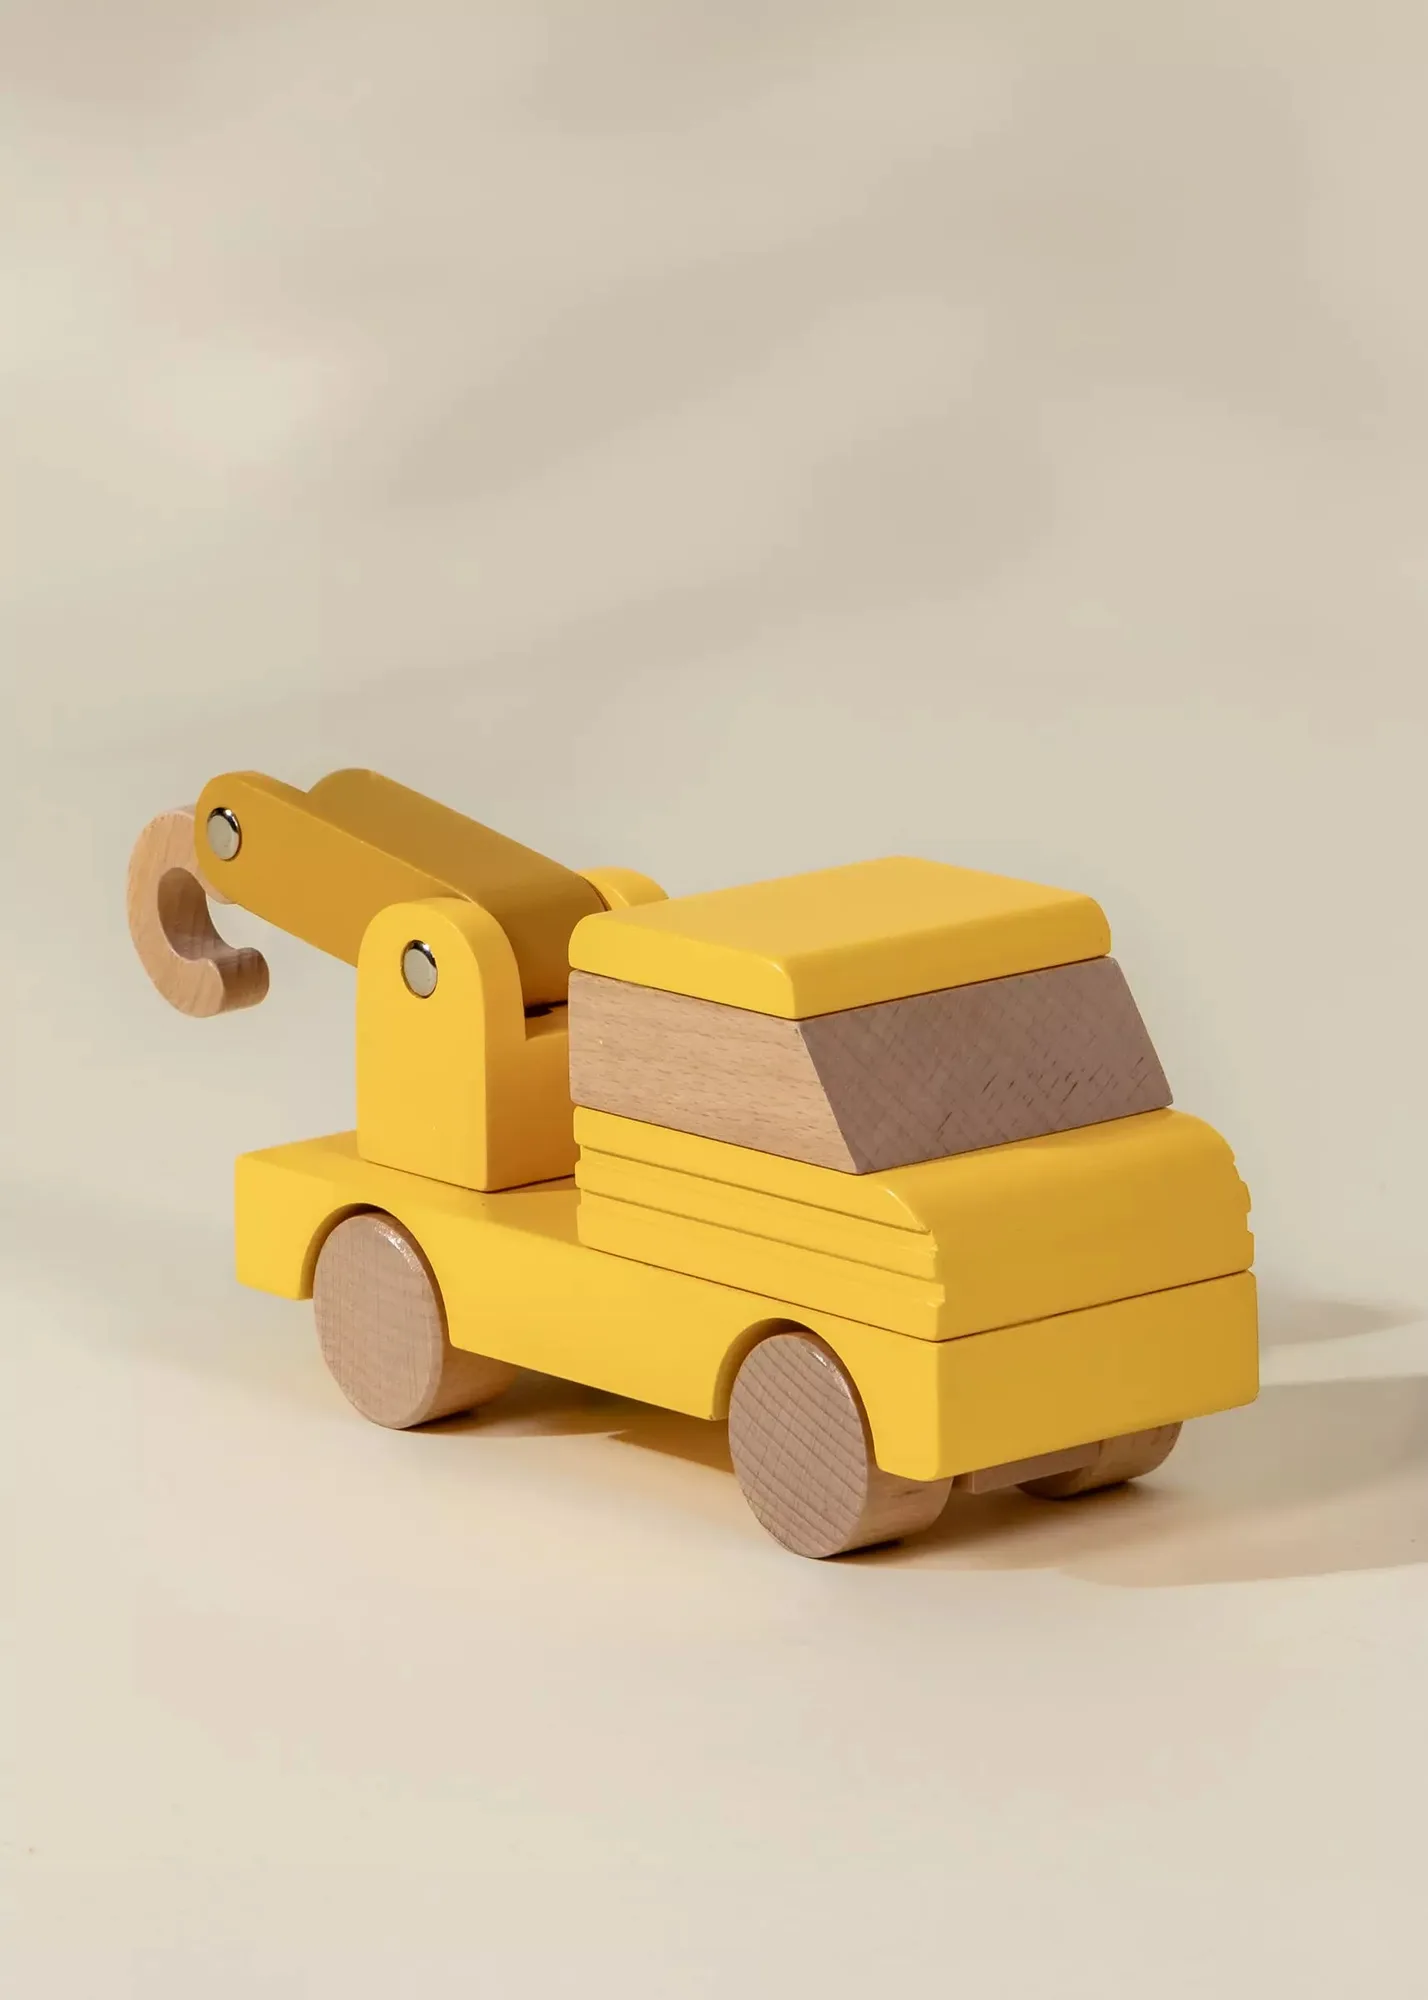
- Wooden Construction Vehicle - Tow Truck: Wooden Construction Vehicle - Tow Truck measures 18cm x 9.2cm x 7cm and is suitable for ages 3 and up. Its size makes it easy to place at the end of the course as a 'park here' target, giving the crossing a clear finish point.