Start with the age limit and the small parts
The Wooden Play Construction Workbench with Miter Saw is listed as suitable for children 3 years and older. The catalog also carries a choking-hazard warning because the set contains small parts, so it is not suitable for children under 3. If you have a younger child in the house, plan where the workbench will live before you assemble it.
The set includes 6 nails, 6 screws, and 12 nuts. Those are the pieces most likely to migrate into other rooms, so decide on a tray or drawer routine from day one. The workbench has two drawers and a tool shelf, which gives you built-in places to keep the hardware together when play is finished.
Assemble and place the workbench in four steps
Adult assembly is required, and the catalog asks you to read the assembly instructions before use and keep them for future reference. Work through these steps in order so the workbench is stable and the small hardware stays accounted for.
- 1. Unpack and count the parts away from children: Keep all assembly parts and packaging materials out of reach of children. Check the hardware against the included list before you start so you are not hunting for a missing nut later.
- 2. Assemble on a clear, flat surface: Follow the supplied assembly guide. The workbench footprint is 59.7cm x 69.8cm x 29.6cm (13.5” x 27.5” x 11.6”), so clear a floor area slightly larger than that while you build.
- 3. Choose a spot with room to stand and turn: Place the workbench where your child can approach it from the front and use the bench vice and miter saw without bumping a wall. Keep it away from stairs, radiators, and anything a child might pull down.
- 4. Load the drawers and shelf before first play: Put the nails, screws, and nuts into the two drawers, and set the miter saw, bench vice, and tool shelf in their places. A consistent home for each tool makes cleanup part of the play rather than a chore after it.
What the workbench includes
-
Wooden Play Construction Workbench with Miter Saw: Includes 1 realistic miter saw, 2 drawers, 1 bench vice, 1 tool shelf, 6 nails, 6 screws, and 12 nuts. Knowing the exact piece count helps you set up a storage routine and spot missing hardware during regular checks.
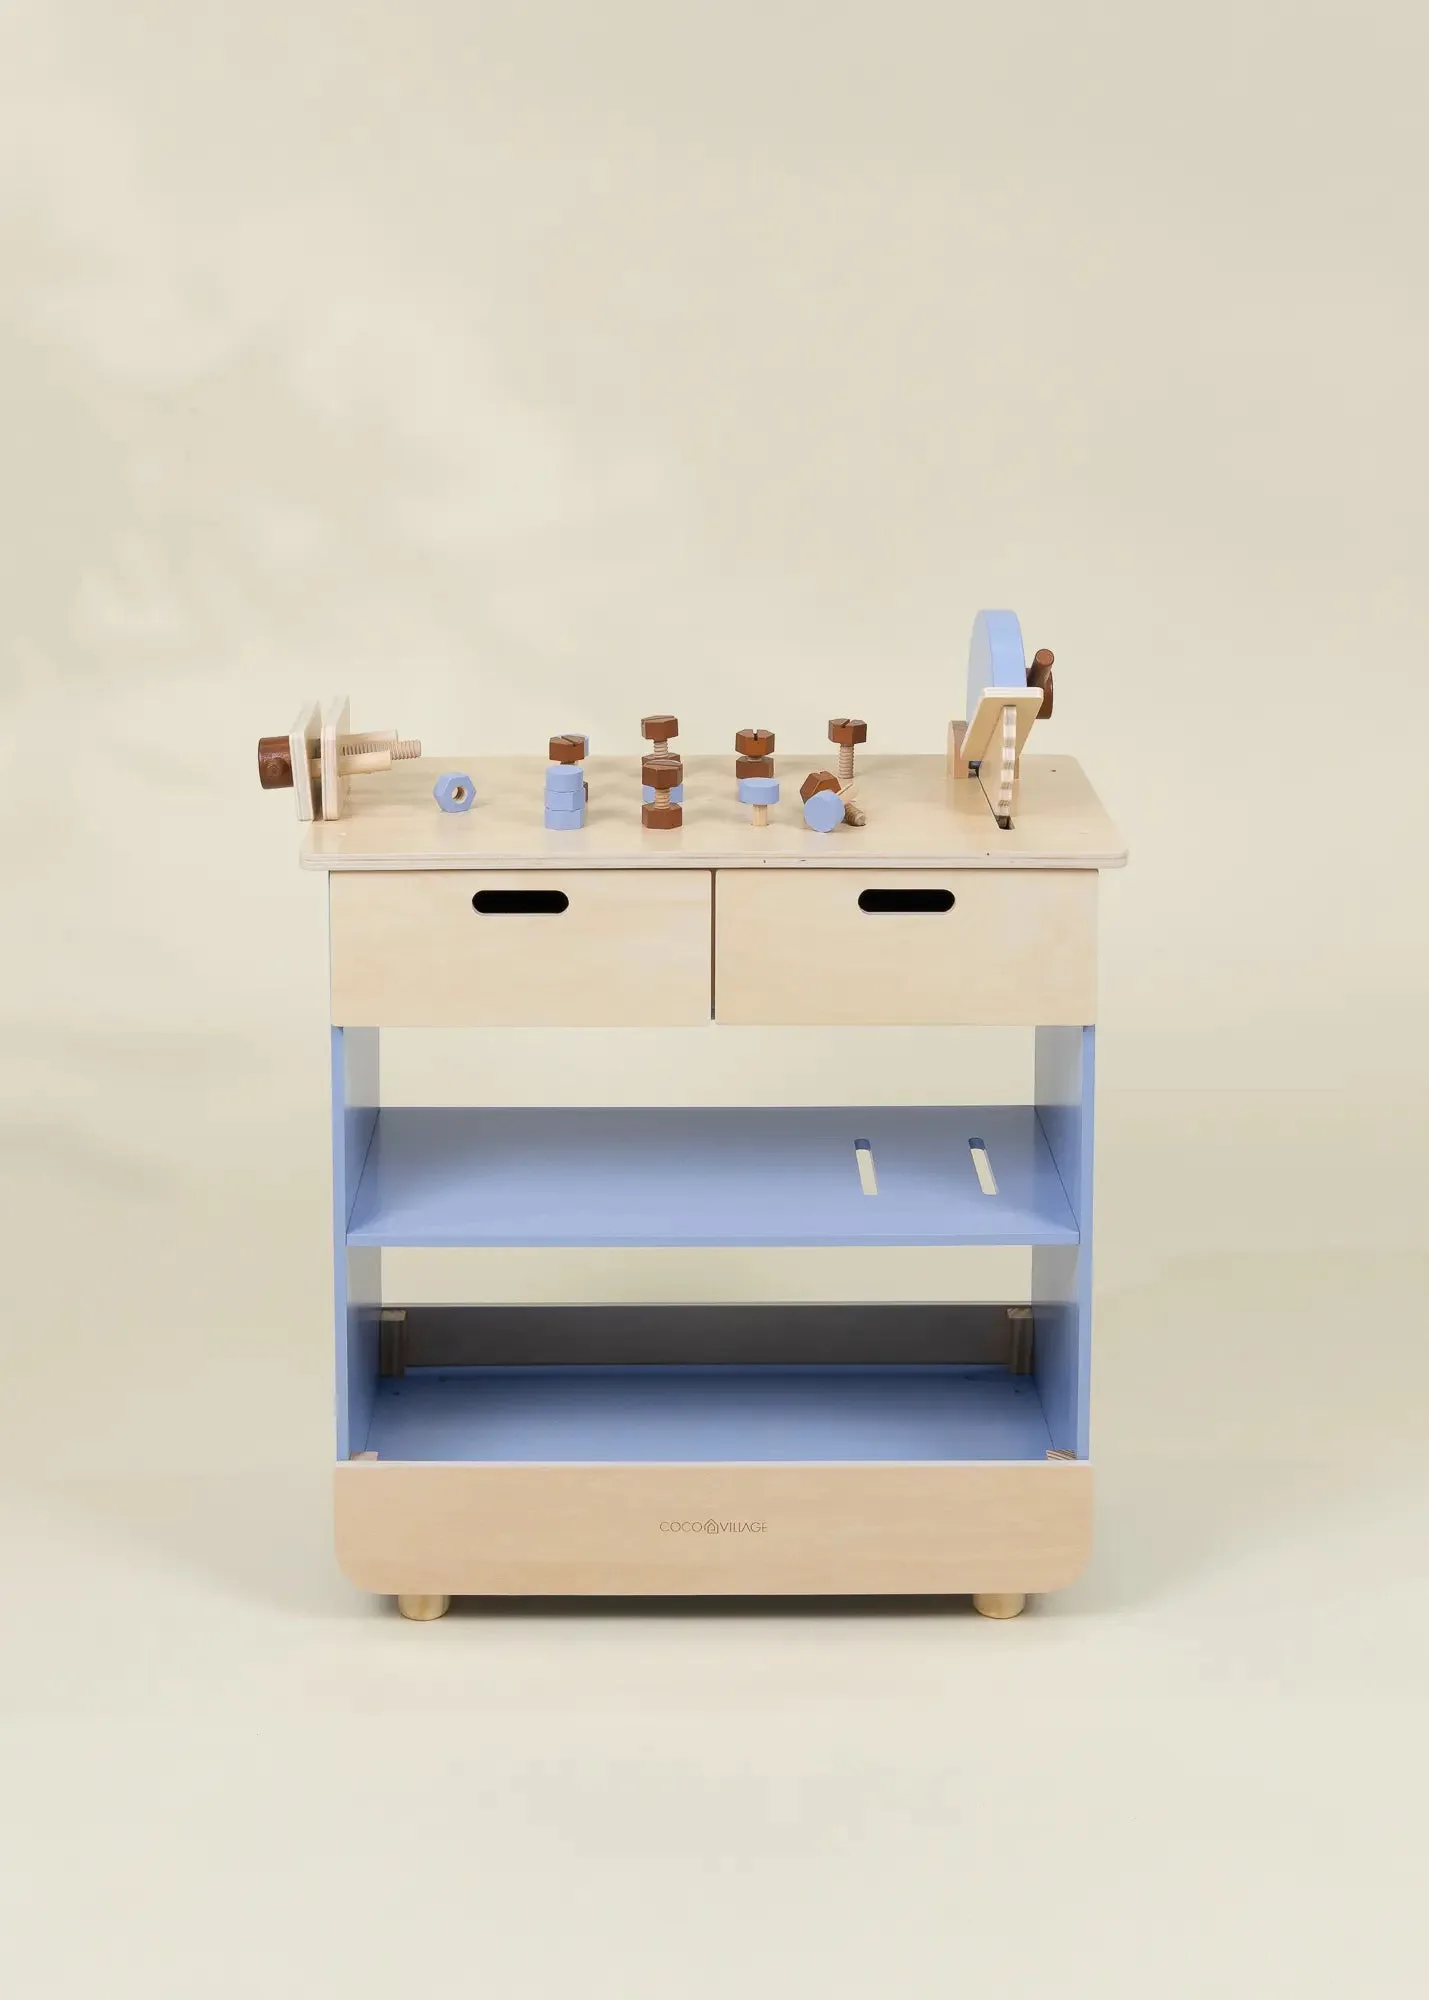
Wooden Play Construction Workbench with Miter Saw
-
Wooden Play Construction Workbench with Miter Saw: Dimensions: 59.7cm x 69.8cm x 29.6cm / 13.5” x 27.5” x 11.6”. Use these measurements to confirm the workbench fits your intended playroom corner before assembly.
-
Wooden Play Construction Workbench with Miter Saw: Suitable for children 3 years and older. This is the listed age range; it is not a newborn or toddler-under-3 toy.
Set up the miter saw and bench vice for realistic play
The miter saw and bench vice are the two features that make this workbench feel like a real workshop. Place the bench vice where your child can clamp a piece of play wood or a spare nut while they work the saw. Keep the saw on its designated spot on the bench top so it does not become a loose piece on the floor.
The catalog describes the workbench as inviting children to build, assemble, and imagine like real little builders. You can support that by adding a small basket of scrap wood or cardboard offcuts, but keep the supplied screws and nuts in the drawers so they do not get mixed into other toy bins.
Safety checks to build into your routine
The catalog includes several operating and safety instructions. Treat these as part of setup, not a one-time task.
- Inspect before each use: Check the workbench and accessories for damage, cracks, or wear. Discontinue use if any piece is damaged, cracked, or worn.
- Tighten hardware regularly: Check screws and hardware regularly and tighten if needed. This is especially important on a play workbench that gets leaned on and bumped.
- Supervise play: Adult supervision is required. The small parts are a choking hazard, so keep the workbench use within sight.
- Keep it pretend: Use only as a pretend play toy. The miter saw and tools are not real tools and should not be used on real materials.
Clean the workbench without damaging the wood
Wipe clean with a soft, damp cloth. Do not use harsh chemicals, bleach, or abrasive cleaners. That is the full care instruction supplied for this workbench, so skip furniture polish or disinfecting wipes unless the manufacturer confirms otherwise.
Certification and safety details
- Wooden Play Construction Workbench with Miter Saw: Certified ASTM / SOR / CE / AS/NZ ISO 8124 / UKCA. These are the listed certifications; they indicate the workbench meets the named toy safety standards.
- Wooden Play Construction Workbench with Miter Saw: Choking hazard: contains small parts. Not suitable for children under 3 years. This is the key age and supervision limit to plan around, especially in homes with younger siblings.
Make cleanup part of the build
A pretend play workbench works best when the child can reset it independently. Label the two drawers with simple pictures or words—one for screws and nuts, one for the saw and vice—so your child knows where things go. At the end of play, count the six nails and six screws back into their drawer. If something is missing, check the floor and the tool shelf before the next session.
The workbench is a compact 69.8cm wide, so it fits in a corner or along a playroom wall. Keep a small mat underneath if you have hard floors; it will catch dropped nuts and make the workbench less likely to slide when your child leans on the vice.