Quick answer
Mount the ZEISS Conquest V4 3-12x56 with rings high enough to clear its 56mm objective, set eye relief at 12x before tightening, zero at 100 metres on 12x, then set the capped multi-turn turrets. Confirm the scope is level and the parallax is fixed for your intended distance before you hunt.
Why the 56mm objective changes your mounting plan
The 56mm objective is the defining feature of this scope for low-light use, but it also sets the minimum ring height. Standard low rings often will not clear a barrel with a heavy taper or a rail, so test-fit the scope before you buy rings. The 30mm tube gives you more ring options than a 1-inch tube, but the larger objective still drives the height decision.
The fixed parallax on this model means you cannot dial out parallax error at different distances. That makes consistent cheek weld and correct eye relief more important than on a scope with adjustable parallax.
What the capped turrets mean for zeroing
The Conquest V4 3-12x56 uses capped elevation and windage turrets with a multi-turn adjustment range, and ZEISS lists 100 MOA of elevation adjustment. Capped turrets protect the settings in the field, but they also mean you remove the cap to make adjustments. Treat the caps as a checkpoint: if a cap is loose or missing, your zero is exposed to bumps and moisture.
The reticle 20 is a non-illuminated design, so low-light performance depends on the 6-layer transmission coatings and the 56mm objective gathering light, not on a battery. That is an advantage for reliability, but it means you must be able to see the reticle against the target without illumination.
Step-by-step ZEISS Conquest V4 3-12x56 setup
- Check ring height with the 56mm objective: Test-fit the scope in the rings before tightening. You need visible clearance between the objective bell and the barrel or rail. If the bell touches, go up one ring height. Common mistake: buying low rings because they look tidy, then discovering the objective contacts the barrel. Aim for at least a few millimetres of clearance at the closest point.
- Set eye relief at 12x: Set the scope to 12x, shoulder the rifle in your normal hunting stance and slide the scope forward or back until the image is full and shadow-free. Tighten the ring screws evenly in a cross pattern. Common mistake: setting eye relief at 3x, which changes the apparent eye box at higher magnification. Re-check eye relief in a low-light stance, since stock position often changes when you are waiting for game.
- Level the reticle: Use a plumb line or a levelling kit to align the vertical reticle post with gravity while the rifle is held level. Tighten the rings to the manufacturer's torque spec. Common mistake: levelling the scope to the rifle's action instead of to gravity, which tilts the reticle and shifts windage at distance. Confirm level again after final tightening; rings can rotate the tube slightly.
- Bore-sight and start at 25 metres: Remove the bolt or use a bore-sight collimator to get the reticle close to the bore axis. Fire the first group at 25 metres on 12x. Common mistake: starting at 100 metres and wasting ammunition when the scope is far off paper. If you cannot get on paper at 25 metres, stop and re-check the mount before adjusting the turrets.
- Zero at 100 metres on 12x: Fire three-shot groups at 100 metres, adjusting elevation and windage after each group. Remove the caps, turn the turrets in the direction indicated by the point of impact, and refit the caps after each adjustment. Common mistake: chasing a single shot instead of a group. Let the barrel cool between groups; a hot barrel can move impact.
- Set and record your turret zero: Once the group centres, loosen the turret set screws and align the zero marks without moving the turret. Record the number of clicks from the mechanical stop so you can return to zero after dialling. Common mistake: forgetting to tighten the set screws, which lets the zero mark drift. Photograph the turret setting on your phone as a backup record.
- Confirm low-light performance and reticle visibility: At dusk, set the scope to 6x and then 12x and check that the reticle 20 remains visible against a dark target. Clean the objective and ocular with a lens cloth before the hunt. Common mistake: judging low-light performance through a dirty objective, which scatters light. If the reticle disappears at last light, reduce magnification rather than moving your eye closer.
Product facts that affect setup
-
ZEISS Conquest V4 3-12x56 Ret 20 Riflescope: 56mm objective lens diameter with a 30mm aircraft-grade aluminium tube. The large objective requires taller rings than a 40–50mm scope, and the 30mm tube limits you to 30mm rings.
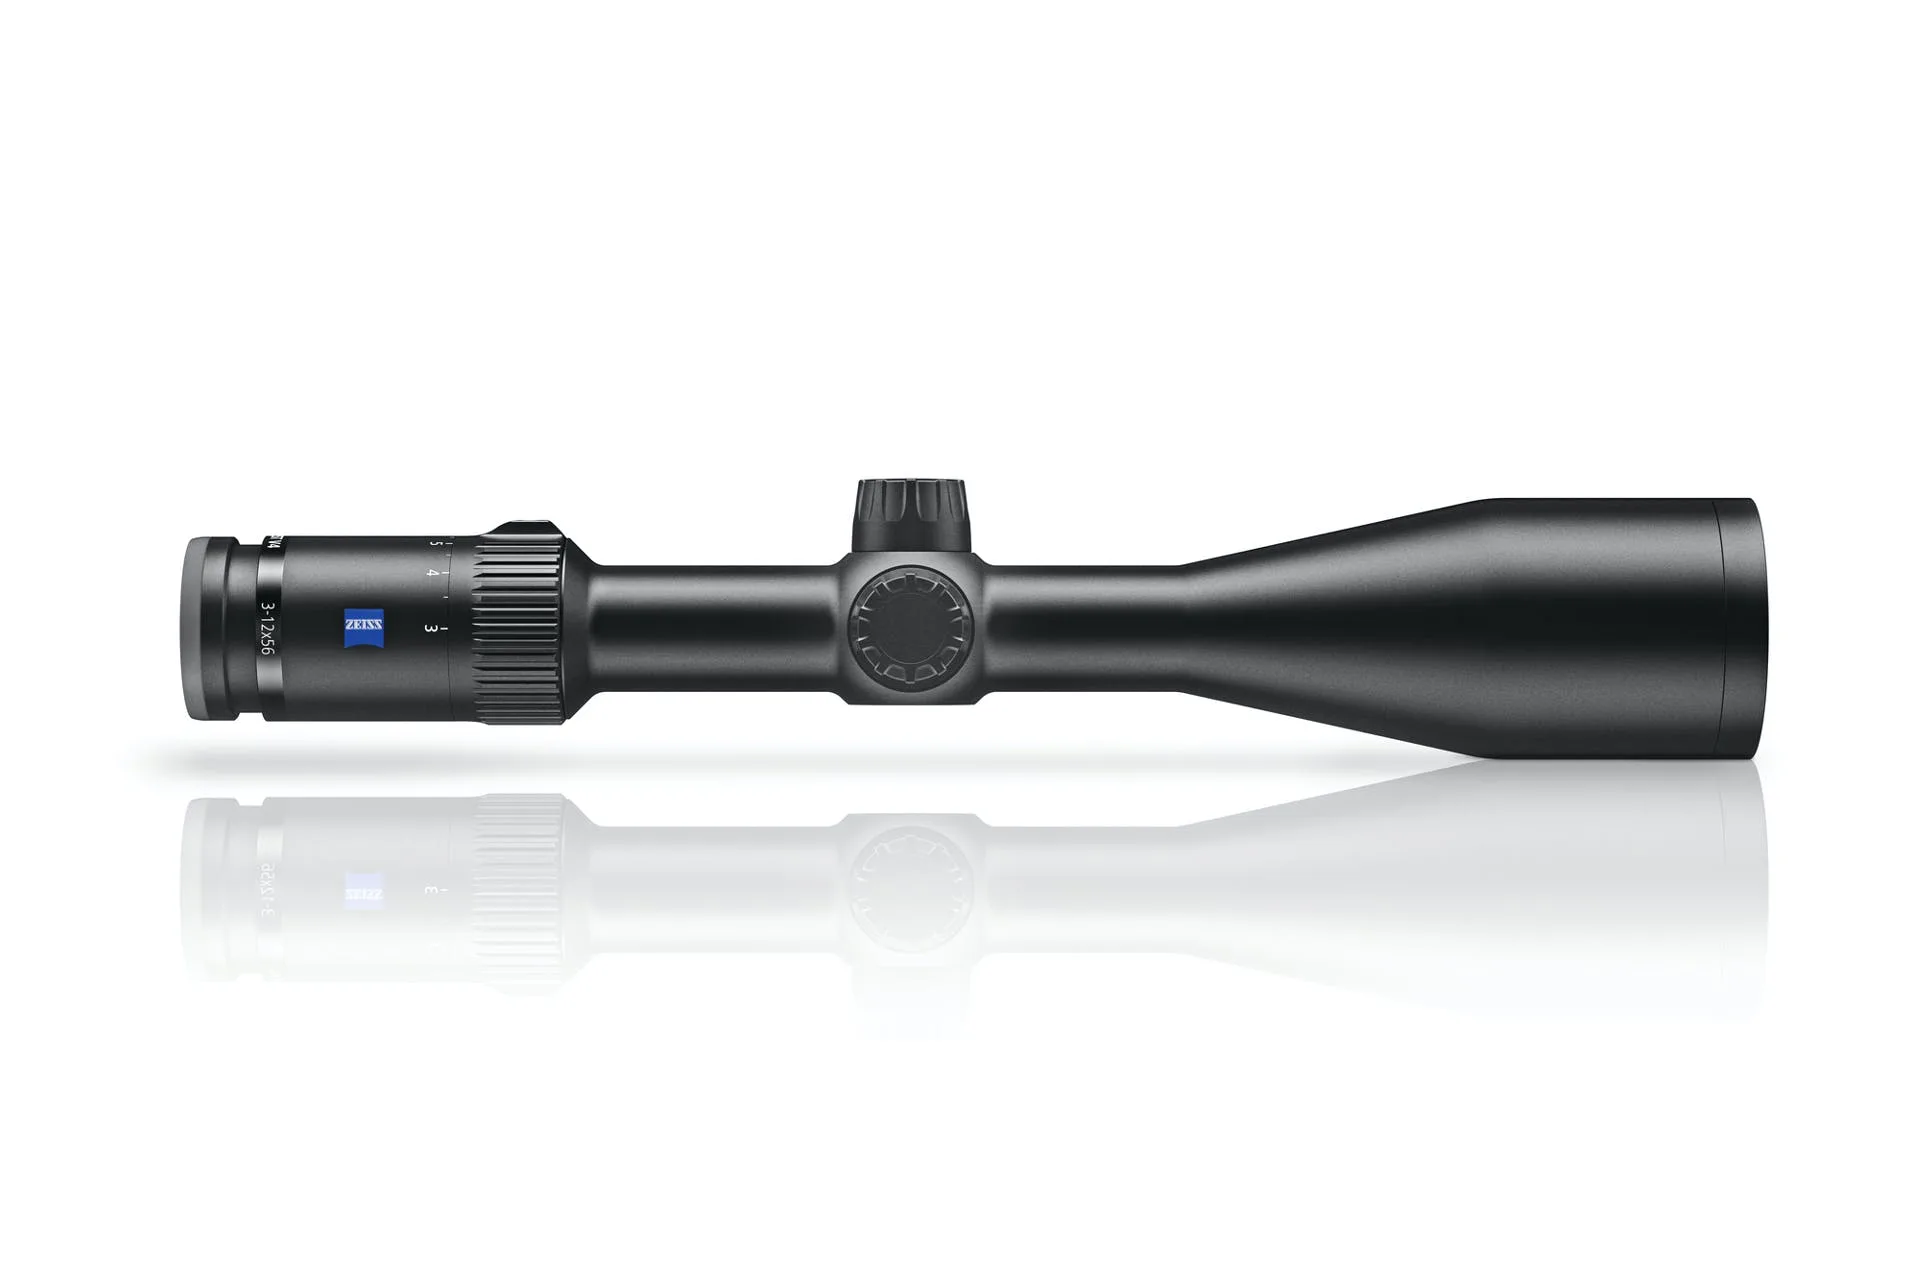
ZEISS Conquest V4 3-12x56 Ret 20 Riflescope
-
ZEISS Conquest V4 3-12x56 Ret 20 Riflescope: Capped elevation and windage turrets with a multi-turn range and 100 MOA elevation adjustment. You can dial long-range elevation, but the caps must be refitted and checked after every adjustment session.
-
ZEISS Conquest V4 3-12x56 Ret 20 Riflescope: Fixed parallax and 3–12x magnification. You cannot adjust parallax for different distances, so eye relief and cheek weld must be consistent at 12x.
-
ZEISS Conquest V4 3-12x56 Ret 20 Riflescope: T 6-layer transmission coatings reach 90% light transmission, with LotuTec external coatings. Low-light brightness depends on clean lenses; LotuTec helps shed moisture, but you still need to clean the objective before a hunt.