Quick Answer
To zero a long range scope for hunting, start with a bore sight at 25 yards, then shoot a three-shot group at 100 yards to adjust windage and elevation. Fine-tune at your intended hunting distance, typically 200-300 yards, using consistent ammunition and a stable rest.
Prepare Your Rifle and Scope
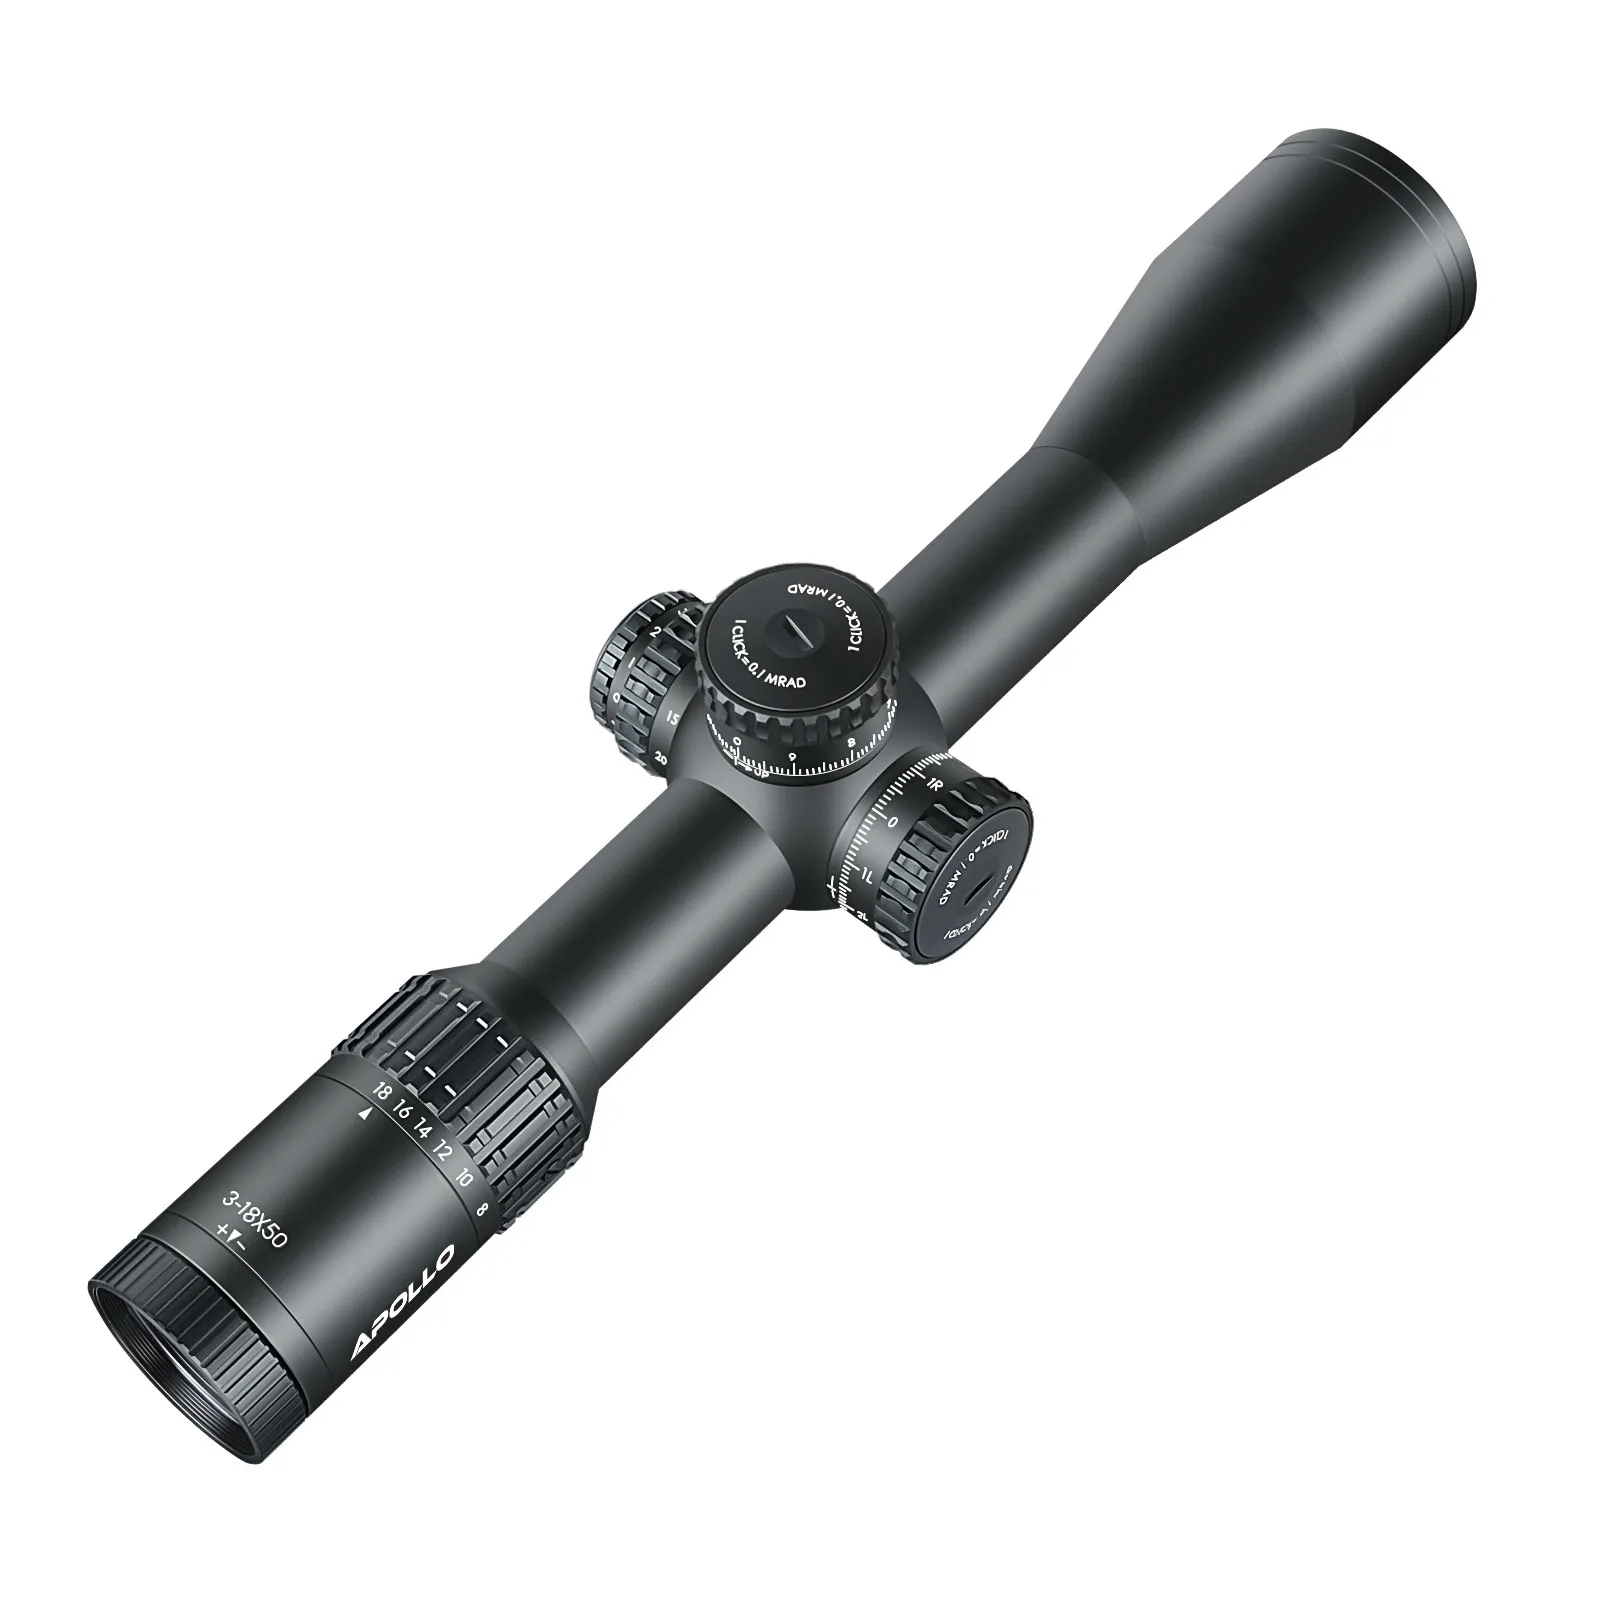
Before heading to the range, ensure your scope is properly mounted and torqued to spec. Use a leveling kit to keep the reticle plumb with the rifle action. For a long range hunting setup, a scope with a 30 mm or 34 mm tube like the Apollo Nemesis 3-18×50 provides the adjustment range needed for extended distances.
Select a single lot of high-quality hunting ammunition and stick with it throughout the zeroing process. Changing ammo mid-session can shift point of impact and waste time.
Bore Sight at Close Range
Start at 25 yards. Remove the bolt (if possible) and look through the bore to center the target. Without moving the rifle, adjust the scope reticle to the same point. This gets you on paper quickly and saves ammo. If your rifle doesn't allow bore sighting, use a laser bore sighter or start at 50 yards with a large target.
Fire a Three-Shot Group at 100 Yards
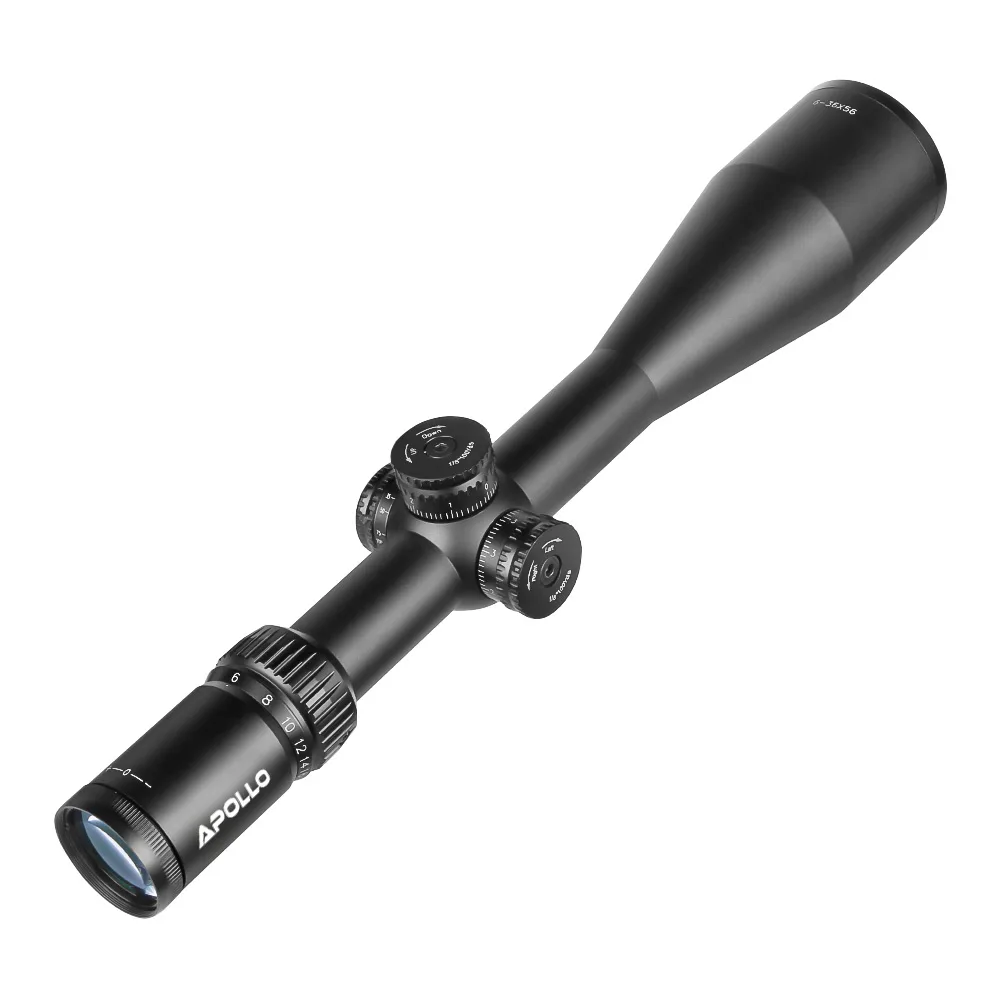
From a solid rest, fire three rounds at a 100-yard target. Measure the center of the group relative to your aiming point. Adjust windage and elevation turrets based on the distance: at 100 yards, 1 MOA equals about 1 inch. Many long range scopes, including the Apollo Goliath 6-36×56, offer push-pull locking turrets that prevent accidental bumps during hunting.
Confirm at Your Hunting Distance
Once your 100-yard zero is consistent, move to your typical hunting range—often 200 or 300 yards. Fire another three-shot group and make small adjustments. For extreme-range hunting beyond 800 meters, a first focal plane reticle like the one in the Apollo Nemesis allows holdovers without scaling errors at any magnification.
Step-by-Step Zeroing Process
- Bore Sight at 25 Yards: Align the bore with a small target, then adjust the reticle to match. This gets you on paper with minimal ammo. Common mistake: skipping this step can waste a dozen rounds just finding the target.
- Shoot and Adjust at 100 Yards: Fire a three-shot group, measure the center offset, and adjust turrets accordingly. One MOA click moves impact about 1 inch at this range. Checkpoint: ensure your scope is level and your rest is stable before each group.
- Fine-Tune at Hunting Distance: Move to 200-300 yards and repeat the group-and-adjust process. Confirm your zero under field conditions if possible. Common mistake: assuming a 100-yard zero is enough for longer shots—always verify at your actual hunting range.
- Record Your Settings: Note the turret zero, magnification setting, and ammunition type. Use a dope card or scope-mounted indicator for quick reference in the field. Checkpoint: a written record saves time if your scope gets bumped or you switch ammo later.
Scopes That Make Zeroing Easier
- Apollo Nemesis 3-18×50: The Apollo Nemesis 3-18×50 combines a 34 mm tube, first focal plane MOA reticle, and premium coated glass for unmatched clarity and tracking precision. A 34 mm tube provides more elevation travel for long-range shots, and the FFP reticle keeps holdovers accurate at any zoom level—critical when you're zeroing at different distances.
- Apollo Goliath 6-36×56: The Apollo Goliath 6-36×56 offers push-pull locking turrets, ultra-long eye relief, and a bright 56 mm objective for serious reach and clarity. Locking turrets prevent accidental adjustment while carrying through brush, and the generous eye relief makes it comfortable to shoot from field positions during the zeroing process.