Quick answer
For most everyday bags, a closed-end nylon zipper with a wide tape is the most forgiving choice: it bends around curves, is easy to shorten, and won't add much weight. Choose a metal zipper when you want a dressier look and a more rigid opening, and choose a separating zipper only when the zipper needs to open completely, such as on a jacket or a removable pouch. Match zipper size to the bag's scale and the fabric's weight, not to the pattern's finished dimensions.
Metal vs nylon: what actually changes on a bag
Metal zippers have metal teeth and a metal slider. They feel heavier, look more polished, and hold their shape, which can be an advantage on a straight opening like a top zip on a structured tote. The trade-off is that metal teeth do not flex as easily around tight curves, and they can be harder to shorten cleanly without the right tools. Nylon zippers have plastic teeth and a nylon coil. They are lighter, more flexible, and easier to sew around curves or into a lining. They also tend to be more forgiving if you need to shorten the zipper from the top. The trade-off is that nylon can look more casual, and a very lightweight nylon zipper may feel flimsy on a heavy bag.
For bag making, the zipper tape matters as much as the teeth. A wider tape gives you more room to stitch the zipper into the seam allowance and helps the zipper lie flat. Narrow tape can be harder to pin and stitch evenly, especially on waxed canvas where the fabric has some body. If you are choosing between two zippers with the same tooth type, pick the one with the wider tape for easier installation.
Closed-end vs separating: when each one is the right call
A closed-end zipper is permanently joined at both ends. It is the standard choice for bag openings that should not come apart, such as a top zip on a tote, a crossbody bag, or a purse. A separating zipper has a slider that can separate the two sides completely. It is used when the zipper needs to open fully, like on a jacket or a removable bag insert. For most bag projects, a closed-end zipper is the correct choice. If you are following a pattern that calls for a separating zipper, check whether the design actually needs the bag to open flat; if not, you can often substitute a closed-end zipper of the same length and style.
Zipper size for bags: match the number to the job
Zipper sizes are given as a number, such as #3, #5, or #10. The number refers to the width of the teeth in millimeters when the zipper is closed. A #3 zipper is lightweight and suits small purses, pockets, and linings. A #5 zipper is a middleweight option that works well for everyday totes and crossbody bags. A #10 zipper is heavy-duty and is often used on luggage or bags that need a very strong opening. The trade-off is that a larger zipper adds bulk and weight, and it can overwhelm a small bag. A smaller zipper may not feel sturdy enough on a large bag that carries heavy items.
When a pattern specifies a zipper length, you can usually shorten a longer zipper rather than hunt for an exact length. Shortening a nylon zipper is straightforward: sew a bar tack across the teeth where you want the new end, then cut below it and add a new zipper stop or a fabric tab. Metal zippers can also be shortened, but you need to remove the metal teeth carefully and add a stop. If you are new to zipper installation, start with a nylon zipper and a pattern that gives you a clear zipper opening, such as a top zip on a tote.
Zipper tape for bag making: the detail that affects finish
Zipper tape is the fabric strip on either side of the teeth. It is what you stitch through when you install the zipper. Tape width varies, and wider tape is generally easier to work with because it gives you more room for seam allowances and topstitching. Tape material also matters: a firm, tightly woven tape resists stretching better than a loose, floppy tape, which helps the zipper opening stay flat over time. If you are sewing with waxed canvas or other sturdy fabrics, a wider tape can also help distribute the stress on the zipper opening so the fabric does not pull away from the zipper over time.
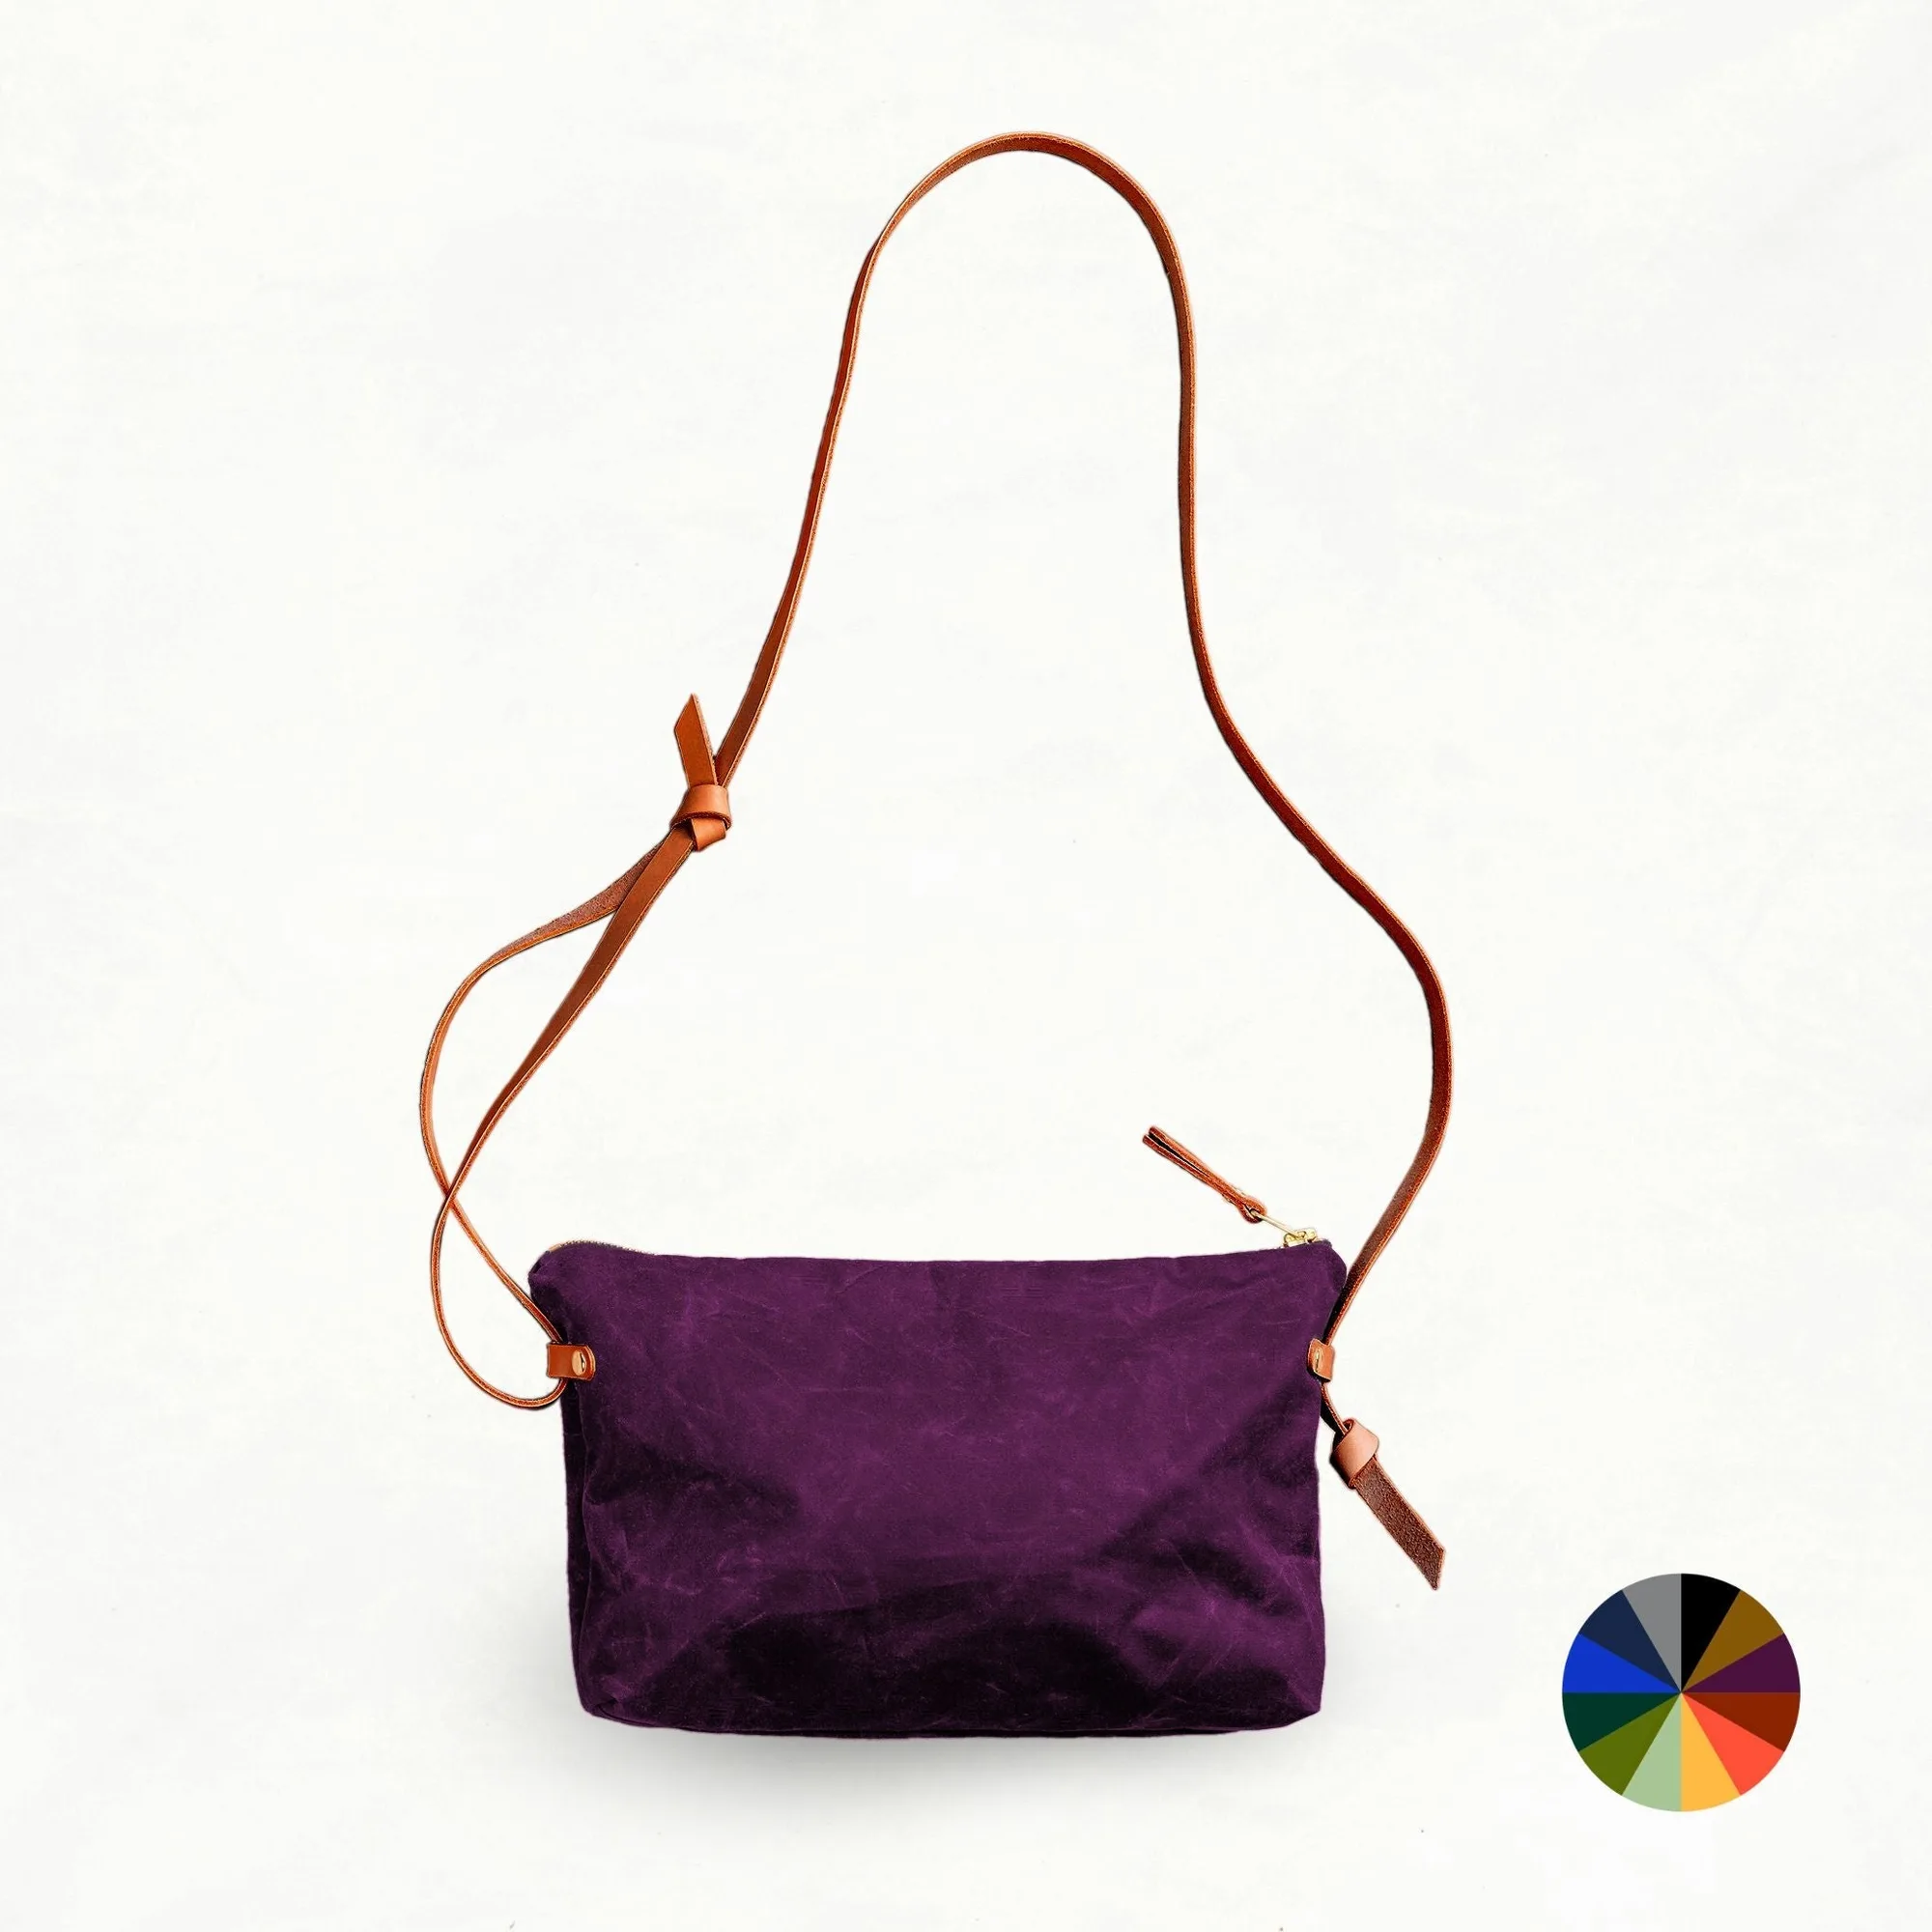
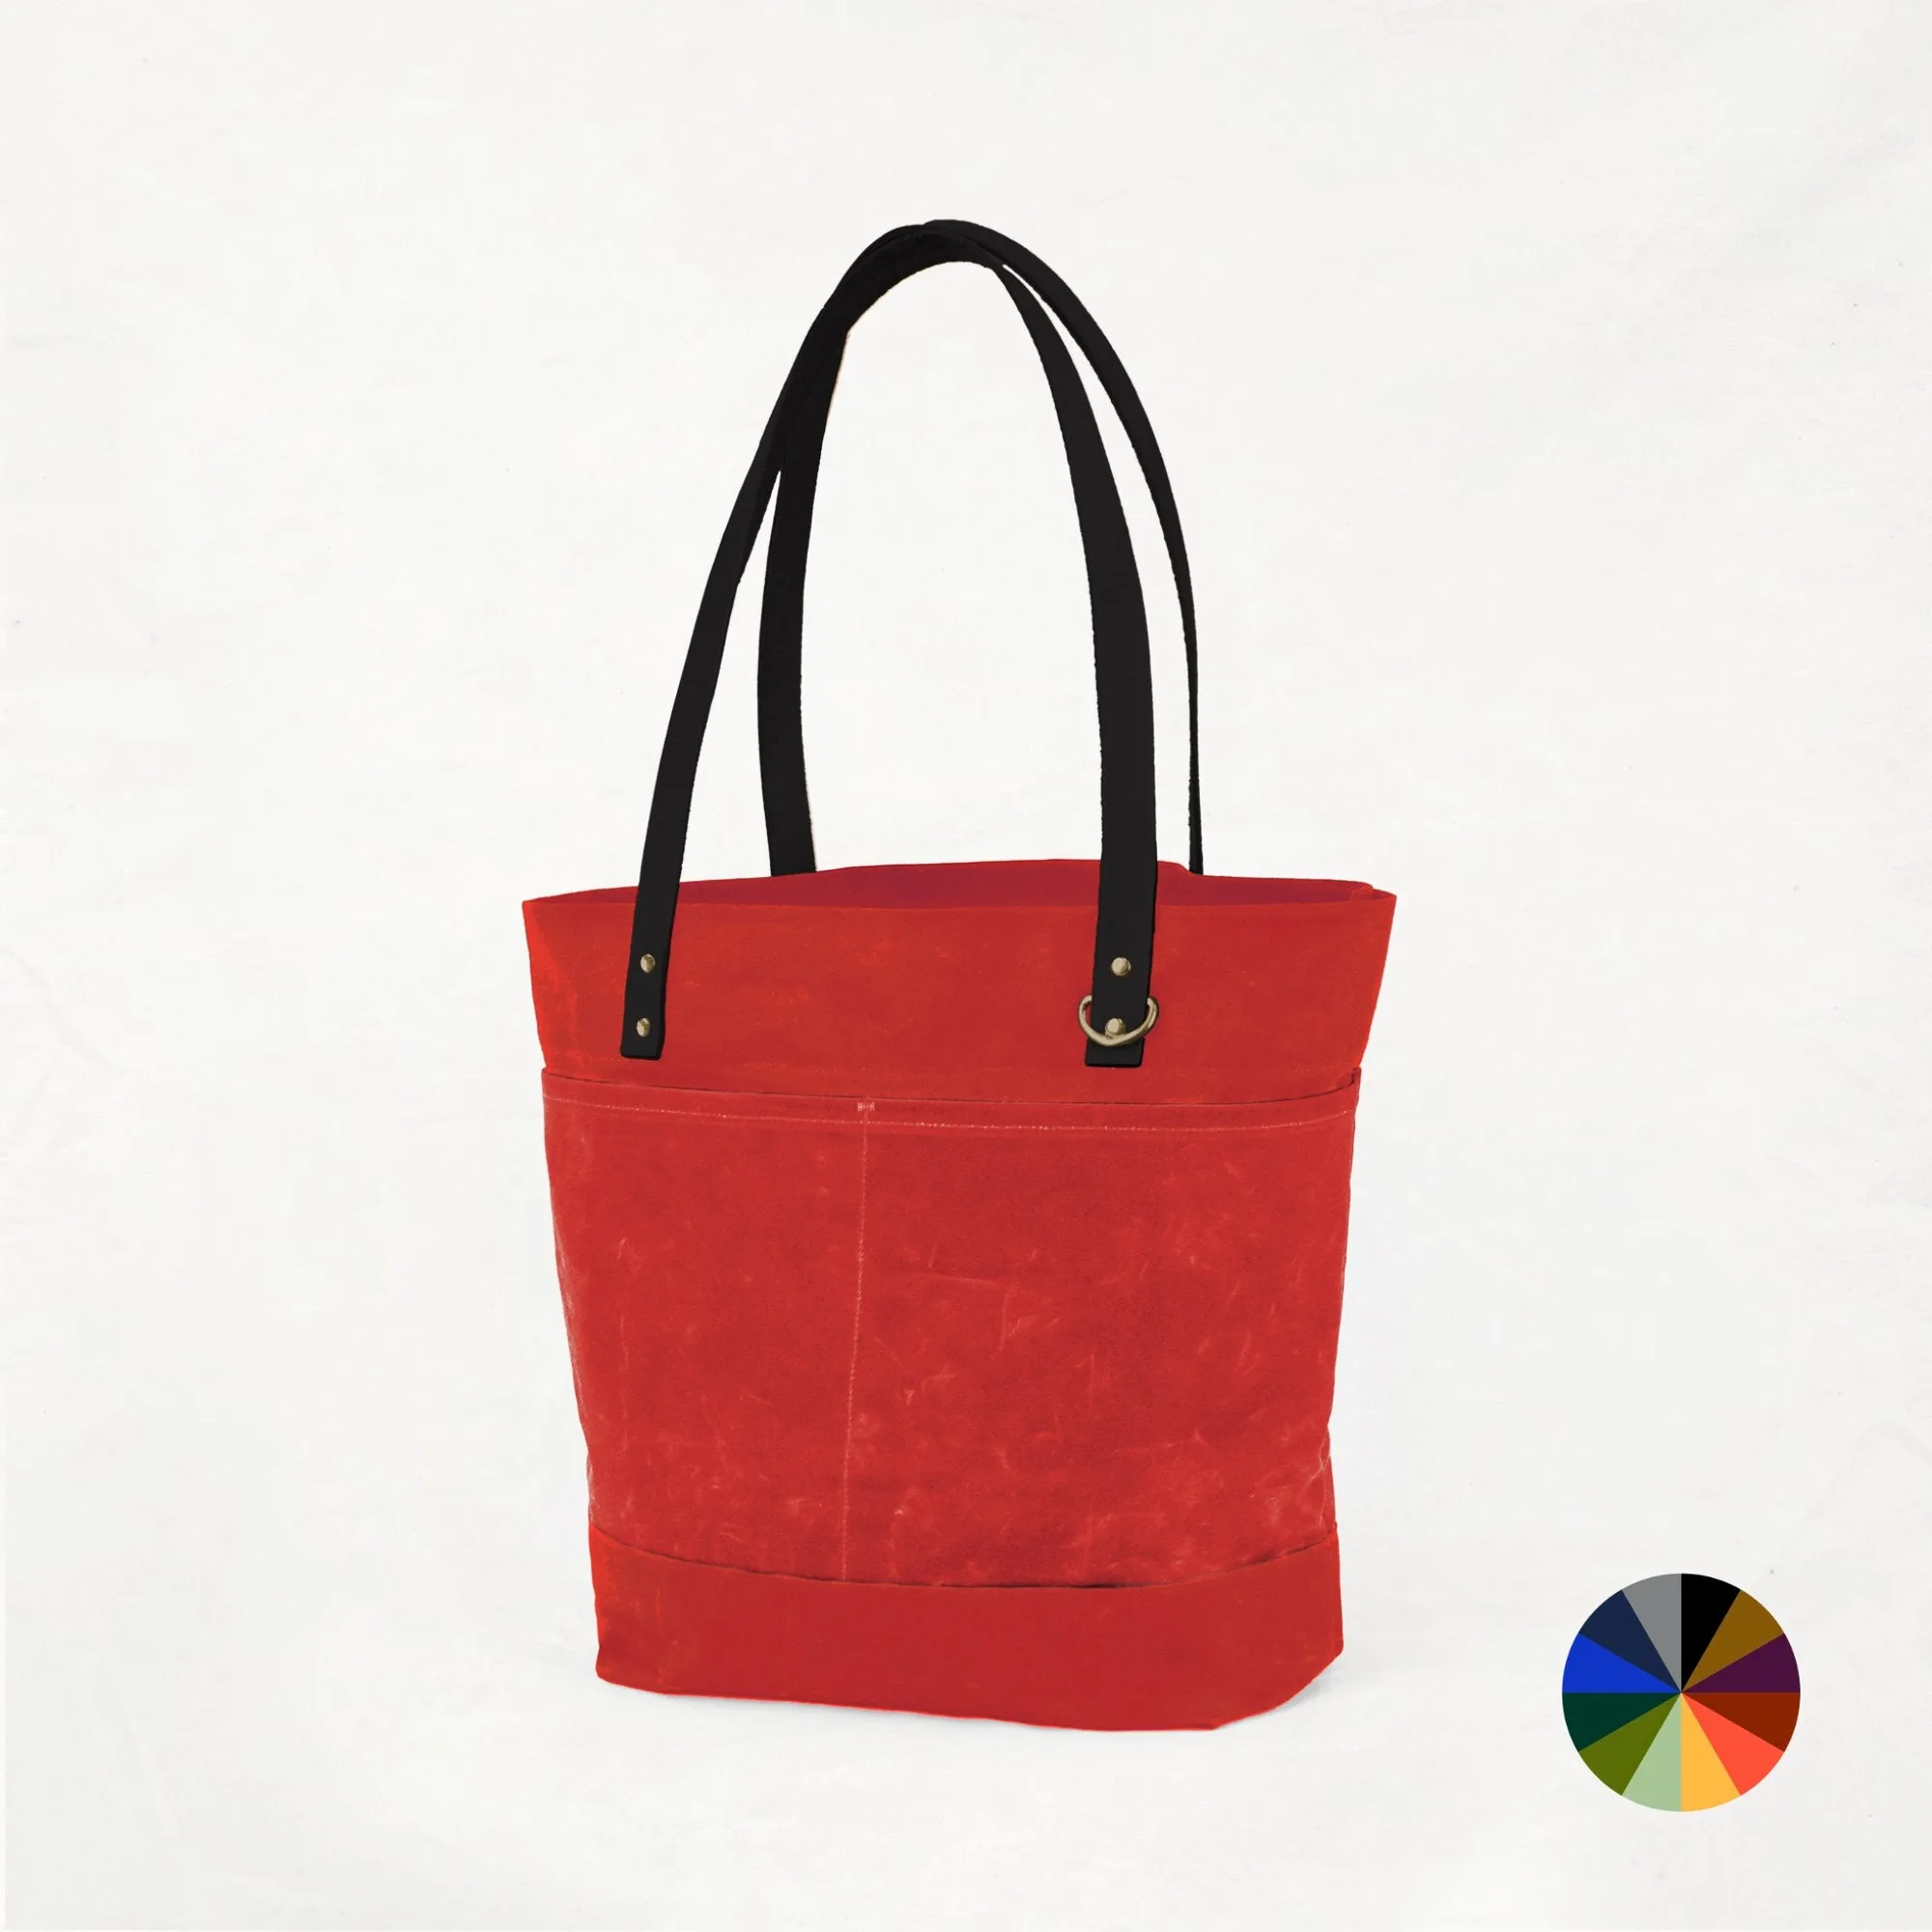
Some bag making kits include the zipper and hardware, which takes the guesswork out of matching size and style. For example, the Alberta Crossbody Tote kit includes a brass zipper with a leather pull, and the Oberlin market tote kit includes an interior zipper pocket. If you are buying a pattern instead of a kit, check whether it lists a specific zipper size and type; if it does not, you can use the guidance above to choose a zipper that matches the bag's scale and the fabric's weight.
Trade-offs to weigh before you buy a zipper
- Metal zipper: Dressier look and a more rigid opening, but heavier and less forgiving around curves. Choose metal for straight top zips on structured bags where the zipper is a design feature.
- Nylon zipper: Lightweight, flexible, and easy to shorten, but can look casual and may feel flimsy on heavy bags. Choose nylon for curved openings, linings, and most everyday totes and crossbody bags.
- Closed-end vs separating: Closed-end keeps the bag opening secure; separating opens completely and is rarely needed on a bag. Unless your pattern specifically calls for a separating zipper, use a closed-end zipper for bags.
- Zipper size: A #3 is light and suits small purses; a #5 is a good all-rounder for totes; a #10 is heavy-duty for luggage. Match the zipper number to the bag's scale and the weight of what you carry, not to the pattern's finished size.
- Zipper tape: Wider, firmer tape is easier to stitch and helps the opening stay flat; narrow, floppy tape can be harder to control. When in doubt, pick the zipper with the wider tape for easier installation.
Zipper details in Klum House kits
- Alberta - Plum Custom Bag Maker Kit: The Alberta Crossbody Tote kit includes a brass zipper with a leather pull, a lining, and an interior patch pocket. This is a beginner-friendly option that gives you a metal zipper with a finished look, and the included lining and pocket mean you do not need to source separate zipper-compatible lining fabric.
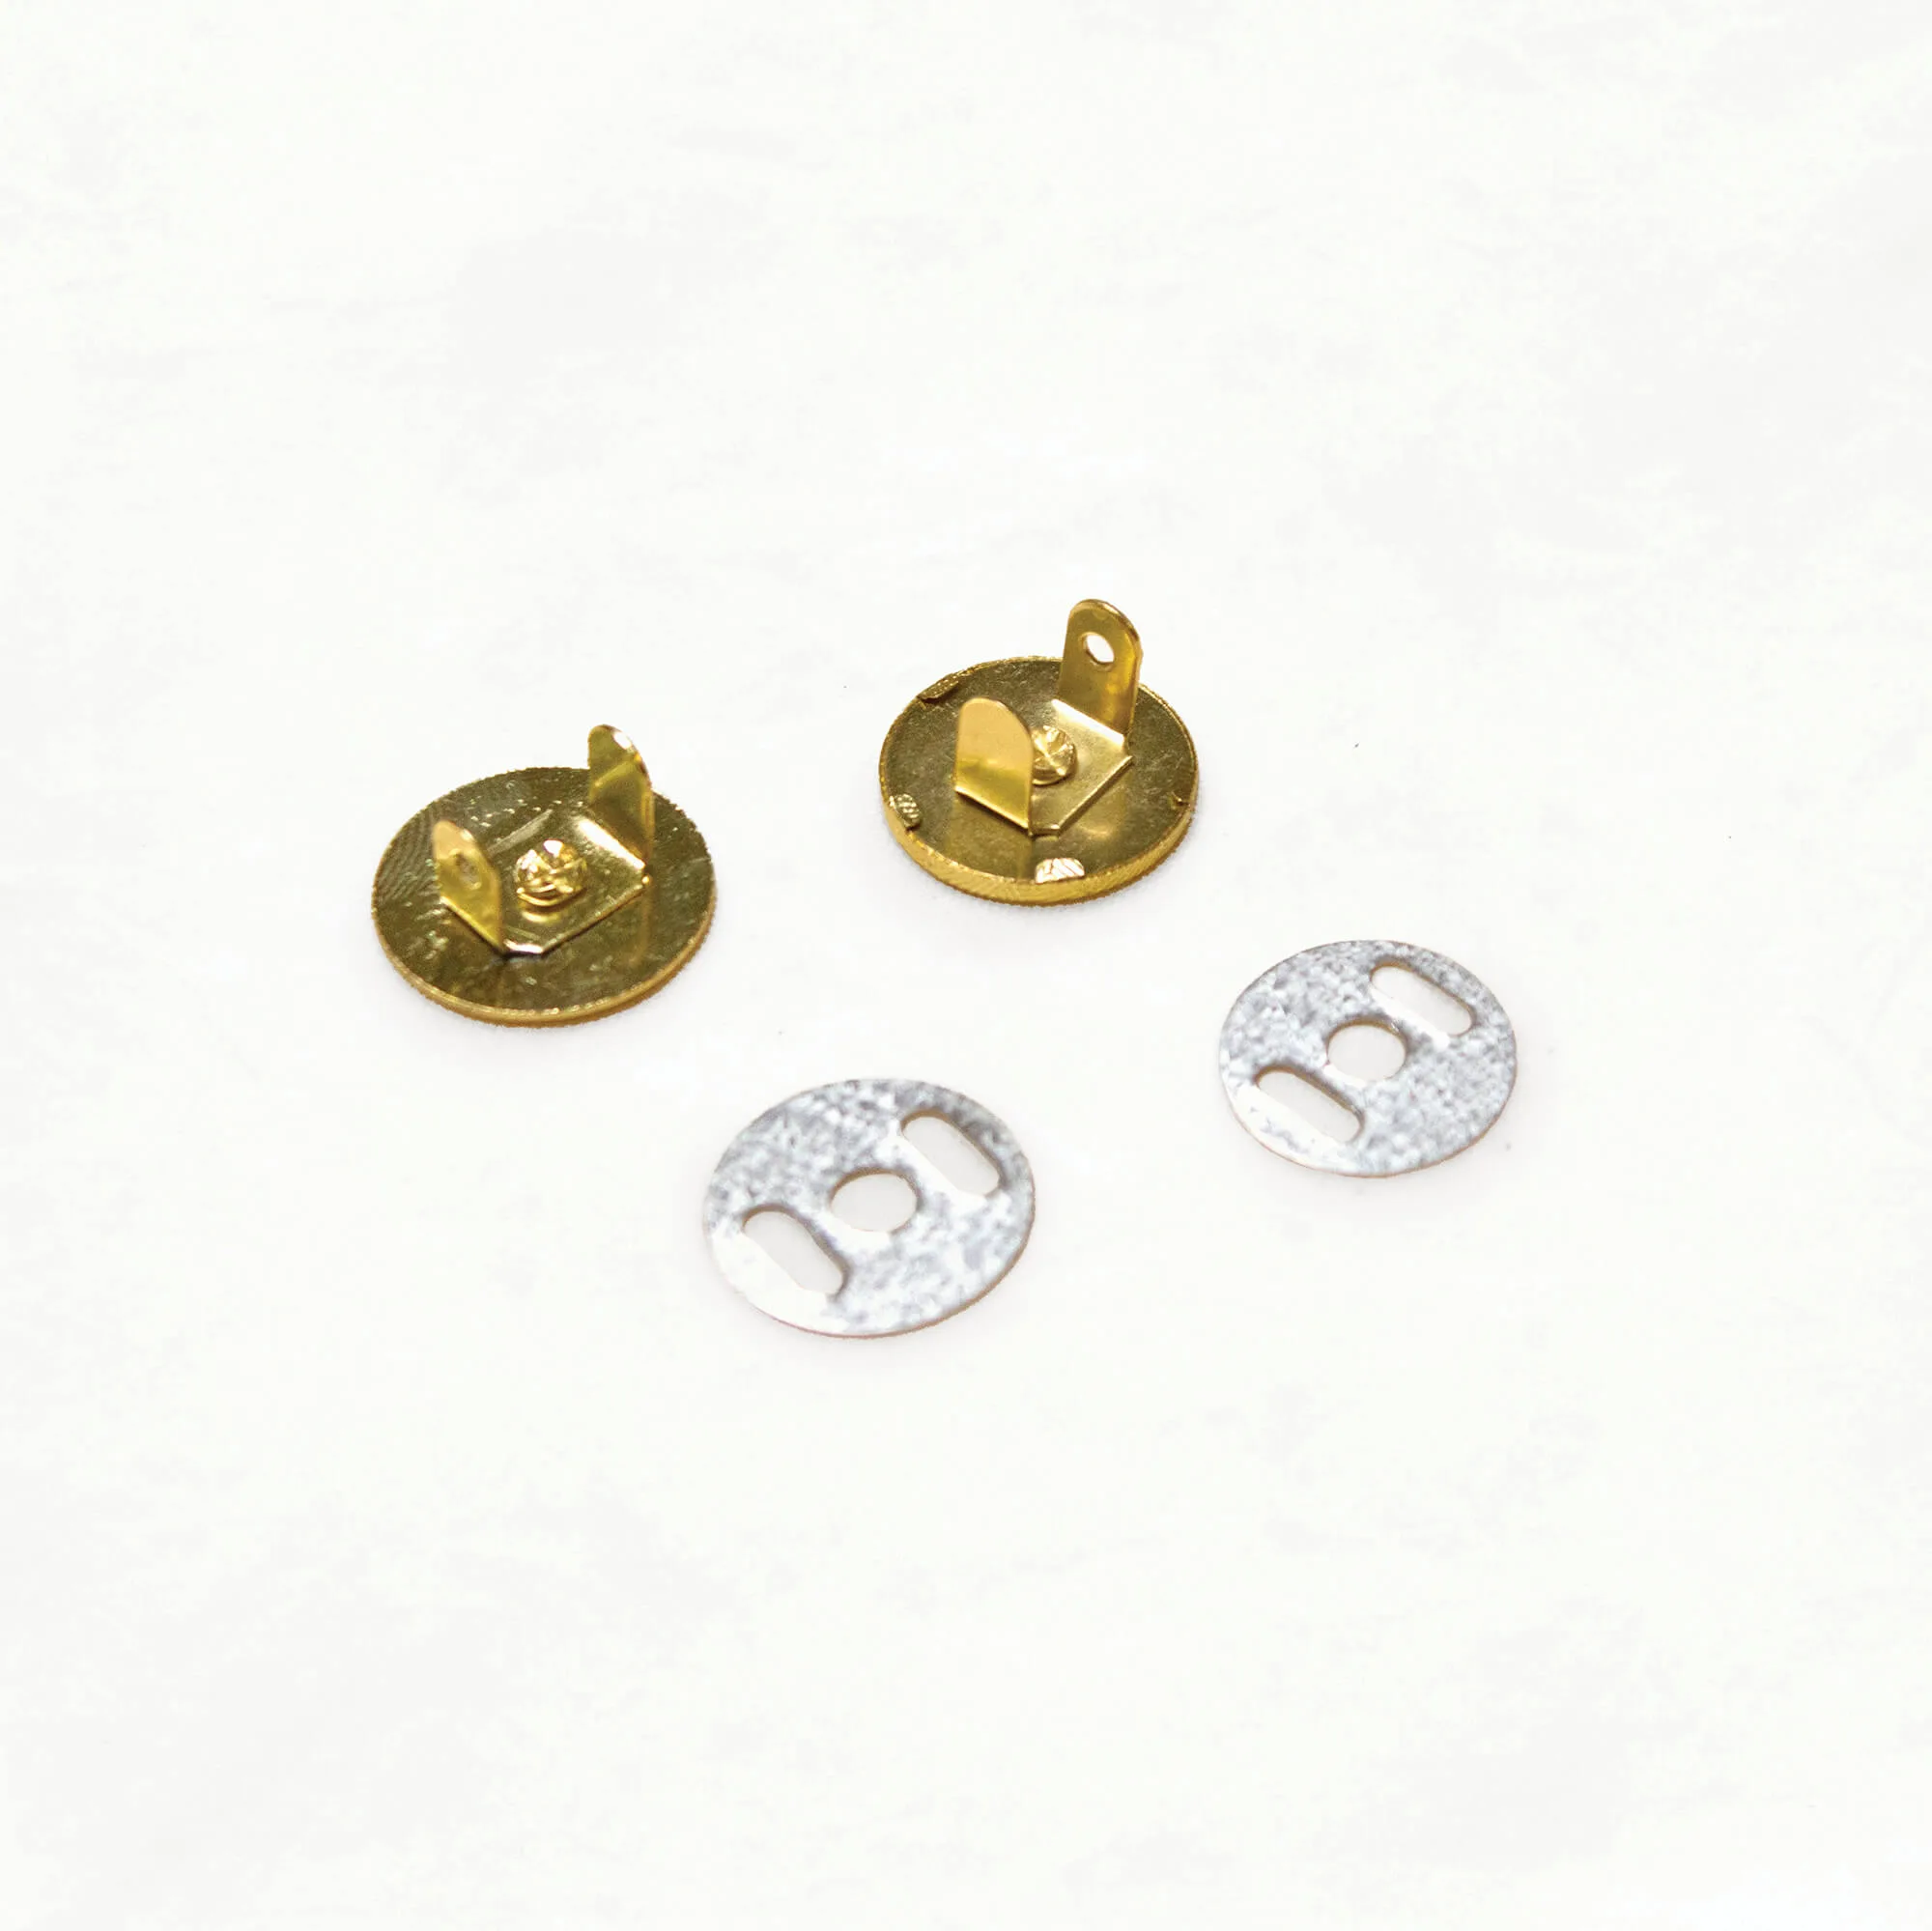
- Oberlin - Persimmon Custom Bag Maker Kit: The Oberlin market tote kit includes an interior zipper pocket and a magnetic snap closure. The interior zipper pocket is a good place to practice installing a zipper on a smaller scale before you tackle a main opening, and the magnetic snap gives you a closure option that does not rely on a zipper.
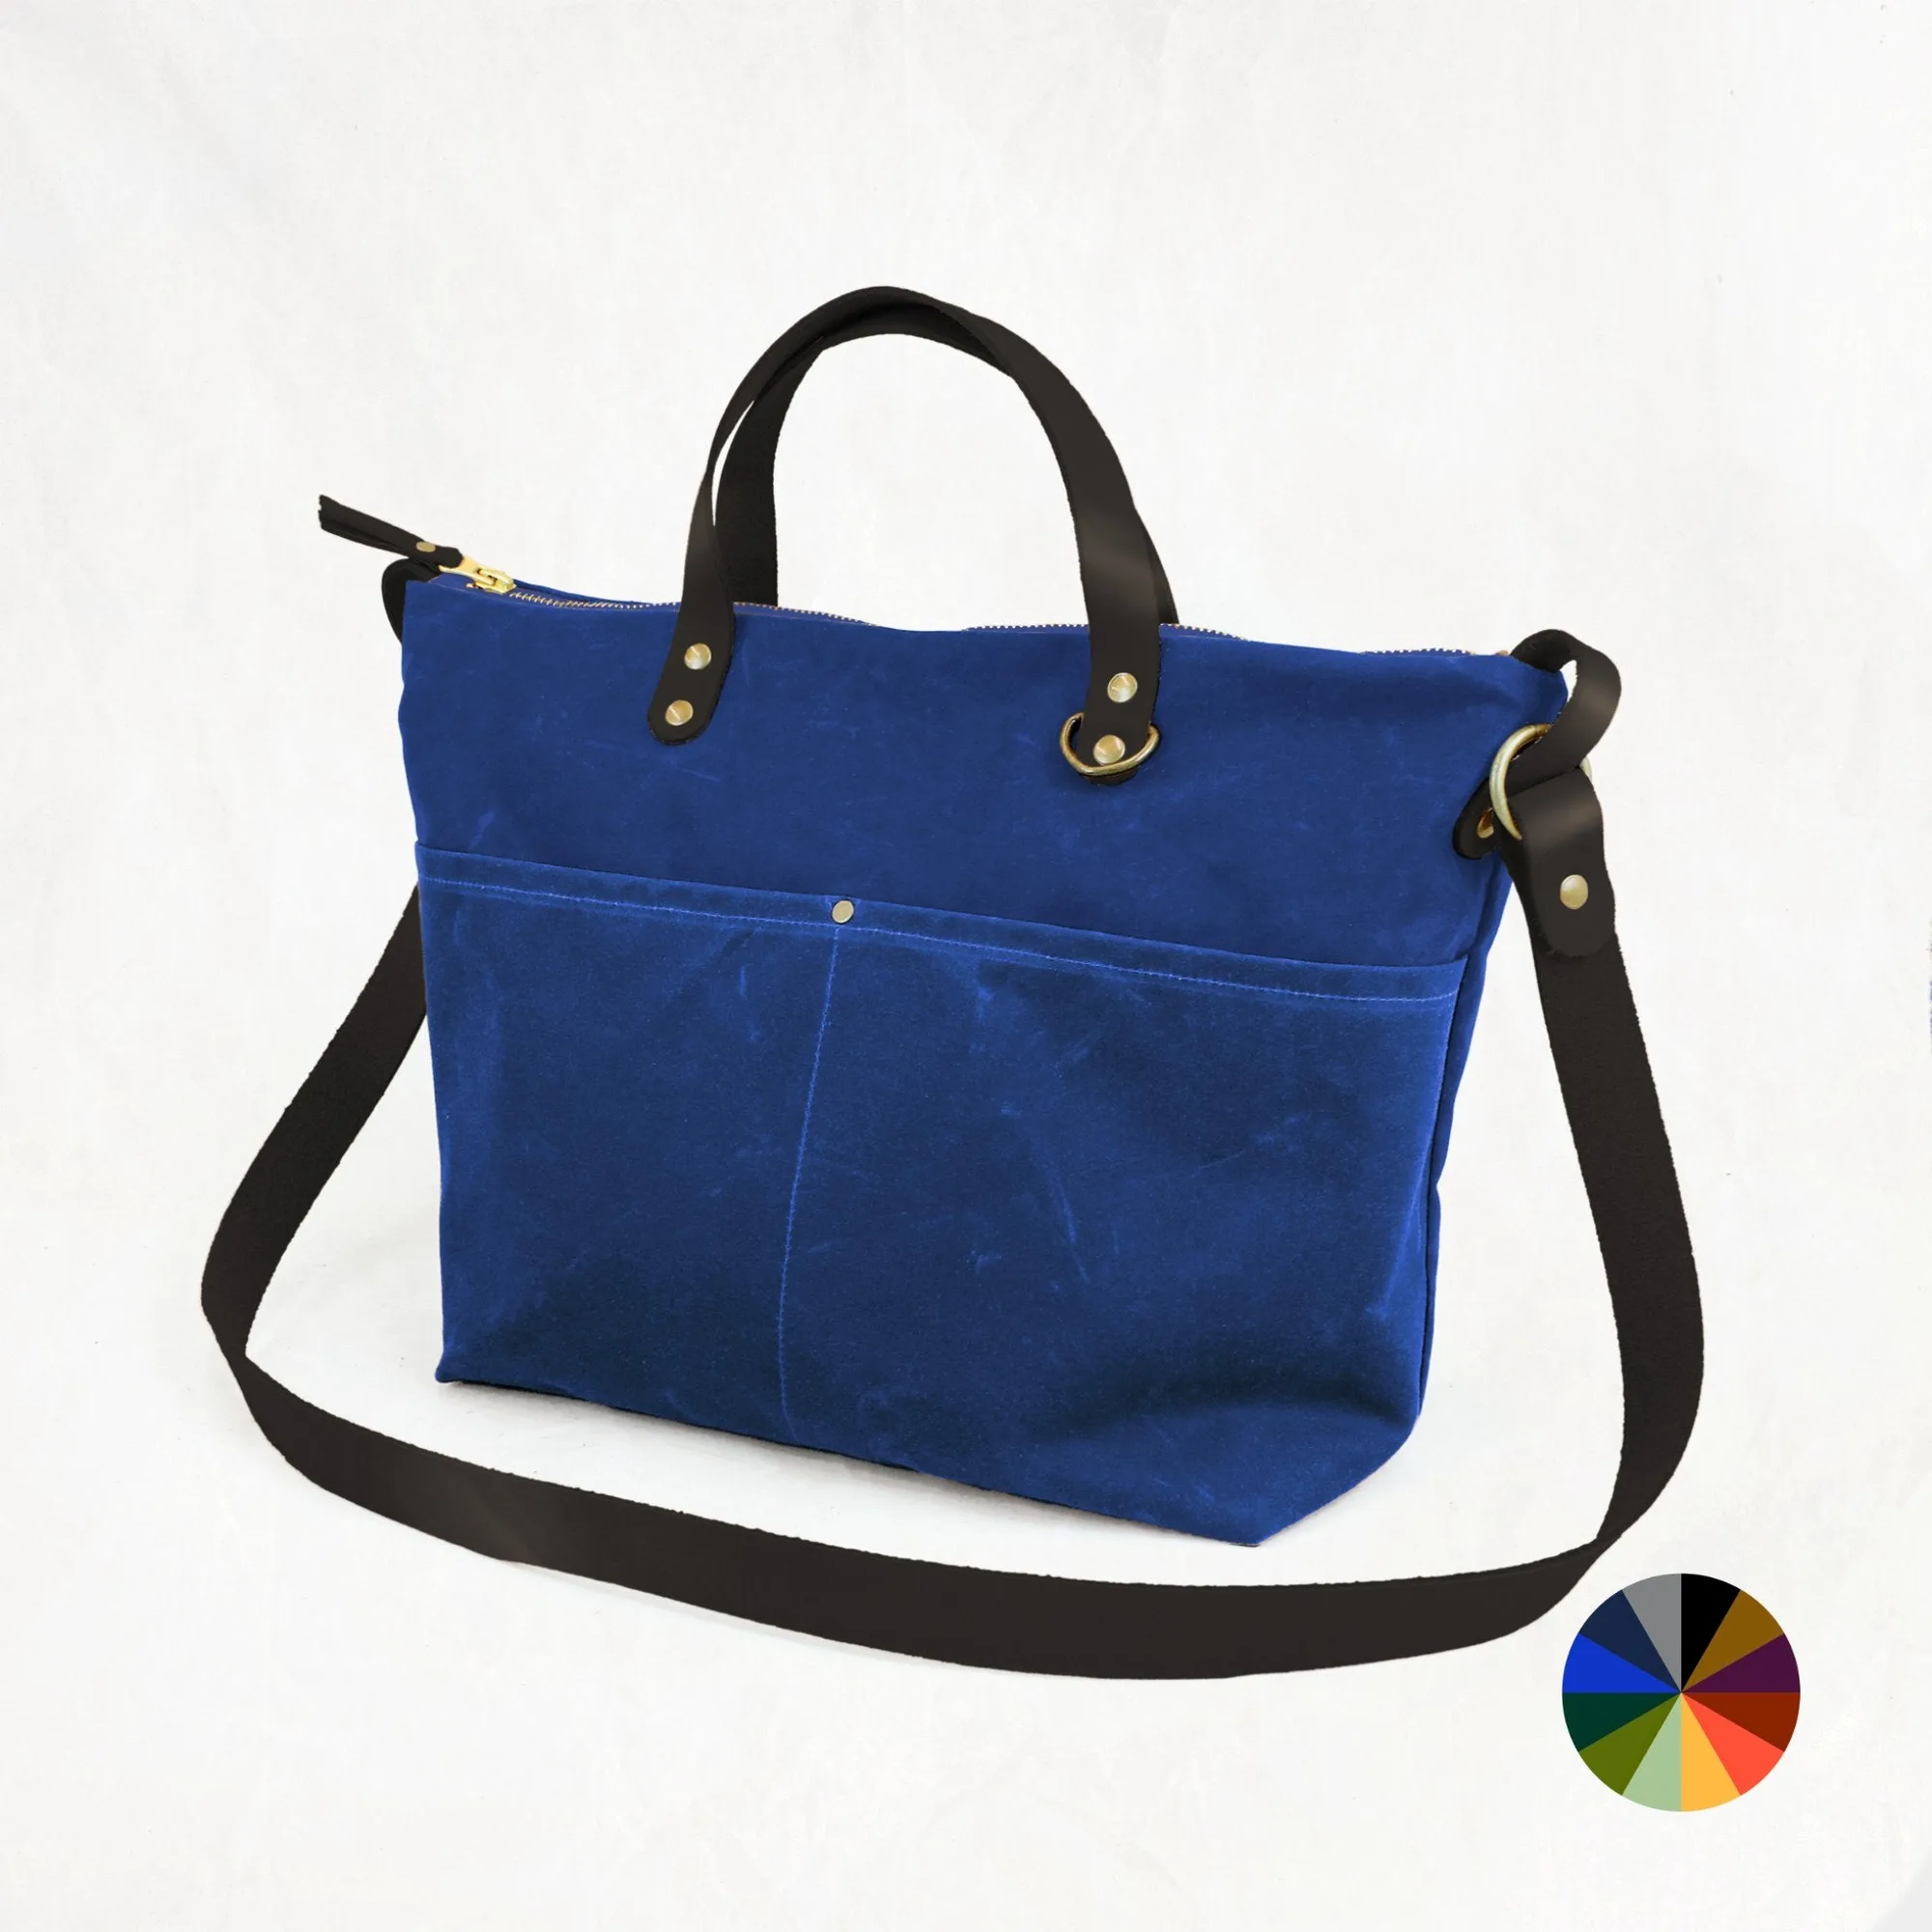
- Fremont - Cobalt Custom Bag Maker Kit: The Fremont cross-body tote kit includes a zipper top closure and interior and exterior pockets. A zipper top closure is the most secure option for a crossbody bag, and the included pockets let you add zipper practice without changing the main design.
Which zipper should you choose?
Best for
- Everyday totes and crossbody bags that need a secure top closure
- Small purses and interior pockets where a lightweight zipper is enough
- Sewists who want to shorten a zipper rather than buy an exact length
Not for
- Bags that need to open completely flat, such as a garment or a removable insert
- Heavy-duty luggage or bags that carry very heavy loads, where a larger zipper is a better match
- Projects where the pattern specifies a separating zipper and you want to follow it exactly