Quick Answer
The 3-1/2 x 1-1/2 Leaf EPP shape is perfect for appliqué borders, quilt blocks, and standalone leaf motifs. Choose paper pieces for basting or acrylic templates for reusable cutting guides, then pair with directional fabrics for a natural look.
Why This Leaf Shape Works So Well
At 3-1/2 inches by 1-1/2 inches, this leaf is large enough to show off fabric patterns but small enough to fit into standard quilt blocks or border designs. Its gentle taper and rounded tip make it forgiving for beginners while still offering a satisfying shape for experienced EPP enthusiasts.
One trade-off: the elongated shape can be tricky to baste evenly around the tip. Using a 1/4-inch seam allowance (available as an option on the paper pieces) helps maintain consistent curves without puckering.
Fabric Ideas for a Natural Look
For realistic leaves, choose fabrics with organic movement—think batiks, hand-dyes, or tone-on-tone prints. Directional prints (like vines or stripes) can be aligned along the leaf's length to emphasize the shape. For a more whimsical look, try small-scale florals or polka dots.
Fussy cutting is especially rewarding with this shape: center a single flower or motif inside the leaf outline to create a cameo effect. Just remember to leave enough fabric around the template for your chosen seam allowance.
Step-by-Step: Using the 3-1/2 x 1-1/2 Leaf in Your Project
- Choose Your Template Type and Seam Allowance: Select paper pieces if you plan to baste and remove them later. Choose acrylic templates if you need a durable cutting guide for multiple leaves. For the 1/4" Windowed option, you can see fabric placement through the center hole—great for fussy cutting. Common mistake: skipping the windowed option when fussy cutting, which makes centering a motif much harder.
- Cut Fabric with Generous Margins: Cut fabric at least 1/2 inch larger than the template on all sides. For directional prints, mark the top of the leaf on the fabric so you align the grain or pattern consistently across all pieces. Checkpoint: hold the template against a light source to confirm the motif is centered before cutting.
- Baste the Fabric to the Paper Piece: Fold the seam allowance over the paper edge and stitch or glue baste. Start at the leaf tip—fold the fabric neatly to avoid bulk. Use a glue pen or thread basting; both work, but glue is faster for curves. Common mistake: pulling the fabric too tight at the tip, which distorts the leaf shape. Keep the fabric snug but not stretched.
- Whipstitch Leaves Together or to a Background: Match edges precisely and whipstitch with a matching thread. For appliqué, stitch the leaf onto a background fabric using a blind stitch or small running stitch. Press gently from the back to set the seam. Checkpoint: if the leaf edge ripples, your seam allowance may be uneven—remove and rebaste that section.
- Remove Paper and Press: Once all seams are joined, carefully remove the paper pieces (tweezers help). Press the finished leaf flat with a warm iron, avoiding steam that could warp the fabric. Common mistake: leaving paper in too long can cause creases; remove as soon as the seams are secure.
Product Facts
-
3-1/2" x 1-1/2" Leaf: This 3-1/2" x 1-1/2" Leaf shape is available as paper pieces or acrylic templates, in pack sizes from Small (30 pieces) to Bulk (360 pieces). Seam options include No Seam, 1/4" Seam, 3/8" Seam, and 1/4" Windowed. You can choose paper for one-time basting or acrylic for repeated use, and pick the seam allowance that matches your preferred basting method—no guessing needed.
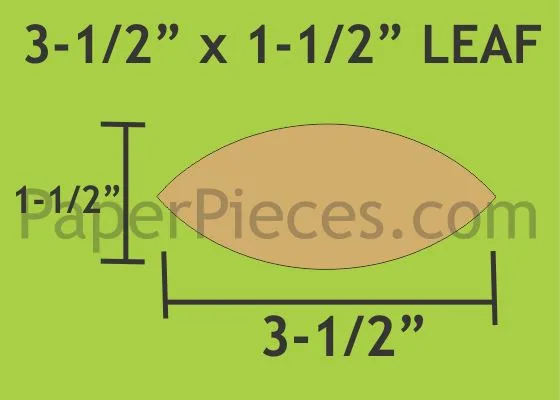
3-1/2" x 1-1/2" Leaf


