Quick Answer
Nearly every play kitchen setup problem comes down to five mistakes: skipping the hardware sort, tightening every screw before the frame is square, forcing parts that are slightly misaligned, building on a soft or uneven floor, and rushing past the interactive parts. Fix those five and most wobbles, sticking doors, and clicking knobs resolve themselves. If a panel is cracked, a hole is drilled wrong, or hardware is missing, stop and contact support instead of forcing the build.
A play kitchen should take an afternoon, not a weekend. When it turns into a fight with misaligned panels and doors that will not close, the problem is usually not the kitchen. It is the order and method of assembly.
KidKraft play kitchens share a similar build pattern: composite wood panels, cam locks or bolts, and interactive parts like turning knobs, opening appliance doors, and light-and-sound modules. Understanding that pattern is what separates a smooth build from a frustrating one. Here are the five mistakes we see most often, what each one looks like, and how to correct it.
Mistake 1: Dumping the Hardware Bag and Building Without a Sort
Symptom: you reach step six and cannot find the right bolt, or you finish and have a small pile of leftover pieces. Likely cause: the hardware bag was opened over the whole build area and similar-looking screws got mixed together. Corrective action: pour everything into a muffin tin or shallow bowls, group by size, and count against the parts list before you start. If a count is short, stop and contact support rather than substituting a similar screw.
This is the single easiest KidKraft assembly tip to apply, and it saves the most time. Different-length bolts look nearly identical in a pile but behave very differently in a panel. A bolt that is too long can punch through a finished surface; one that is too short will not hold. Sorting first also tells you early whether you have a missing-hardware problem, which is far better to discover before the frame is half built.
- Keep the illustrated parts list flat on the floor next to you and check off each step as you complete it.
- Set leftover hardware aside in a labeled bag rather than discarding it; you may need it if you move the kitchen later.
Mistake 2: Tightening Every Screw All the Way as You Go
Symptom: the last panel will not line up, or the whole unit sits slightly twisted. Likely cause: each screw was driven fully tight before the rest of the frame was attached, locking in small misalignments. Corrective action: snug every screw by hand, finish the full frame, set it on a level floor, then go back and tighten everything in one pass.
Composite wood panels have a little give, and that give is your friend during assembly. Leaving fasteners loose lets the panels shift a millimeter or two so holes line up naturally. Once the unit is square and sitting flat, tightening in a second pass locks in a straight frame instead of a twisted one. This one change prevents most of the wobble complaints people blame on the product.
- Tighten in a crisscross pattern, moving around the frame rather than working one side at a time.
- Stop tightening the moment the screw head meets the panel surface; over-tightening crushes the wood and strips the hole.
Mistake 3: Forcing Panels, Doors, or Knobs Into Place
Symptom: a door rubs the frame, a knob will not turn freely, or a panel needs real pressure to meet its hole. Likely cause: the frame is out of square, or a part is installed upside down or on the wrong side. Corrective action: loosen the surrounding fasteners, square the frame by measuring corner to corner, and re-seat the part. If it still will not sit flush, stop and check the orientation against the diagram.
Interactive parts are the least forgiving. Appliance doors that open and close and knobs that turn and click need clearance to work, and forcing them during assembly is how you end up with a door that drags months later. If a part resists, the answer is almost always to back up a step rather than push harder.
- Measure diagonally across the frame in both directions; equal measurements mean the frame is square.
- Never enlarge a pre-drilled hole or trim a panel to make something fit.
Mistake 4: Building on Carpet or an Uneven Floor
Symptom: the finished kitchen rocks, or a door that closed perfectly during the build now sticks. Likely cause: the unit was assembled on a soft or sloped surface, so the frame settled into a twist that only shows up on a hard floor. Corrective action: assemble on a hard, flat surface such as a garage floor or a large piece of cardboard over tile, and do your final tightening there.
This mistake is invisible until the kitchen is in the playroom, which is why it feels like a product defect. Carpet compresses unevenly under the panels, and a slight floor slope does the same thing. Building flat and checking the finished unit on the floor where it will live catches the problem while it is still easy to fix.
- Move the finished kitchen to its final spot before the last tightening pass, then check for rocking.
- If it rocks on a hard floor, loosen the frame fasteners slightly, let it settle, and retighten.
Mistake 5: Rushing the Lights, Sounds, and Final Checks
Symptom: the stovetop burners or ice maker do not light up or make sound, or a shelf sits in the wrong slot. Likely cause: a connector was not fully seated, batteries were installed in the wrong orientation, or a step was skipped near the end when the build felt finished. Corrective action: revisit the interactive steps one at a time, reseat each connector until it clicks, and confirm battery orientation against the diagram.
The final ten minutes are where most setup problems are created and where they are cheapest to fix. Test every interactive feature before you put the tools away, while the unit is still accessible from all sides. Once the kitchen is against a wall and loaded with play food, reaching a loose connector is far more annoying.
- Test knobs, doors, lights, and sounds one at a time and note anything that does not respond.
- Keep the manual with the leftover hardware in a bag taped inside a cabinet door.
Quick Diagnosis: Symptom, Cause, Fix, and When to Stop
- Finished kitchen wobbles or rocks: Cause: assembled on carpet or an uneven floor, or screws fully tightened before the frame was square. Fix: move it to a hard, level surface, loosen the frame fasteners, let it settle, and retighten in a crisscross pattern. If it still rocks on a confirmed level floor, check for a cracked panel or a stripped screw hole before assuming the frame is defective.
- Appliance door rubs or will not close: Cause: frame out of square, or the door was installed before the surrounding panels were aligned. Fix: loosen the nearby fasteners, measure diagonally corner to corner until the measurements match, then reseat and retighten the door. Stop here if the door hinge holes are visibly mis-drilled or a hinge is cracked; that is a support issue, not an assembly one.
- Knobs will not turn or click: Cause: a knob was forced onto its post, or the panel behind it is over-tightened and pinching the mechanism. Fix: remove the knob, back off the surrounding screws a quarter turn, and reinstall the knob without forcing it. If the knob turns freely once removed from the panel, the panel alignment is the problem, not the knob.
- Lights or sounds do not work: Cause: a connector is not fully seated, batteries are in the wrong orientation, or an interactive step was skipped. Fix: open the affected section, reseat each connector until it clicks, and verify battery orientation against the diagram. If a correctly seated connector and fresh, correctly oriented batteries still produce nothing, stop and contact support rather than opening the module.
- Missing or broken hardware or panel: Cause: a short count in the hardware bag or shipping damage. Fix: none that is safe to improvise. Do not substitute a longer screw or drill a new hole. Stop the build at the step where the part is needed and contact KidKraft support with your model and part number before continuing.
What This Looks Like on Real KidKraft Kitchens
- Ultimate Corner Play Kitchen - Espresso: The stovetop burners and ice maker both feature lights and sounds, oven knobs turn and click, and appliance doors really open and close. Every one of those interactive parts needs clearance and a fully seated connector, so this is the build where Mistake 3 and Mistake 5 cost you the most time if you rush.
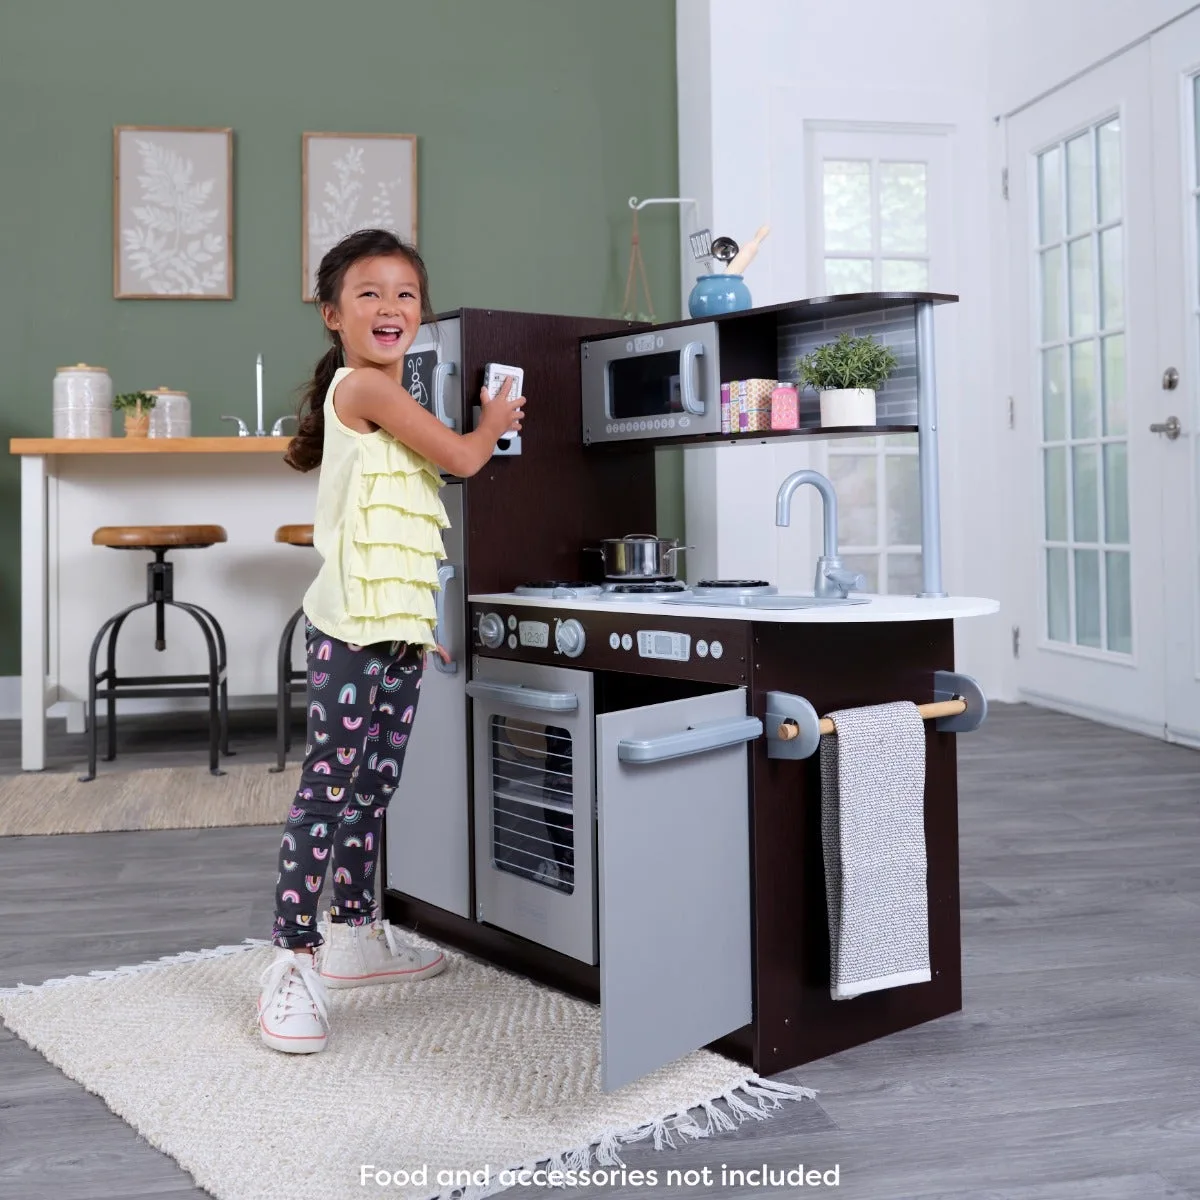
- Uptown Play Kitchen with 30 Piece Play Food: Interactive features include clicking, turning knobs, appliance doors that open and close, realistic burners, and a working chalkboard, and the kitchen is crafted from sturdy composite wood. Composite wood panels reward the loose-then-tighten approach; over-tightening a screw into this material is what strips a hole and creates a permanent wobble.
- Large Play Kitchen with Lights & Sounds - White: The ice maker comes to life with lights and sounds, knobs turn, appliance doors work, and the kitchen is large enough for children to play together. A wider unit is more likely to be assembled on carpet in a playroom, which makes Mistake 4 the one to watch; build it flat first, then move it.
Most play kitchen setup problems are assembly-order problems, not product problems. Sort the hardware, build loose, tighten last on a hard floor, and test every interactive part before you put the tools away. Do those four things and the kitchen goes together in one sitting and stays solid long after.