Quick Answer
To apply nail decal stickers like a pro, start with clean, dry nails, choose the right placement, and seal with a top coat for lasting wear.
Why Surface Prep Matters
Even the best decal stickers won't stick well to oily or dusty nails. A quick wipe with rubbing alcohol removes natural oils and residue, giving the adhesive a clean surface to bond with. Skipping this step is the most common cause of early peeling.
The Trade-Off Between Stickers and Hand-Painted Art
Nail decal stickers offer a fast, foolproof way to add intricate designs without a steady hand or drying time. The trade-off is that stickers sit on top of the nail, so they can catch on hair or clothing if not sealed properly. A quality top coat solves this and adds gloss.
6 Steps to Apply Nail Decal Stickers Like a Pro
- 1. Prep the Nail Surface: Remove any old polish and wash hands. Wipe each nail with a cotton pad soaked in rubbing alcohol to remove oils and dust. Let dry completely. Don't skip the alcohol wipe — it's the key to preventing early lifting.
- 2. Apply a Base Coat: Paint a thin layer of base coat and let it dry fully. This creates a smooth, slightly tacky surface that helps the decal adhere evenly. A tacky base coat holds the sticker better than bare polish.
- 3. Choose the Right Size and Position: Hold the decal over your nail before peeling. Pick a sticker that fits within the nail width, leaving a small border. Mark the spot mentally or with a dot of polish. Placing a sticker too close to the cuticle or sidewall causes early chipping.
- 4. Peel and Place Gently: Use tweezers to lift the decal from the sheet. Place it on the nail starting from the center, then press outward to push out air bubbles. Avoid stretching the sticker. Stretching the decal distorts the design and weakens the adhesive.
- 5. Press Firmly and Smooth: Use a cuticle pusher or your fingertip to press the decal flat, working from the center to the edges. Pay extra attention to the tips and corners. A silicone tool works best — fingers can leave oils that reduce adhesion.
- 6. Seal with a Top Coat: Apply one thin layer of top coat over the entire nail, capping the free edge. Let dry completely. For extra durability, add a second coat after two minutes. Sealing the edges prevents the decal from catching on hair or clothing.
Product That Helps
-
A Gem Nail Decal Stickers: A Gem Nail Decal Stickers feature 3D designs that add trend-driven glam to your press-ons. The 3D texture gives your manicure a dimensional, custom look without needing artistic skill.
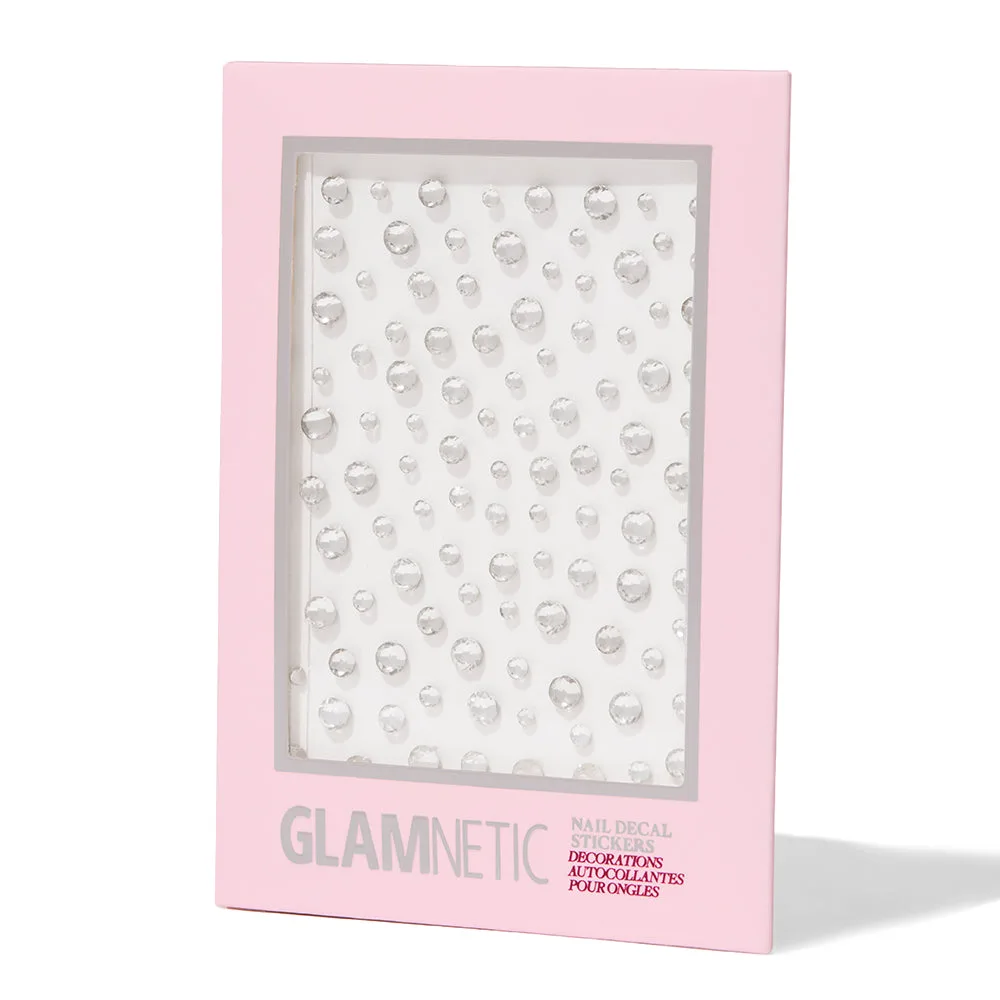
A Gem Nail Decal Stickers


