Quick answer
For most nail techs, a size 8 or 10 round brush covers full sets and fills, while a size 4 to 6 flat or oval brush handles detail and small nail beds. Beginners should start with one mid-size brush and add a detail brush once their application rhythm is consistent.
The right acrylic brush size changes how much bead you can pick up, how far that bead spreads, and how much time you spend correcting instead of building. Rather than buying a full set of brushes on day one, match one brush to the service you do most, then expand.
This guide breaks down acrylic brush sizes, shapes, and bristle types so you can choose with a clear reason, not a guess. If you are still deciding on the full setup, our acrylic powder options pair with any brush size below.
What brush size actually controls
Brush size refers to the width of the bristle bundle at the ferrule, not the length of the handle. A larger brush holds more liquid and picks up a bigger bead, which suits full sets on average to large nail beds. A smaller brush gives you control near cuticles, sidewalls, and short nails.
Size is only half the decision. Bristle shape and stiffness decide how the bead releases. A round brush releases product in a soft, rounded bead. A flat or oval brush presses and pats product into place. Kolinsky bristles hold monomer and keep a fine tip; synthetic bristles are more affordable and easier to clean but can feel stiffer.
- Measure the bristle width at the ferrule, not the overall brush length.
- A brush that is too large for the nail bed forces you to work against the cuticle.
- A brush that is too small makes full sets slow and leaves visible seams.
Size 4 to 6: detail, small nail beds, and beginners
Small brushes excel at cuticle work, sidewall refinement, and short nails. If you are new to acrylic, a size 6 round brush is a practical starting point because it limits how much monomer you pick up, which reduces flooding. You will make more passes per nail, but you will also make fewer irreversible mistakes.
Use a small brush for inlay work, encapsulating small art, and repairing one or two nails without mixing a full set. It is not the tool for speed on a full set of long extensions, where a larger brush saves minutes per hand.
- Best for techs still building bead control.
- Keep one small brush dedicated to repair and detail work.
- Pair with a fine powder for smoother release on small beads.
Size 8 to 10: the everyday full-set and fill brush
A size 8 or 10 round brush is the workhorse for most services. It picks up enough bead to cover a full nail in one or two passes, which keeps application even and reduces filing. On average nail beds, a size 10 gives you coverage without overhanging the sidewalls.
This range also handles fills well because you can control the bead along the regrowth line. If you do mostly full sets on medium to long nails, size 10 is usually the better single-brush choice. If your clients wear short, natural-length nails, size 8 keeps the bead manageable.
- One size 8 or 10 brush can cover most of your weekly services.
- Larger beads need faster placement, so practice before using it on a paying client.
- A well-cared-for brush in this range can last through many fills.
Size 12 and up: speed on long extensions
Large brushes hold more monomer and pick up bigger beads, which speeds up long extensions and sculpted nails. The tradeoff is control. A size 12 or larger brush can flood cuticles quickly, and the extra monomer can cause lifting if you do not press and pat efficiently.
Reserve this size for clients who regularly wear long, sculpted sets and for techs with consistent bead control. If you only occasionally build long nails, a size 10 with a slightly wetter bead will usually serve you better than adding a large brush you rarely use.
- Choose large sizes only if long extensions are a regular service.
- Wipe the brush frequently to avoid monomer pooling in the ferrule.
- Keep a small brush nearby for cuticle cleanup on the same set.
Kolinsky vs synthetic: what changes in service
Kolinsky bristles are known for holding a fine tip and releasing monomer smoothly, which helps with precision and consistent beads. Synthetic bristles are typically more affordable, easier to sanitize, and a practical choice for beginners or for techs who prefer a firmer feel. Neither is automatically better; the right pick depends on your budget and the control you want.
If you are building your first kit, start with a synthetic brush in a mid size and learn bead control. Add a kolinsky brush once you know which size you reach for most. That order keeps your spending tied to real use instead of hype.
- Kolinsky: finer tip, smooth release, higher cost.
- Synthetic: firmer feel, easier cleaning, lower cost.
- Match bristle type to the service, not to a trend.
Brush shapes and how they change your application
Round brushes are the default for acrylic because the round ferrule creates a soft bead that spreads evenly. Flat and oval brushes press product into place and suit techs who pat rather than float the bead. A flat brush can also help with smoothing before filing.
Shape matters more than size for control at the cuticle. If you struggle with flooding, a smaller round brush or a flatter brush may help more than simply sizing down. Test one shape change at a time so you can tell what actually improved.
- Round: all-purpose acrylic application.
- Flat or oval: pressing, patting, and smoothing.
- Change one variable at a time when testing a new brush.
Decision rules for choosing your acrylic brush size
- If you are a beginner: Start with a size 6 round brush in a synthetic bristle. It limits monomer pickup and reduces flooding while you learn bead placement. Add a size 10 only after you can place a bead without cuticle flooding.
- If you do mostly full sets on average nails: Choose a size 8 or 10 round brush. This range covers full sets and fills without forcing multiple passes per nail. One mid-size brush can handle most of your weekly appointments.
- If you sculpt long extensions regularly: Use a size 12 or larger brush to pick up bigger beads and cover length faster, and keep a small brush for cuticle cleanup. Large brushes reward speed only when your bead control is already consistent.
- If you mostly do detail and repair work: Stay with a size 4 to 6 brush and pair it with a fine, self-leveling powder so small beads release cleanly. Detail brushes are not a compromise; they are the right tool for precision.
- If you are choosing between kolinsky and synthetic: Pick synthetic for affordability and easier cleaning, or kolinsky for a finer tip and smoother release. Buy the bristle type that matches your budget and control level. Upgrade bristle type after you know which brush size you actually reach for.
Powders that pair well with your brush size
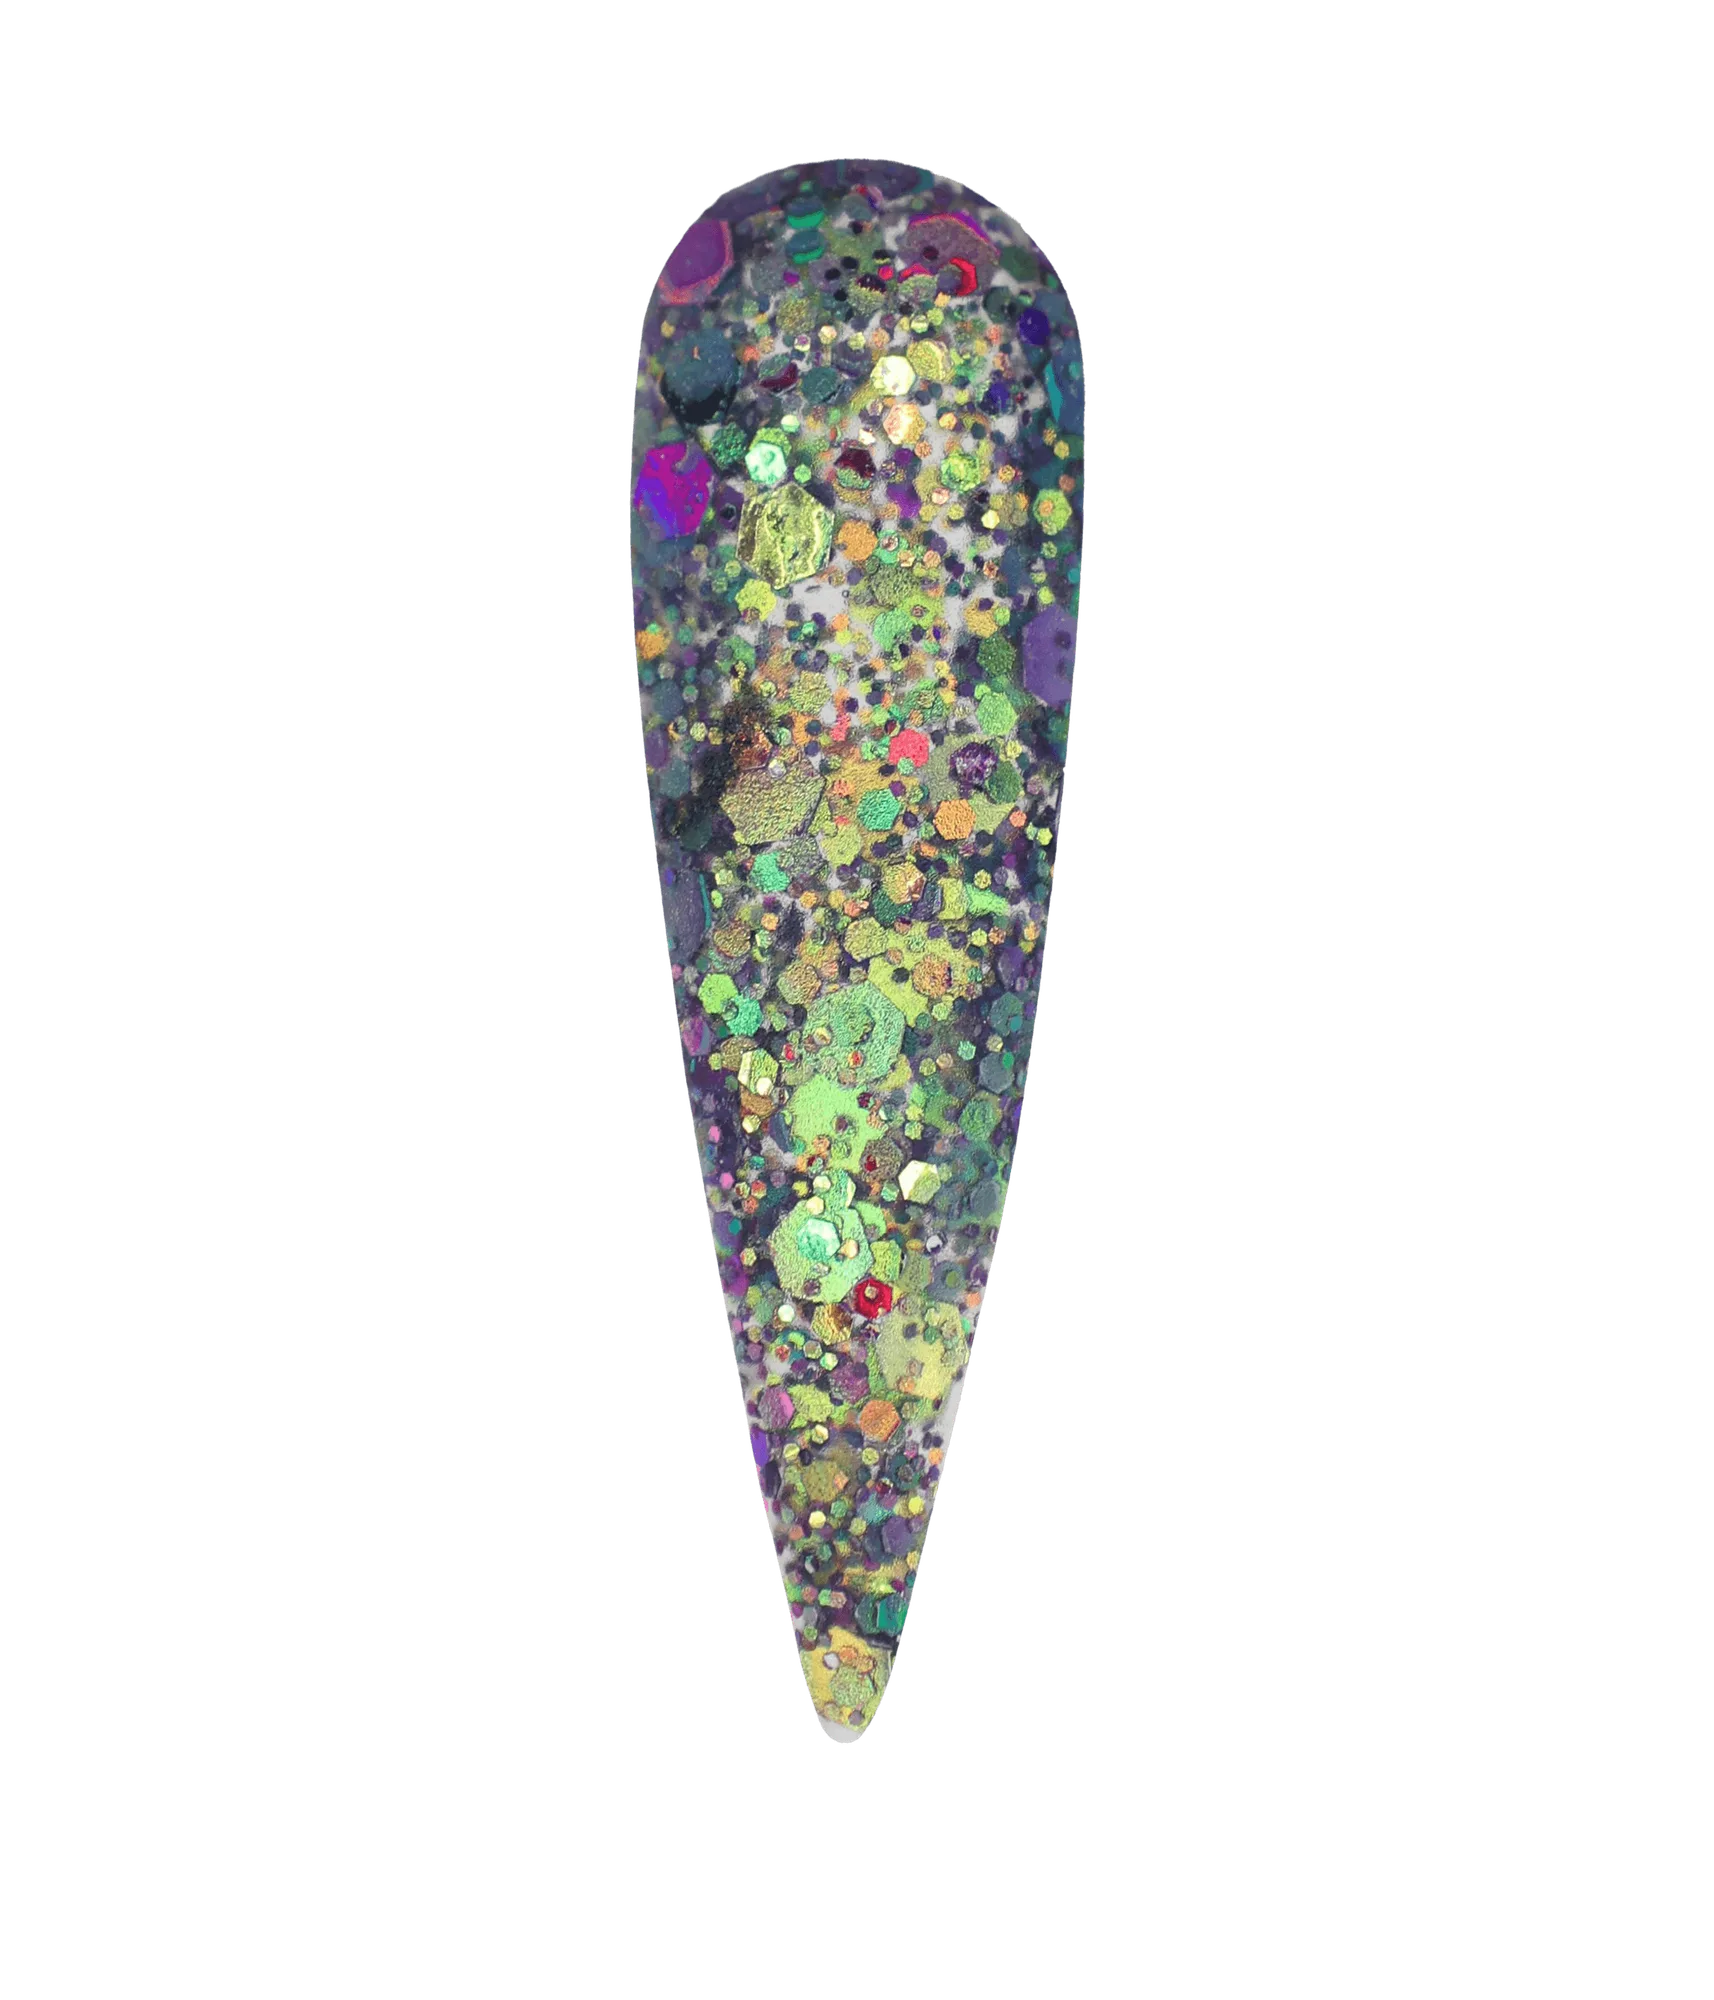
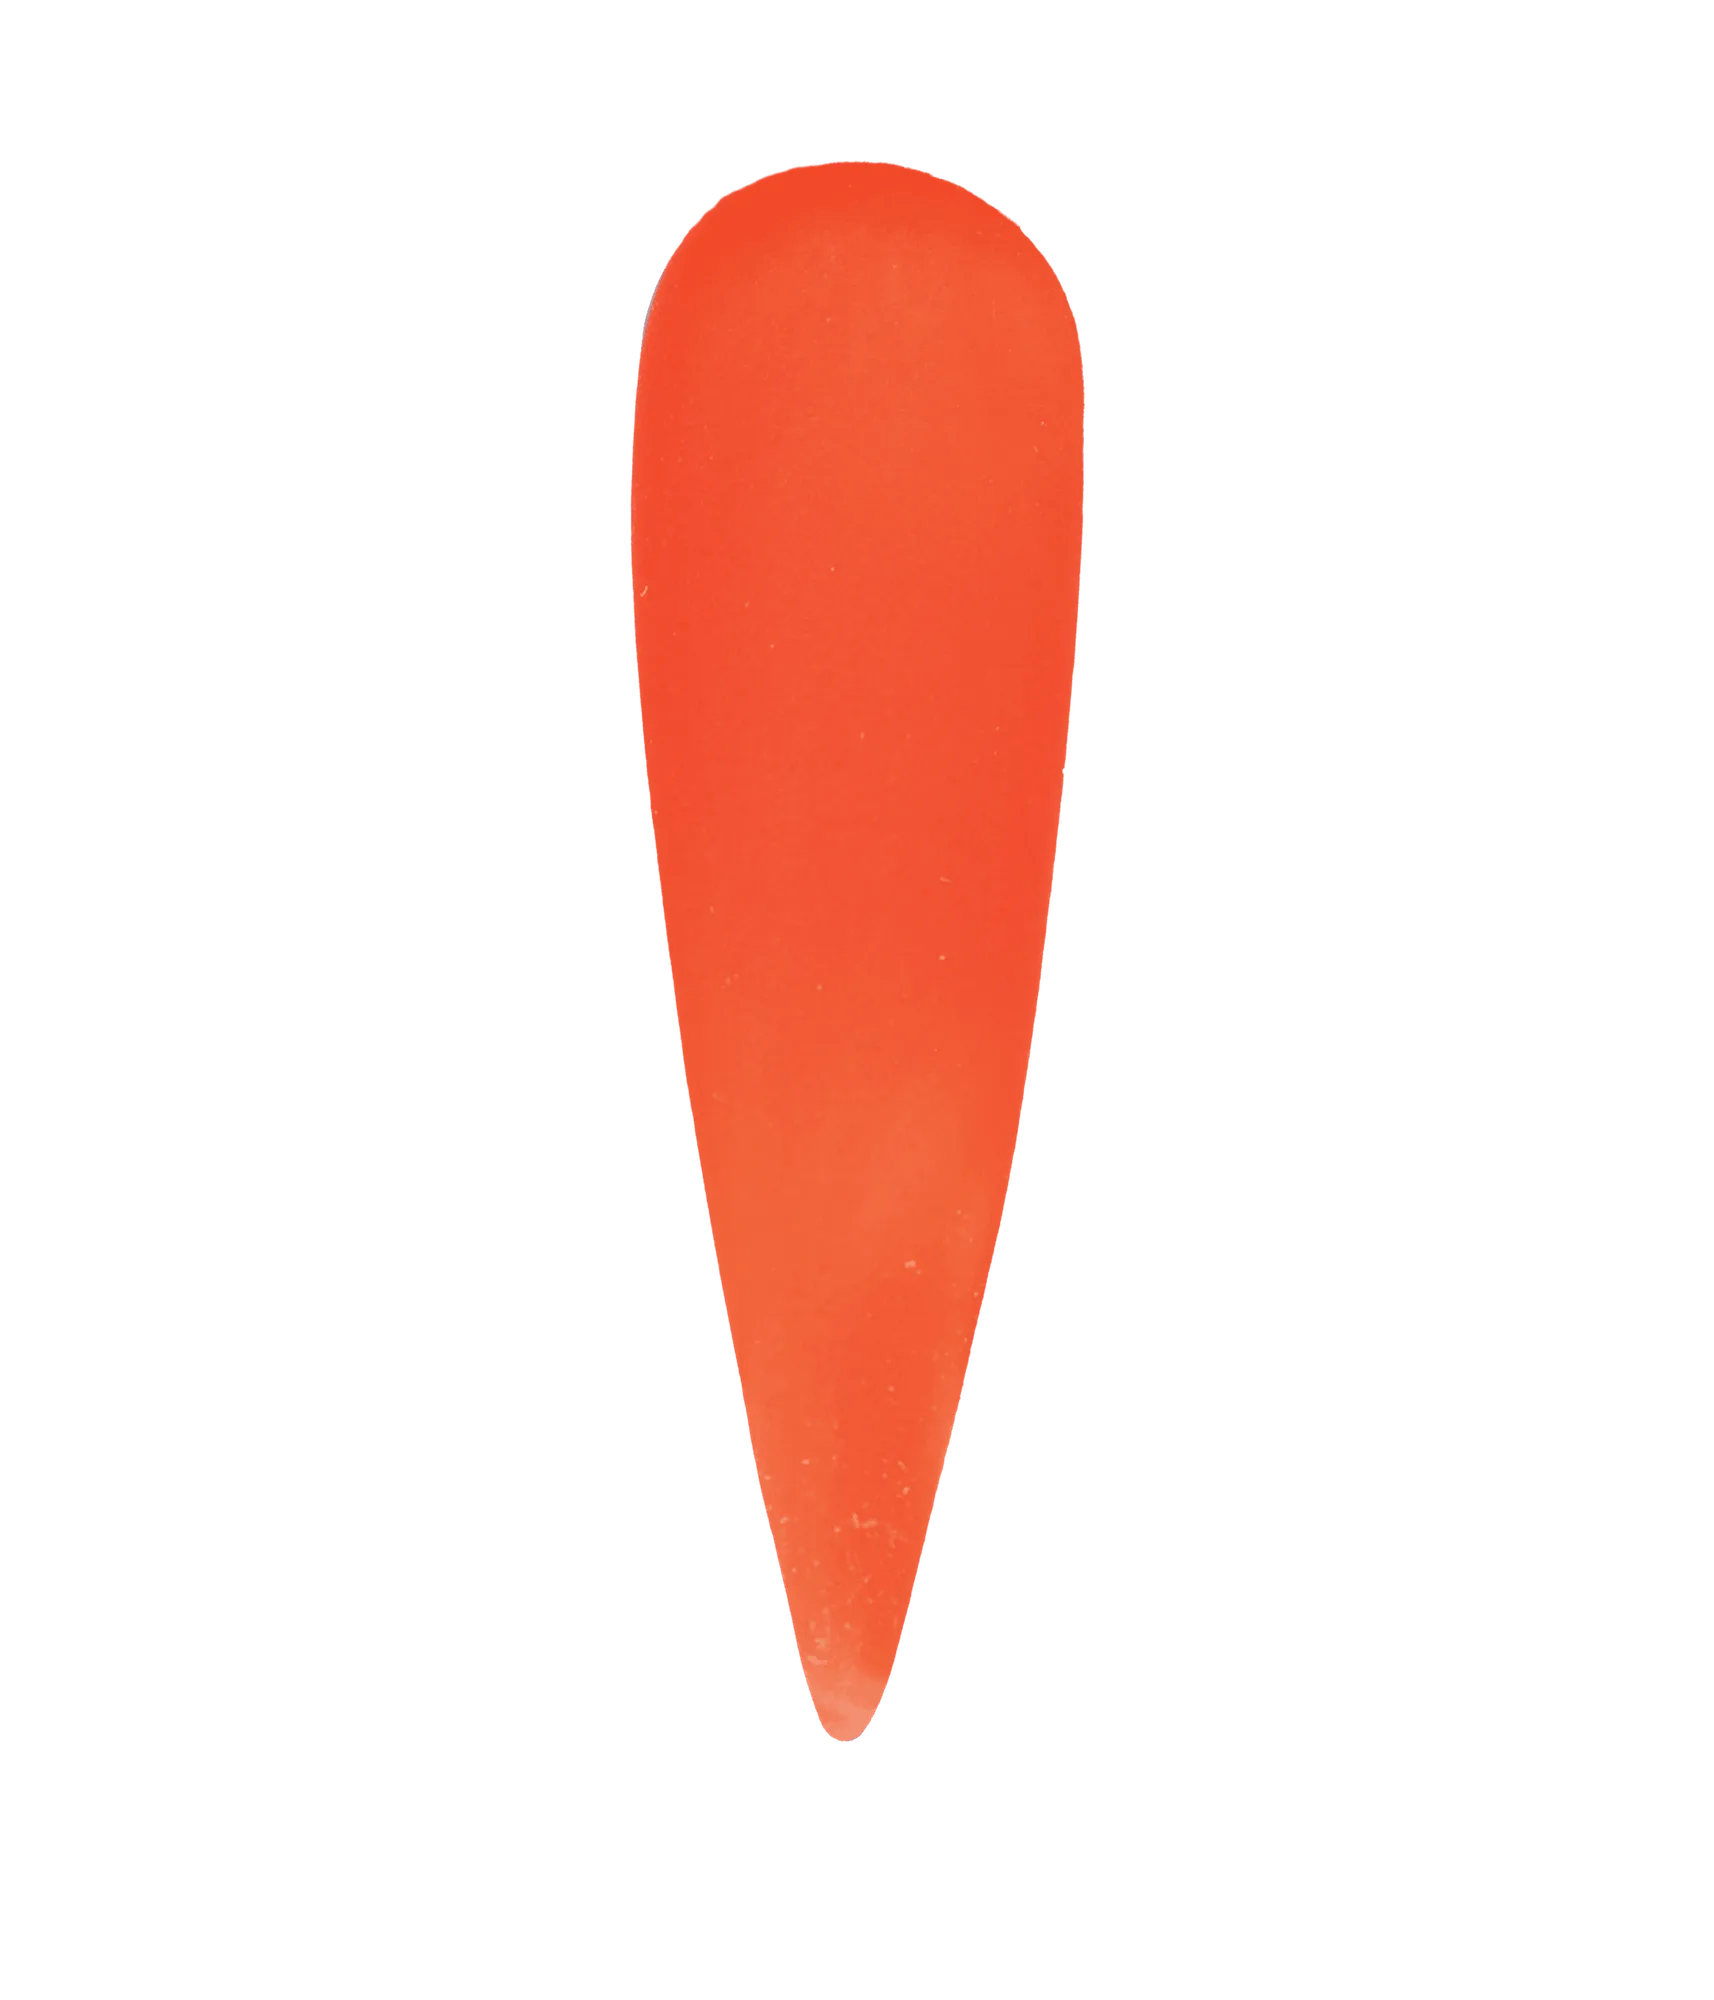
- #28 Buy Another Round - Acrylic Nail Powder: Super fine acrylic nail powder absorbs liquid evenly and is self-leveling for an effortless application, and can be applied with monomer or dip system. Self-leveling powder is more forgiving with a mid-size brush because the bead spreads on its own, which reduces filing time on full sets.
- #65 Cosmic Lush - Acrylic Nail Powder: The formula is designed for a butter-like consistency, making it easy to work with and ideal for creating stunning nails. A butter-like consistency gives you more working time, which helps beginners using a smaller brush to place and adjust the bead before it sets.
- #52 Orangutan Bomb - Acrylic Nail Powder: Super fine acrylic nail powder absorbs liquid evenly and is self-leveling for an effortless application. Available in 1oz, 2oz, 4oz or 16oz. jar. Size options let you test a powder with a new brush size without committing to a large jar, which is useful when you are still dialing in bead control.
Who this brush guidance fits
Best for
- Nail techs building a first acrylic brush set
- Beginners learning bead control on full sets and fills
- Experienced techs adding a detail or large-extension brush
Not for
- Techs looking for a single brush that does every service equally well
- Anyone shopping for gel-only or dip-only application tools
- Buyers who want a brush recommendation without considering service type
Choose your brush size by the service you do most, not by the largest number on the shelf. Start with one mid-size round brush, learn how your powder releases, and add a detail or large brush only when a specific service demands it.