Quick Answer
For most families, the best AirFort lighting setup is a rechargeable, touch-dimmable lamp like the Light Buddy Chicken Lamp placed just inside or beside the fort opening. It gives you three brightness levels, so you can use the lowest setting for a cozy airfort night light and the brightest for play. Avoid plug-in lamps and cords inside the fort, and never use a lamp that gets hot near the fabric.
An AirFort is already a magical little hideout, but the lighting you add can make or break the mood. A harsh overhead light flattens the experience, while a soft, adjustable glow turns the same fort into a bedtime nest, a reading nook, or a pretend-play stage. The trick is choosing a light that is safe around breathable fabric, easy for kids to control, and dim enough for winding down.
This guide walks through a simple, repeatable process for pairing your AirFort with the Light Buddy Chicken Lamp. You will set up a safe power plan, choose the right brightness for each activity, and build a routine that helps kids settle instead of getting wired. Each step includes a checkpoint so you can tell whether the setup is actually working.
Why Lighting Changes the AirFort Experience
AirFort fabric is designed to be durable and breathable, and it works with a standard box fan to stay inflated. That means the inside of the fort is a small, enclosed space where light behaves differently than in an open room. A single soft source can fill the whole dome, while a bright source can feel overwhelming and make the fabric glow harshly. Choosing an adjustable lamp gives you control over that atmosphere.
The Light Buddy Chicken Lamp is a touch-sensitive, three-level dimmable LED night light. Because it is rechargeable and LED-based, it does not need to stay plugged in while your child uses it, which is a real advantage inside a fabric fort. You can tap to turn it on and cycle through brightness levels, so the same lamp can serve playtime and bedtime without you swapping gear.
- Keep the light source low and near the opening so the glow spreads across the dome instead of shining in your child's eyes.
- Test the lowest brightness first, then step up only if your child needs more light to play or read.
Step 1: Set Up the Fort and Choose a Safe Light Position
Inflate your AirFort with a standard box fan and let it settle. Before adding any light, decide where it will sit. The safest habit is to place the lamp just outside the fort entrance or on a low, stable surface right at the opening. This keeps cords, chargers, and hard objects out of the play space while still letting the glow spill inside.
If your child wants the lamp inside, use a rechargeable lamp that is not plugged in, and place it on the floor against the wall of the fort where it is least likely to be stepped on. Never run an extension cord or charger into the fort. Checkpoint: if you can see a cord crossing the doorway, reposition the lamp before play starts.
- Charge the lamp fully before fort time so it never needs to be plugged in during use.
- Keep the lamp away from the fan intake and any moving parts.
Step 2: Match Brightness to the Activity
The Light Buddy Chicken Lamp cycles through three brightness levels with a tap. Use the brightest level for active pretend play, crafts, or reading, when kids need to see details. Drop to the middle level for quiet play or storytelling. Use the lowest level as an airfort night light for bedtime, when the goal is a soft glow rather than full illumination.
A common mistake is leaving the lamp on its brightest setting during wind-down time. That keeps the space stimulating and can make it harder for kids to settle. Checkpoint: if your child is still wide awake after ten minutes at bedtime, tap down one brightness level and see whether the room feels calmer.
- Bright: active play, puzzles, and reading.
- Medium: storytelling, quiet play, and snacks.
- Low: bedtime, night feedings, and comfort light.
Step 3: Build a Cozy Lighting Routine
Lighting works best when it signals what comes next. Turn the fort light on at medium brightness when play begins, then dim it as the activity slows. Pair the dimming with a consistent cue, such as a story or a song, so the change feels predictable rather than like a rule. Over time, the dimming itself becomes the signal that bedtime is close.
Keep the routine short and repeatable. Two or three small steps are easier to stick with than a long sequence, especially on school nights. Checkpoint: if the routine takes more than a few minutes or needs repeated reminders, simplify it and drop one step.
- Dim the lamp before you start the bedtime story, not after.
- Leave the lowest setting on if your child prefers a night light to sleep.
Step 4: Extend the Setup to the Rest of the Room
The fort does not have to be the only lit area. If the rest of the room is bright, the contrast can make the fort feel like a dark cave or pull kids back out toward the brighter space. Dim the main room lights as fort time begins so the fort becomes the coziest spot in the room rather than the darkest one.
If your child uses the fort for daytime play, you can skip the lamp entirely and rely on ambient room light. Save the lamp for evenings, rainy days, and any time you want the fort to feel like a separate little world. Checkpoint: if your child keeps leaving the fort to play elsewhere, reduce the room lighting and see whether they stay longer.
- Use the lamp mainly for evening and low-light play.
- Keep the fort entrance facing away from bright windows or screens.
AirFort Lighting Setup: 5 Steps
- Inflate and clear the space: Set up the AirFort with a standard box fan and remove hard toys or clutter from the floor inside. Checkpoint: the fort holds its shape and the floor is clear before any lamp goes in.
- Place the lamp safely: Put the Light Buddy Chicken Lamp just outside the opening or on the floor inside using its rechargeable battery, never a plugged-in cord. Checkpoint: no cord crosses the doorway or sits inside the fabric.
- Pick the brightness for the moment: Tap through the three levels: bright for active play, medium for stories, low for bedtime. Checkpoint: if your child is overstimulated, drop one level.
- Dim the room to match: Lower overhead lights so the fort becomes the coziest spot rather than the darkest one. Checkpoint: your child stays in the fort longer instead of drifting back to brighter areas.
- Build a repeatable wind-down cue: Dim the lamp before the bedtime story and keep the lowest setting on if your child wants a night light. Checkpoint: the routine takes only a few minutes and needs few reminders.
Product Facts That Matter for This Setup
- Light Buddy - Chicken Lamp: Touch Sensitive Baby Chick Night Light with 3-Level Dimmable LED, rechargeable and safe for kids, nursery, and bedroom use. Three brightness levels let one lamp cover play and bedtime, and the rechargeable design means no cord needs to run into the fort.
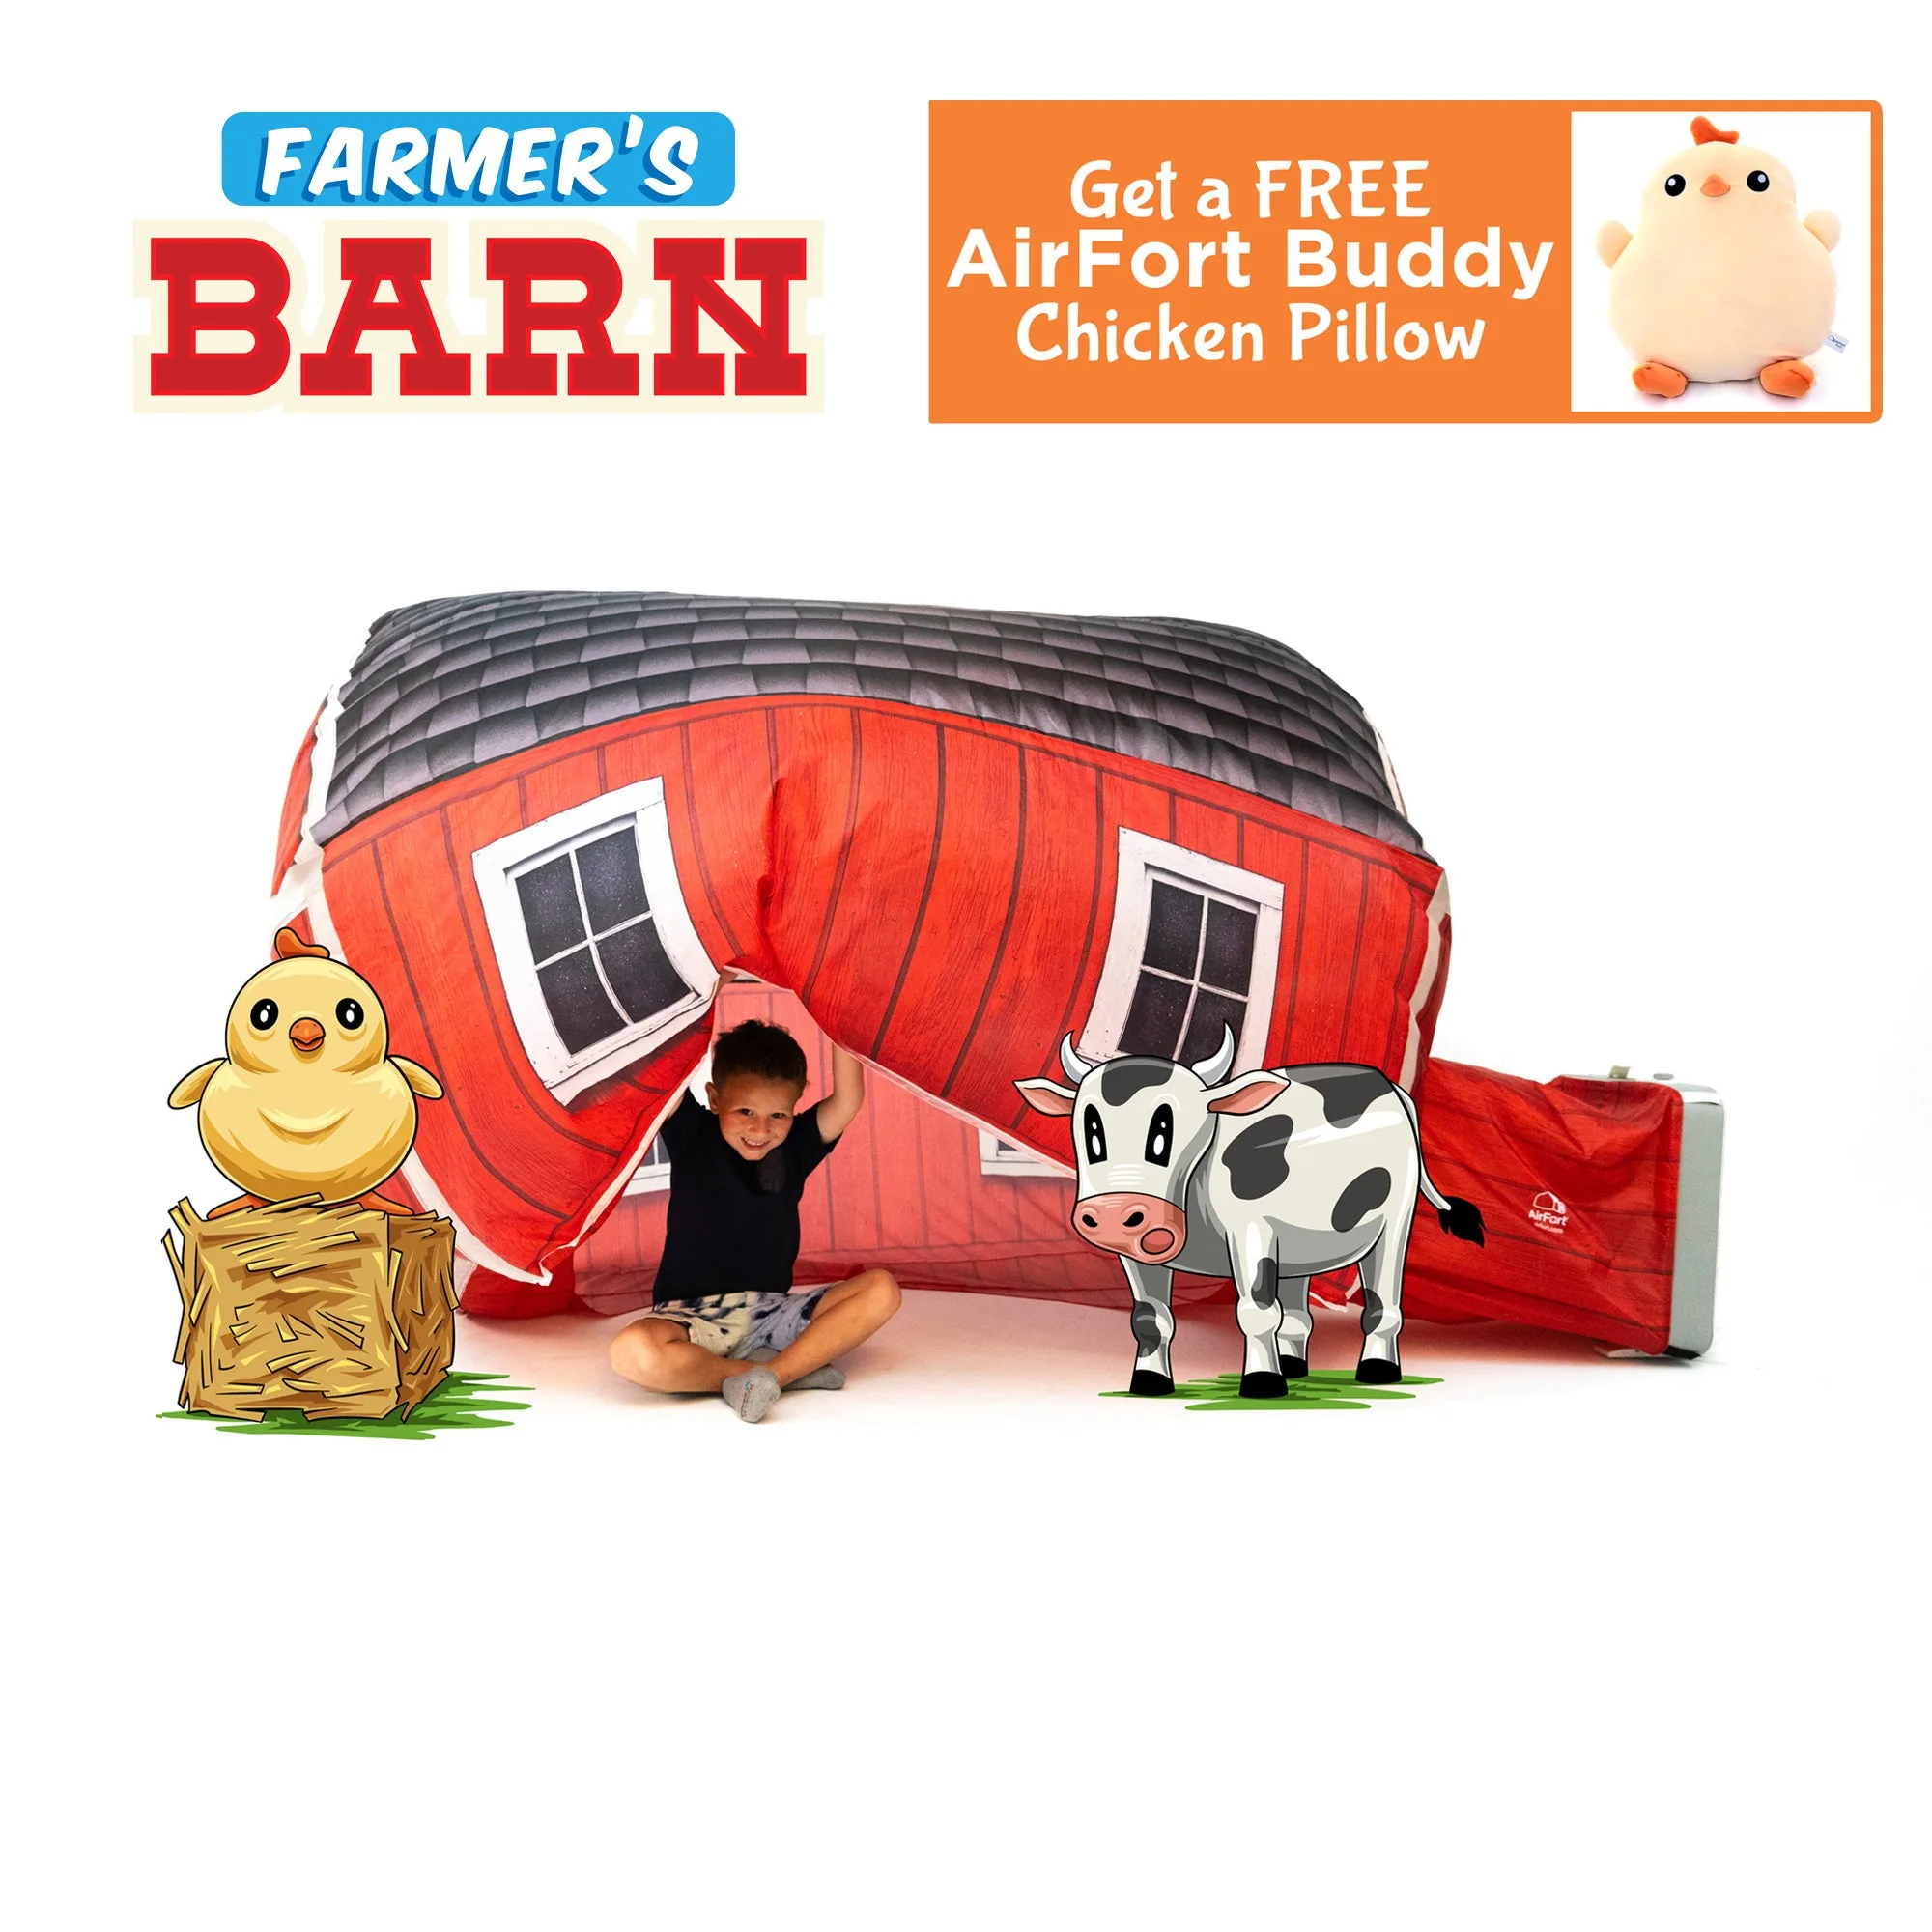
- Farmers Barn + FREE AirFort Buddy Chicken Pillow (While Supplies Last!): Works with any standard box fan (box fan not included), with durable and breathable construction and child safety testing. Confirms the fort is designed for indoor use with a standard fan, so you can plan lighting and airflow around the same setup.
- AirFort Buddy Chicken Pillow: A plush chicken pillow described as perfect for daytime play and nighttime cuddles. Pairs naturally with the chicken lamp theme and gives kids something soft to hold during dim, calm fort time.
Good AirFort lighting is less about buying more gear and more about placement, brightness, and routine. Start with the Light Buddy Chicken Lamp, keep cords out of the fort, and let the dimming do the work of signaling calm. Once the setup is repeatable, the fort becomes the easiest cozy corner in the house.