Quick answer
Stitch your sea creature canvas in this order: the fish first, then the background, then fine details. Working the angelfish needlepoint canvas before the background keeps the canvas from distorting and lets you adjust the fish's position without unpicking. If your canvas has a large background, stitch it in diagonal sections, not one long row.
Why stitch order matters on a hand-painted canvas
Hand-painted canvases are not printed; the design is painted on the mesh, so the holes you stitch into are the only guide. If you stitch the background first, the canvas can shift slightly under the weight of the thread, and the painted fish may end up off-center. Stitching the fish first locks the design in place. Also, because canvases do not come with thread, you choose your own fibers, and the order you use them affects how the canvas lies. Work from the center of the fish outward, then move to the background.
Step 1: Find the center and mark it
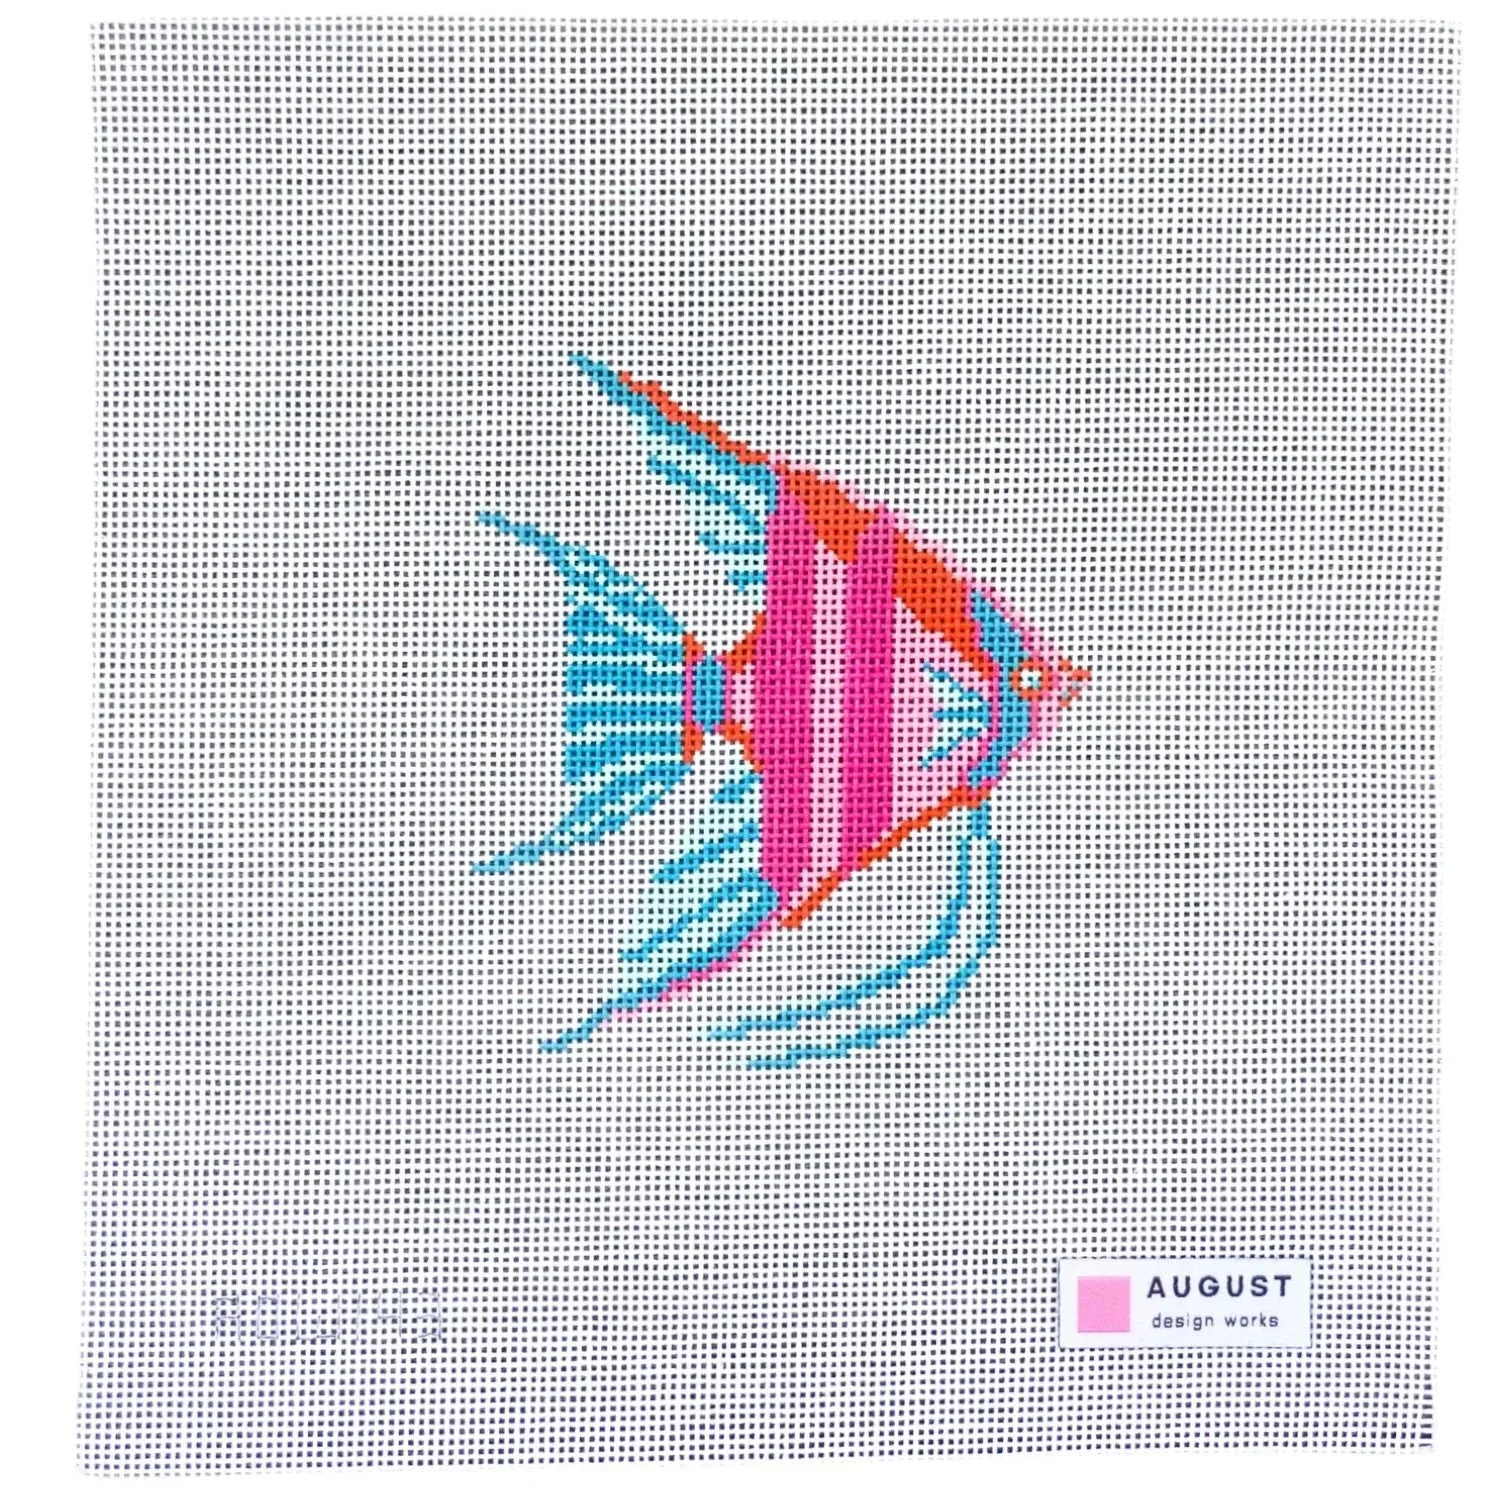
Fold the canvas in half horizontally and vertically to find the center. The painted design is your guide, but the center helps you start the fish symmetrically. Mark the center hole with a small stitch of waste thread. On the Angelfish canvas, the design is 3.5 × 4 inches on a 7.5 × 8 canvas, so you have a generous margin for framing or finishing. Do not skip this step; starting off-center on a small design is hard to correct later.
Step 2: Stitch the fish body first
Begin with the largest area of the fish, usually the body. Use a stitch that covers the painted area smoothly, such as basketweave or continental. Work from the center of the body outward. If you are stitching an angelfish, its tall triangular body is the focal point, so keep the stitches uniform. A common mistake is to stitch the fins before the body; that can pull the canvas and make the body look lumpy. Checkpoint: after the body is done, the canvas should still lie flat.
Step 3: Add the fins and tail
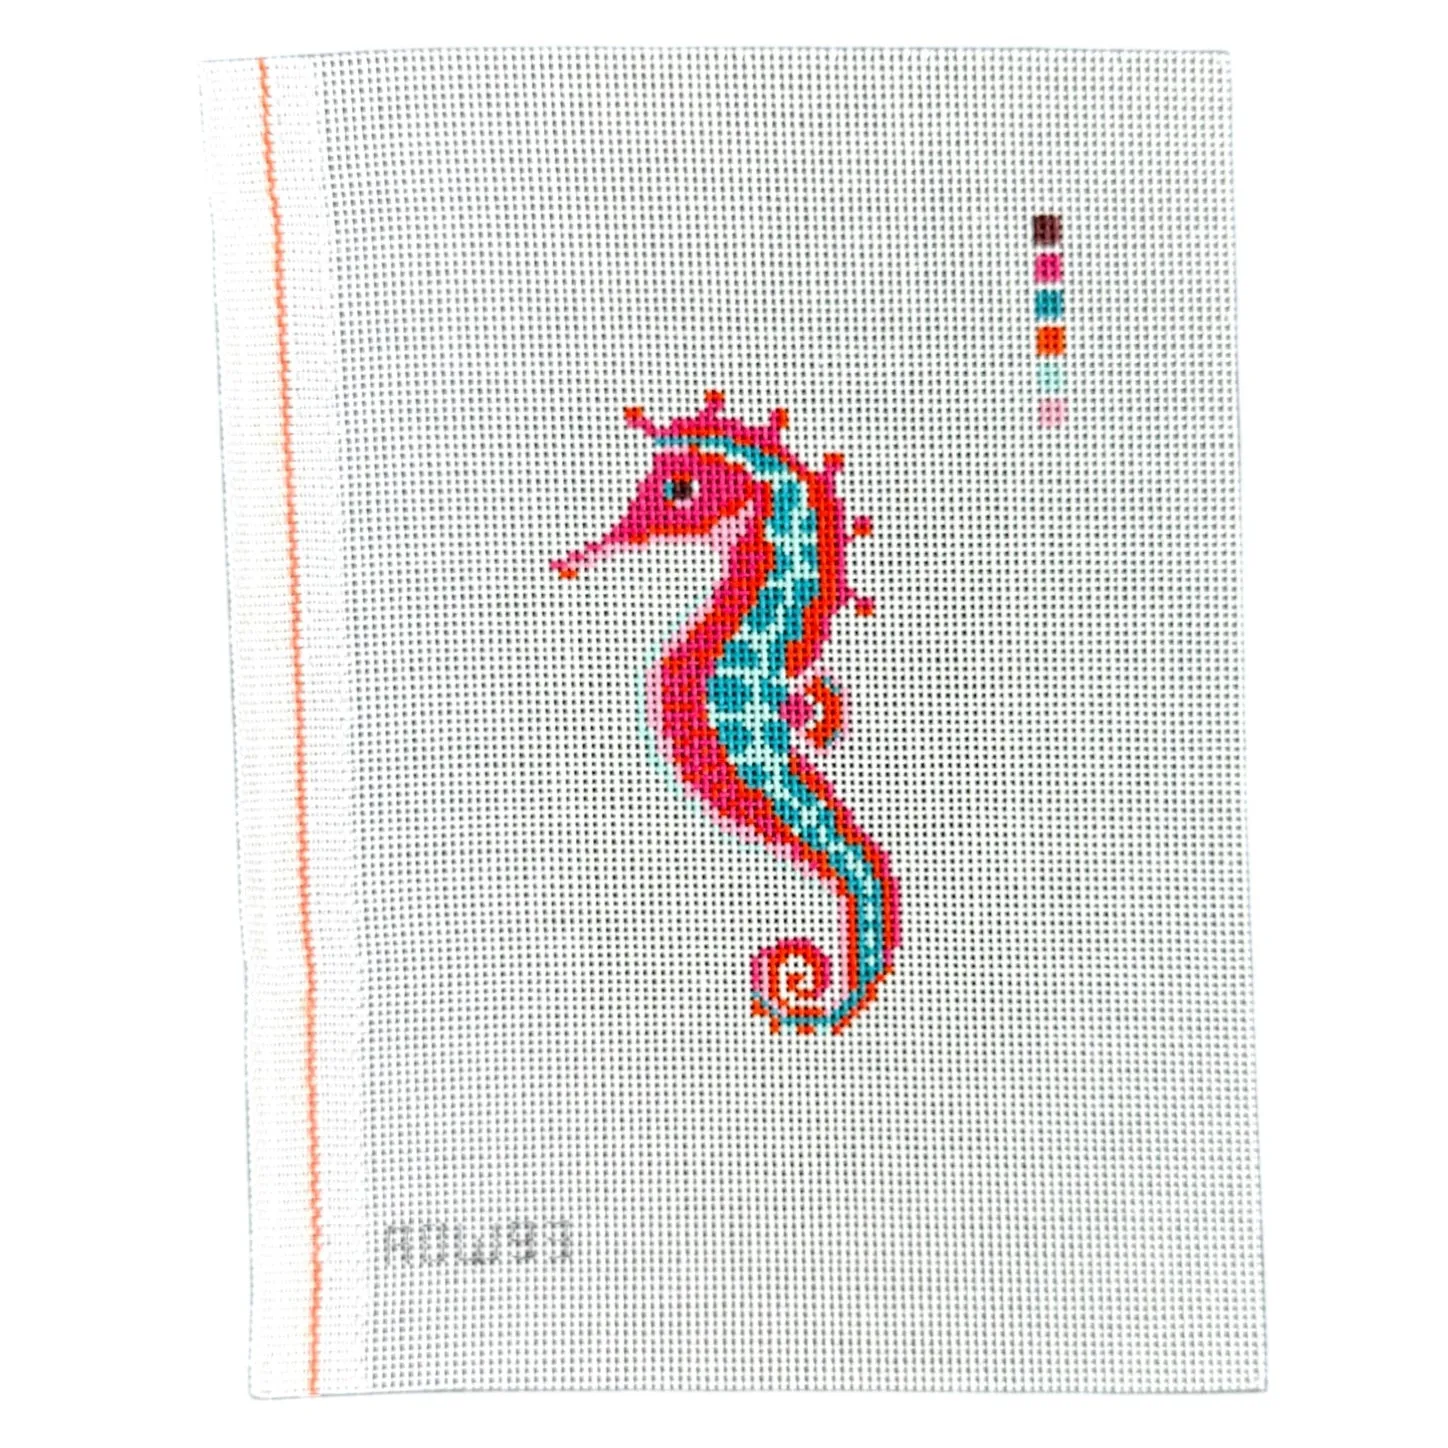
Once the body is complete, stitch the fins and tail. These areas are often narrower, so use shorter stitches or a lighter thread to avoid bulk. For a seahorse canvas, the curled tail is a good place to use a slightly darker thread to define the curl. Do not carry thread across the back of the canvas between fins; secure and restart each area. Checkpoint: the fins should not pucker the canvas. If they do, your stitches are too tight.
Step 4: Stitch the background last
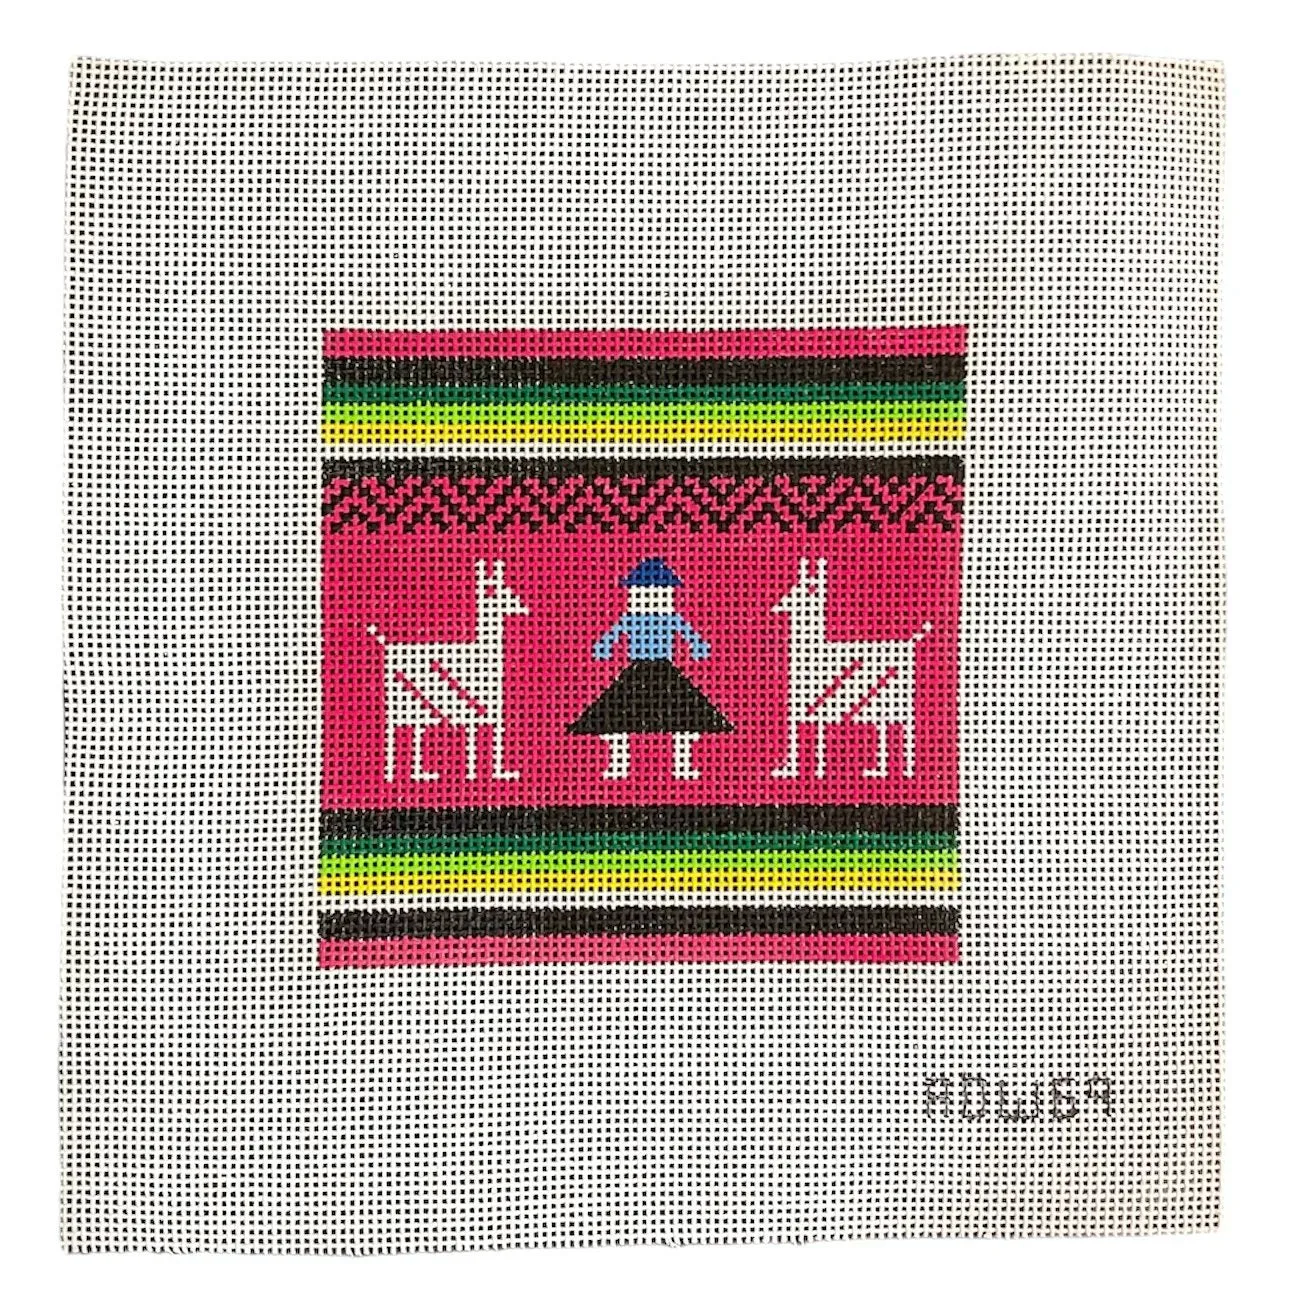
After the fish is complete, fill in the background. This is where many stitchers rush and cause distortion. Work the background in diagonal bands, not in long horizontal rows. If your canvas has a large background, like the 5 × 5 design on the Diana Peru canvas, you can use a simple stitch like basketweave or a decorative stitch if the area is large enough. Keep the tension consistent with the fish. Checkpoint: the background should not pull the fish out of shape. If the canvas starts to cup, you are stitching too tightly.
Step 5: Add fine details and highlights
Finally, add any details: eyes, stripes, or highlights. These are usually small areas, so use a single strand or a fine thread. On a tropical fish canvas, the eye is often the last thing to stitch because it gives the fish its character. Do not add details before the background, because background stitches can cover or distort them. Checkpoint: step back and look at the canvas from a distance; the details should read clearly.
Stitching order steps at a glance
- Center and mark: Fold canvas to find center; mark with waste thread. Checkpoint: mark is centered on the painted design.
- Fish body first: Stitch the largest area of the fish from center outward. Checkpoint: canvas lies flat after body is done.
- Fins and tail: Stitch fins and tail with shorter stitches or lighter thread. Checkpoint: no puckering; secure thread between areas.
- Background last: Fill background in diagonal bands, matching tension to the fish. Checkpoint: background does not pull the fish out of shape.
- Details and highlights: Add eyes, stripes, and highlights with fine thread. Checkpoint: details read clearly from a distance.
Canvas facts that affect stitching order
- Angelfish - Needlepoint Canvas (Wholesale): Angelfish - Needlepoint Canvas (Wholesale): 7.5 × 8 canvas size, 3.5 × 4 design size, 18 mesh, hand-painted, no thread included. The 18 mesh means small holes, so use fine thread and stitch the fish first to avoid distorting the small design area.
- Seahorse - Needlepoint Canvas (Wholesale): Seahorse - Needlepoint Canvas (Wholesale): 6.25 x 8.25 canvas size, 2.25 x 4.25 design size, 18 mesh, hand-painted, no thread included. The narrow design leaves little margin, so stitch the seahorse body before the background to keep the shape crisp.
- Diana Peru - Needlepoint Canvas (Wholesale): Diana Peru - Needlepoint Canvas (Wholesale): 9 x 9 canvas size, 5 x 5 design size, 13 mesh, hand-painted, no thread included. The 13 mesh has larger holes, so you can use thicker thread and stitch the background in broader bands without buckling.