Quick Answer
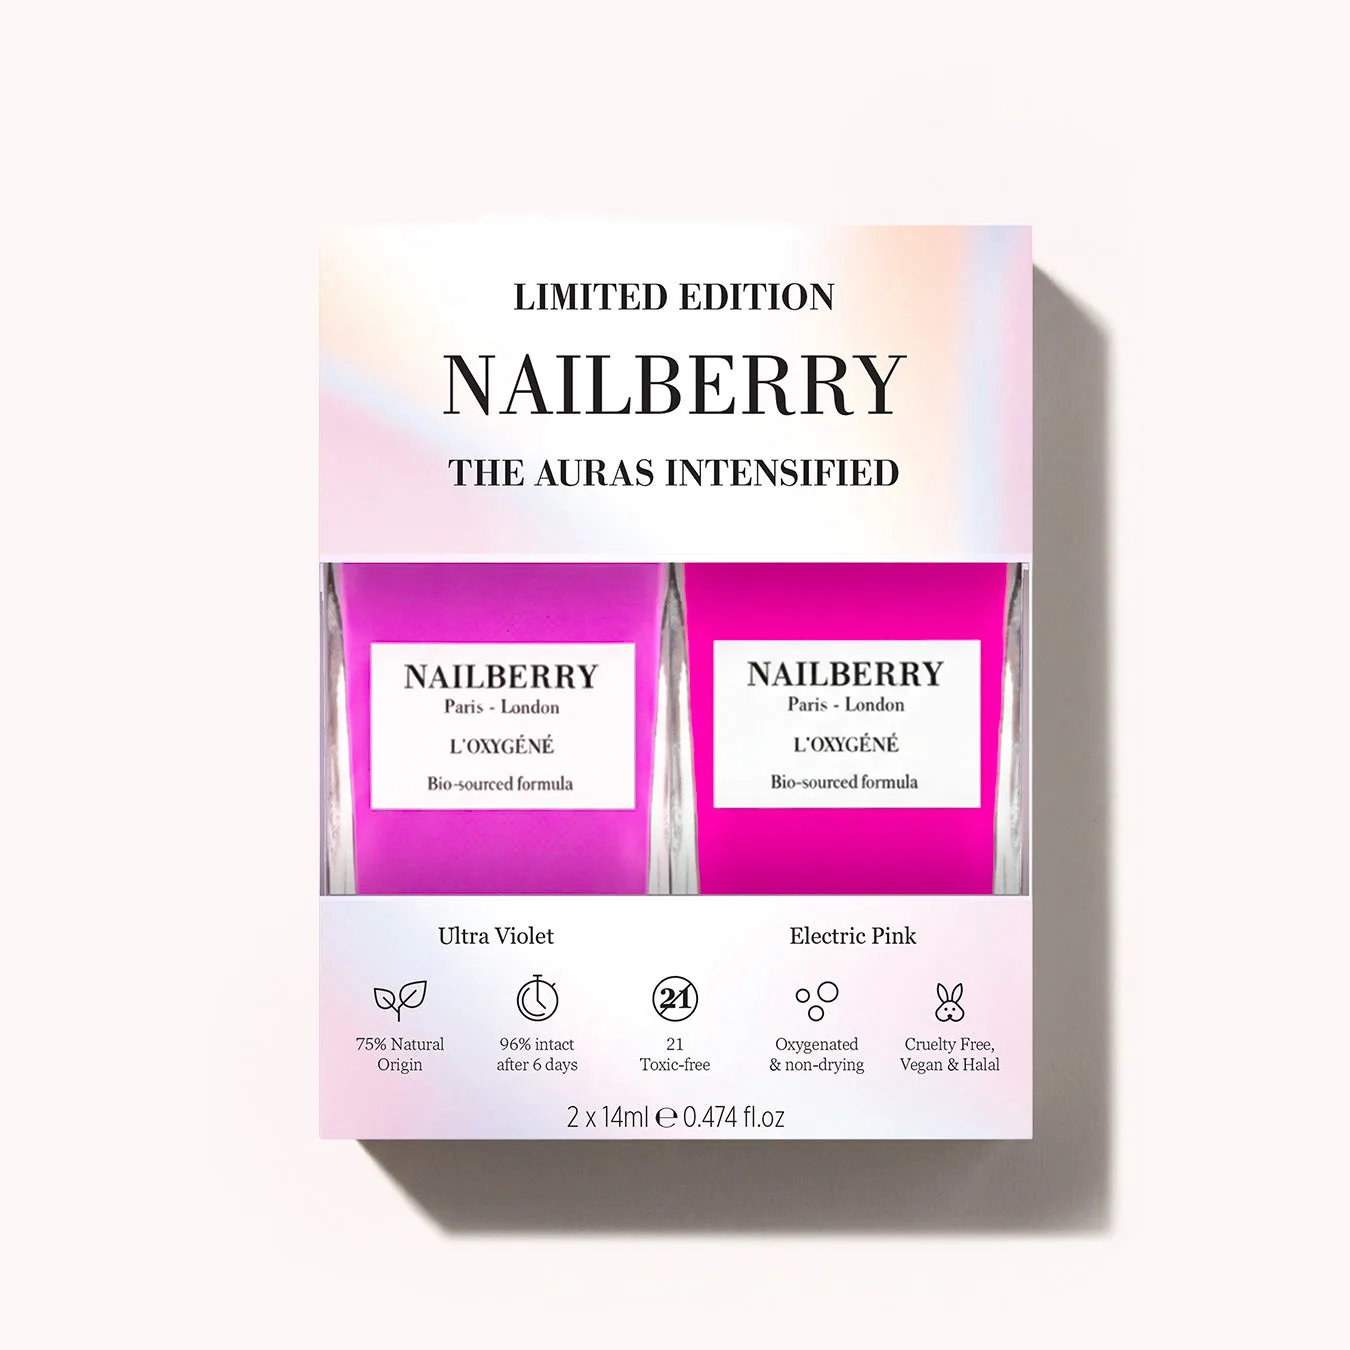
For a salon‑quality, high‑gloss finish, apply Auras Intensified as your color base, then seal it with Nailberry’s Fast Dry Gloss top coat. Clean nails, use thin layers, and let each coat dry fully before the next step.
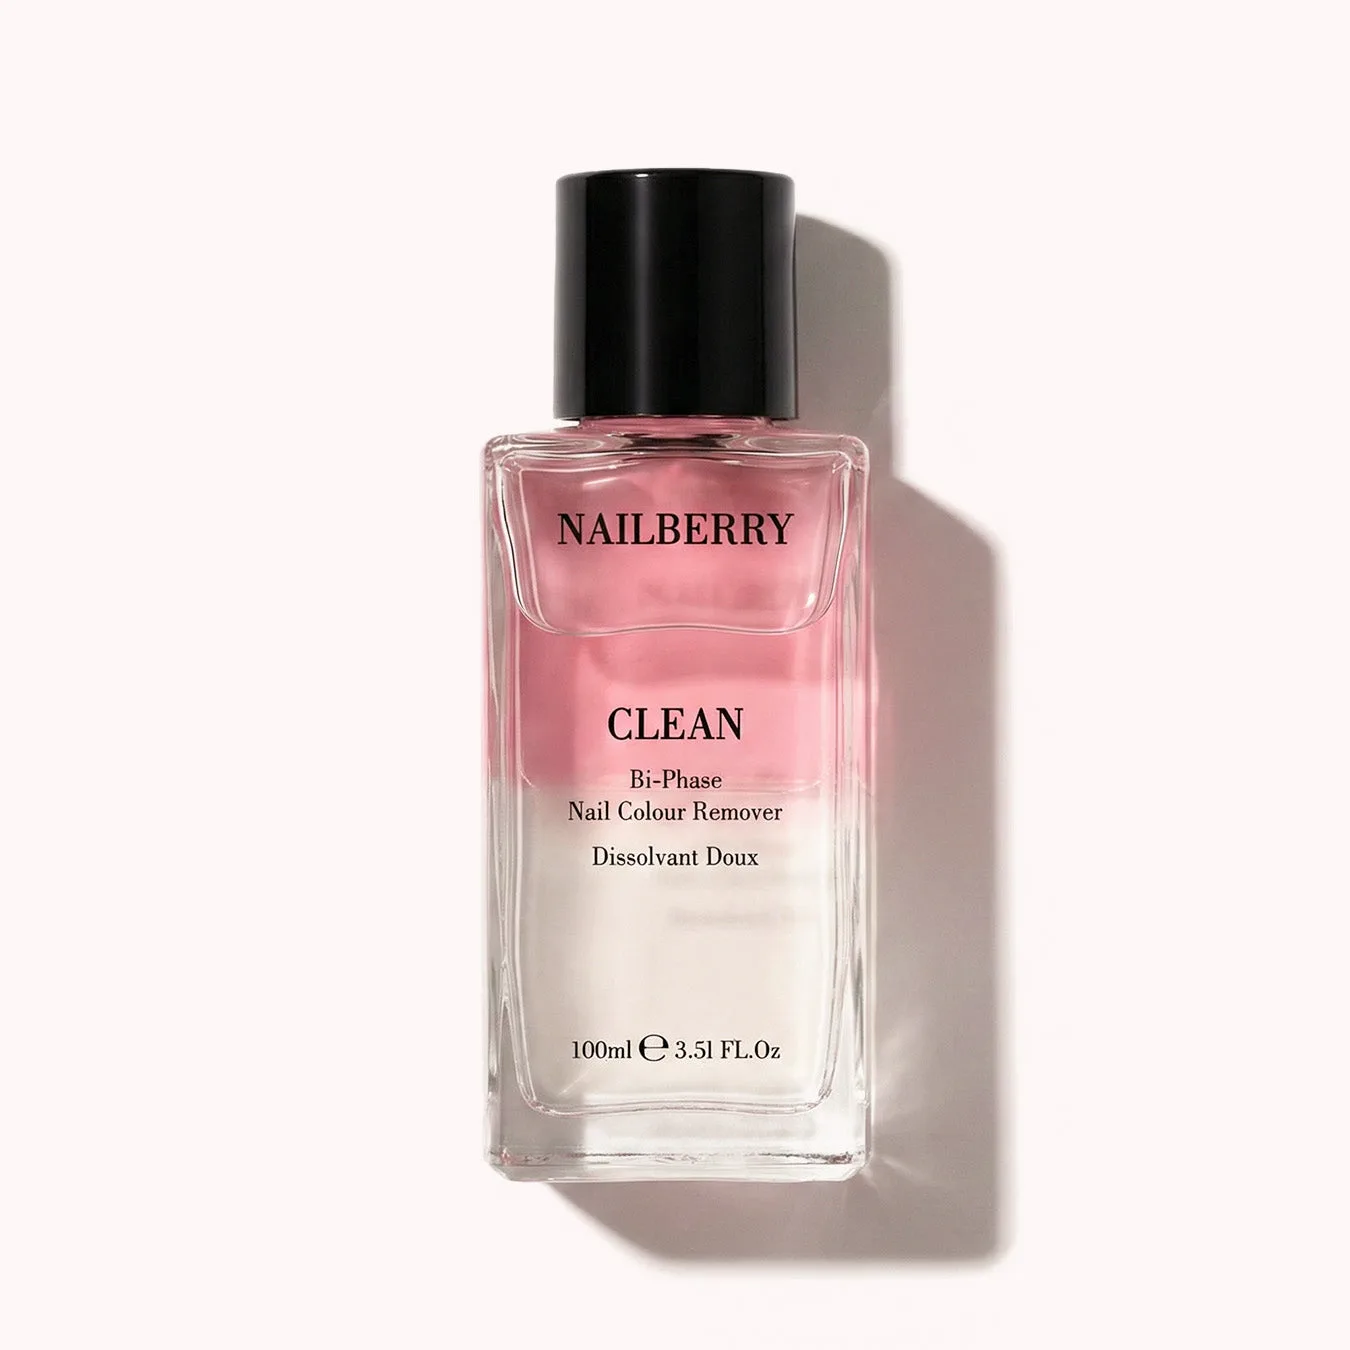
Clean
Auras Intensified delivers rich, vibrant colour, but without the right finishing steps the shine can fall short of salon standards. This guide walks you through preparation, application, and sealing so your manicure stays glossy and chip‑resistant.
By pairing the polish with Nailberry’s non‑toxic, fast‑dry top coats, you’ll achieve a mirror‑like finish in minutes, not hours, while keeping your nails healthy.
Preparing Your Nails
Start with clean, lightly buffed nails. Remove any oils with a gentle nail cleanser or alcohol wipe, then apply a thin layer of a base coat if you have one. This creates a smooth surface and prevents staining, especially important for darker shades like Auras Intensified.
Allow the base to dry completely—usually 30‑40 seconds—before moving on. Skipping this step often leads to uneven colour and reduced gloss.
- Avoid using thick layers; thin coats dry faster and stay clearer.
Applying Auras Intensified
Shake the bottle well, then apply the first thin coat of Auras Intensified. Start from the cuticle edge and glide toward the tip in one smooth motion. Wait 40‑60 seconds for it to become tacky, then add a second thin coat for full opacity.
Common mistake: letting the first coat dry completely before the second. This can create a visible line between layers and dull the final shine.
- Cap the bottle tightly after each use to preserve the formula.
Sealing with a High‑Gloss Top Coat
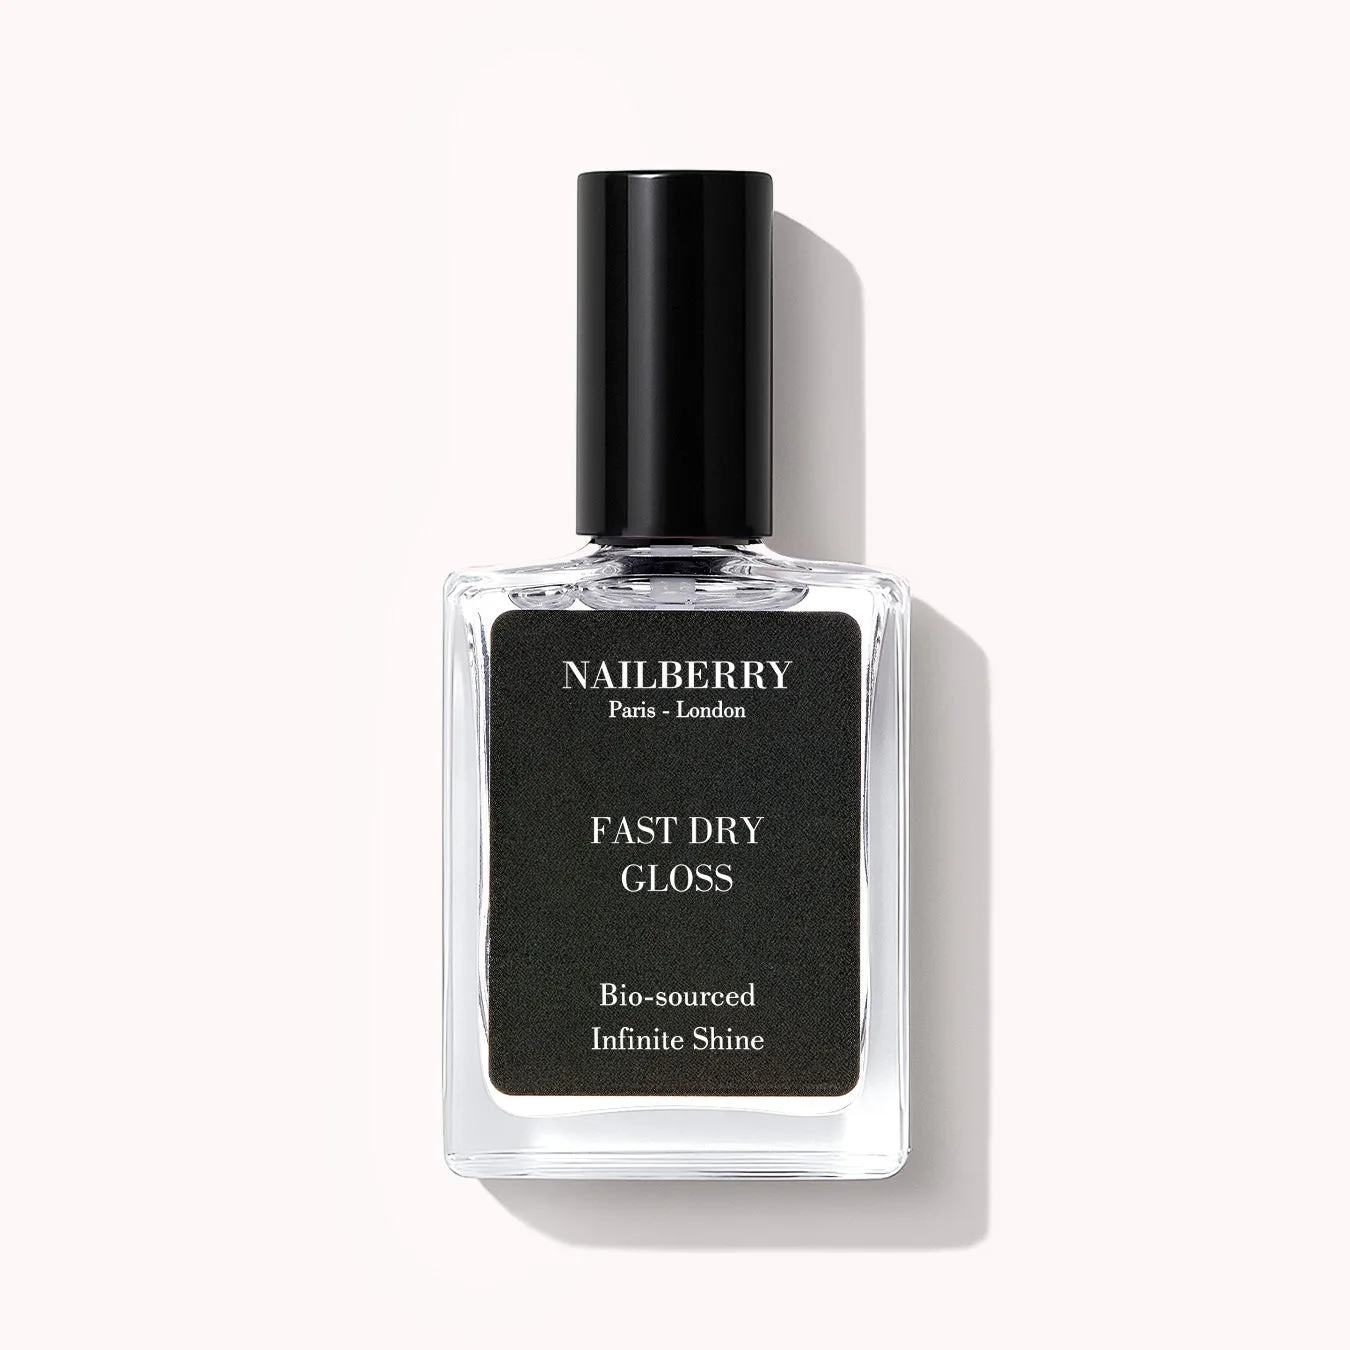
Finish with Nailberry’s Fast Dry Gloss. Its vegan‑friendly formula dries to the touch in just 40 seconds and locks in colour while adding a high‑shine finish. Apply one thin layer, ensuring the brush reaches the tip for a smooth edge.
Checkpoint: If the top coat feels sticky after the recommended drying time, you may have applied too much. Lightly wipe excess with a lint‑free pad and re‑apply a thinner layer.
- For extra durability, add a second Fast Dry Gloss layer after the first has fully cured.
Step‑by‑Step Glossy Finish
- Step 1 – Clean & Prep: Remove oils, lightly buff, and apply a thin base coat if desired. Let it dry fully. Ensures a smooth canvas and prevents colour staining.
- Step 2 – Apply Auras Intensified: Swipe one thin coat, wait 40‑60 seconds, then add a second thin coat for full coverage. Avoid thick layers to keep the finish even and glossy.
- Step 3 – Seal with Fast Dry Gloss: Apply a thin layer of Fast Dry Gloss, allowing 40 seconds to dry before handling. Creates a high‑shine, chip‑resistant seal that mimics a salon top coat.
Top Coats to Enhance Your Auras Intensified Finish
- Fast Dry Gloss: Fast‑drying, high‑gloss top coat that dries to the touch in just 40 seconds, protecting nails against fading or discolouration and leaving them ultra‑glossy. The quick dry time lets you seal your colour fast, reducing the risk of smudges while delivering a salon‑level shine.
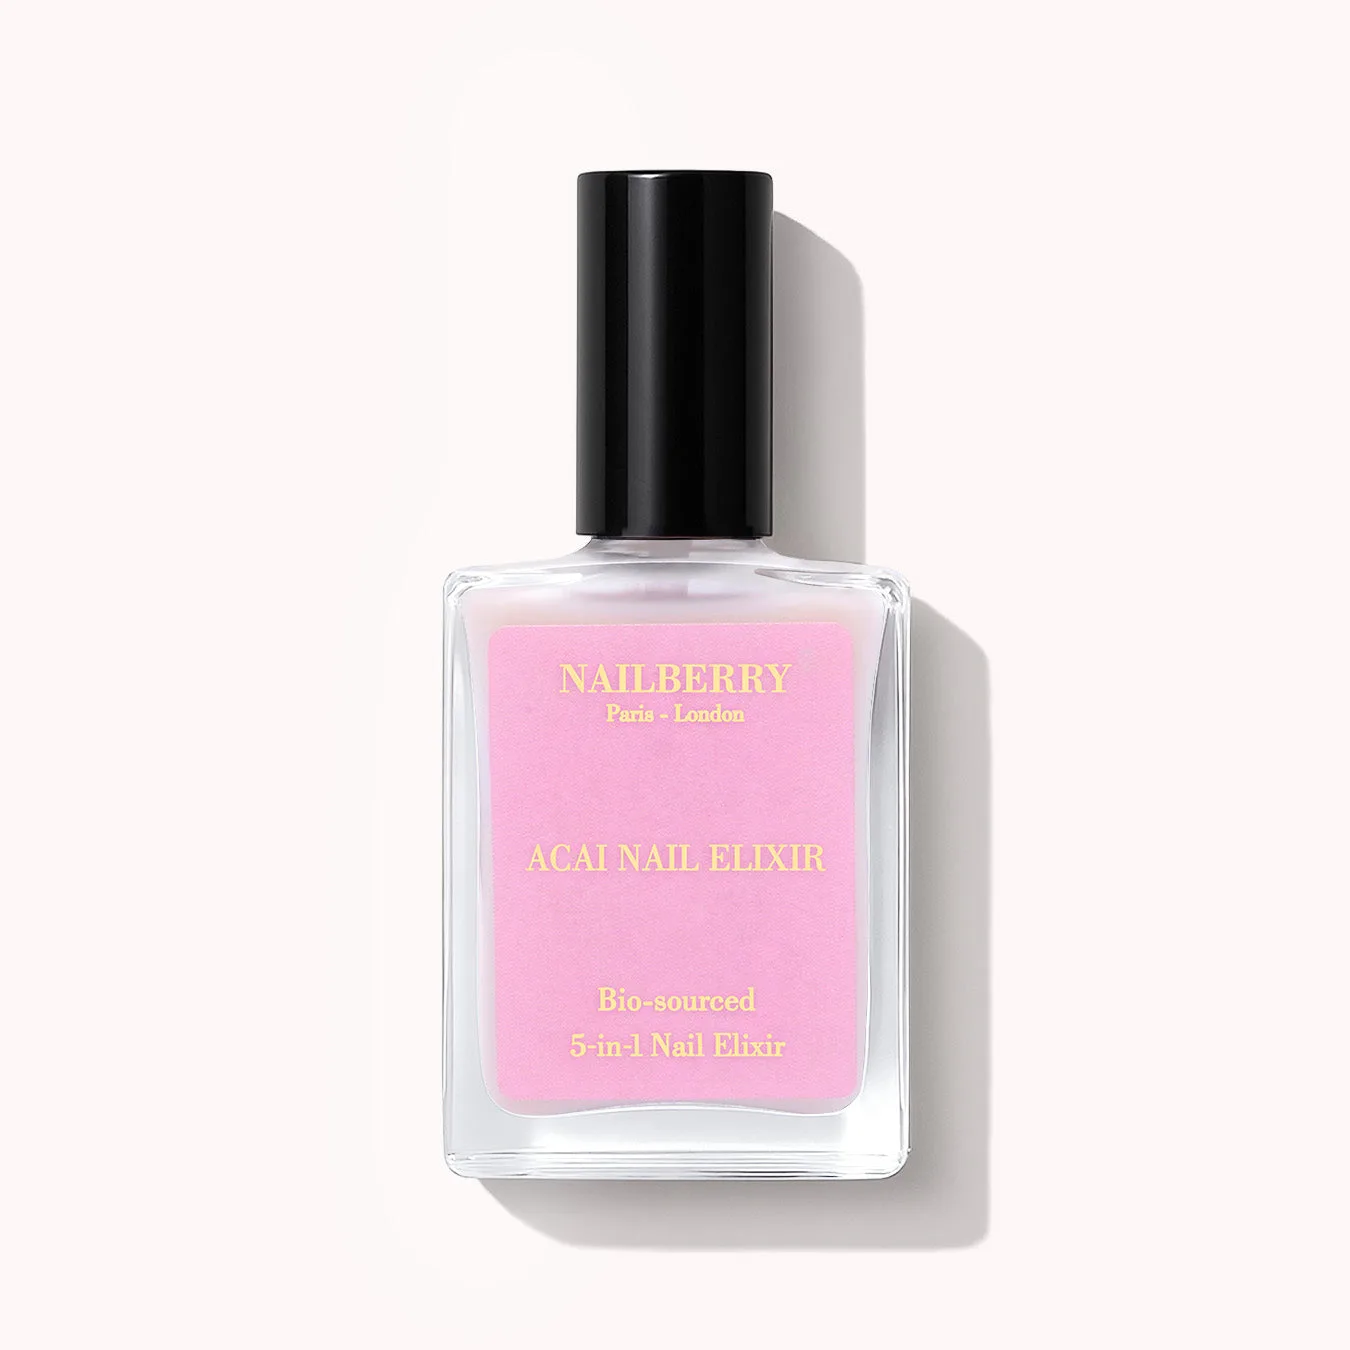
- Acai Nail Elixir: 5‑in‑1 base coat & treatment that strengthens, nourishes and protects nails with 78.5% naturally derived ingredients, actively repairing dry or damaged nails. Using this as a prep layer improves nail health, ensuring the Auras Intensified colour adheres evenly and lasts longer.
By following these simple steps and using Nailberry’s non‑toxic, fast‑dry top coats, you’ll turn Auras Intensified into a glossy, salon‑quality manicure that lasts all day.