Quick answer
Baby-led weaning food cutters are simple tools that cut soft foods into strips or cubes sized for your baby to pick up and self-feed. They help you serve safe, graspable finger foods without extra prep work.
Why use food cutters for baby-led weaning?
When you start baby-led weaning, the right food size matters more than the shape. Strips about the length of your little finger let your baby practice the palmar grasp (using the whole hand) around 6 months. Cubes about 1 cm work well for the pincer grasp (using thumb and forefinger) that develops around 9 months. Food cutters give you consistent sizes every time, so you don't have to guess or trim each piece by hand.
A common question is whether you already have a knife that can do the same job. A knife works, but it is harder to get uniform strips and cubes quickly. Cutters also help you work with slippery foods like avocado or banana without squishing them.
What foods work best with cutters?
Soft, ripe fruits and steamed vegetables are ideal. Think banana, avocado, steamed sweet potato, zucchini, or ripe pear. These foods are firm enough to hold their shape after cutting but soft enough for your baby to gum. Harder foods like raw apple or carrot are not suitable until your baby has more teeth and chewing experience.
Avoid foods that are too soft (like overripe mango) because they will mush when pressed. Also avoid foods that crumble easily (like dry toast) because they may create choking hazards. Stick to foods that pass the squeeze test: if you can squish it between your thumb and forefinger, it is safe for your baby.
How to use baby-led weaning food cutters
- 1. Choose the right cutter for your baby's age: For babies around 6 months, use the strip cutter to make long, finger-shaped pieces. For babies around 9 months or older, switch to the cube cutter to make small squares that encourage the pincer grasp. A common mistake is using the cube cutter too early. If your baby cannot yet pick up a small cube, stick with strips until the pincer grasp emerges.
- 2. Prepare a soft, ripe food: Select a food that is soft enough to squish between your thumb and forefinger. Steam or roast vegetables until tender, and use very ripe fruit. Let the food cool completely before cutting. Do not cut foods that are still hot. Hot food can burn your baby's mouth and may also be too firm to cut cleanly.
- 3. Press the cutter straight down through the food: Place the cutter on the food and press firmly and evenly. Do not twist or rock the cutter, because that can tear the food and create uneven pieces. Lift the cutter straight up after pressing. If the cutter sticks, dip it in a little water before pressing. This helps the cutter release the food cleanly.
- 4. Remove the cut piece and check its size: Gently push the food out of the cutter with your finger or a soft spatula. The piece should be about the length of your little finger (for strips) or about 1 cm square (for cubes). If the piece is larger, trim it slightly. A piece that is too large can be a choking hazard. Always check each piece before serving.
- 5. Serve the food piece on a flat surface or suction plate: Place a few pieces directly on your baby's tray or on a suction plate. Offer one or two pieces at a time so your baby is not overwhelmed. Let your baby pick up the food and bring it to their mouth. Do not put food in your baby's mouth. Let them self-feed at their own pace. Your job is to prepare safe pieces; their job is to eat.
Product facts
-
Baby-Led Weaning Food Cutters (5-Pack): The ezpz food cutters make baby-led weaning food prep ezpz. Start with the food cutter for food strips (6m+) to promote the palmar grasp. At 9m+ layer in the cubed food cutter to promote the pincer grasp. This means you get two tools in one set that match your baby's changing grasp abilities, so you do not need to buy separate cutters as your baby grows.
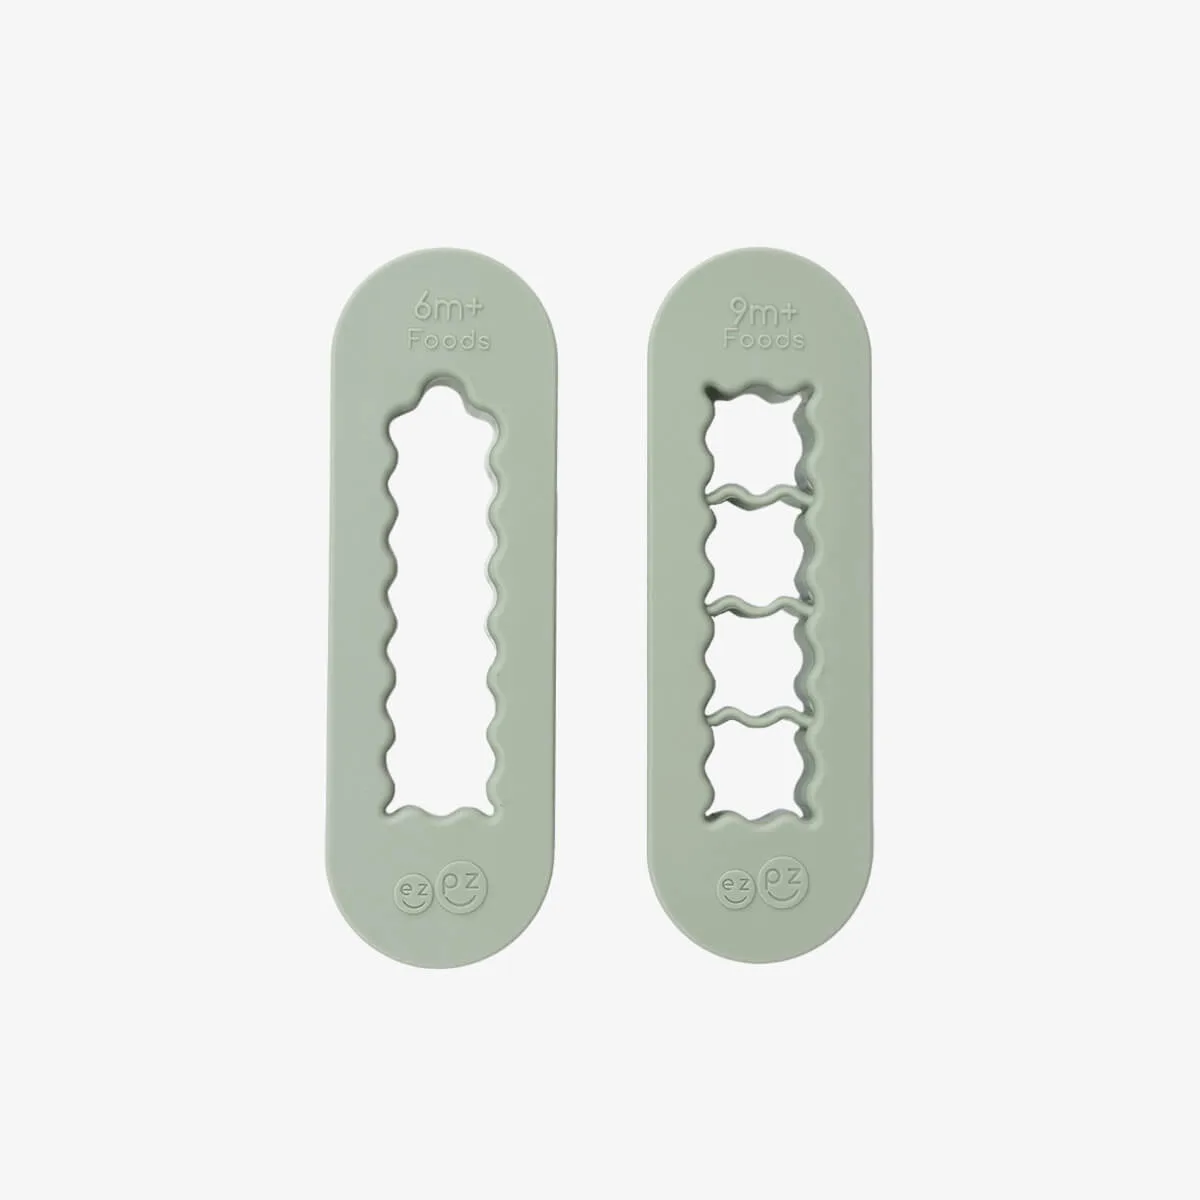
Baby-Led Weaning Food Cutters (5-Pack)