Quick Answer
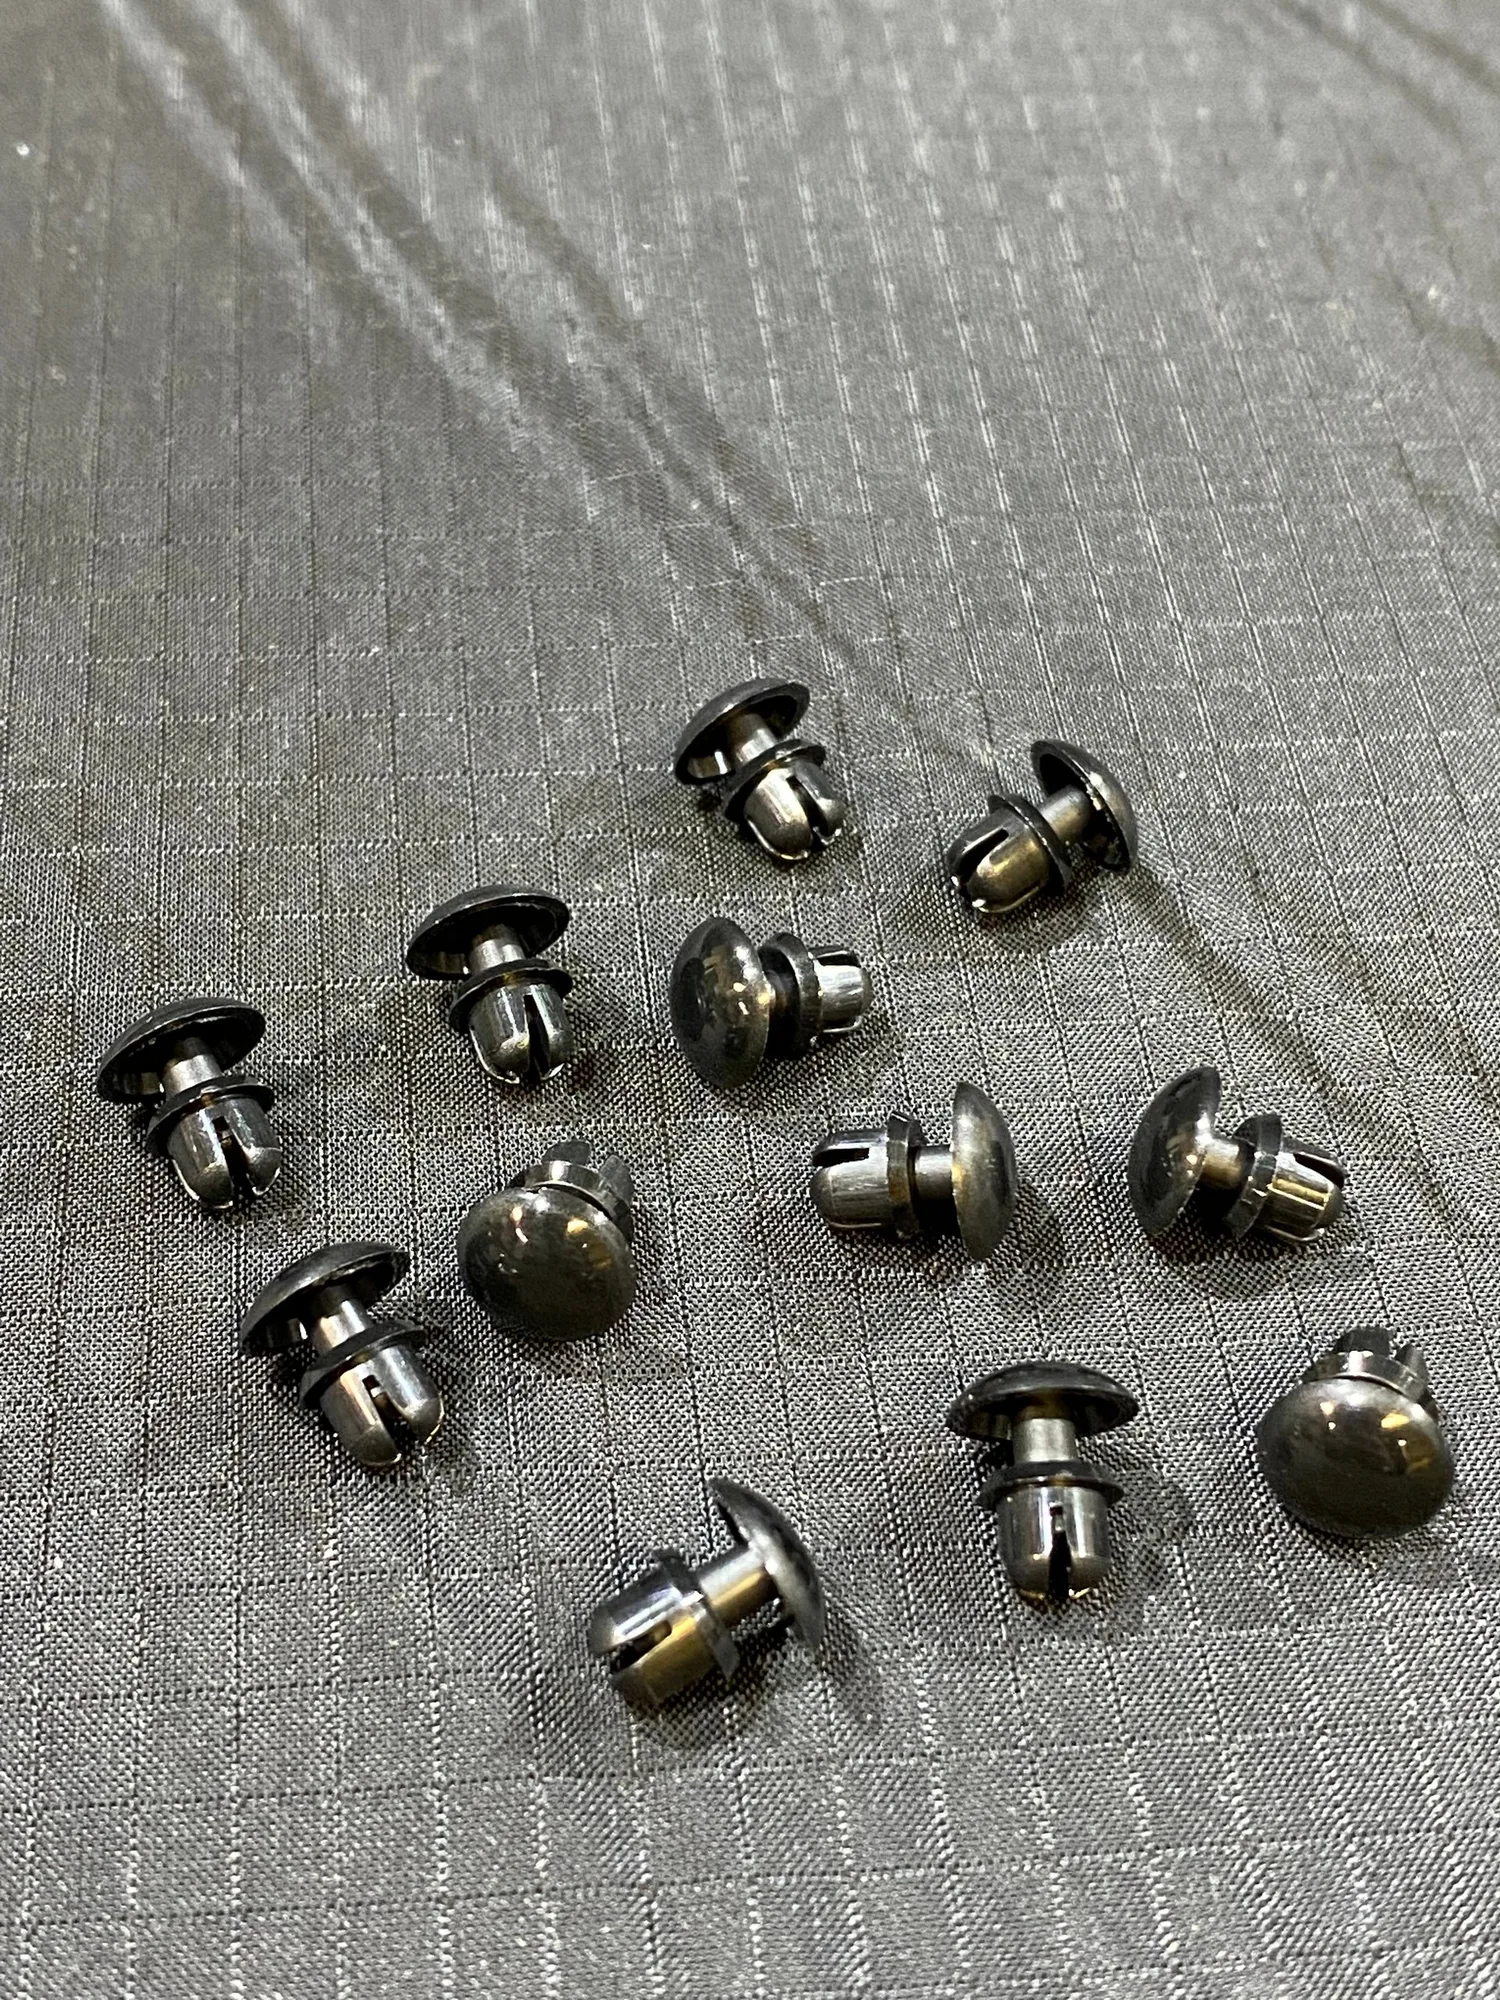
Reusable plastic rivets offer a fast, tool-free way to secure components in high-power rockets while allowing easy disassembly for maintenance or upgrades. Their reusability reduces waste and cost over time, making them a practical choice for rocketeers who frequently tweak their builds. For most applications, they provide reliable holding power without the permanence of epoxy or metal fasteners.
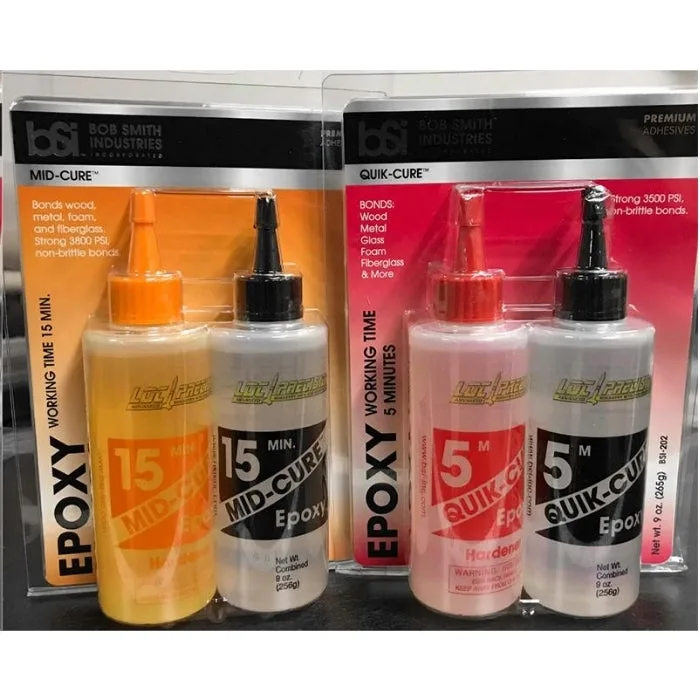
epoxy
When assembling or maintaining a high-power rocket, the fasteners you choose affect not only build time but also how easily you can access internals later. Traditional adhesives create strong bonds but make disassembly a chore, while metal screws add weight and require tools. Reusable plastic rivets offer a middle ground: they hold components securely yet pop out quickly when you need to swap a fin or replace a motor mount.
In this guide, we'll walk through the practical advantages of using reusable plastic rivets in rocketry, from their time-saving installation to their cost-effectiveness over multiple flights. You'll also get a step-by-step process for using them correctly, plus tips to avoid common pitfalls that can compromise your build's integrity.
Why Choose Reusable Plastic Rivets?
Reusable plastic rivets shine in scenarios where you anticipate future access. Unlike epoxy, which is permanent, these rivets can be removed and reinstalled multiple times without losing holding power. This is especially valuable for rocketeers who experiment with different payload configurations or need to replace components like ejection charges or recovery harnesses between flights.
Another advantage is their lightweight nature. In high-power rocketry, every gram counts toward performance and stability. Plastic rivets add minimal mass compared to metal hardware, helping you stay within weight limits for certain motor classes. They also don't corrode, so they hold up well in humid environments or after exposure to moisture during recovery.
- Fast installation without special tools
- Removable for maintenance and upgrades
- Lightweight and corrosion-resistant
Where Reusable Plastic Rivets Work Best
Reusable plastic rivets are ideal for attaching non-structural components like rail buttons, avionics bays, or recovery harness attachment points. They also work well for securing fin cans that you might need to replace after a hard landing. However, they are not suitable for high-stress areas that experience extreme aerodynamic forces, such as main fin attachment on large rockets, where epoxy or through-the-wall construction is safer.
When deciding where to use them, consider the load path. If a component must withstand significant shear or tension during flight, a more permanent method is better. For access panels or cosmetic parts, plastic rivets provide convenience without compromising safety.
Step-by-Step Guide to Installing Reusable Plastic Rivets
Proper installation is key to getting the most from plastic rivets. Follow these steps to ensure a secure fit that you can later reverse without damage.
Before starting, gather your rivets, a drill with the correct bit size (usually specified by the rivet manufacturer), and a pair of pliers for removal. Always test the fit on scrap material first to confirm the hole size is right.
- Drill a clean hole slightly smaller than the rivet's outer diameter.
- Insert the rivet body from the outside of the parts being joined.
- Push the center pin in until it locks flush with the head.
- To remove, use a tool to push the pin out from the back, then pull the rivet free.
Step-by-Step: Using Reusable Plastic Rivets Effectively
- Step 1: Select the Right Rivet Size: Match the rivet diameter and grip range to your material thickness. A rivet that's too short won't hold; too long may protrude and snag recovery gear. Check the manufacturer's specifications for recommended hole size. Always test on scrap material first to verify fit.
- Step 2: Drill Clean Holes: Use a sharp drill bit and a backing board to prevent tear-out. Deburr the holes to ensure the rivet seats flush. Avoid oversizing the hole, as this reduces holding power. A clean hole prevents stress cracks and ensures a snug fit.
- Step 3: Insert and Lock the Rivet: Place the rivet body through the aligned holes, then press the center pin until it clicks into place. Ensure the head is fully seated against the surface. If the pin doesn't seat fully, remove and try again. A fully seated pin indicates a secure installation.
- Step 4: Remove Without Damage: To disassemble, push the center pin out from the back using a small punch or the back of a drill bit. Then pull the rivet body out. Avoid prying with a screwdriver, which can mar surfaces. Proper removal preserves the rivet for reuse and protects your rocket.
Products That Complement Your Build
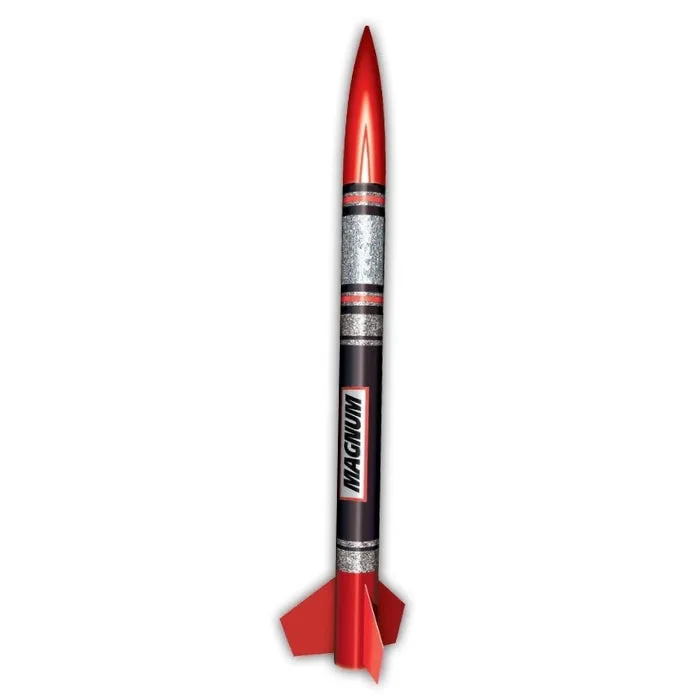
- Park Flyer Magnum: At 25" tall and weighing in at 9oz dry weight, The Magnum features a 17" slotted booster, 29mm motor tube, Fire Blanket,... For a small-field rocket like the Park Flyer Magnum, using reusable plastic rivets on access panels can simplify maintenance without adding significant weight, keeping it durable and quick to recover.
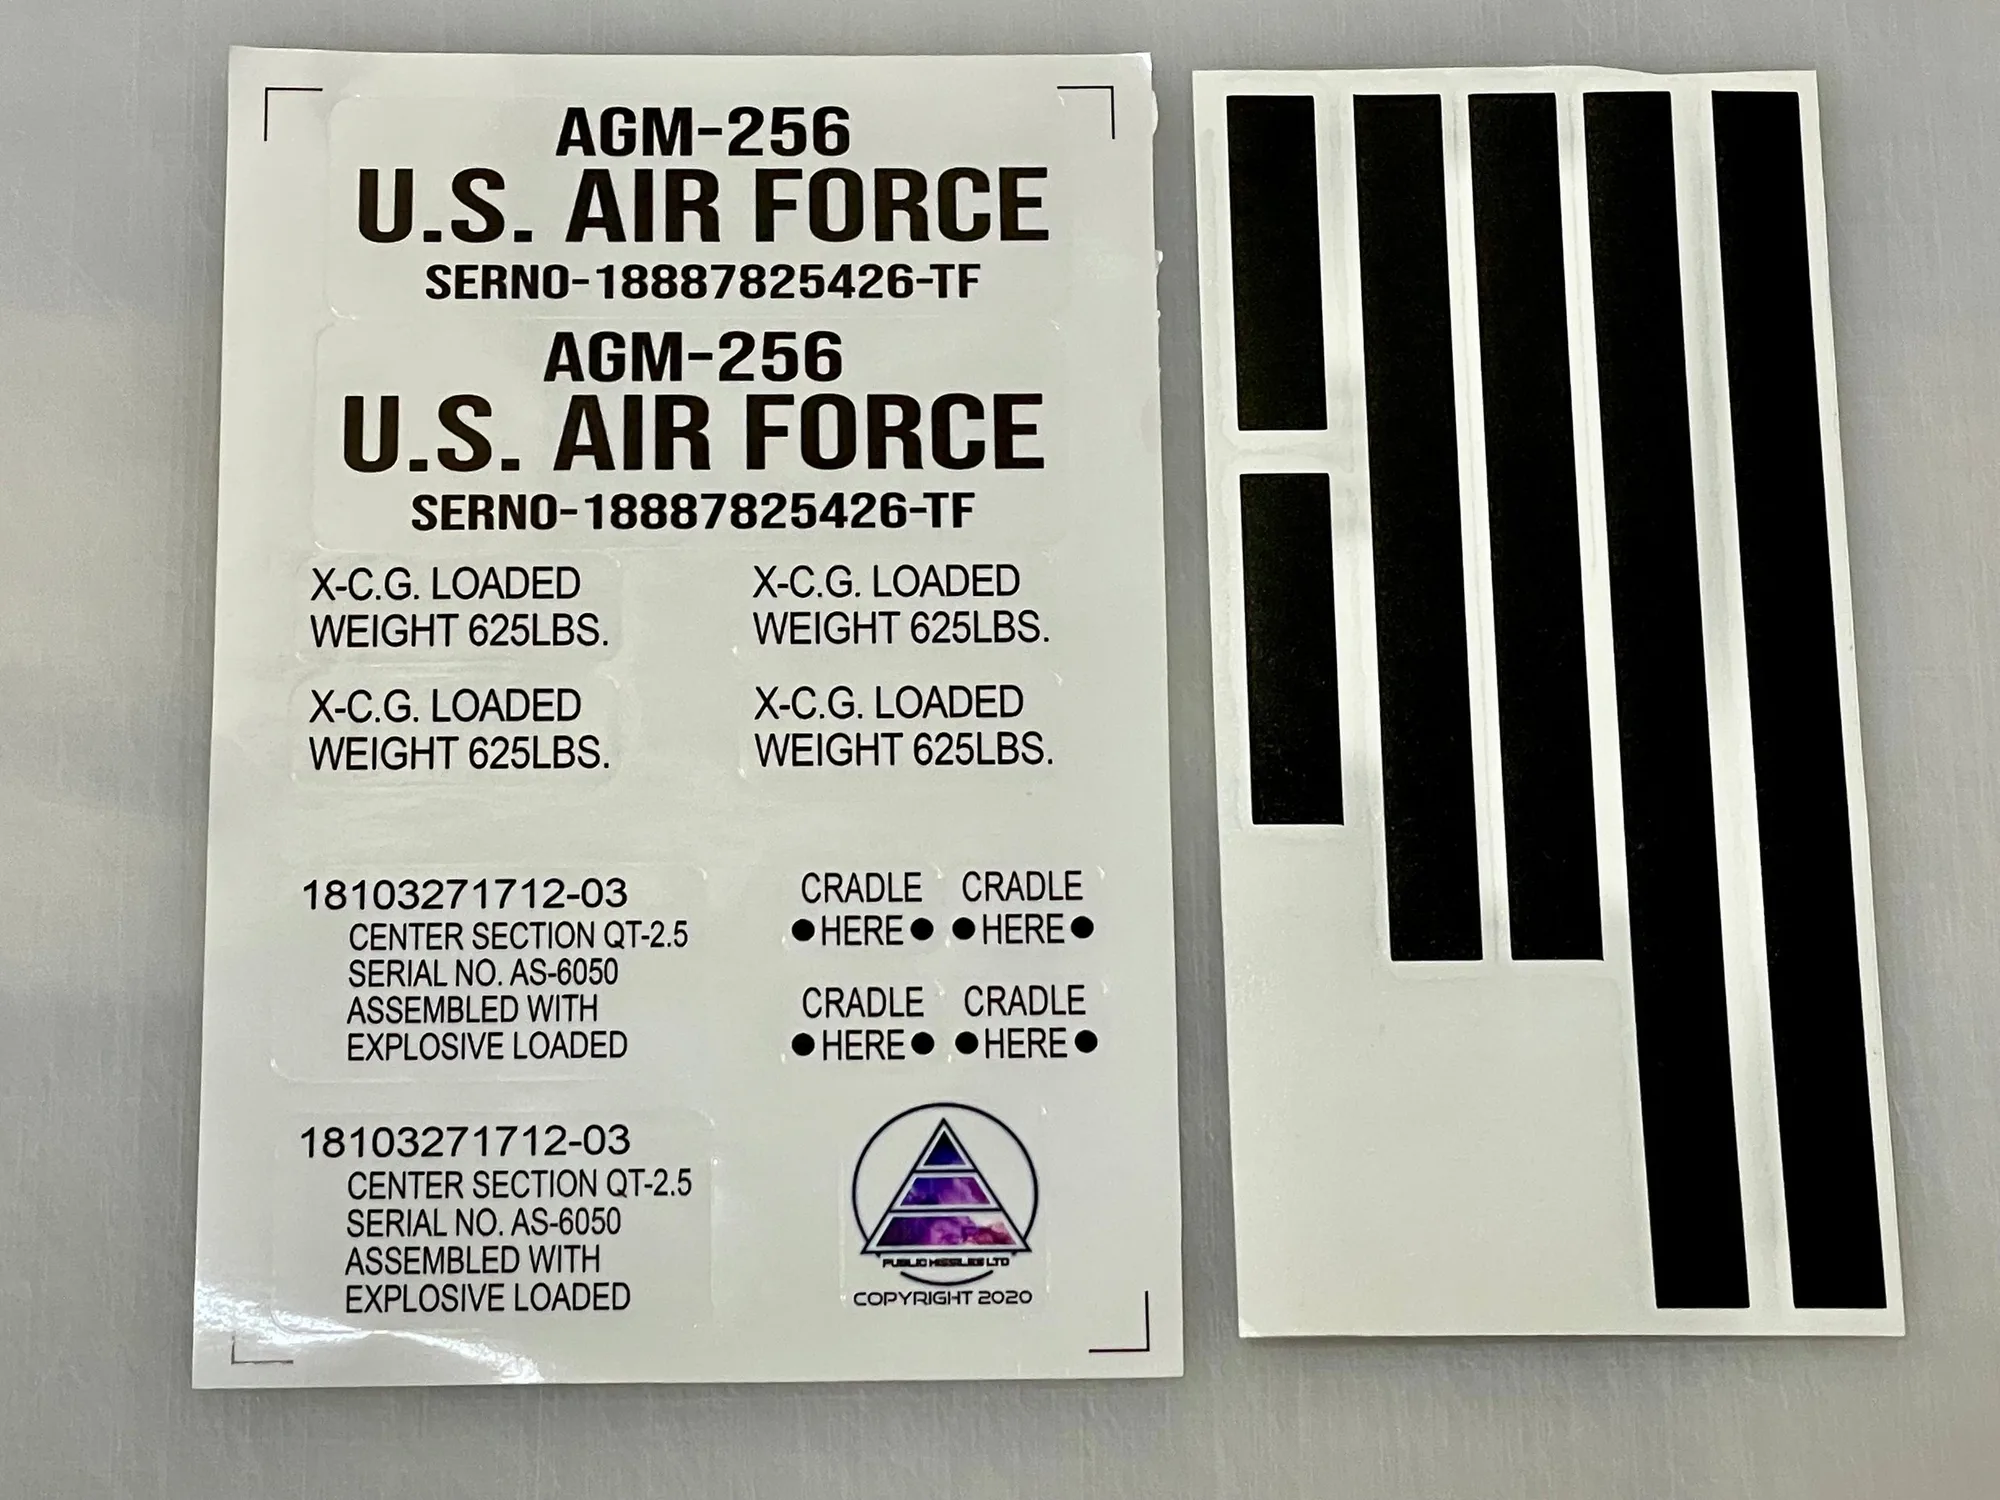
- Decal Set PML AGM-256 Pit Bull: Decal Set for PML AGM-256 Pit Bull When applying vinyl decals, plastic rivets can temporarily hold alignment guides or templates in place without leaving residue, making precise decal placement easier.
Reusable plastic rivets bring a blend of convenience, weight savings, and reusability that suits many rocketry tasks. By following the steps above and knowing where they work best, you can streamline your builds and make future modifications a breeze. For your next project, consider adding a set of these rivets to your toolbox—they might just become your go-to fastener.