Quick answer
Stitch the canvas first, then block it, trim and mount it to a stiff backing, and attach the gold key charm through a reinforced loop or jump ring. The Birthday Love Lock canvas is a 13 mesh design, so use a slightly thicker thread and a larger needle than you would on 18 mesh. Finish the edges cleanly before adding the charm so the charm hangs straight and the canvas does not fray.
A Birthday Love Lock needlepoint canvas already comes with its key charm, so the finishing work is mostly about making the stitched piece sturdy enough to hang and use. This guide walks through the full process in order, with the checkpoints that keep a small charm project from looking lumpy or fraying at the edges.
The steps below are written for a 13 mesh canvas like the Birthday Love Lock, but the same sequence works for any Love Lock design. If you are finishing an 18 mesh canvas instead, the process is identical; only your thread weight and needle size change.
What you need before you start
Gather your stitched canvas, a tapestry needle, thread for the final stitches, sharp embroidery scissors, a stiff backing such as heavy cardstock or a thin plastic canvas sheet, fabric glue or a hot glue gun, a jump ring or small split ring, and the gold key charm that came with the canvas. A small awl or a thick needle helps if you need to open a hole through the backing.
Work on a clean, flat surface with good light. Small charm projects show every stray thread and glue smear, so keep a damp cloth nearby and clear away lint before you mount the canvas.
- Check that your stitched area is complete and that no threads are loose on the front.
- Keep the original key charm in a small dish so it does not get lost while you work.
Step 1: Finish the stitching and check the edges
Complete all stitches on the painted design, then run a small securing stitch on the back to lock the last thread. Do not trim the canvas down to the stitched area yet; leave at least a half-inch border of bare canvas on all sides so you have room to fold or glue the edges later.
Look over the front for any loops or uneven tension. On 13 mesh, a slightly thicker thread covers the canvas quickly, but it also makes mistakes more visible, so fix any pulled stitches now rather than after mounting.
- Common mistake: trimming the canvas flush to the design before finishing, which leaves no border to fold and causes fraying.
- Checkpoint: the stitched area should lie flat with no puckering when you press it gently with your palm.
Step 2: Block the canvas so it dries square
Dampen the canvas lightly, pin it square on a blocking board or a corkboard, and let it dry completely. Blocking matters more on small charm projects because a slight lean in the canvas will make the finished charm hang crooked once the key charm is attached.
If you stitched with a frame, the canvas may already be close to square. Still block it, because the finishing layers will lock in whatever shape you dry it in.
- Common mistake: pinning the canvas to a stretched, out-of-square shape and then mounting it that way.
- Checkpoint: measure the diagonals; they should match before you move on.
Step 3: Cut and prepare the backing
Trace the finished shape of your stitched design onto your stiff backing and cut it just slightly smaller than the stitched area. A backing that is too large will show at the edges; one that is too small will let the canvas sag. Heavy cardstock works for a lightweight charm, while a thin plastic sheet holds up better if the charm will be handled often.
If your design is rectangular or shaped, match the backing to that silhouette rather than forcing a standard square. The Love Lock canvases are keepsake pieces, so the finished shape should follow the painted design.
- Common mistake: using flimsy paper that bends when the key charm is attached.
- Checkpoint: hold the backing behind the stitched canvas and confirm it does not peek out around the edges.
Step 4: Mount the canvas to the backing
Center the stitched area over the backing. Fold the bare canvas border to the back and glue it down in small sections, pulling gently so the front stays smooth. Work from opposite sides toward the corners so the canvas does not shift, and keep glue away from the front face.
Press the mounted piece under a flat weight for a few minutes. This step flattens the folded edges and keeps the canvas from curling once the glue sets.
- Common mistake: using too much glue, which soaks through the canvas and darkens the front.
- Checkpoint: the front should be flat and the edges should feel firm, not spongy.
Step 5: Attach the gold key charm
The Birthday Love Lock canvas includes a gold key charm, and the Love Lock Series is built around the idea of fastening a lock and keeping the key as a keepsake. Attach the charm through a reinforced loop at the top of the finished piece, or through a small jump ring that you sew or glue securely to the backing.
Test the hang before you commit. Hold the charm by the ring and let the canvas dangle; if it tilts, move the attachment point slightly until it balances. A charm that hangs straight reads as intentional, while a tilted one looks unfinished.
- Common mistake: attaching the charm to a single loose thread instead of a reinforced loop or ring.
- Checkpoint: tug the ring gently to confirm it is anchored to the backing, not just the canvas surface.
Step 6: Add a hanging loop or key ring if you want one
If the finished piece will be used as a key charm, add a sturdy key ring or split ring through the same reinforced loop. If it will be displayed instead, a small ribbon or cord loop works and keeps the piece lighter. Either way, the attachment point should be the strongest part of the finish.
Keep the hardware simple so the stitched design and the gold key charm stay the focus. Mixing several metal finishes usually makes a small charm look busier rather than richer.
- Common mistake: using a thin craft ring that opens under daily use.
- Checkpoint: hang the finished charm and let it sit overnight to confirm the attachment holds.
Finishing steps at a glance
- Step 1: Finish stitching and leave a border: Secure the last thread and keep at least a half-inch of bare canvas around the stitched design. Checkpoint: the stitched area lies flat and no threads are loose on the front.
- Step 2: Block the canvas square: Dampen, pin square, and dry fully before mounting. Checkpoint: the diagonals match.
- Step 3: Cut the backing to the design shape: Use heavy cardstock or a thin plastic sheet cut slightly smaller than the stitched area. Checkpoint: the backing does not peek out around the edges.
- Step 4: Mount the canvas to the backing: Fold the border to the back and glue in small sections, then press flat under a weight. Checkpoint: the front is smooth and the edges feel firm.
- Step 5: Attach the gold key charm: Use a reinforced loop or jump ring anchored to the backing, and test the hang before finalizing. Checkpoint: the charm hangs straight and the ring holds when tugged.
- Step 6: Add a key ring or display loop: Choose sturdy hardware that matches the charm and attach it through the reinforced loop. Checkpoint: hang overnight to confirm the attachment holds.
Product facts that affect this project
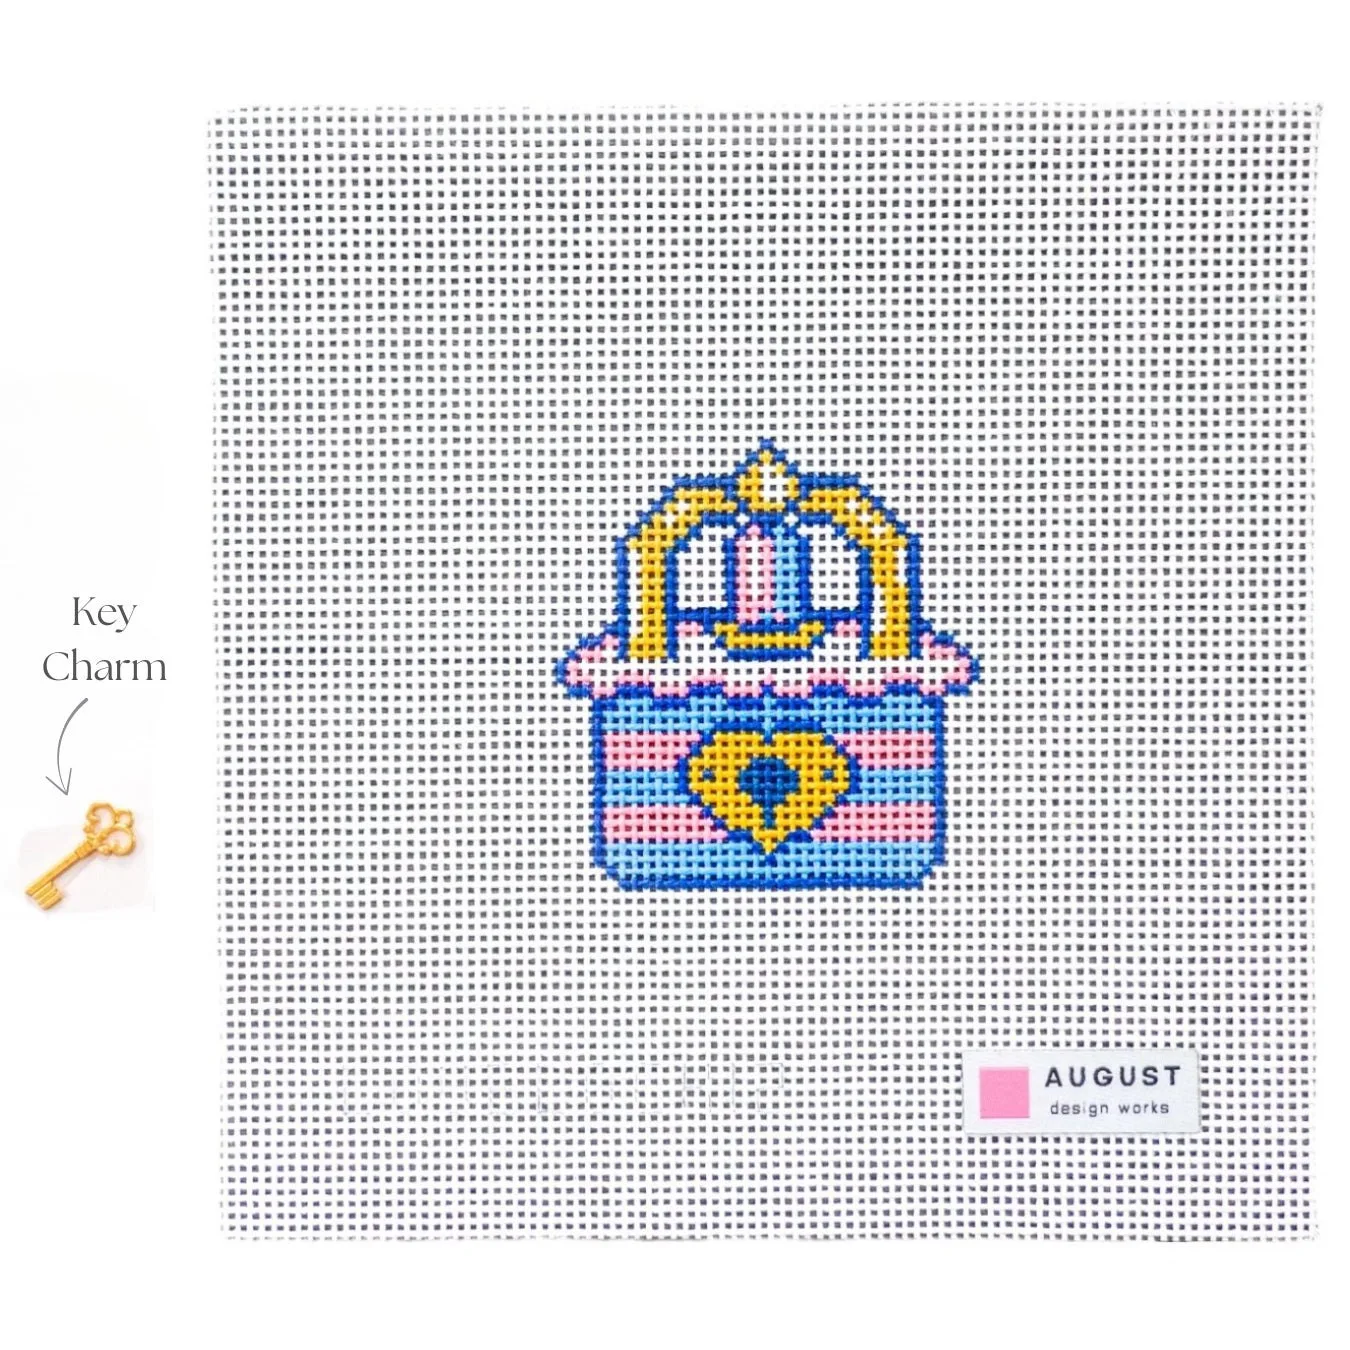
- Birthday Love Lock - Needlepoint Canvas + Key Charm (Wholesale): Inspired by the tradition of fastening a lock to a bridge and tossing away the key, the Love Lock Series honors people, places, and moments you never want to let go; the Birthday Love Lock is a keepsake for marking milestones and memories. The design is meant to be kept and displayed, so finishing it durably matters more than finishing it quickly.
- Birthday Love Lock - Needlepoint Canvas + Key Charm (Wholesale): The canvas is in the 13 Mesh category and includes a gold key charm. 13 mesh has larger holes than 18 mesh, so use a thicker thread and a larger tapestry needle, and plan your finishing around the supplied charm rather than buying separate hardware.
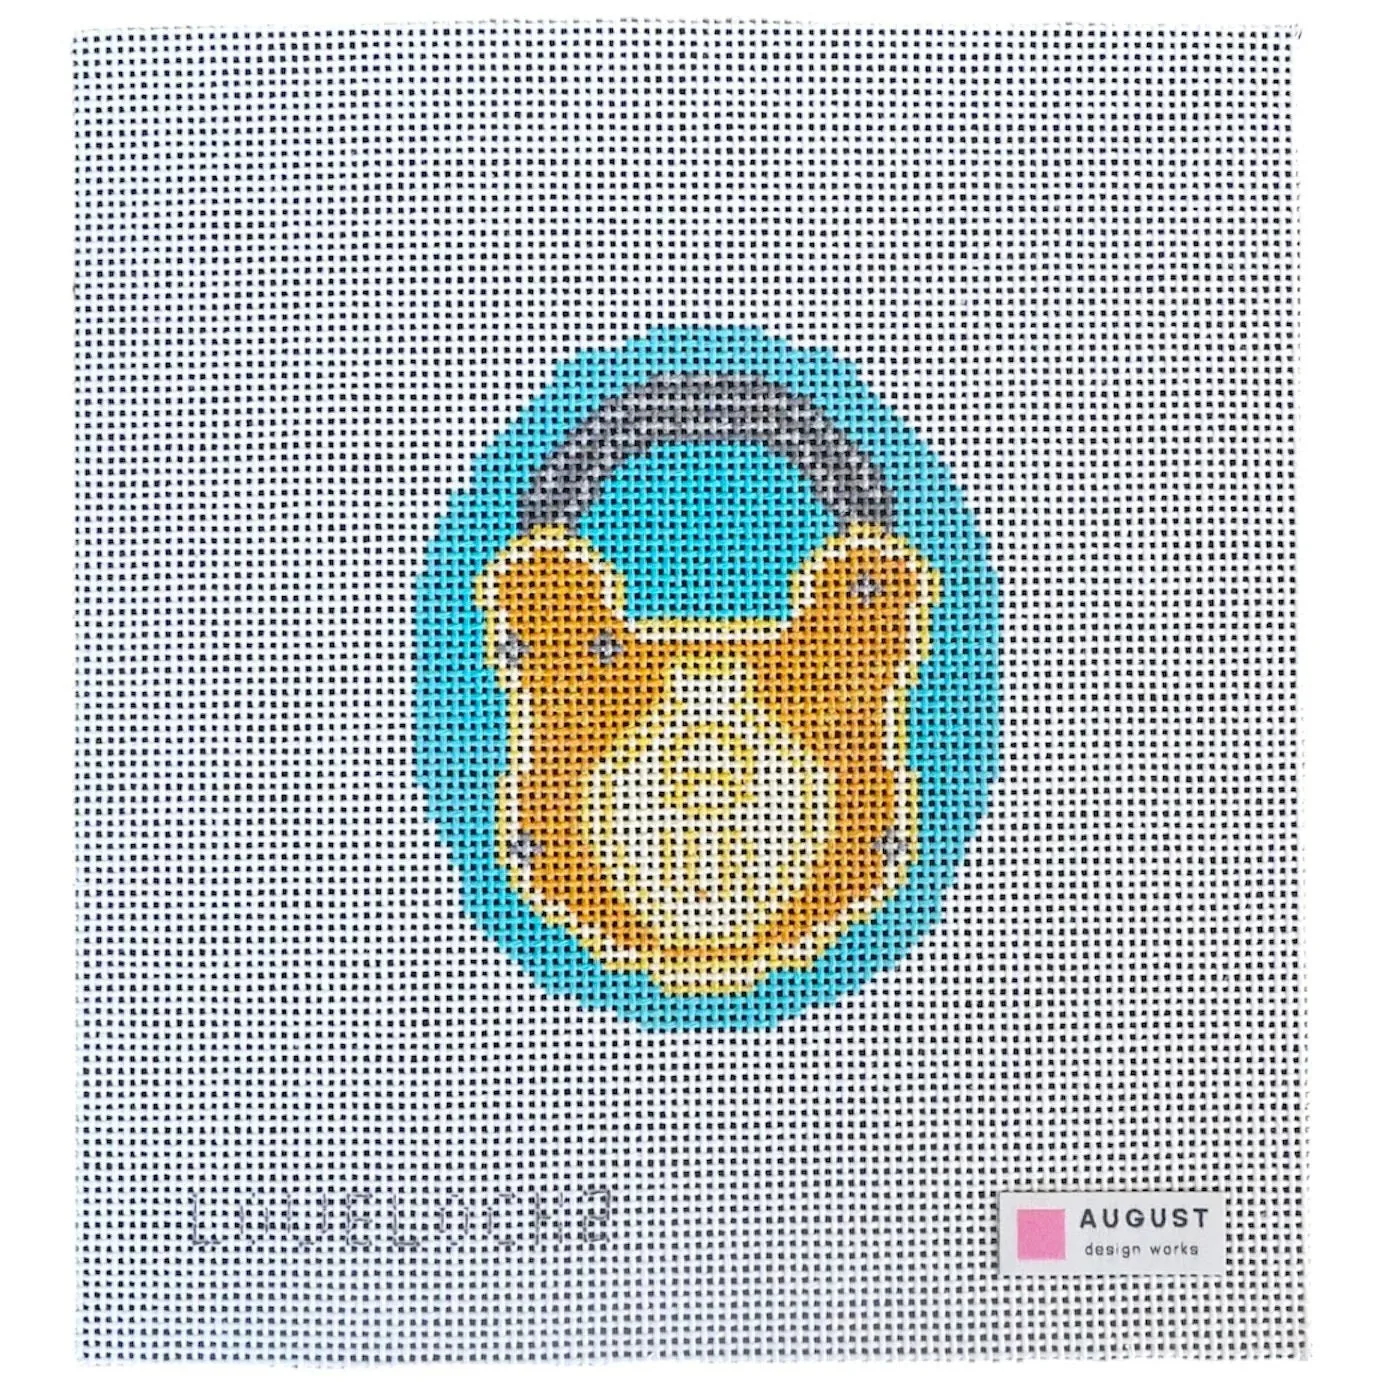
- Tiffany Blue Love Lock - Needlepoint Canvas + Key Charm (Wholesale): Each hand-painted canvas includes a gold key charm, ready to be fastened when your stitching is complete. If you are finishing more than one Love Lock canvas, the same mounting and charm-attachment steps apply across the series.
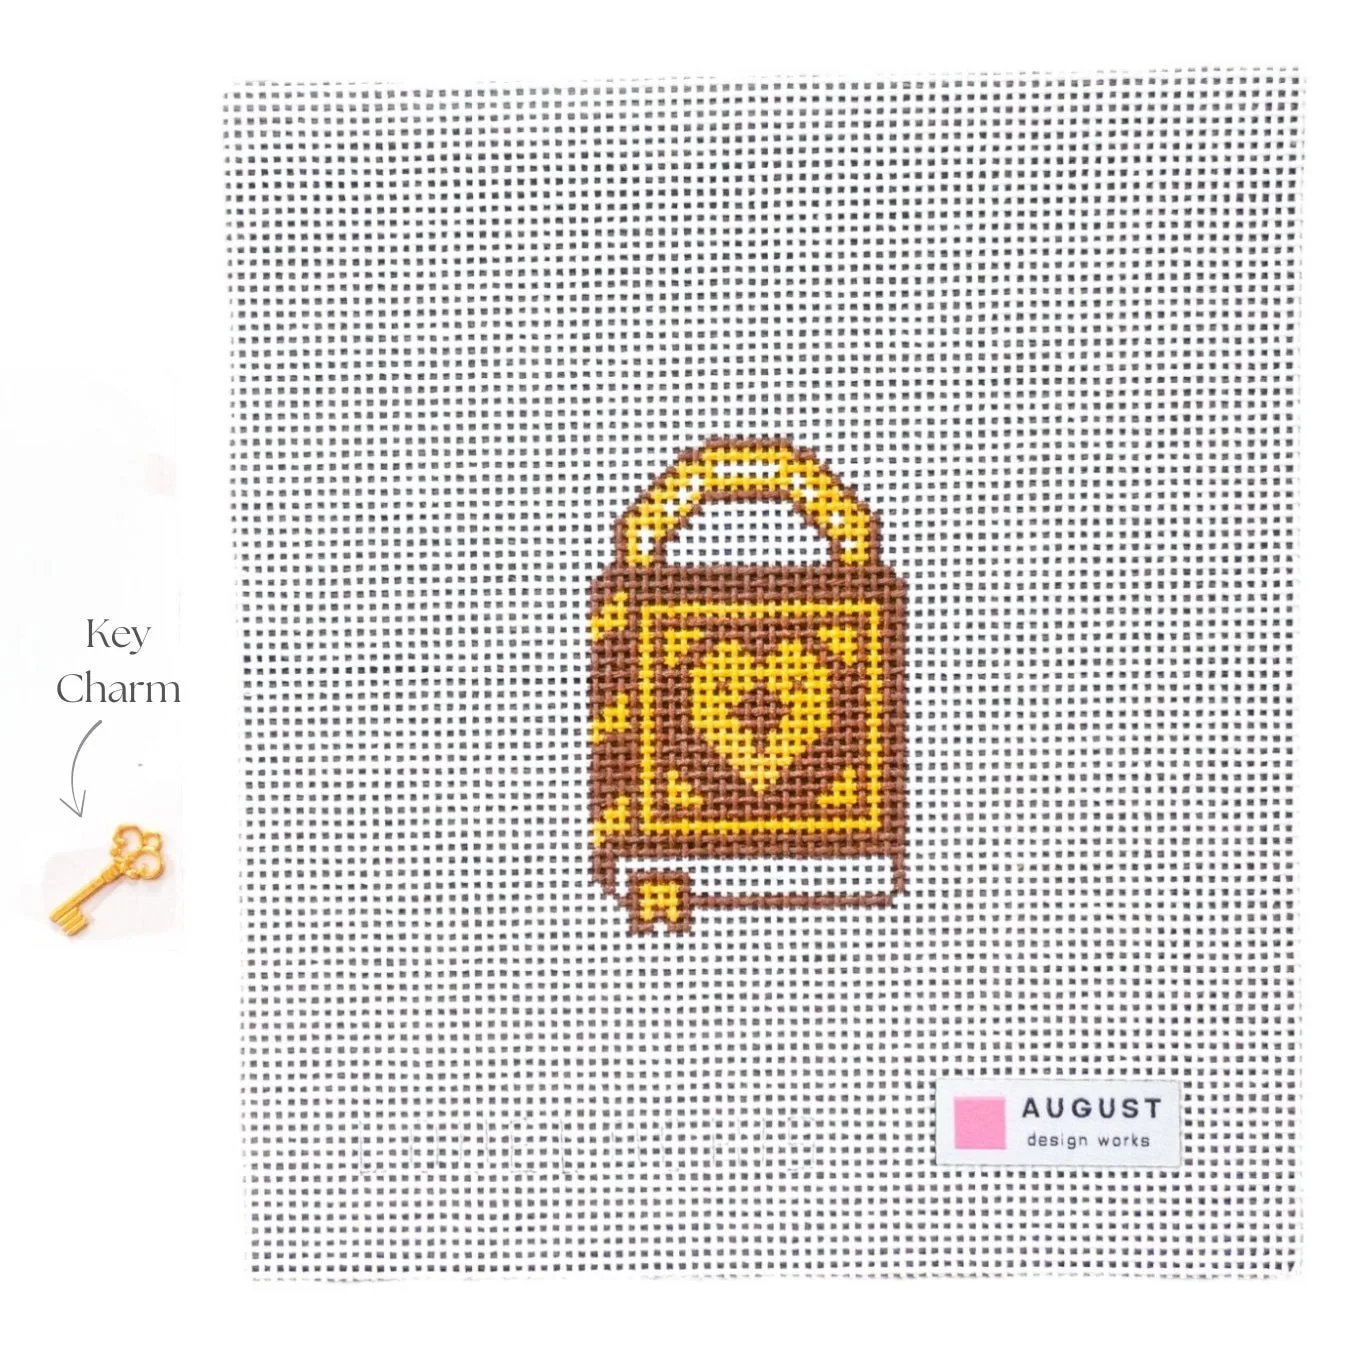
- Storybook Love Lock - Needlepoint Canvas + Key Charm: The Storybook Love Lock is a 13 mesh design that captures chapters of love, friendship, and memories. It is a good companion project if you want a second 13 mesh charm to finish with the same method and materials.
A Birthday Love Lock canvas is designed to be kept, so the finishing is what turns it from a stitched panel into a charm you can actually carry or display. Follow the steps in order, reinforce the charm attachment, and the gold key charm will hang straight for years.