Quick answer
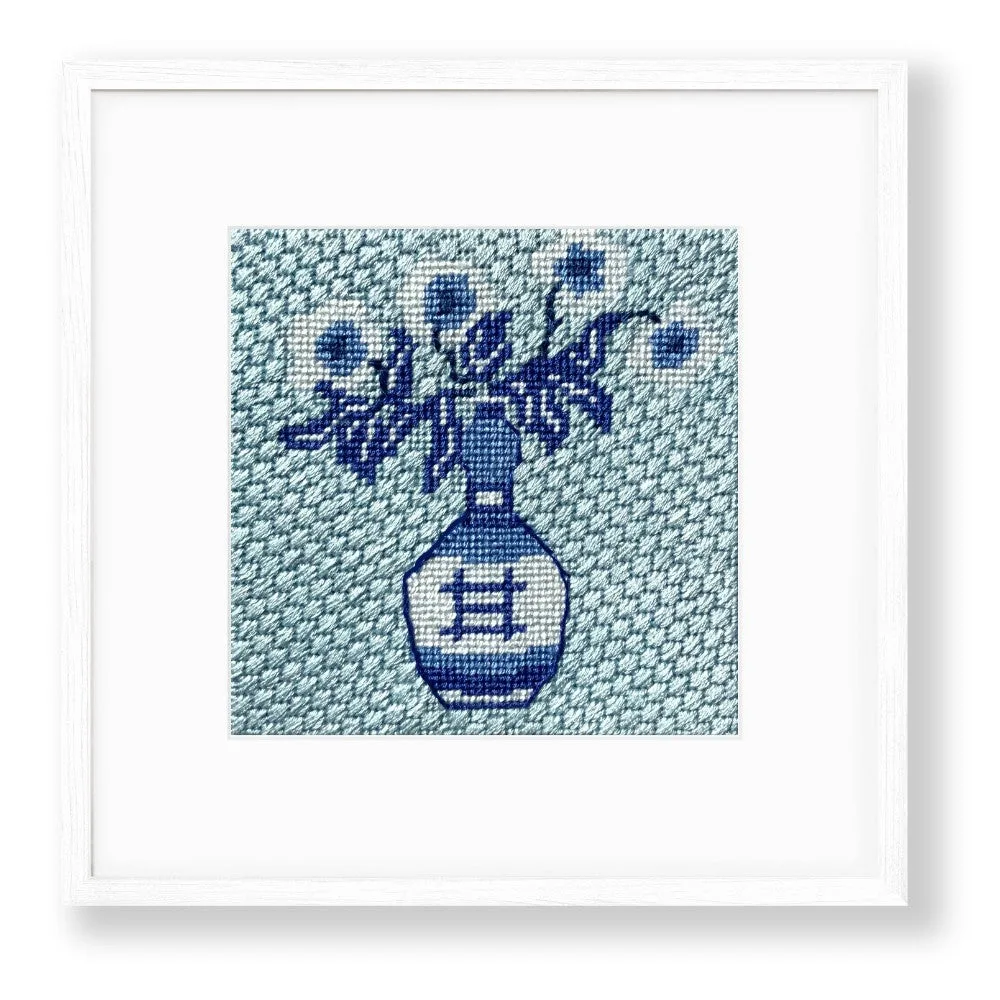
Stitch the Blue and White Magnolia Vase Needlepoint Kit in four passes: background first, then the vase, then the magnolia blooms, and finally the decorative stitches. Working background to foreground protects the raised stitches, and on 18-count mono canvas use the Pepperpot silk and Essentials silk/merino blend threads as single strands so the printed design stays visible.
Why stitch order matters on a 4 inch printed canvas
This is a small, dense design: a 4" x 4" blue and white motif printed on 18 holes to the inch mono canvas with taped edges. At that scale, a single misplaced diagonal can drag the printed line off course, and decorative stitches worked early can be flattened by later needle traffic. Working from the largest background areas toward the smallest details keeps the canvas taut and the design readable.
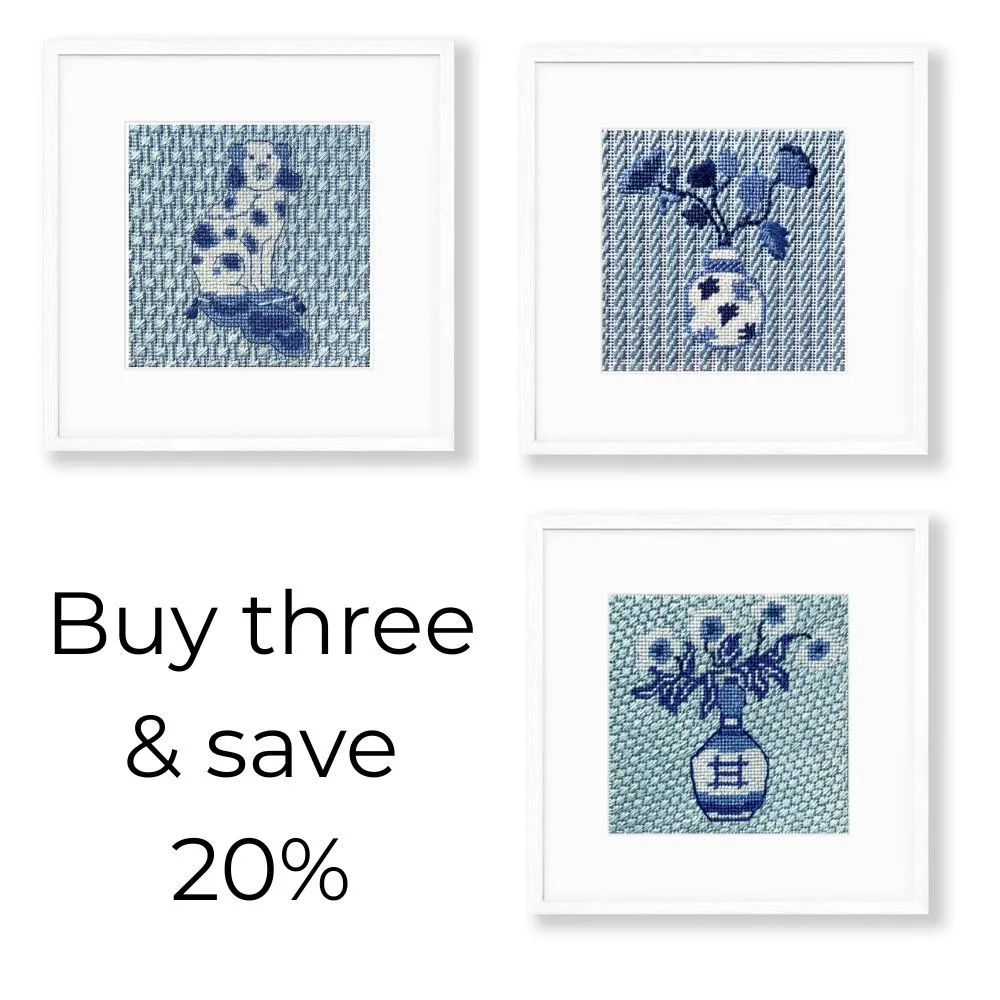
The Chinoiserie Chic series shares this format, so the same order transfers to the other two designs if you stitch all three. Treat each canvas as its own project rather than batching stitches across them; the printed color guides are your reference, not a chart to memorize.
Set up before the first stitch
Check the taped edges and the printed registration before threading a needle. If the design sits off-center on the canvas, you have less room for a frame or finishing later. Sort the Pepperpot silk from the Essentials silk/merino blend before you begin so you are not hunting for a color mid-row.
- Roll or tape the canvas edges if any tape has lifted.
- Mount on stretcher bars or a frame so the 18-count grid stays square.
- Separate Pepperpot silk and Essentials silk/merino blend threads into piles by color.
- Test one strand on a scrap corner to confirm coverage before committing.
Thread tension on silk and silk/merino
Pepperpot silk has a smooth, lustrous finish and shows every tug, while the Essentials silk/merino blend has slightly more give. Both are used as single strands here. Pull each stitch until it lies flat without denting the canvas threads, then let the needle rest. If the silk starts to fray, you are cutting strands too long or dragging them across the canvas edge.
Your stitch plan, step by step
- Step 1: Work the background first: Fill the open blue and white areas around the vase and blooms with a flat stitch, working in manageable diagonal rows across the canvas. Keep the direction consistent across the whole background so the light catches it evenly. Checkpoint: hold the canvas at arm's length. If the background pulls the printed outline out of shape, your tension is too tight.
- Step 2: Stitch the vase in vertical sections: Follow the printed blue and white bands of the vase from top to bottom, completing one section before moving to the next. This keeps the curve of the vessel readable and stops you from carrying threads behind open canvas. Common mistake: jumping between bands leaves long floats on the back that show through the front on 18-count canvas.
- Step 3: Add the magnolia blooms: Work the petals in the order the guide diagrams indicate, using the silk and silk/merino blend where the printed shading changes. Stitch the outer petals before the inner ones so the center stays crisp. Checkpoint: compare each petal against the printed color under daylight, not lamplight, before you commit the thread.
- Step 4: Add the decorative stitches last: The kit guide and diagrams specify the decorative stitches. Work them after the flat areas are complete so nothing compresses them, and count the canvas threads for each repeat rather than eyeballing placement. Common mistake: starting decorative stitches first makes them look flat once the surrounding background is stitched.
- Step 5: Review and finish: Step back and check the canvas for skipped holes, uneven diagonal direction, and loose threads on the back. Trim tails, then block lightly if the canvas has bowed. Next step: decide on framing or finishing before you trim, since the 4" x 4" design leaves a narrow margin.
What is in the kit
- Blue and White Magnolia Vase Needlepoint Kit: The blue and white 4" x 4" design is color-printed onto 18 holes to the inch mono needlepoint canvas with taped edges, and the kit includes Pepperpot silk and Essentials silk/merino blend threads plus a guide and diagrams for the decorative stitches. The printed canvas means you do not need to count a chart for the main motif, but the 18-count grid rewards a frame and consistent tension; the enclosed diagrams are the only place the decorative stitches are specified, so keep the guide beside you rather than guessing.