Quick answer
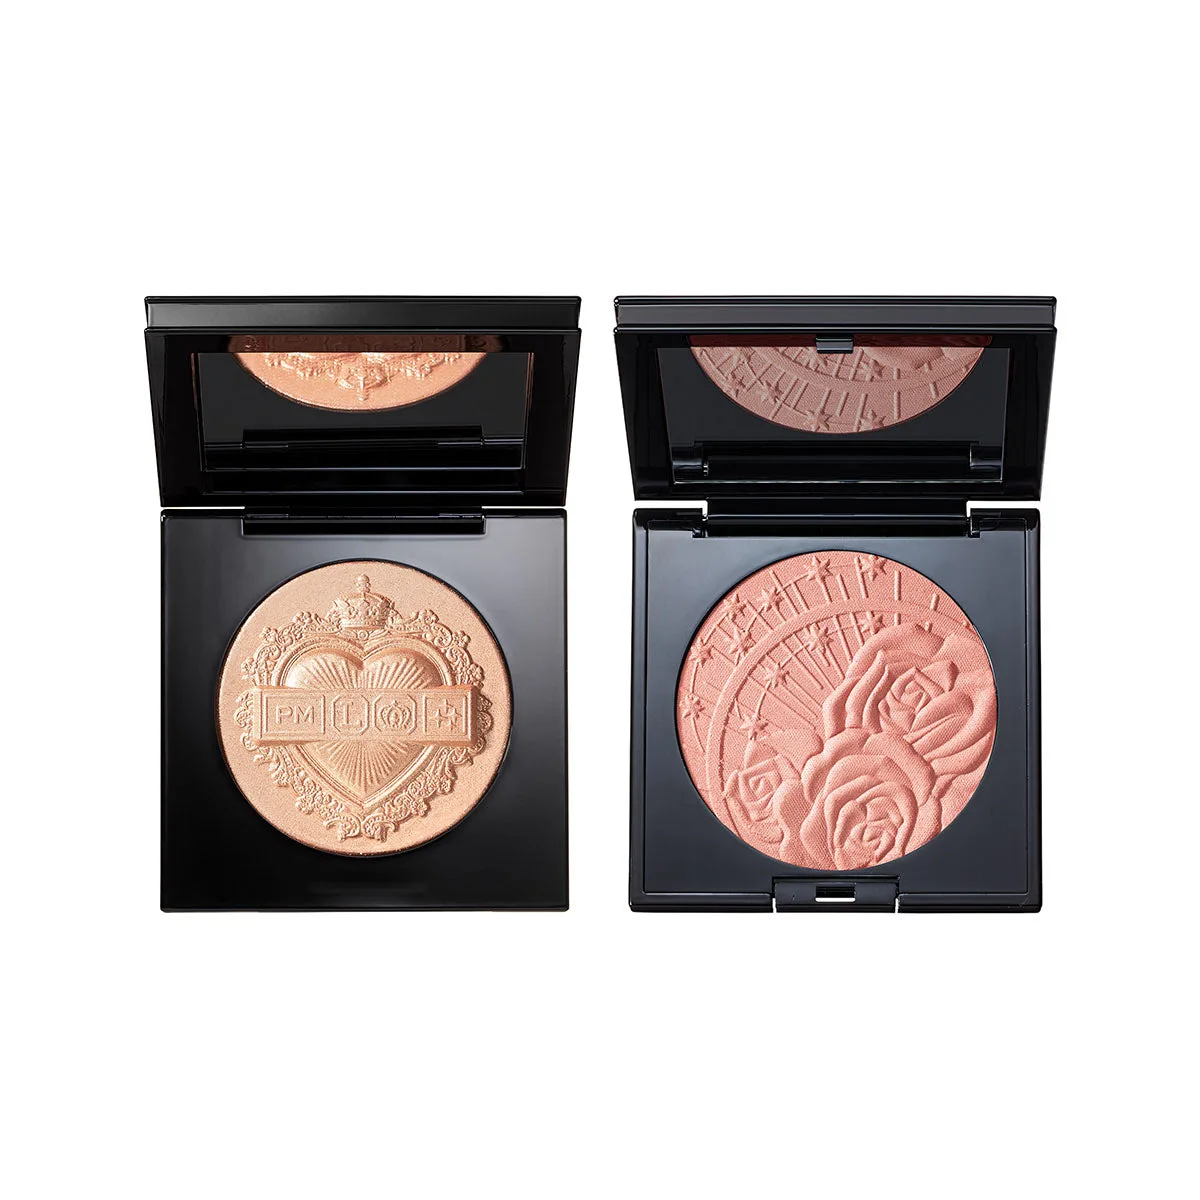
Bronzer goes where a shadow would naturally fall: the perimeter of your face, under the cheekbone, along the jaw, and at the temples. Highlighter goes where light naturally hits: the tops of the cheekbones, the bridge of the nose, the brow bone, and the cupid's bow. Apply bronzer first to build dimension, then highlighter to lift the areas you want to bring forward. Keep both off the center of the face unless you are deliberately going for an all-over glow.
The one difference that decides placement
Bronzer mimics shadow, so it recedes the areas it touches. Highlighter mimics light, so it brings the areas it touches forward. That single distinction answers most placement questions before you even pick up a brush. If you want a cheekbone to look more defined, you shade just below it and highlight just above it. If you want the face to look narrower, you shade the outer edges. If you want the face to look more awake, you highlight the high points.
Where to apply bronzer for natural warmth
Think of the shape of the letter E on each side of your face: temple, under the cheekbone, and along the jaw. That is the classic bronzer map because those are the areas the sun would naturally catch and the areas that recede when shadowed. Use a light hand and build in thin layers rather than one heavy pass. If you have a round face, keep the bronzer closer to the perimeter to create the illusion of length. If you have a long face, sweep it slightly more across the cheeks and temples to add width. A common mistake is bringing bronzer too far into the center of the face, which can make the complexion look muddy rather than warmed.
Where to apply highlighter for lift
Highlighter belongs on the high points: the top of the cheekbone just above where you placed bronzer, the brow bone, the bridge of the nose, and the cupid's bow. You can also tap a small amount on the inner corner of the eye to brighten the whole eye area. The most common mistake is applying highlighter too low on the cheek, which drags the face downward instead of lifting it. Another is using too much product in one spot; a little goes a long way, and you can always add more. If your skin is textured or you are wearing a matte foundation, a cream or liquid highlighter can sit more smoothly than a powder.
The order that keeps both looking clean
Bronzer first, highlighter second. Bronzer is a base layer that adds depth; highlighter is the finishing touch that sits on top. If you highlight first and then bronze, you risk sweeping the bronzer over your glow and dulling it. After bronzer, blend the edges with a clean brush or a slightly damp sponge so there are no harsh lines. Then apply highlighter with a light tapping motion rather than a swipe. Finally, if you want an extra-seamless finish, a very light veil of setting powder over the bronzer before highlighter can help both last longer without looking heavy.
Step-by-step: bronzer and highlighter placement
- Start with your base and set it lightly: Apply foundation and concealer as usual, then set the areas where you will place bronzer with a light dusting of powder. This gives the bronzer something to blend into. Checkpoint: the skin should feel smooth, not tacky. If it is tacky, bronzer will grab and look patchy.
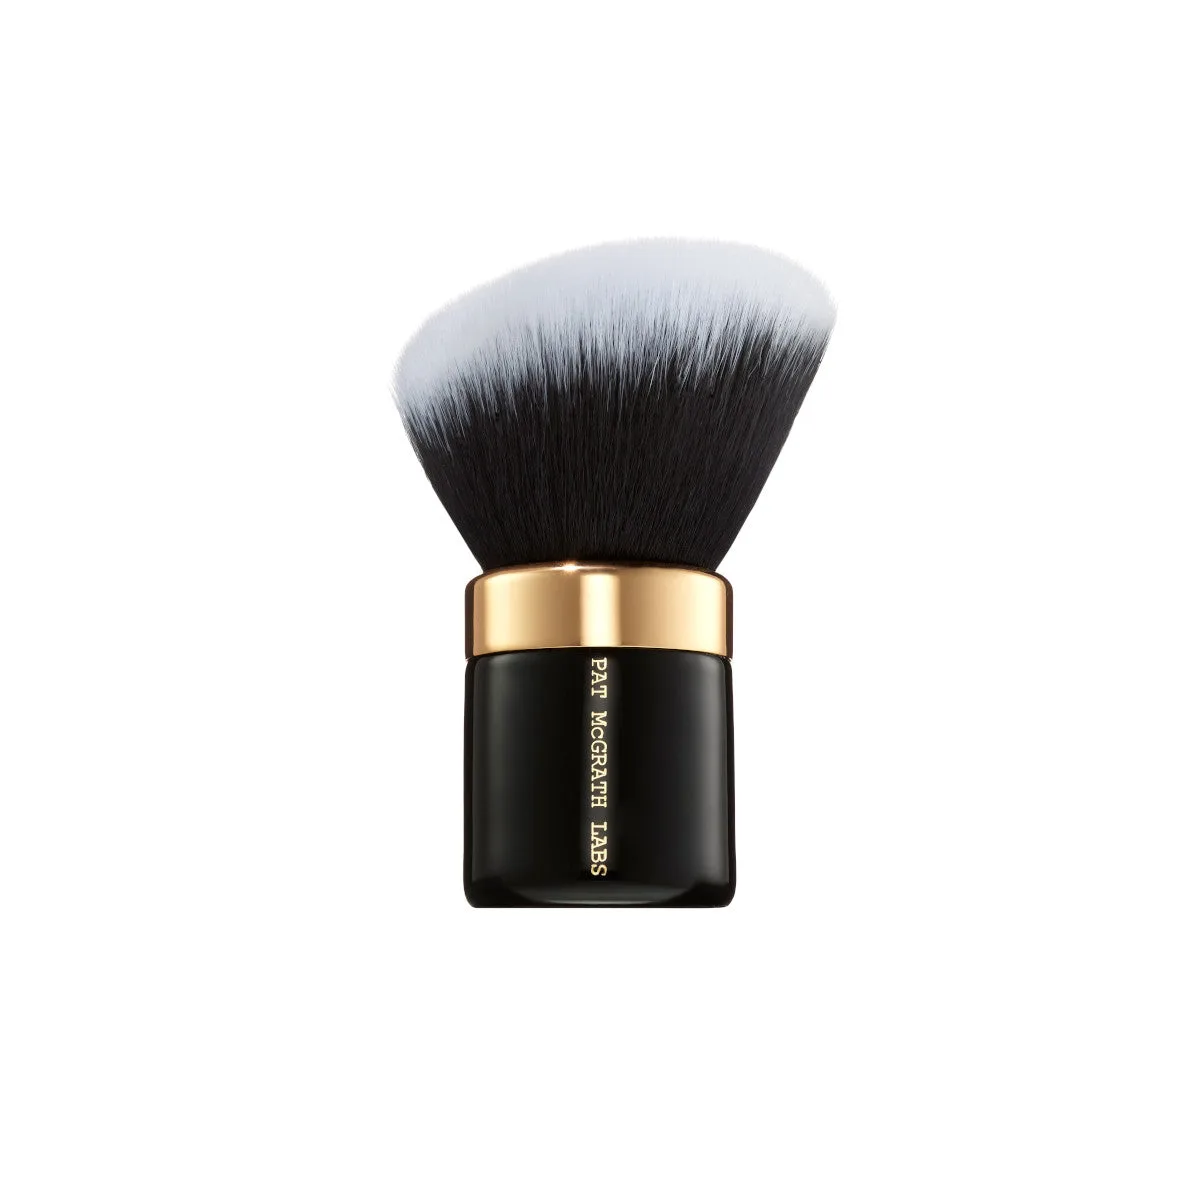
- Load the brush and tap off the excess: Dip a fluffy brush into your bronzer, then tap it once or twice against the side of the compact or your hand. You want a light, even distribution, not a concentrated patch. Common mistake: starting with a fully loaded brush. It is much harder to blend out a heavy stripe than to add a second thin layer.
- Sweep bronzer along the perimeter: Starting at the temple, sweep down under the cheekbone and along the jawline in a soft E shape. Use light, sweeping motions and build gradually. Checkpoint: step back from the mirror. You should see warmth at the edges, not a visible line. If you see a line, blend it with a clean brush.
- Blend the bronzer edges: Use a clean, dry brush or a slightly damp sponge to soften the edges where bronzer meets your foundation. Small circular motions work well here. Common mistake: skipping this step. Unblended bronzer is the most obvious giveaway of a rushed application.
- Apply highlighter to the high points: Tap highlighter onto the tops of your cheekbones, the brow bone, the bridge of your nose, and the cupid's bow. Use a small brush or your fingertip and press rather than swipe. Checkpoint: the highlighter should catch the light when you turn your head, not look like a stripe of shimmer.
- Blend the highlighter into the bronzer: Gently blend the lower edge of the highlighter into the upper edge of the bronzer so the transition looks seamless. A small, soft brush makes this easier. Common mistake: leaving a hard line between the two. The goal is a gradient from shadow to light, not two separate stripes.
- Set and check in natural light: If you want extra longevity, lightly dust setting powder over the bronzer only. Then check your makeup in natural daylight, not just bathroom lighting. Next step: if the bronzer looks too strong in daylight, go over it with a clean fluffy brush to diffuse it. If the highlighter looks too subtle, add a second thin layer.
Products that support this technique
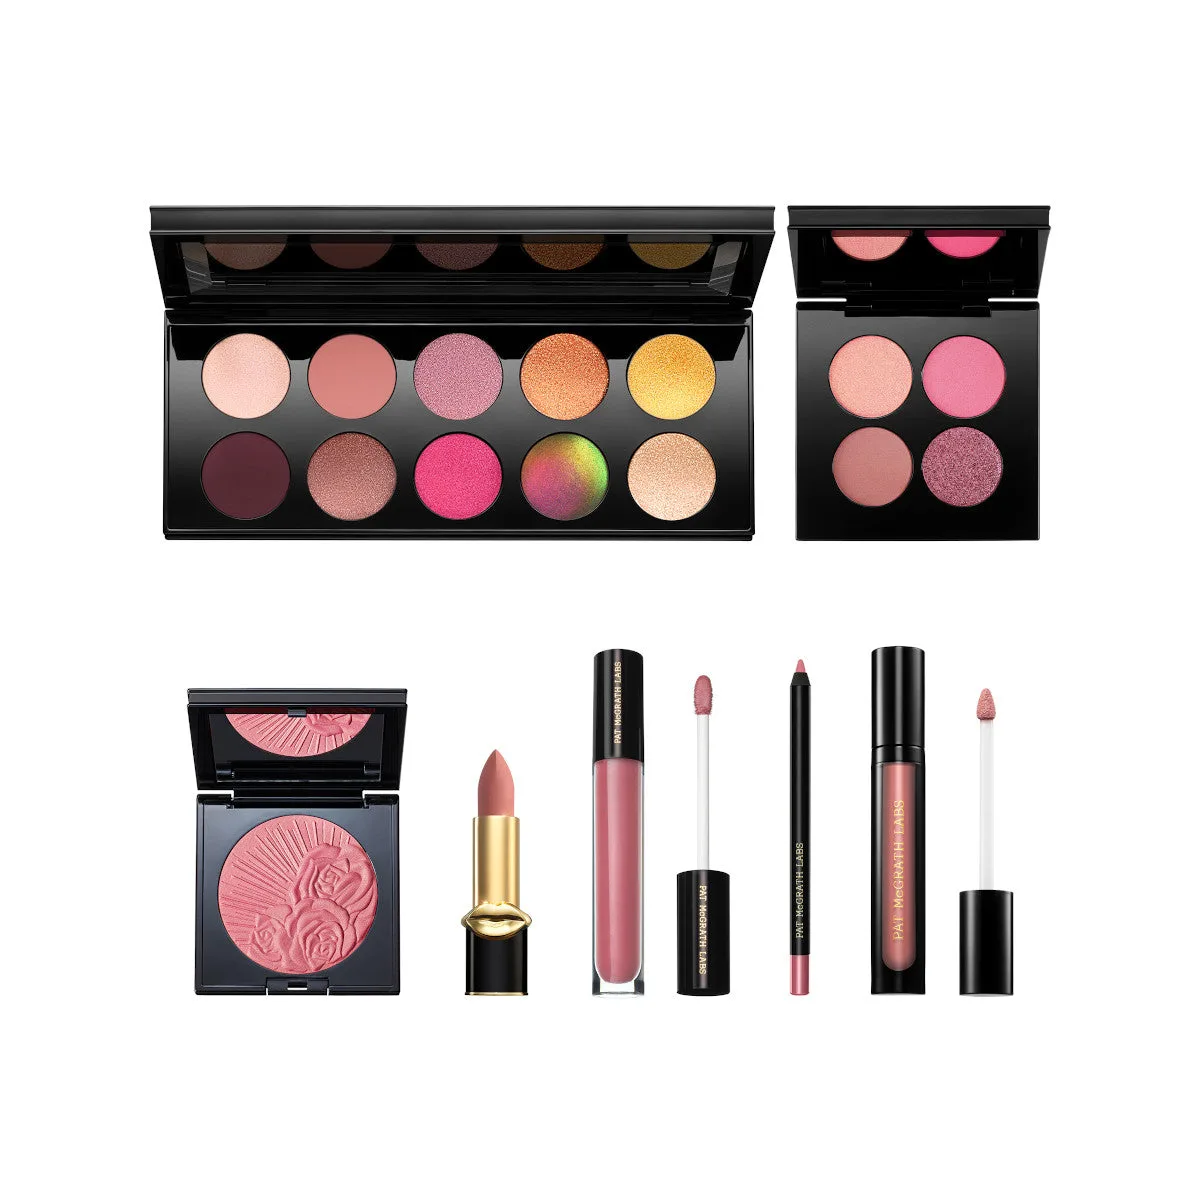
- Legendary Longwear Perfect Pairs: Legendary Longwear Perfect Pairs is a curated kit that pairs a Legendary Longwear Lip Liner with a complementary lip product in four kits: Glossed Beige, Divine Shine, Sculpted Nude, and Love Elson. A defined lip balances a sculpted face, so if you are bronzing and highlighting, a longwear lip kit keeps the lower half of your makeup from fading while you focus on cheeks and eyes.
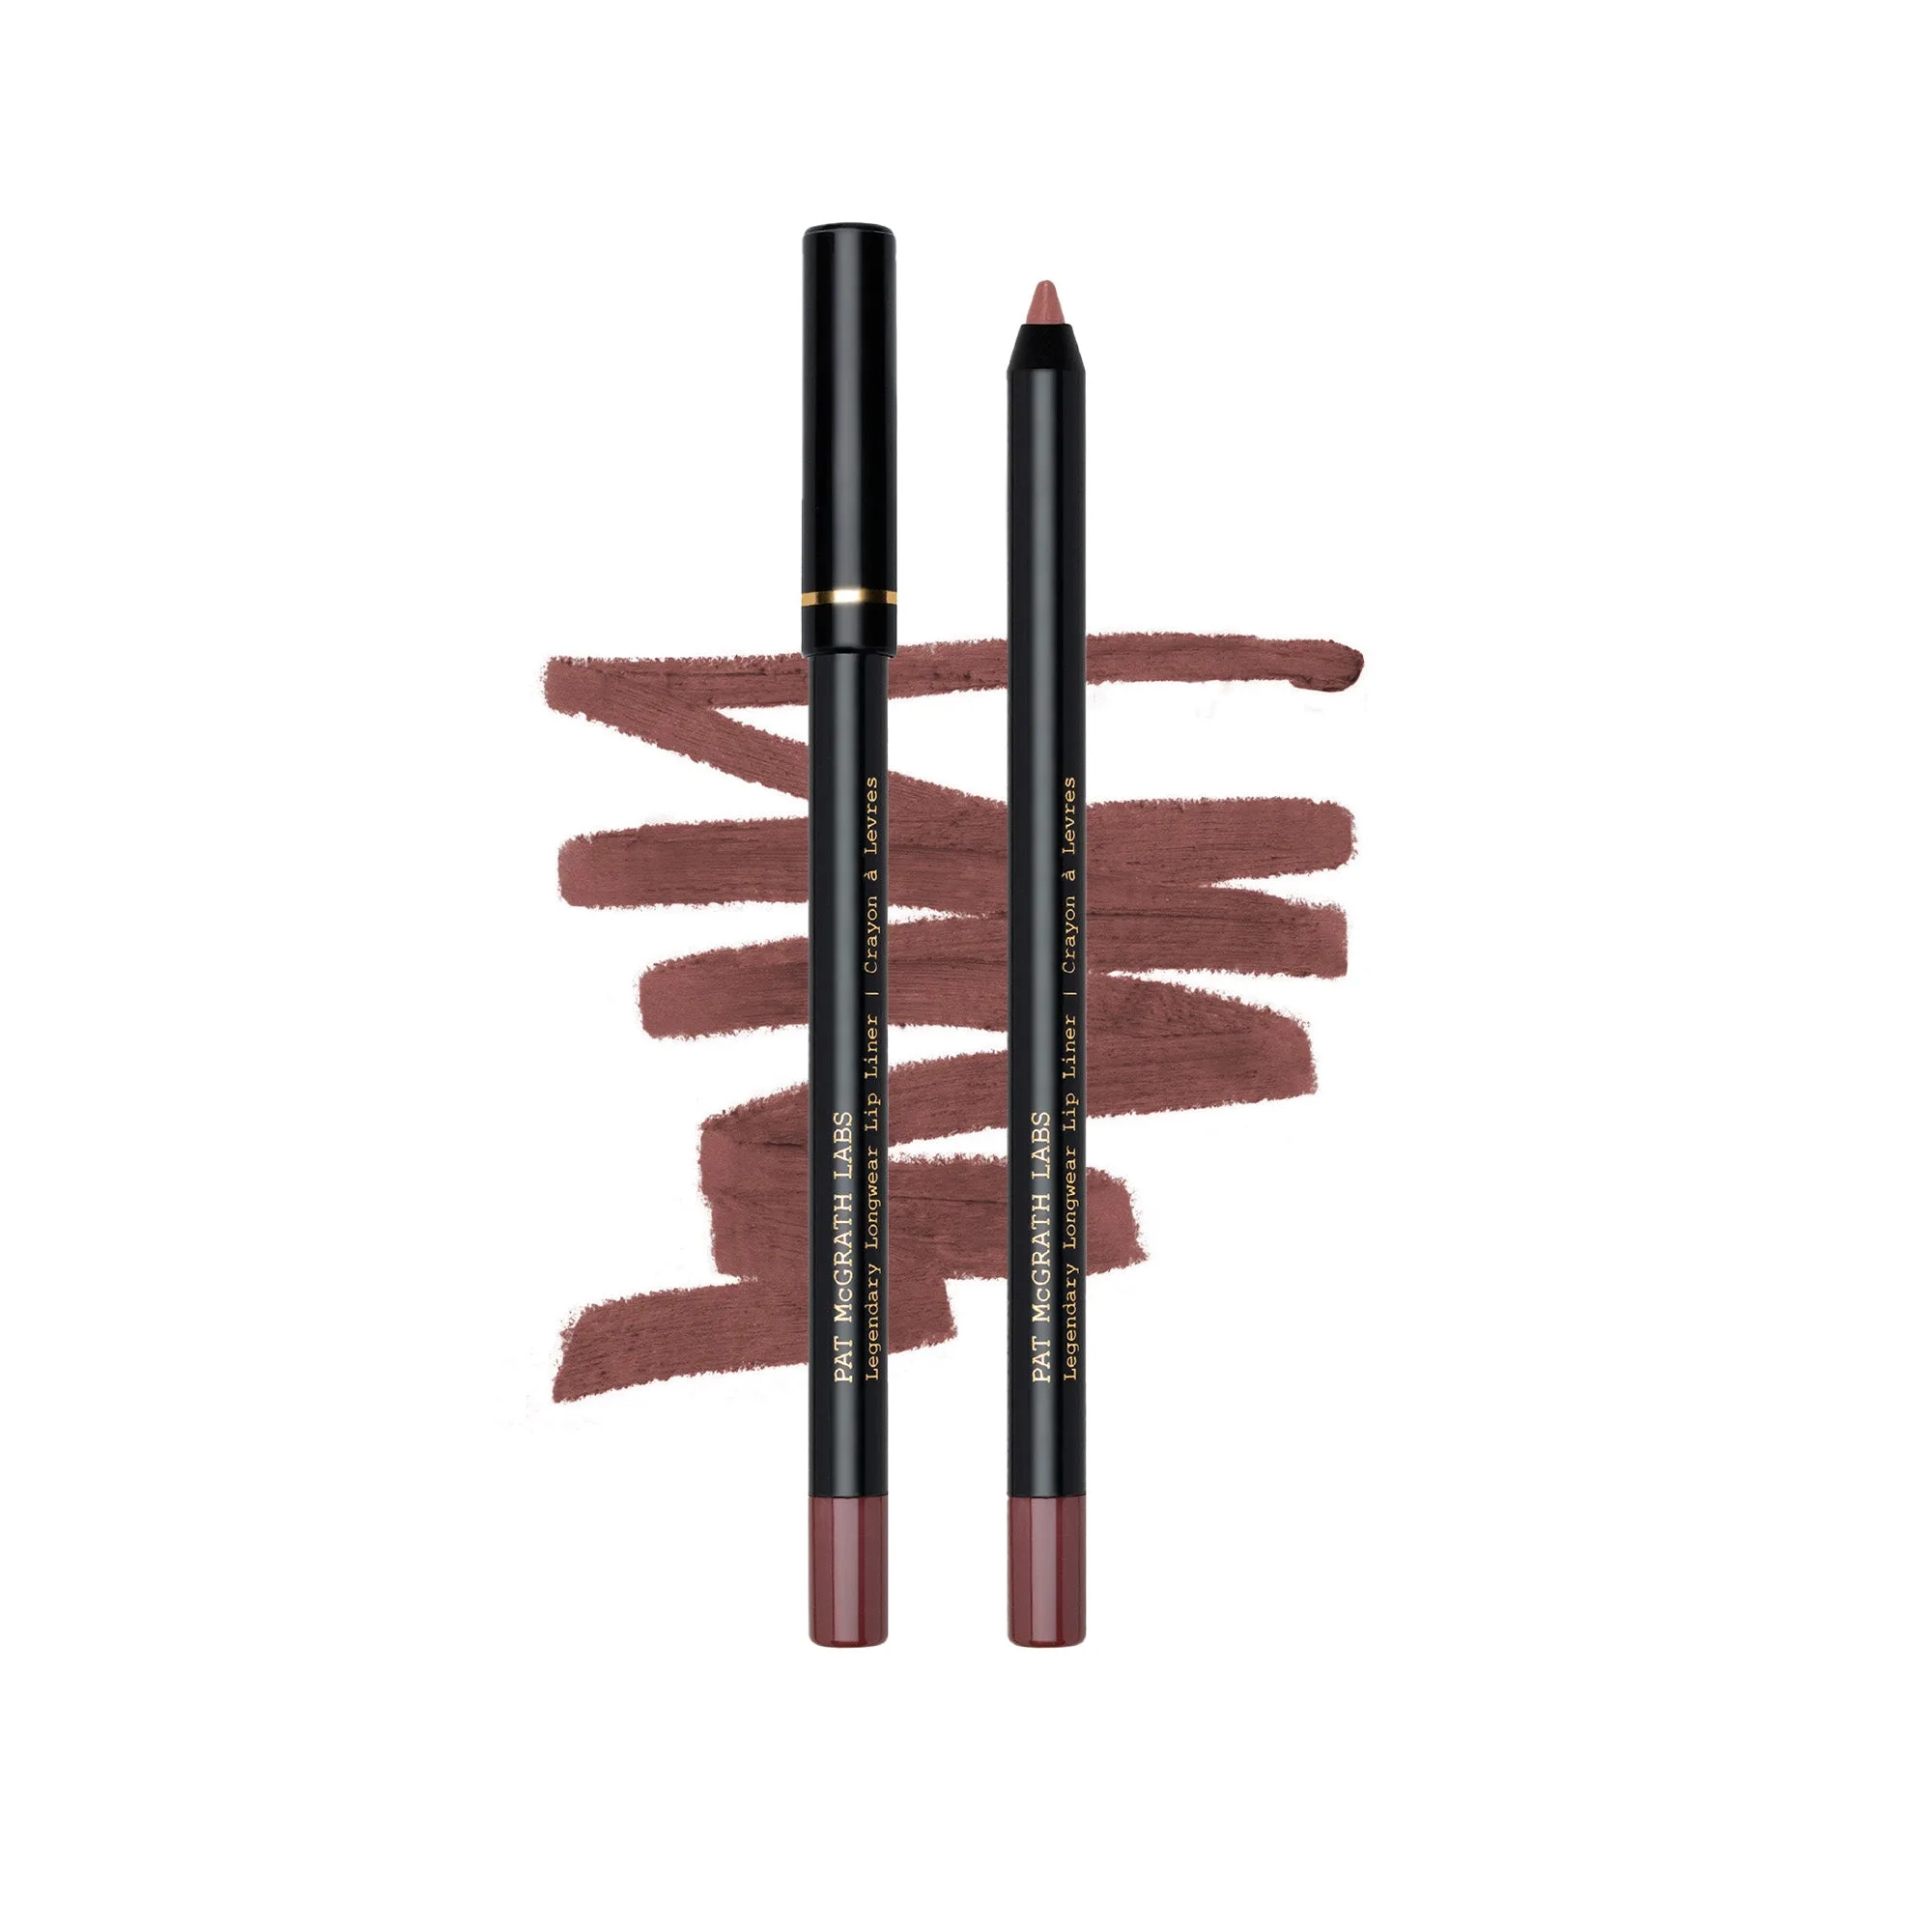
Legendary Longwear Lip Liner
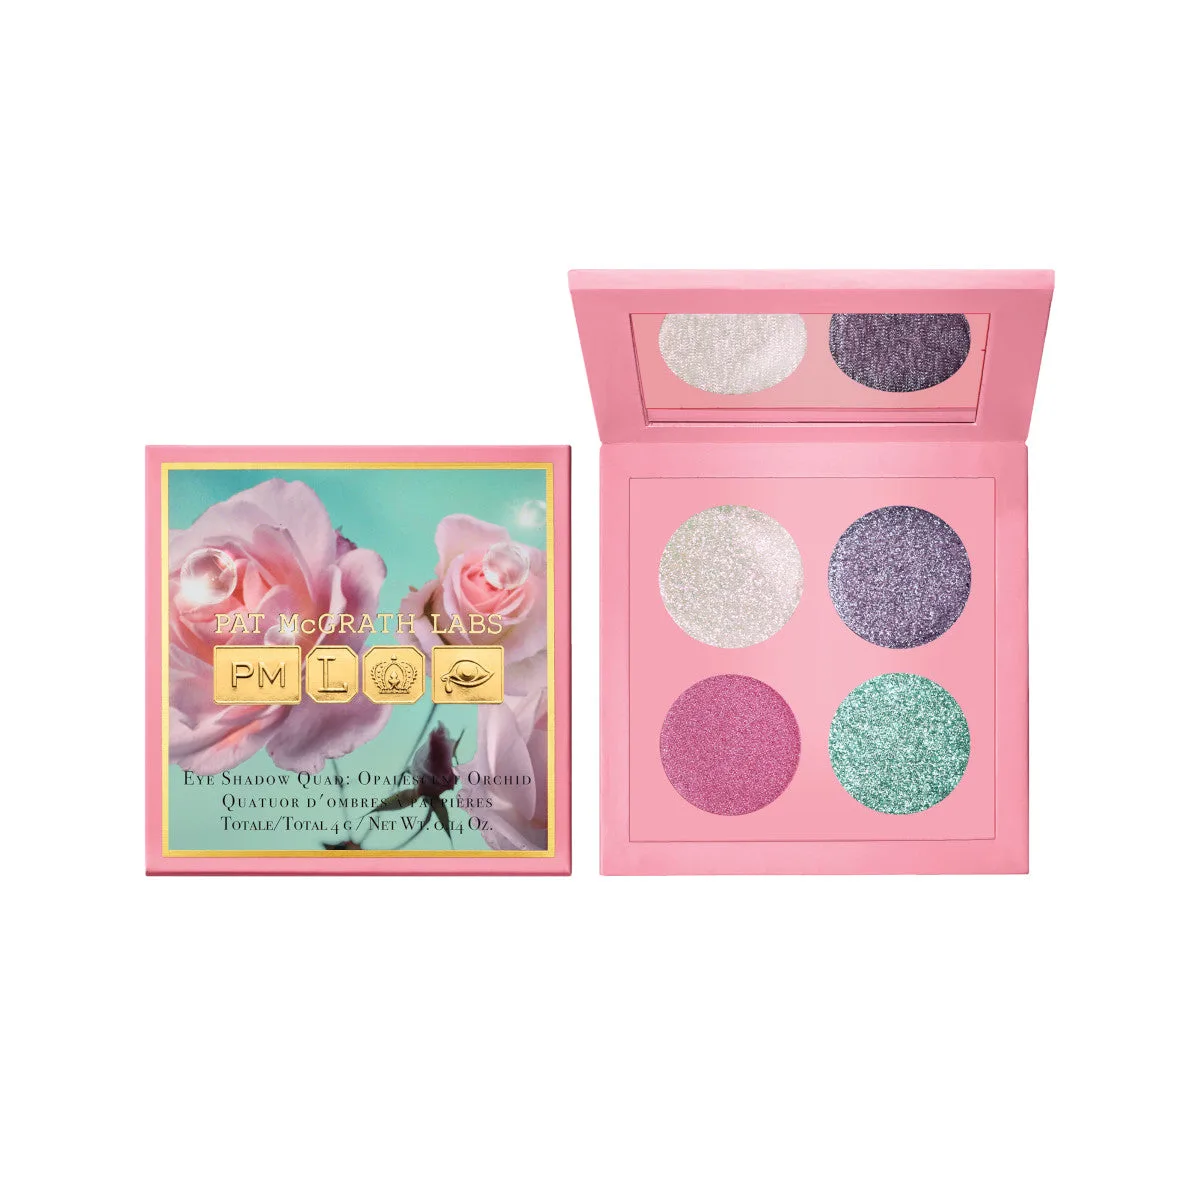
- Luxe Quad Duo: Luxe Quad Duo brings together two eyeshadow quads in one set, with curated color stories for versatile application. Once your bronzer and highlighter are placed, a coordinated eye look completes the face without competing with your cheek color.