Quick Answer
Candle tunneling happens when only the area around the wick melts, leaving a thick rim of wax. To fix it, let the candle burn long enough for the entire top layer to melt during the first use, or use foil or a hair dryer to even out an already-tunneled candle.

Candle
You light a new candle, and after an hour you see a deep hole forming around the wick while the outer wax stays firm. That's candle tunneling, and it can waste a good portion of your candle if left unchecked.
Understanding the difference between a proper burn and tunneling is the first step. A proper burn melts the wax evenly across the surface, while tunneling creates a narrow crater. Here's how to tell them apart and what to do about it.
What Is Candle Tunneling?
Candle tunneling occurs when the flame only melts the wax directly beneath it, leaving a ring of unmelted wax around the edges. This often happens if you don't let the candle burn long enough on the first lighting. The wick sinks into a hole, making it harder to light and reducing the candle's overall burn time.
A proper burn, in contrast, melts the entire top layer of wax. This creates a 'melt pool' that reaches the edges of the container, ensuring that the wax is consumed evenly and preventing wasted wax. The first burn is critical: you should let the candle burn until the melt pool reaches the sides, which can take 1 to 4 hours depending on the candle's size.
- First burn: allow at least 1 hour per inch of candle diameter to establish an even melt pool.
- Trim the wick to 1/4 inch before each lighting to promote a steady flame.
Common Causes of Candle Tunneling
Several factors can cause tunneling. The most common is not burning the candle long enough initially. If you extinguish it before the wax melts to the edges, the 'memory' of that burn will cause the next burn to sink deeper. Other causes include a wick that's too short or too long, drafts that cause uneven burning, and low-quality wax that doesn't melt evenly.
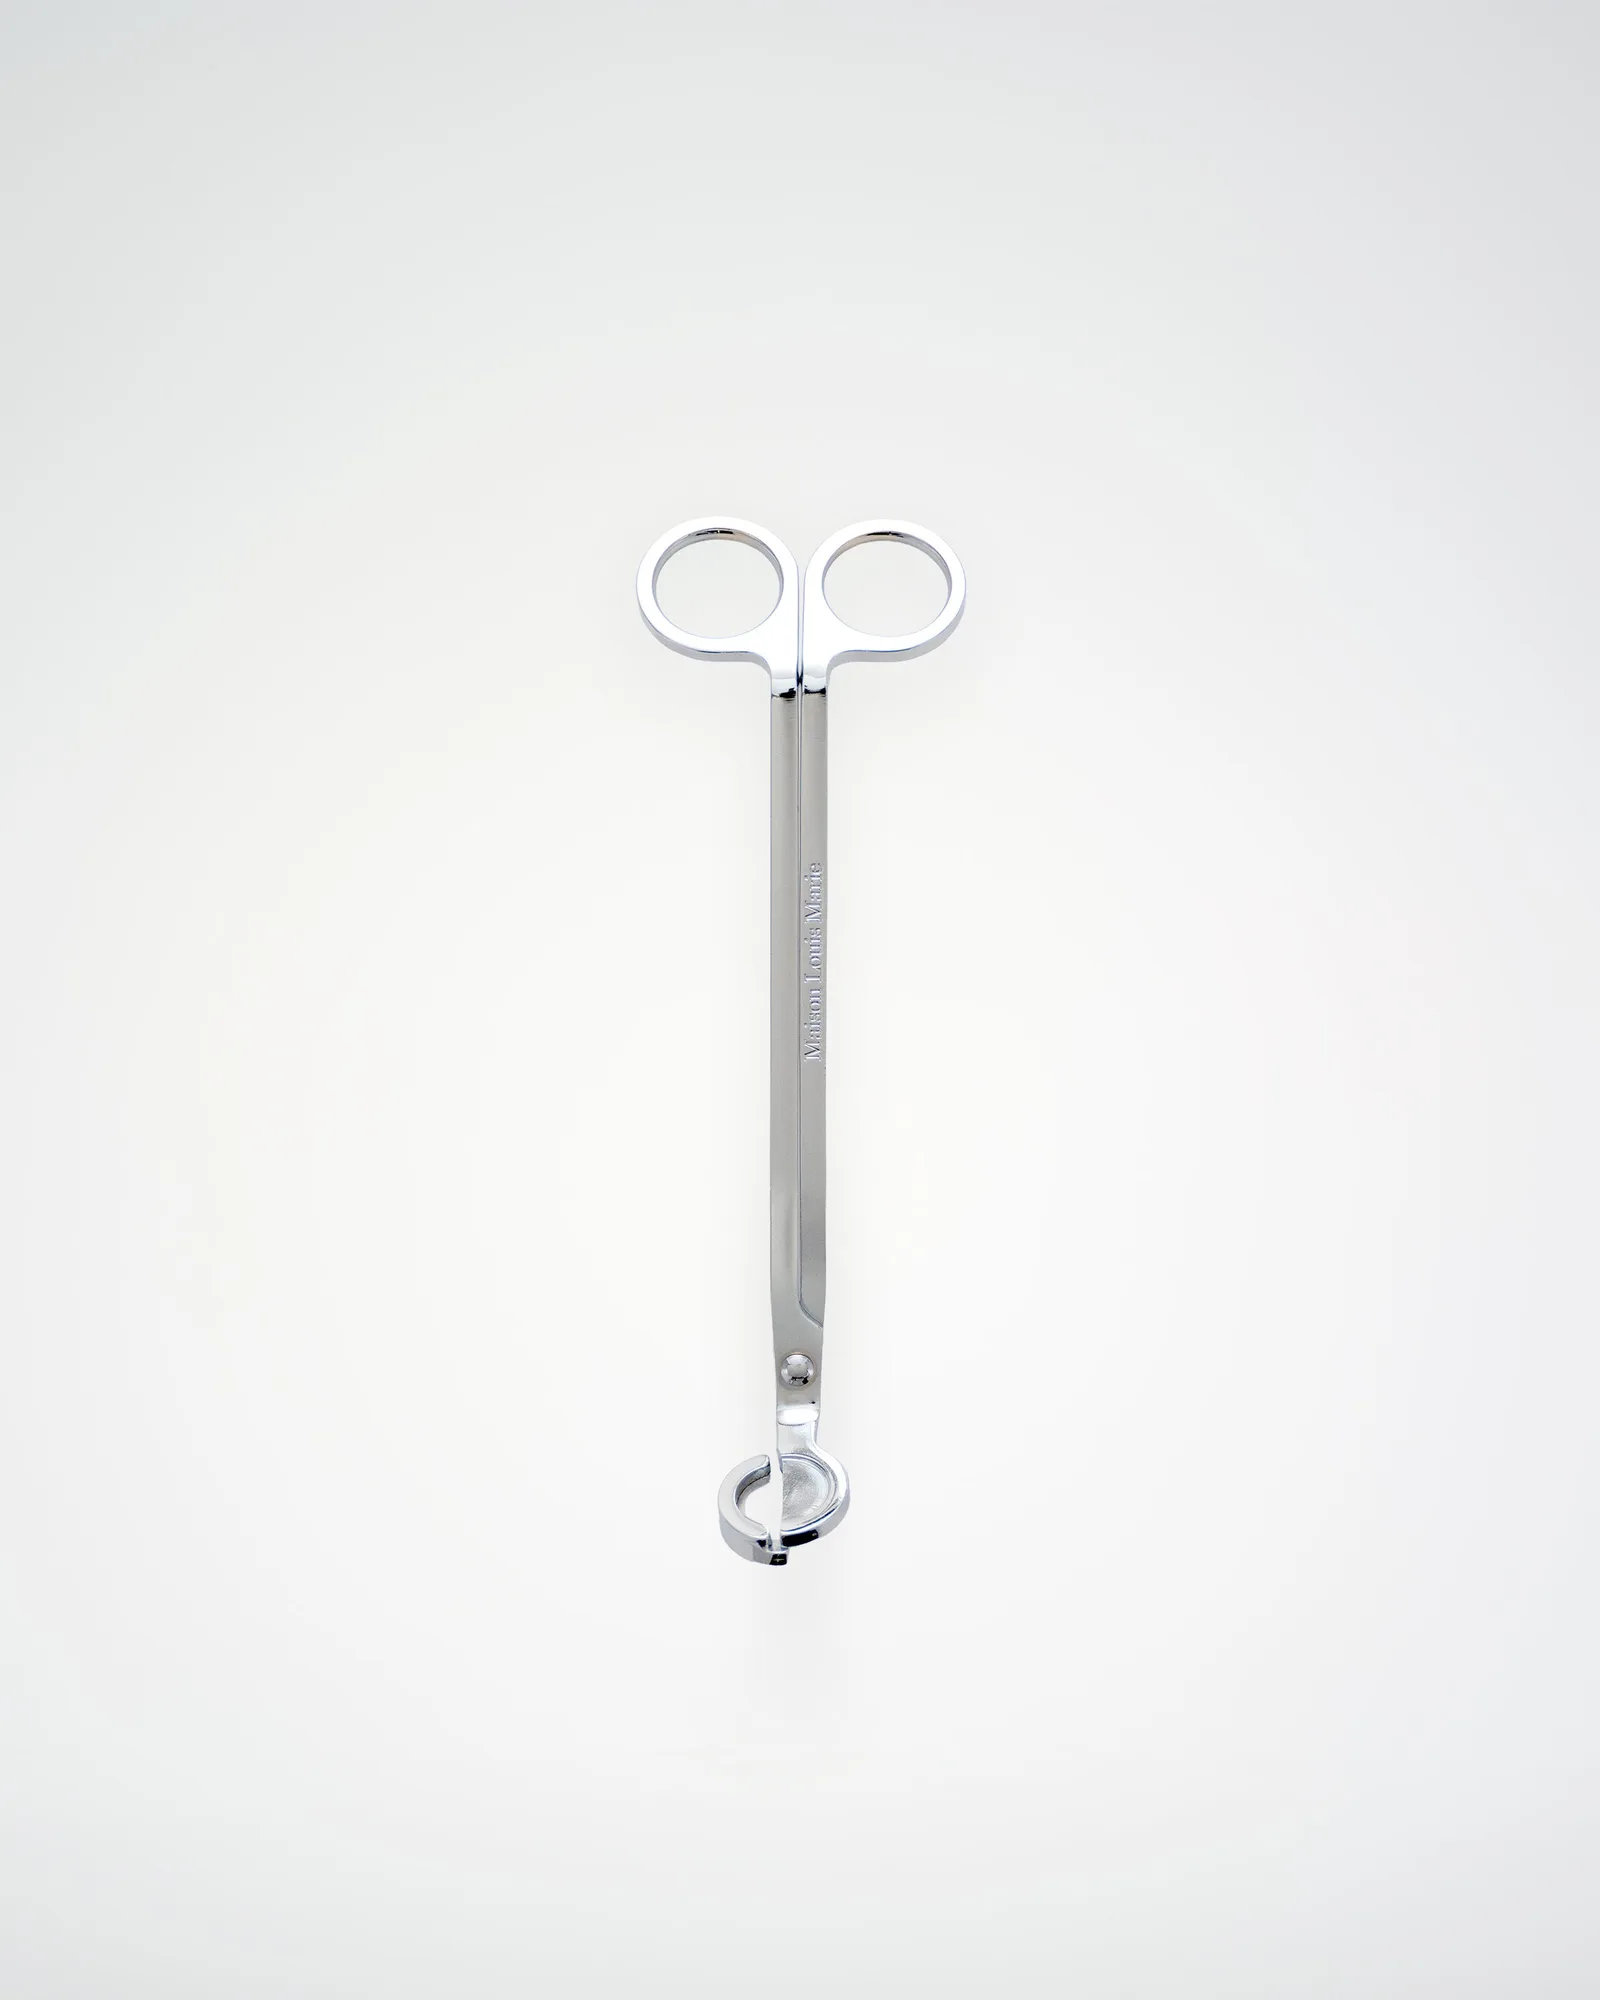
Additionally, using a candle snuffer instead of blowing it out can help prevent soot and maintain an even burn. If you notice tunneling, it's often fixable, but the method depends on how deep the tunnel is.
- Avoid burning candles for less than 30 minutes at a time.
- Keep candles away from drafts, air vents, and fans.
How to Fix a Tunneling Candle
If your candle has started to tunnel, act quickly. The easiest fix is to wrap the top of the candle with aluminum foil, leaving a small opening around the wick. This traps heat and helps melt the outer wax. Light the candle and let it burn for 1-2 hours, then remove the foil and let it cool. This should even out the melt pool.
For deeper tunnels, you can use a hair dryer on low heat to melt the top layer of wax. Aim the dryer at the edges until the wax becomes liquid, then let it cool and level. If the wick is buried too low, you may need to scoop out some wax to expose it.
- Foil method: wrap the top with foil, leave a small hole for the wick, and burn for 1-2 hours.
- Hair dryer method: use low heat to melt the edges, then allow the wax to cool evenly.
How to Prevent Candle Tunneling
Prevention is simpler than fixing. Always trim the wick to 1/4 inch before lighting. This ensures a consistent flame that melts wax evenly. On the first burn, give the candle enough time to create a full melt pool. For a standard 8-ounce candle, this usually takes about 2 hours.
Also, avoid burning candles for more than 4 hours at a time, as this can overheat the container and cause sooting. Use a candle snuffer to extinguish the flame, which prevents smoke and keeps the wick centered. With these habits, you'll enjoy a clean, even burn every time.
- Trim the wick before every lighting.
- Allow a full melt pool on the first burn.
- Use a snuffer to extinguish.
Diagnose Your Candle Burn
- Symptom: A hole forms around the wick while the outer wax remains solid, and the flame appears weak or small. This is tunneling, not a normal burn.
- Likely cause: The candle wasn't burned long enough on the first lighting, or the wick is too short. Check the wick length and your burn duration.
- Corrective action: Use the foil method or hair dryer to melt the edges, then allow a full melt pool on the next burn. If the tunnel is deeper than 1/2 inch, consider scooping out some wax or using a different candle.
- When to stop or choose another option: If the wick is too buried to light or the wax has become uneven beyond repair, it's time to replace the candle or switch to a flameless option like a reed diffuser. For a consistent, low-maintenance scent, consider a reed diffuser refill instead.
Products That Help You Enjoy a Proper Burn
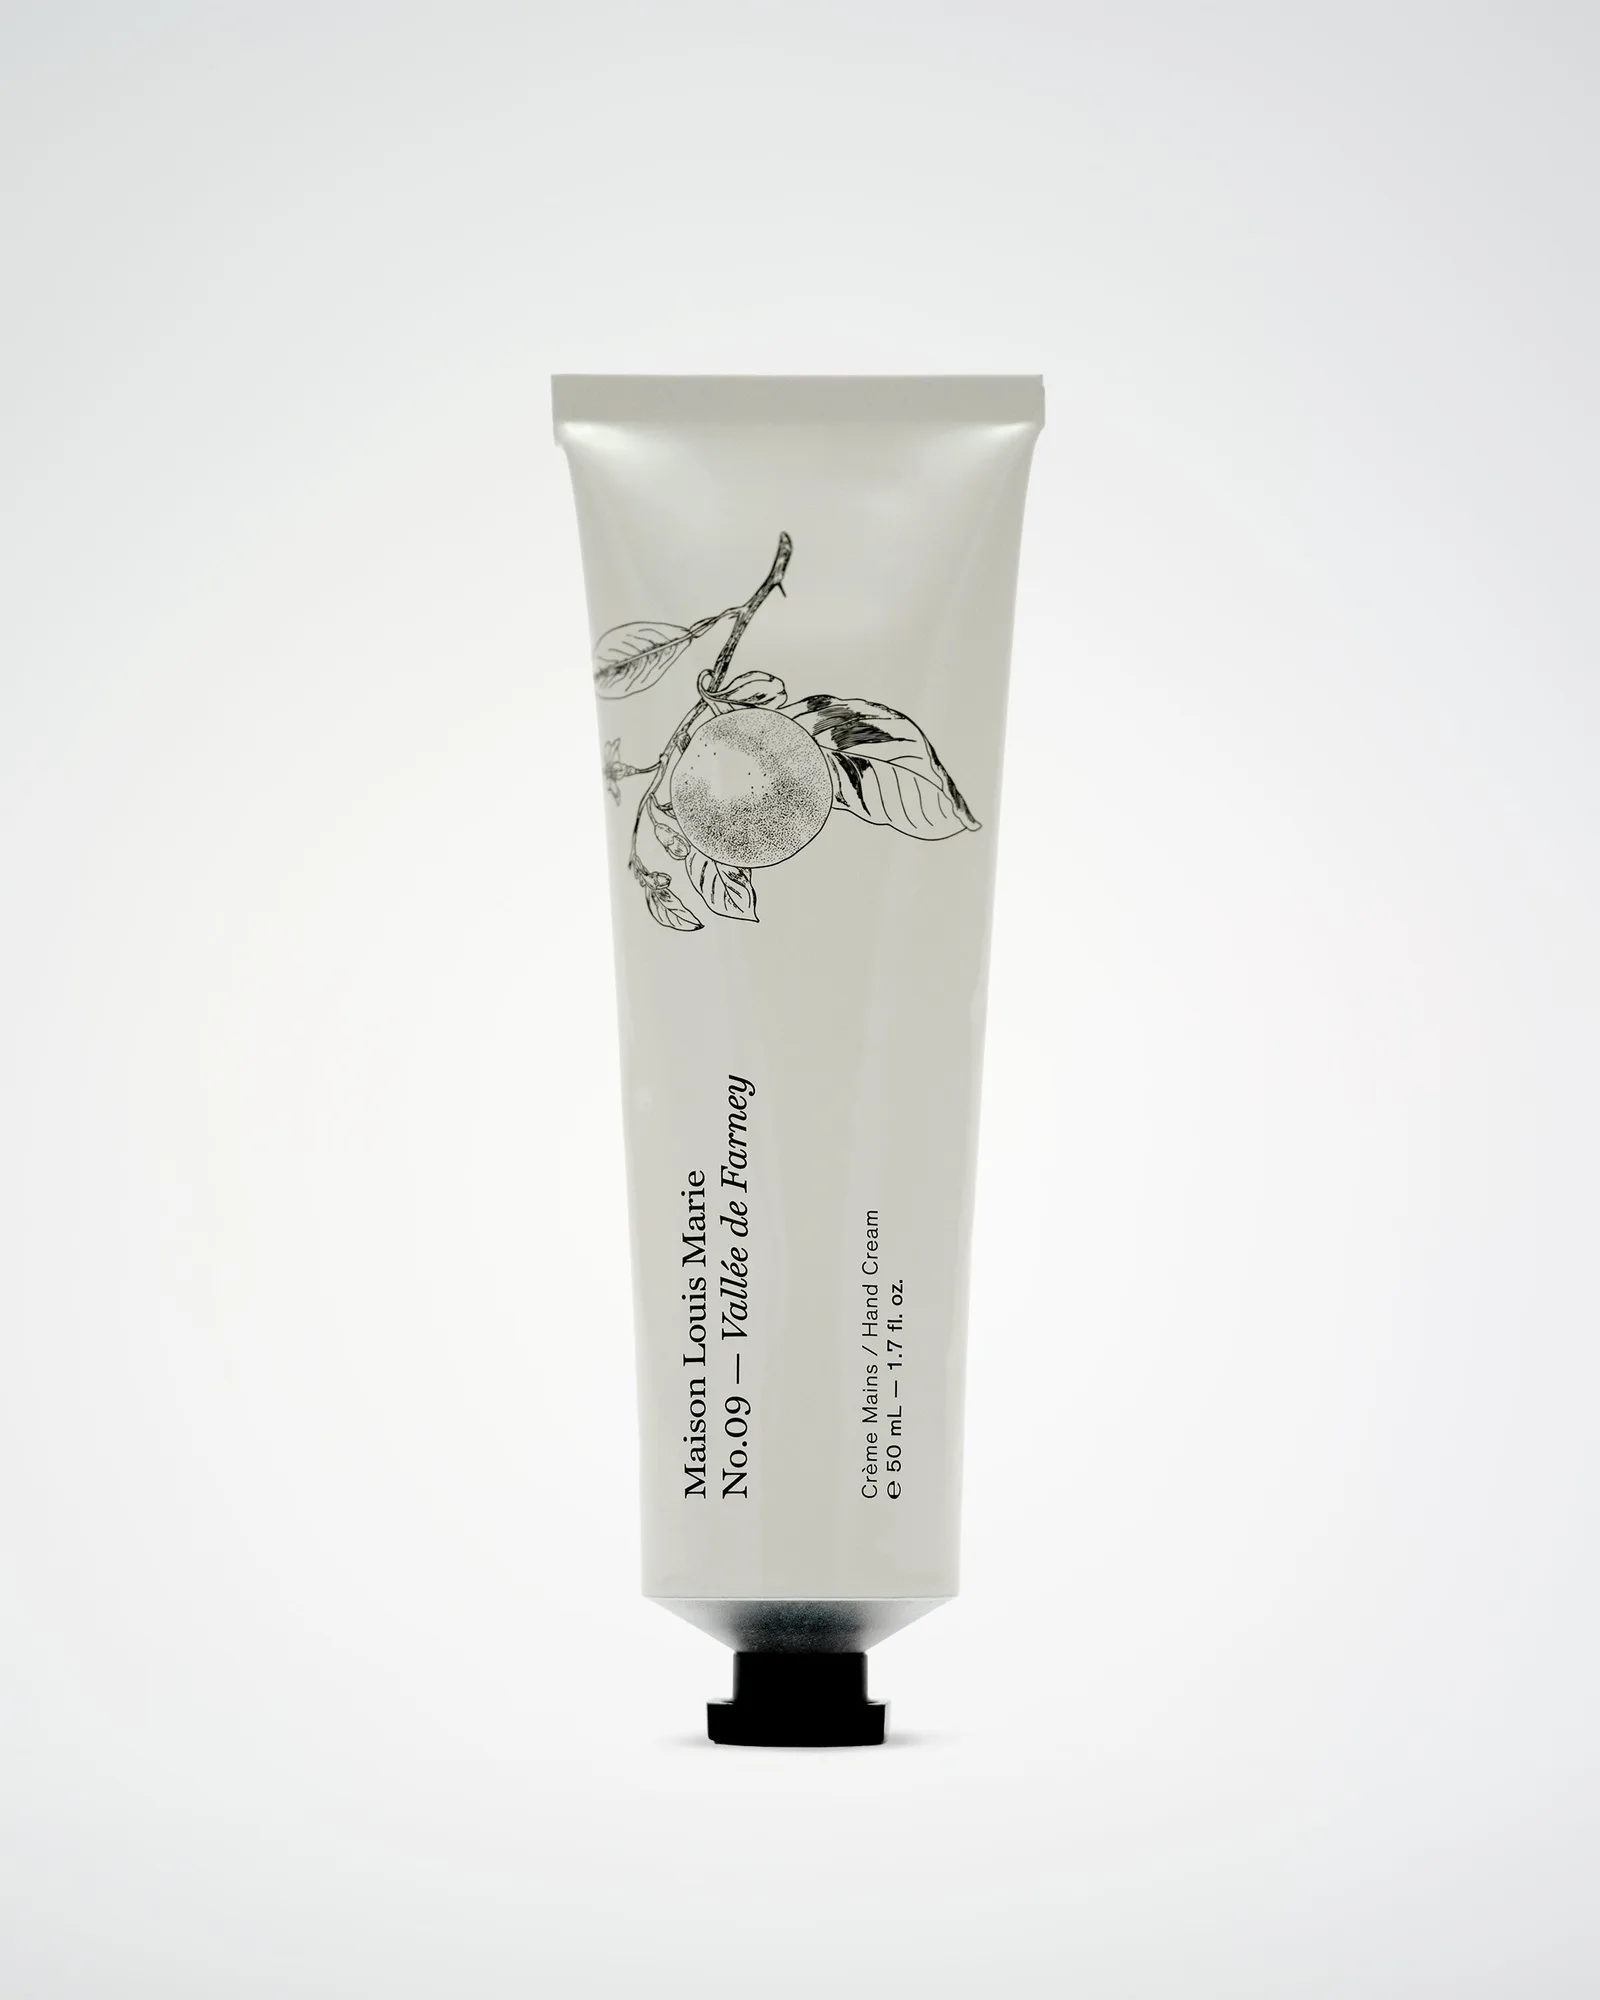
- Reed Diffuser Refill - No.09 Vallée de Farney: Our Reed Diffuser Refill allows you to continue enjoying the captivating Bois de Balincourt fragrance in your home. Simply replenish your existing diffuser with this refill and embrace the ongoing luxury of scent – a sustainable choice that's kind to the environment. The diffuser will release the illustrious Bois de Balincourt fragrance for around 3 months. If you prefer a flame-free way to scent your space, a reed diffuser refill is a practical alternative that avoids tunneling altogether.
- https://maisonlouismarietr.com/products/mini-travel-set-no-13-nouvelle-vague-255902Mini Travel Set - No.13 Nouvelle Vague: This travel-ready duo pairs No.13 Nouvelle Vague in both Eau de Parfum and Perfume Oil formats — perfect for layering, experimenting, or taking your signature scent on the go. When you're traveling, a mini fragrance set is easier to pack than a candle, and you won't worry about tunneling or spills.
Candle tunneling is a common but fixable issue. By understanding the difference between a proper burn and tunneling, and taking simple preventive steps, you can enjoy your candles to the fullest. And if you prefer a hassle-free alternative, a reed diffuser refill offers steady fragrance without the worry of tunneling.