Why Add a Battery Grip to the EOS R5 II?
If you shoot portraits, events, or long sessions with the Canon EOS R5 Mark II, a battery grip like the Canon BG-R20 can make a real difference. It improves handling in vertical (portrait) orientation, gives you a more secure hold when using long telephoto lenses, and lets you run two extra LP-E6P batteries for extended shooting without swapping packs.
The BG-R20 is designed specifically for the EOS R5 Mark II, so it matches the body contours and keeps all controls accessible. Below is what the catalog confirms about its setup and capabilities.
What the Catalog Confirms About the BG-R20
-
Canon BG-R20 Akkugriff: Canon Akkugriff BG-R20, passend für die EOS R5 Mark II. Optimiert die Handhabung bei Hochformataufnahmen. Bietet besseren Halt bei der Nutzung von langen Objektiven. Ermöglicht den Einsatz von zwei zusätzlichen Akkus. Unterstützt Canon LP-E6P Akkus. These facts confirm the grip is purpose-built for the R5 II, improves vertical shooting ergonomics, and accepts the same LP-E6P batteries the camera uses, so you can share spares.
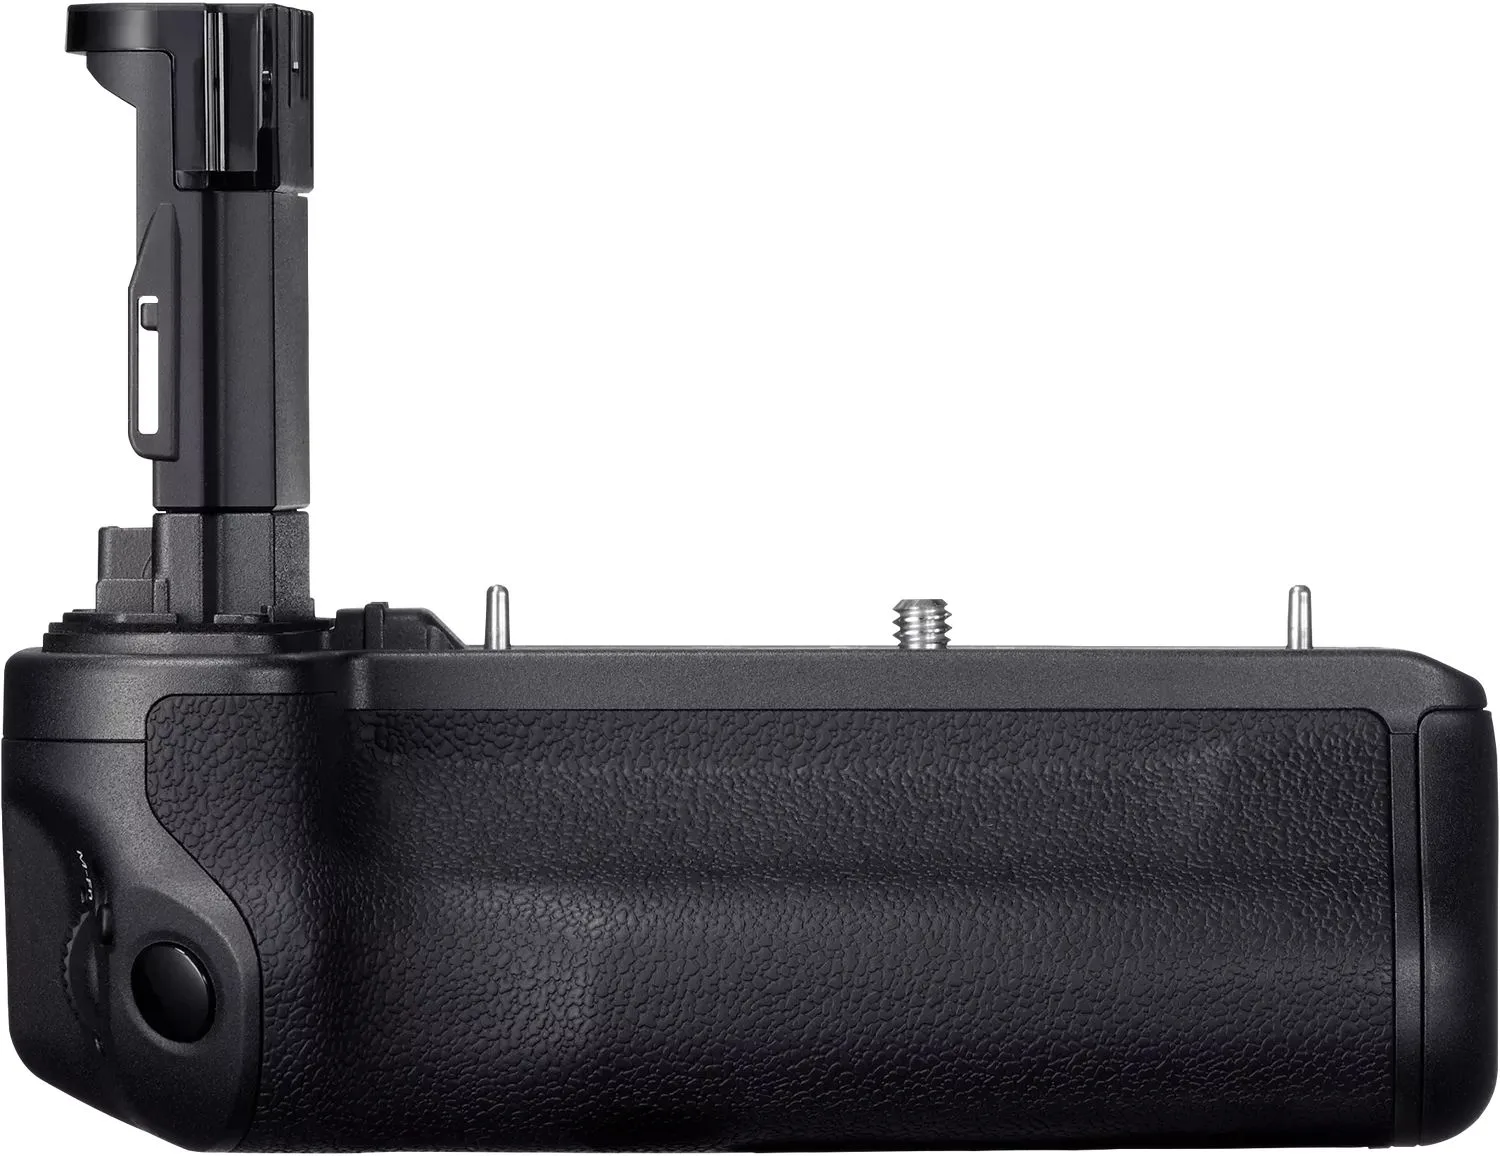
Canon BG-R20 Akkugriff
-
Canon BG-R20 Akkugriff: Kann zusammen mit anderem Zubehör wie dem Canon DR-E6P Gleichstromkuppler verwendet werden. The grip can also work with the DR-E6P DC coupler for studio or tethering setups, giving you flexibility beyond battery-only operation.
Setting Up the BG-R20 on the EOS R5 Mark II
The following steps are based on typical battery grip installation for Canon cameras. The catalog does not include step‑by‑step instructions, so these are general best practices that apply to the BG-R20.
- Prepare the camera and grip: Turn off the EOS R5 II. Remove the battery compartment cover from the camera body. Align the BG-R20’s mounting pins with the camera’s battery compartment slot.
- Attach the grip: Slide the grip onto the camera until it clicks into place. Tighten the mounting screw on the grip’s base using a coin or flathead screwdriver. Ensure the grip is snug and does not wobble.
- Insert batteries: Open the grip’s battery compartment. Insert two Canon LP-E6P batteries (the same model the camera uses). Close and latch the compartment door securely.
- Power on and verify: Turn on the camera. The camera should recognize the grip automatically. Check that the vertical shutter release and control dials work. The camera’s battery indicator will show the combined charge of both batteries.
What the Catalog Does Not Confirm
The supplied product information does not specify whether the grip adds any weather sealing beyond the camera body, nor does it mention exact battery life extension figures. It also does not list included accessories (e.g., battery magazine, screwdriver). If these details matter for your workflow, check the product packaging or contact the retailer directly.
For studio or long‑duration shoots, the grip’s compatibility with the Canon DR-E6P DC coupler is noted in the catalog, but the coupler itself is sold separately.