Quick Answer
Start with the Charlier Cut and Swivel Cut to build foundational card control. Use a deck with crushed stock for easier handling, and practice each move slowly before increasing speed.
Cardistry turns a simple deck of cards into a canvas for visual motion. For beginners, the goal is to build muscle memory and confidence with basic moves that look impressive but don't require advanced sleight of hand.
This tutorial breaks down three foundational cardistry moves into actionable steps. You'll also learn what to look for in a practice deck and how to avoid common mistakes that slow your progress.
What to Look for in a Practice Deck
The right deck can make learning cardistry easier. Look for cards with a crushed stock, which are thinner and more flexible, allowing for smoother cuts and fans. A deck with a durable finish will also withstand the wear and tear of constant practice.
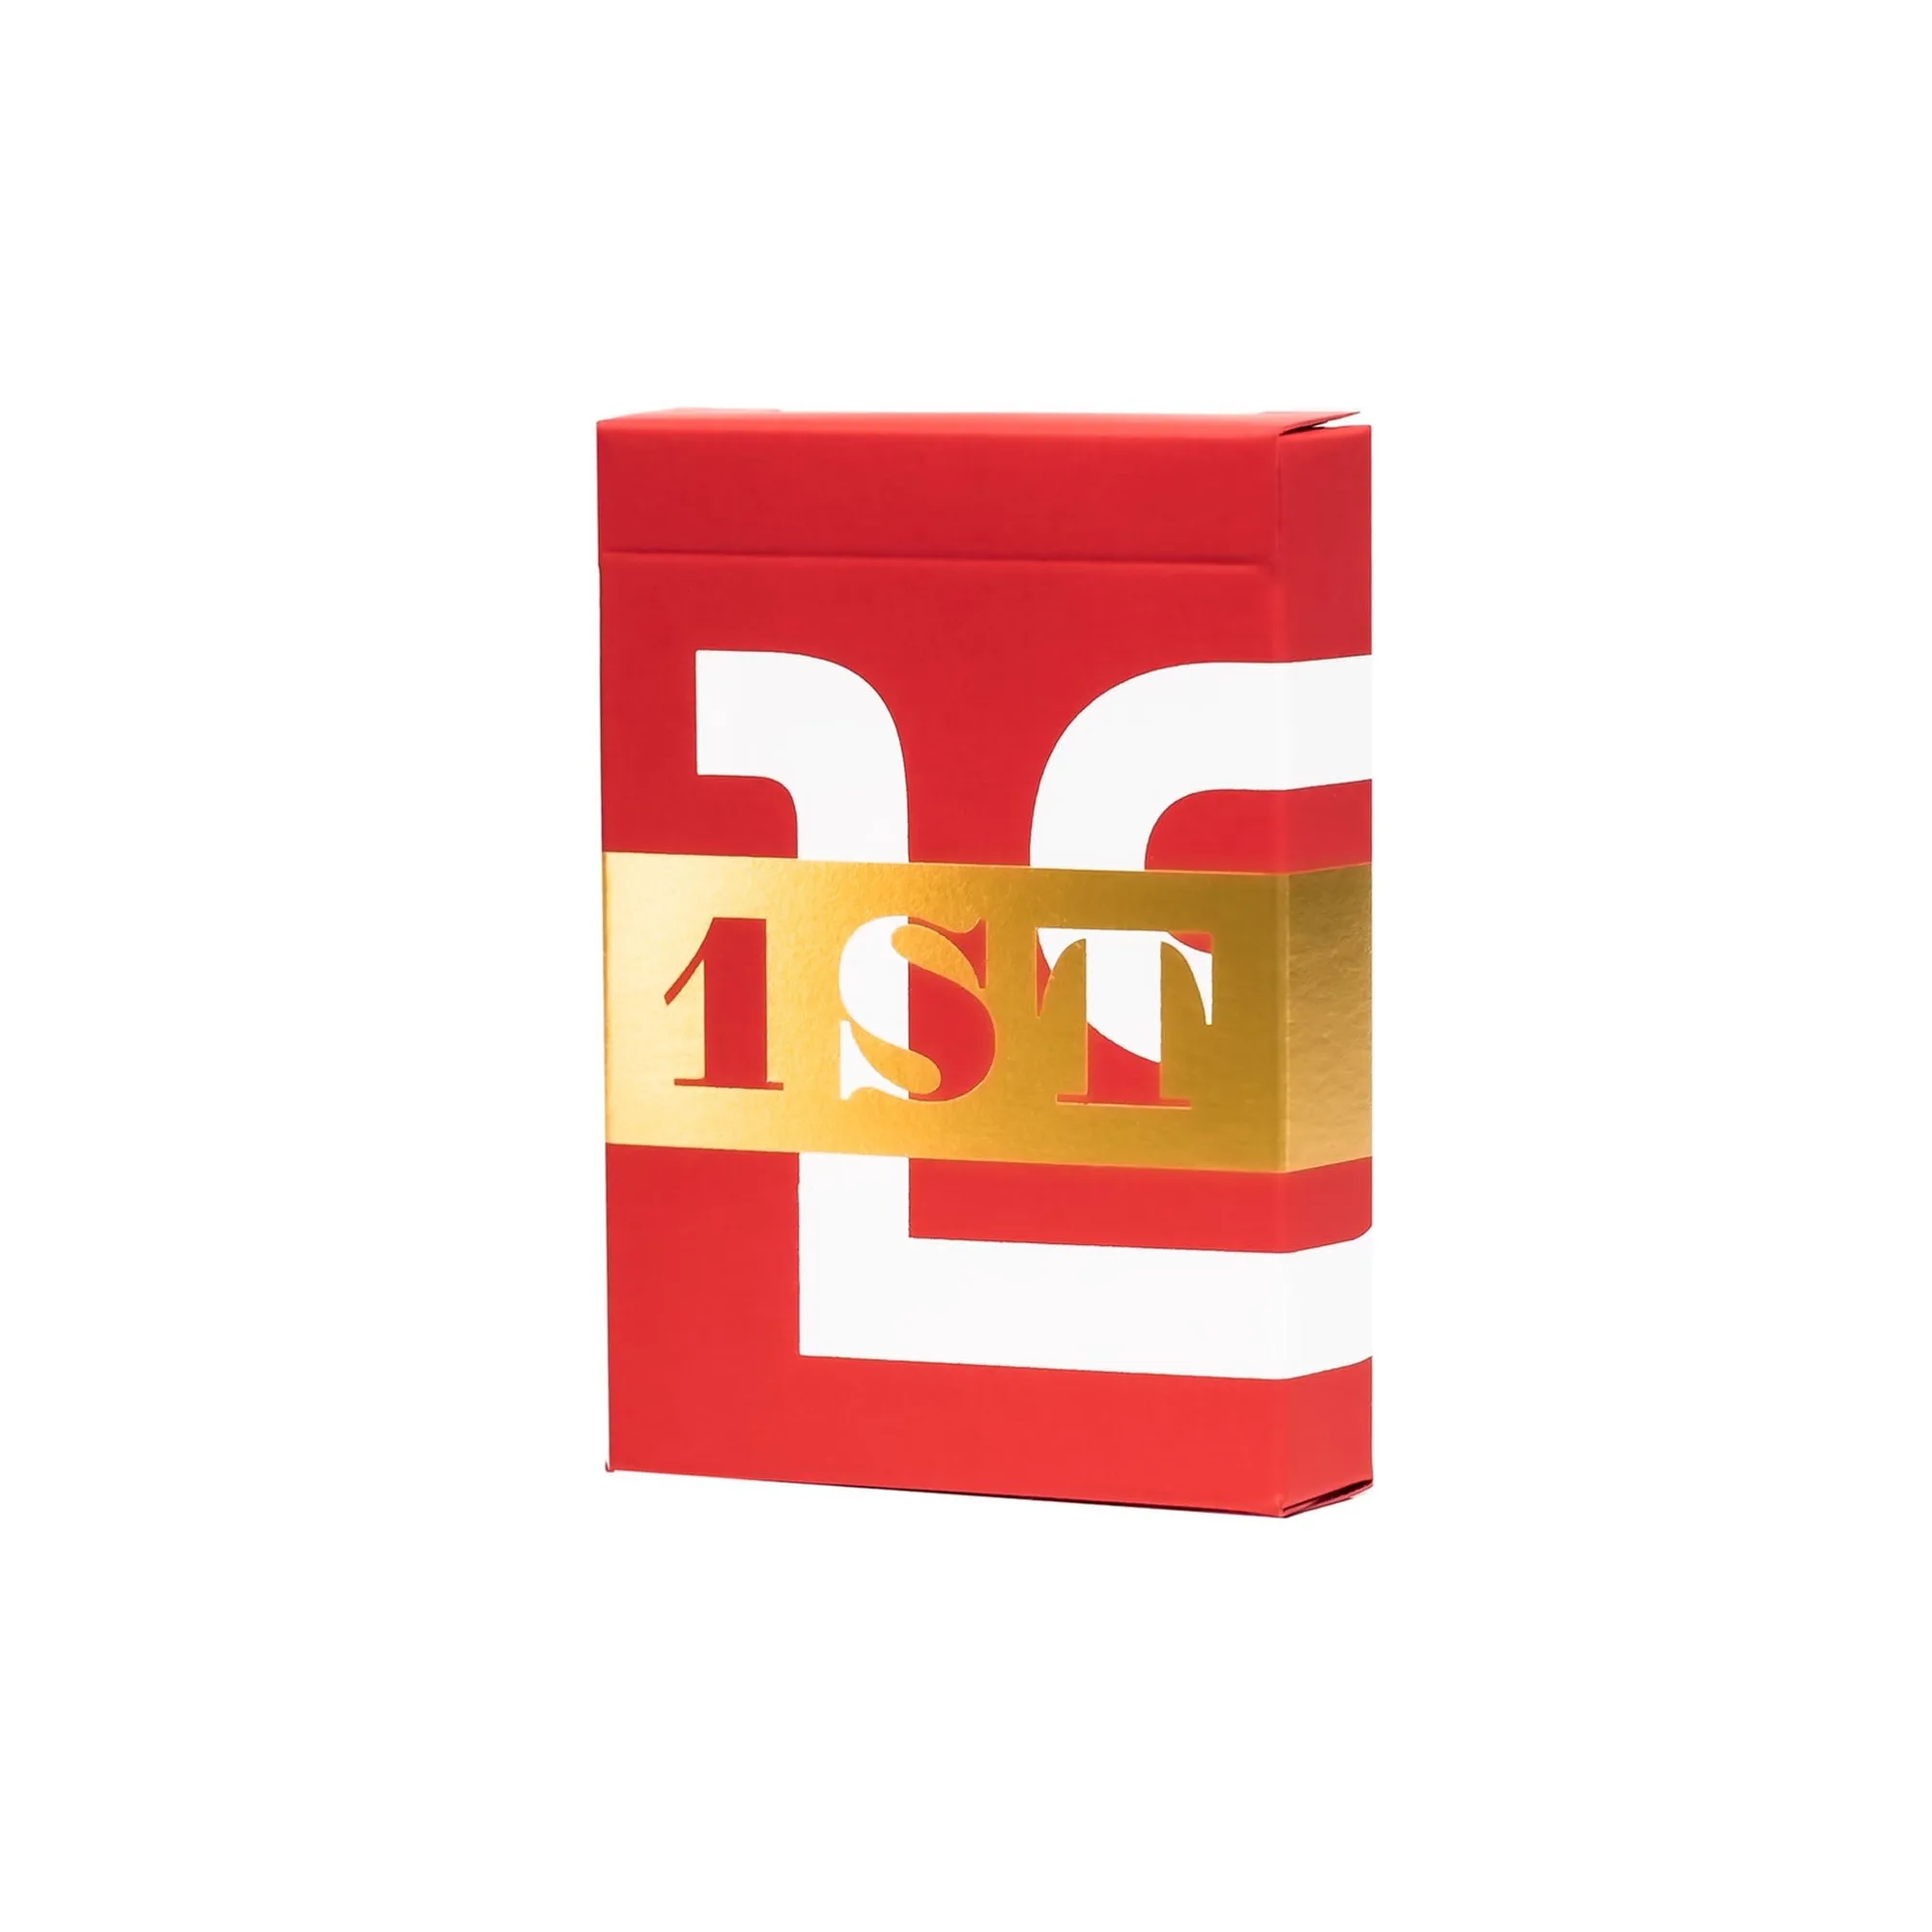
Standard Bicycle decks are a solid choice, but many cardists prefer premium decks that offer a balance of handling and longevity. For example, the 1ST Playing Cards V6 feature high-grade Bicycle stock that has been crushed for enhanced responsiveness and longevity, making them a great option for beginners who want a deck that feels good right out of the box.
- Start with a deck you don't mind dropping – it's part of the learning process.
- Avoid overly sticky or slippery cards; look for a finish that offers moderate grip.
Mastering the Charlier Cut
The Charlier Cut is often the first one-handed cut that cardists learn. It involves splitting the deck with your thumb and middle finger, then using your index finger to pivot the bottom half around to the top. It's a fundamental move that teaches you how to control the deck with minimal effort.
To begin, hold the deck in your dominant hand with your thumb on the top and your middle, ring, and pinky fingers on the bottom. Use your thumb to push the top half slightly to the side, then use your index finger to push the bottom half upward. As the bottom half rotates, let it fall on top of the deck. Practice this slowly until the motion becomes smooth.
- Keep your grip relaxed – tension will make the cut jerky.
- Focus on the pivot point: your index finger should guide the bottom half, not force it.
The Swivel Cut: A Visual Classic
The Swivel Cut is a two-handed move that looks more complex than it is. It involves a pivot of the top half of the deck around your thumb, creating a graceful fan-like motion. It's a great next step after mastering the Charlier Cut.
Hold the deck in your non-dominant hand with your thumb on the top. Use your dominant hand to grab a small packet from the top, then pivot it around your thumb so it rotates 180 degrees and lands on the bottom of the deck. The key is to keep the motion fluid and let the cards glide rather than forcing them.
- Practice the pivot motion separately before combining it with the grab.
- Make sure your thumb is positioned near the center of the deck to allow smooth rotation.
Building Your First Flourish Routine
Once you're comfortable with a few individual moves, you can start linking them into a routine. Begin with a simple sequence: Charlier Cut, then Swivel Cut, then a simple fan. This will help you transition between moves without pausing.
Routines are about flow, not speed. Start slow and focus on making each move look effortless. As you become more confident, you can experiment with variations and add your own style.
- Film yourself to spot awkward transitions.
- Practice in front of a mirror to see how the moves look from the audience's perspective.
Step-by-Step Practice Routine
- Warm Up Your Hands: Do simple stretches and finger exercises to improve dexterity. For example, repeatedly spread and close your fingers, or roll a coin across your knuckles. Warm hands are more flexible and less prone to dropping cards.
- Practice the Charlier Cut: Hold the deck as described, and repeat the cut slowly 20 times. Focus on the pivot and the smooth landing of the top half. Checkpoint: If the cut feels jerky, relax your grip and try again.
- Move to the Swivel Cut: Once the Charlier feels natural, practice the Swivel Cut. Start by just pivoting the top packet around your thumb, then add the catch. Checkpoint: The motion should be one fluid arc, not two separate movements.
- Link the Moves: Combine the Charlier Cut and Swivel Cut into a short sequence. Perform them one after the other without pausing. The goal is a seamless transition. If you hesitate, slow down and build up speed gradually.
- Practice with a Mirror or Camera: Record yourself or practice in front of a mirror to see what the moves look like to an audience. Adjust your angles and hand positions for maximum visual impact. This helps you refine your technique and develop a unique style.
Decks That Help You Learn
- 1ST Playing Cards V6 Red: 1ST Playing Cards V6 feature high-grade Bicycle stock that has been crushed for enhanced responsiveness and longevity. Every deck includes a duplicate 4 of spades, two identical jokers and a blank card for customization. Mnemonica stack. The crushed stock makes the cards more flexible and responsive, which is ideal for practicing cuts and flourishes. The extra cards give you replacements if you damage one during practice.
- AREA52 Playing Cards: Printed in the United States by USPCC with Invisible UV Ink on cards. Includes a 'blank' card. 52 Standard cards + 4 Extra ad cards. USPCC printing ensures consistent quality and handling. The blank card is useful for practicing cardistry moves that require a marker or for customizing your deck.
Mastering cardistry takes patience and consistent practice. Start with these foundational moves, use a deck that handles well, and gradually build your own routine. With time, you'll develop the fluidity and style that make cardistry so mesmerizing.