Quick answer
Assembling a child's picnic table is straightforward if you follow the right order: attach legs to the seat boards first, then add the tabletop, and finally install the umbrella. Watch for common mistakes like overtightening screws or skipping the pre-drilling step.
Before you start: tools and workspace
You will need a Phillips-head screwdriver (or a drill with a clutch), a rubber mallet, and a clean, flat surface like a garage floor or a patio. The cedar wood is pre-sanded and sealed, so you can handle it without worrying about splinters, but wearing work gloves still helps. Lay out all parts and hardware according to the manual before turning a single screw.
Why assembly order matters
Most kids picnic tables use a lap-joint or bracket design where the seat boards and tabletop share the same leg supports. If you attach the tabletop first, the seat boards may not align properly. Always follow the sequence: legs to seats, then cross braces, then tabletop slats, and finally the umbrella. This order keeps the frame square and prevents wobbling.
Step-by-step assembly instructions
- Attach legs to seat boards: Position the leg brackets (or leg pieces) against the underside of the seat boards. Use the provided screws and pre-drill pilot holes if the wood is dense. Tighten screws until snug, but stop before the head sinks into the wood. Overtightening can split the cedar. Stop when the screw head is flush with the wood surface.
- Install cross braces: Connect the two leg assemblies with the cross braces that run under the seat. This step squares the frame. Use a carpenter's square to check 90-degree angles before tightening fully. A frame that is not square will cause the tabletop to sit unevenly. Adjust before moving on.
- Add tabletop slats: Place the tabletop slats across the leg supports. Leave a small gap (about 1/8 inch) between slats for drainage and wood expansion. Secure each slat with two screws per support. No gap means water pools and wood warps. A credit card thickness is a good spacer.
- Attach the umbrella: Slide the pre-assembled umbrella pole into the center hole of the tabletop. Tighten the set screw or locking collar by hand. Do not use pliers, which can strip the plastic or metal threads. Hand-tighten only. The umbrella is meant to be removable for storage.
- Final stability check: Place the table on level ground. Rock it gently at each corner. If it wobbles, loosen the leg screws slightly, shift the frame, and retighten. Check that all screw heads are flush and no sharp edges are exposed. A wobble now means a tipping hazard later. Fix it before letting children use the table.
Product used in this guide
-
Child's Picnic Table: This mini picnic table is made of factory stained and sealed cedar, pre-sanded with eased edges for safety. The pre-sealed cedar means you can skip staining or sealing after assembly, and the eased edges reduce the risk of splinters or scrapes during play.
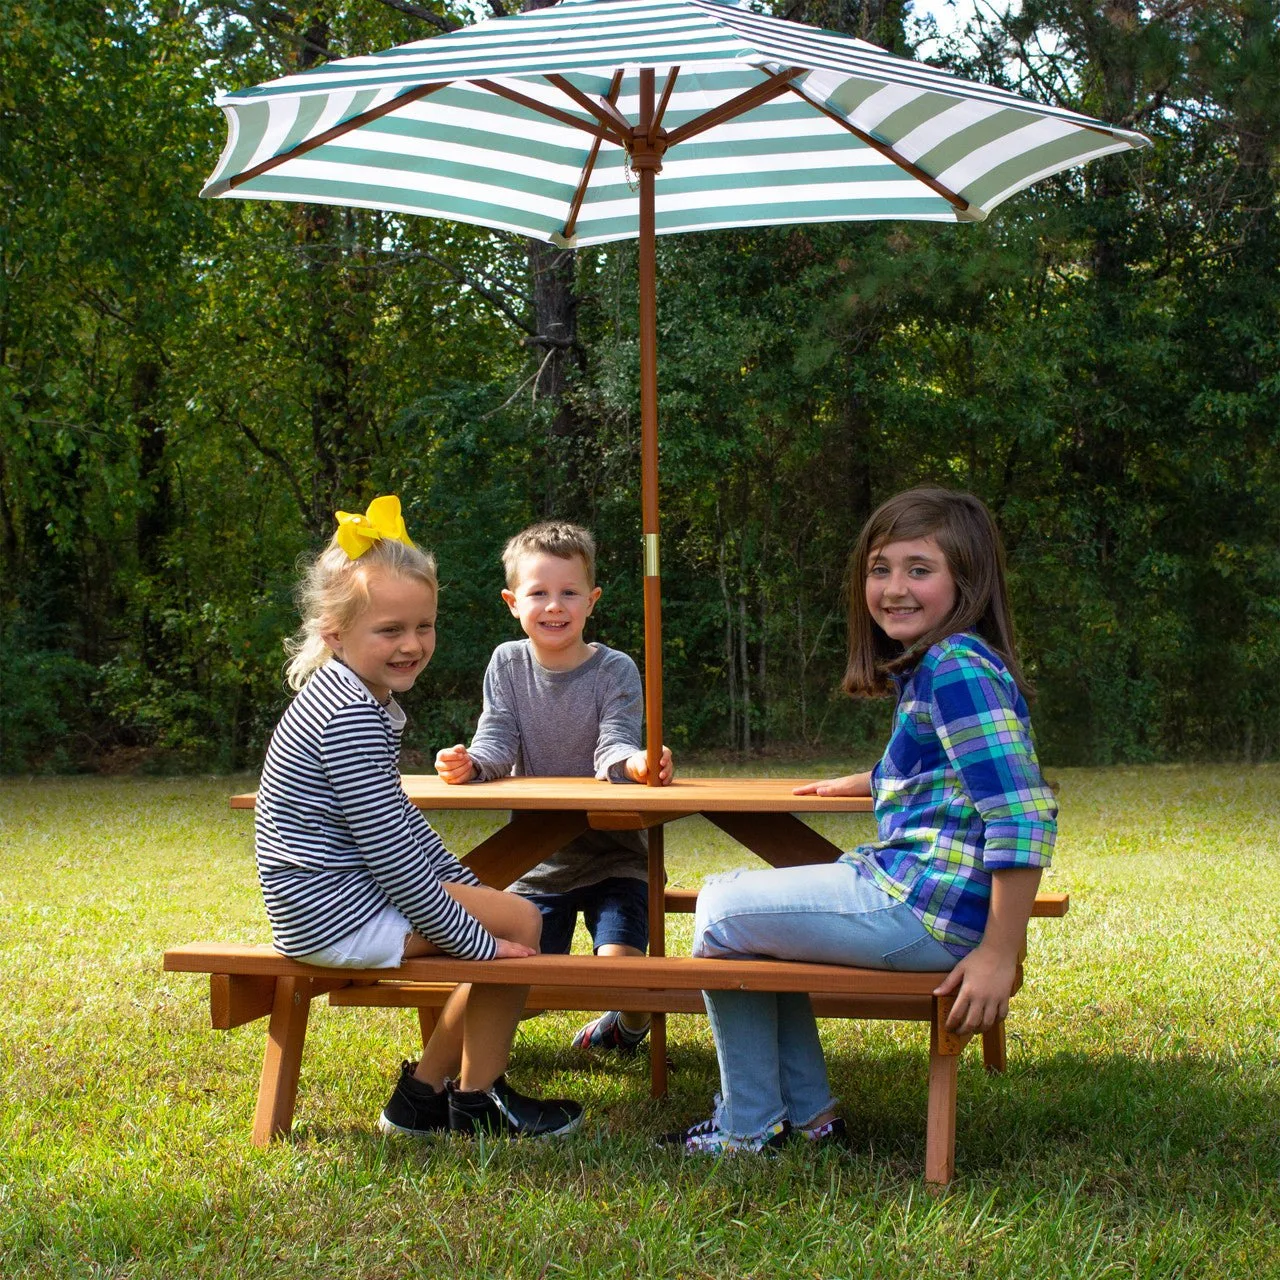
Child's Picnic Table


