Quick Answer
Christmas silicone molds let you press out detailed 3D charms—snowflakes, trees, ornaments—in minutes. The key is prepping the mold, curing in thin layers, and demolding at the right angle.
Why Silicone Molds Beat Hand-Sculpting for Holiday Sets
Hand-sculpting a full set of Christmas charms takes steady hands and a lot of time. Silicone molds give you identical, crisp details every time—great for matching sets or gift orders.
The trade-off: you're limited to the mold's design. If you want a custom snowflake shape that isn't in the mold, you'll need to sculpt it by hand. For most holiday themes, pre-made molds offer plenty of variety.
Choosing the Right Christmas Silicone Mold
Look for molds with deep, well-defined cavities so your charms have dimension. The Large Christmas Silicone Mold from La Catrina Nails offers larger designs that work well as statement charms on accent nails.
If you prefer smaller, more varied accents, the Christmas Silicone Molds set comes with four design options (A, B, C, D) so you can pick the motif that fits your project.
Step-by-Step: How to Make 3D Christmas Nail Charms with a Silicone Mold
- 1. Prep the Mold: Wash the silicone mold with mild soap and water, then dry completely. Apply a thin layer of rubbing alcohol to remove any dust or residue. Skipping this step can cause the gel to stick or leave a cloudy finish.
- 2. Apply a Thin Layer of Base Gel: Use a small brush or dotting tool to press a thin layer of clear base gel into the deepest parts of the cavity. This helps the design release cleanly. Too thick a layer traps air bubbles. Keep it thin and even.
- 3. Add Color in Layers: Fill the cavity with your colored gel or polygel, pressing it in firmly to avoid air pockets. Cure for the recommended time (usually 30–60 seconds in a UV/LED lamp). If the charm feels tacky after curing, wipe with alcohol before adding the next layer.
- 4. Build Dimension with Multiple Layers: For a 3D effect, add a second or third layer of a different color (e.g., red over green for a candy cane stripe). Cure between each layer. Don't overfill the mold—each layer should be just enough to cover the previous one.
- 5. Demold Carefully: Once fully cured, gently flex the silicone mold from the edges. Use a wooden cuticle pusher to lift the charm out without bending it. Pulling too hard can tear the charm. Flex the mold, not the charm.
- 6. Attach to the Nail: Apply a small dab of clear gel or nail glue to the back of the charm and press it onto the cured nail. Cure again to secure. If the charm doesn't sit flat, file the back lightly before gluing.
Product Facts
-
Large Christmas Silicone Mold: The Large Christmas Silicone Mold is a standard silicone mold designed for nail art and small crafts. Its larger cavities create bold, statement-sized charms that stand out on a single nail or as a centerpiece design.
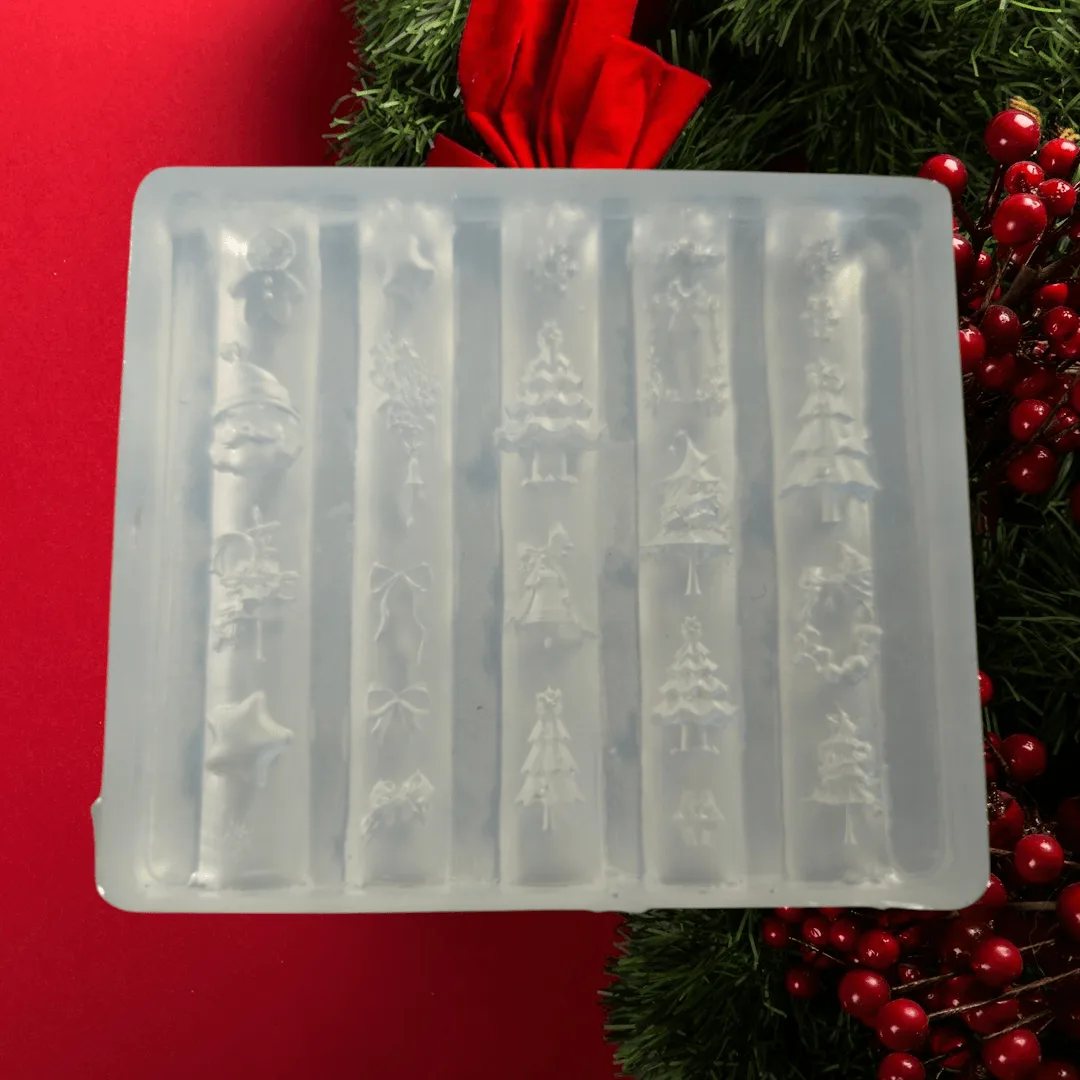
Large Christmas Silicone Mold
-
Christmas Silicone Molds: Christmas Silicone Molds are reusable and offer four selectable design options (A, B, C, D). You can choose the exact holiday motif—like trees, stars, or ornaments—without buying multiple molds.
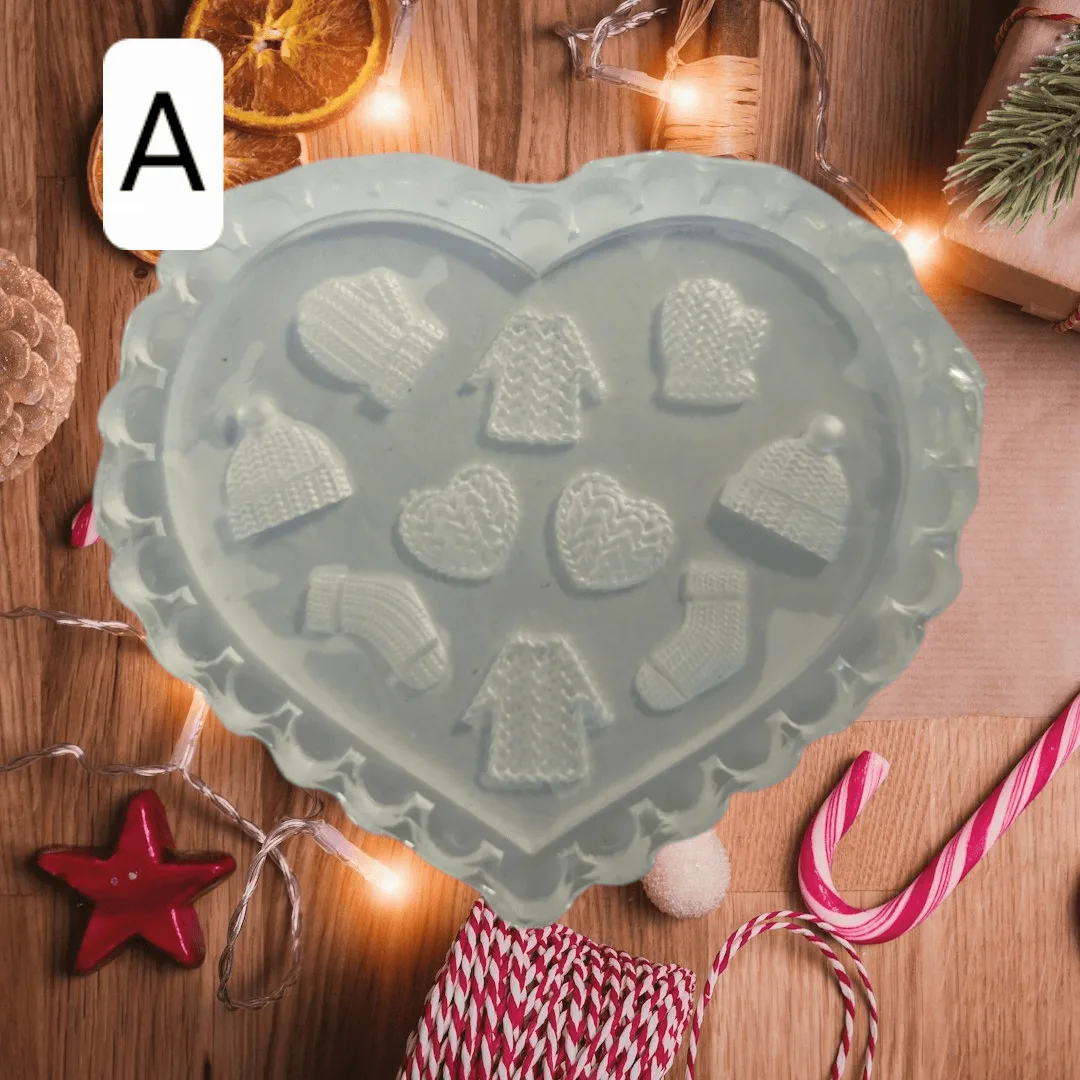
Christmas Silicone Molds