Pollinator pots are a wonderful way to support local bees, butterflies, and other beneficial insects right in your backyard. These specialized containers provide nesting sites and shelter, helping to boost pollinator populations. But like any garden feature, they require regular cleaning and maintenance to remain effective and safe for your winged visitors. Without proper care, old nesting material, mold, or pests can deter pollinators or even harm them.
In this guide, we'll walk you through the essential steps to clean and maintain your pollinator pot. Whether you're a seasoned gardener or just starting, these tips will ensure your pot stays inviting for bees and butterflies season after season. Plus, we'll highlight some handy accessories from Birdbuddy that can make maintenance easier and enhance your pollinator garden.
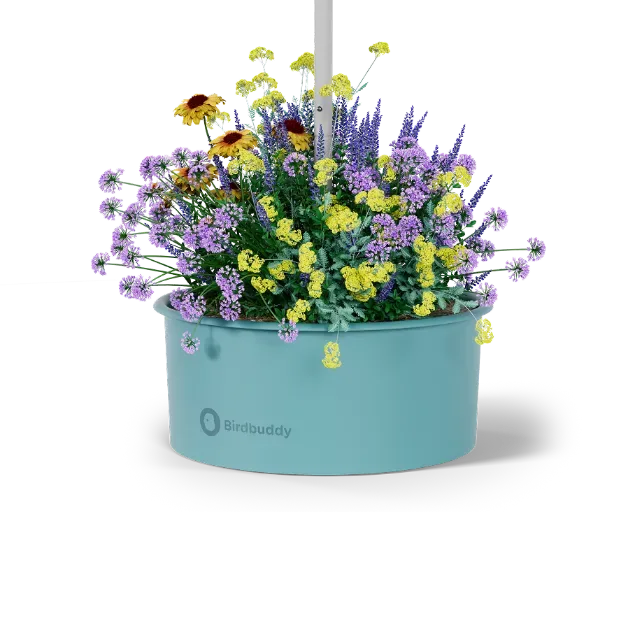
pollinator pot
Why Regular Cleaning Matters
Pollinator pots accumulate debris, old nesting materials, and moisture over time. If left uncleaned, they can become breeding grounds for mold, bacteria, and parasites that harm bees and butterflies. Regular cleaning removes these hazards and encourages pollinators to return. It also helps you spot any damage or wear early, extending the life of your pot.
A clean pollinator pot is more attractive to bees and butterflies. They prefer fresh, dry nesting sites free from contaminants. By maintaining your pot, you create a safe haven that supports healthy pollinator populations. Aim to clean your pot at least twice a year—once in early spring before nesting season and once in late fall after activity slows down.
- Prevents mold and disease buildup
- Removes old nesting material that may harbor pests
- Encourages repeat visits from bees and butterflies
- Extends the lifespan of your pollinator pot
Step-by-Step Cleaning Process
Start by emptying the pot of all old nesting materials, such as dried leaves, twigs, or bamboo tubes. Use a soft brush or gloved hands to gently remove debris. Avoid using harsh chemicals—warm water and mild soap (like a drop of dish soap) are sufficient. Rinse thoroughly and let the pot dry completely before refilling.
For stubborn residue, a mixture of one part white vinegar to three parts water works as a natural disinfectant. Soak the pot for 10-15 minutes, then scrub with a soft brush. Rinse well and allow to air dry in the sun. Sunlight helps kill any remaining microbes. Ensure all parts are completely dry to prevent mold growth.
- Use only mild soap or vinegar solution
- Avoid bleach or strong chemicals
- Dry completely in sunlight before reassembling
- Inspect for cracks or damage during cleaning
Seasonal Maintenance Tips
Spring cleaning is crucial to prepare your pollinator pot for the busy season. Remove any winter debris and check for cracks from freezing temperatures. Replace any damaged tubes or compartments. Fall maintenance involves clearing out old nests and ensuring the pot is sealed against moisture. Some pots have removable back panels for easy access—take advantage of this feature.
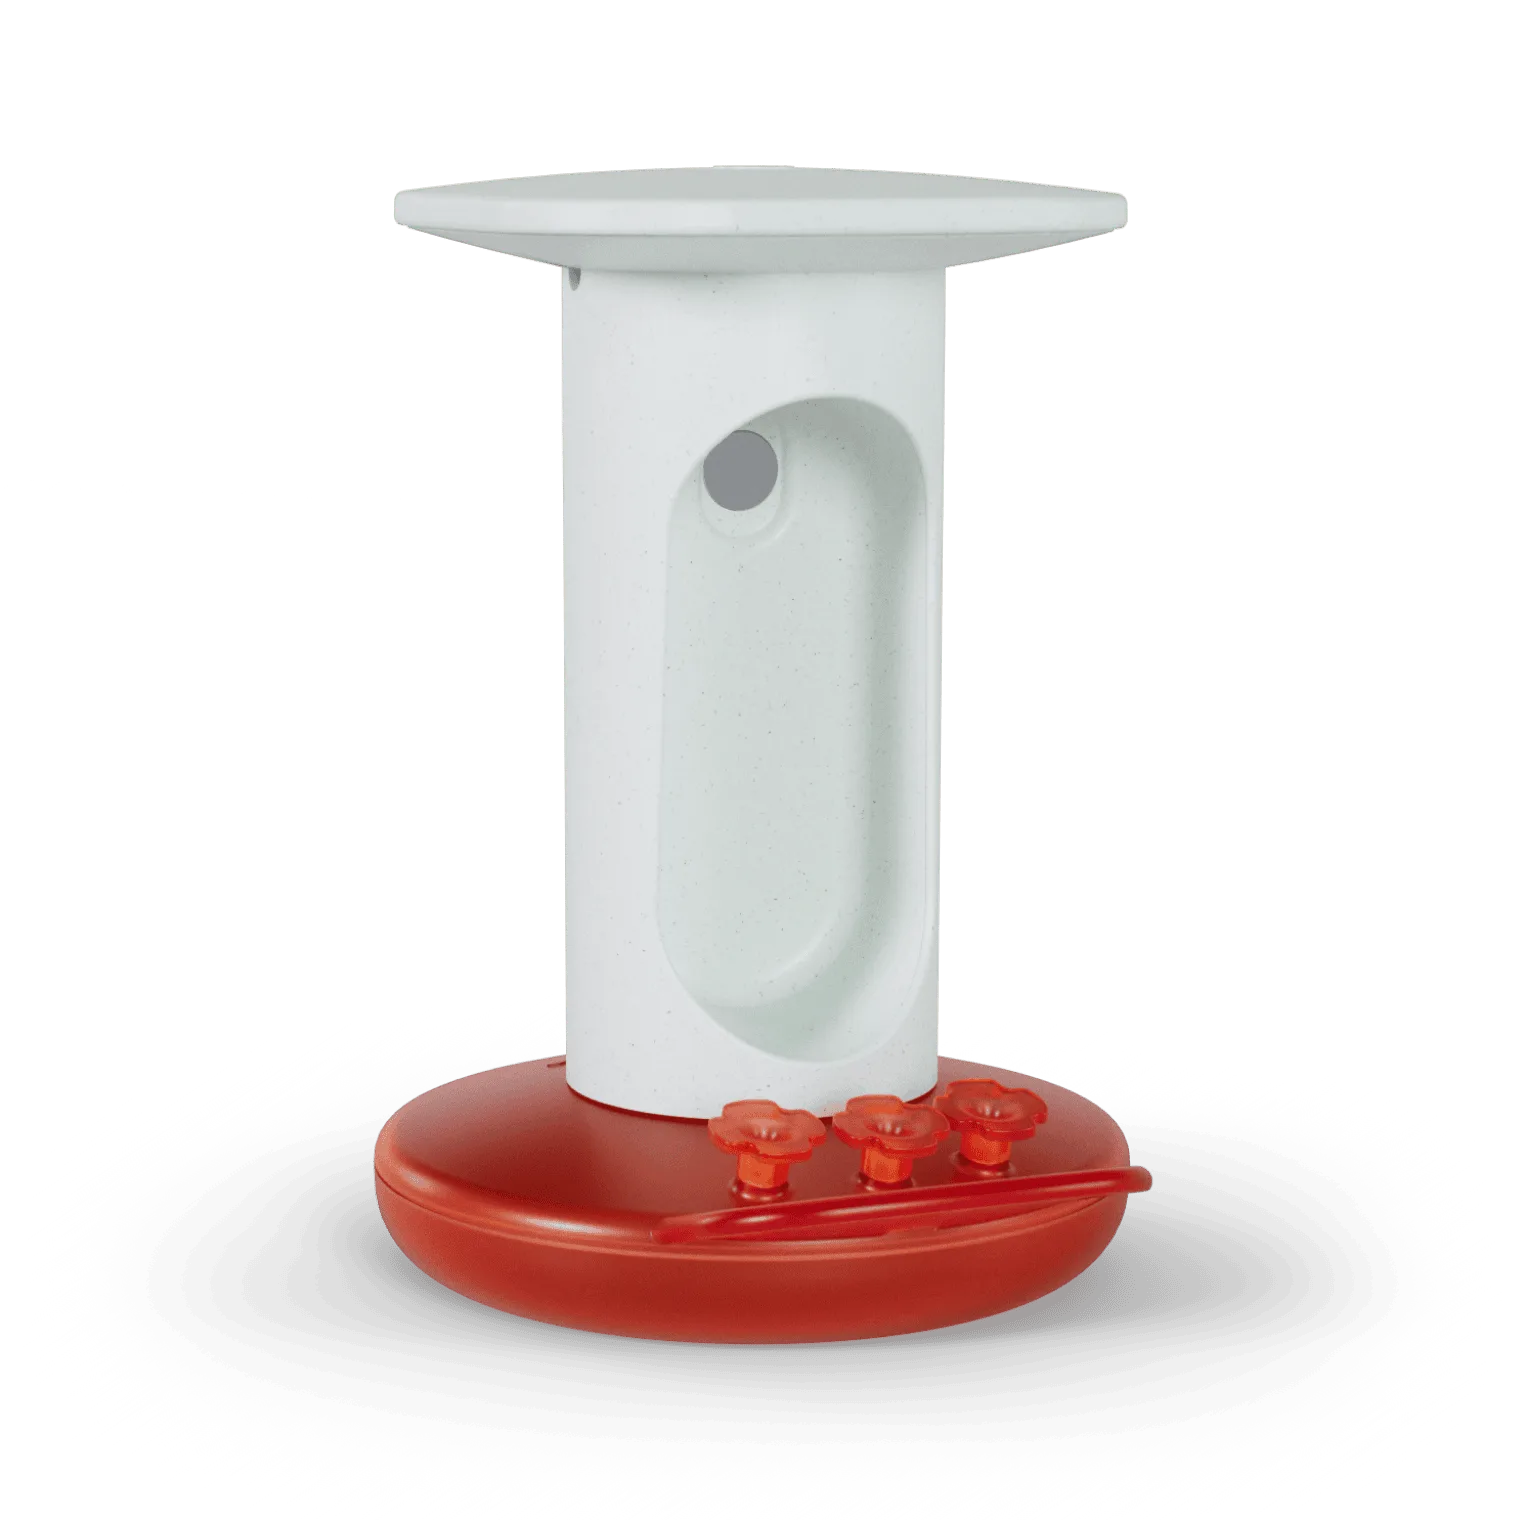
Consider adding a protective roof or cover to shield the pot from heavy rain and snow. The https://nexaelectroai.shop/products/smart-hummingbird-feeder-pro-solar-221218Smart Hummingbird Feeder Pro Solar, for example, includes a solar roof that can also be adapted to provide shelter for pollinator pots. While designed for feeders, its durable construction can inspire DIY solutions. For dedicated pollinator pots, a simple overhang or placement under an eave works well.
- Spring: clean, repair, and refresh nesting materials
- Fall: remove old nests and seal openings
- Winter: store indoors if pot is not weatherproof
- Check for proper drainage to avoid waterlogging
Choosing the Right Accessories for Easier Maintenance
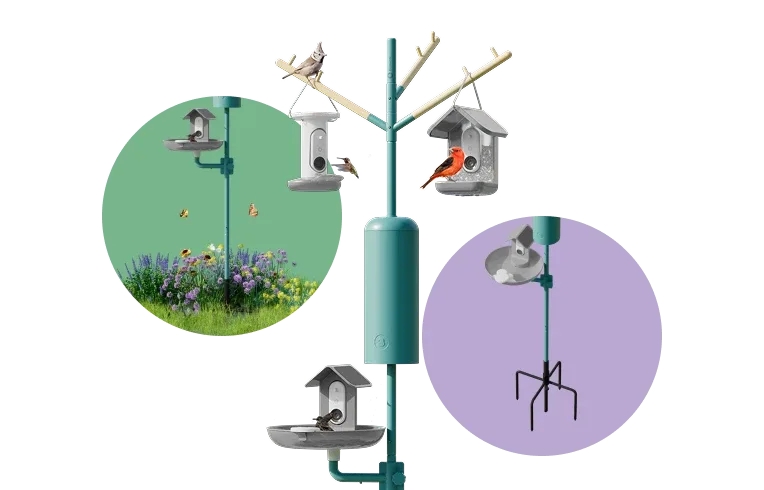
Using the right accessories can simplify pollinator pot care. For instance, the Nature Station Essential offers a modular design that makes cleaning individual components straightforward. Its removable inserts allow you to wash each part separately without disturbing the entire setup. This is especially useful for pots with multiple nesting chambers.
Another helpful tool is the 3-in-1 Nutrition Set, which includes a suet ball holder and other feeding accessories. While primarily for birds, the holder can be repurposed to offer supplemental food near your pollinator pot, attracting more insects. Its easy-to-clean design means you can maintain hygiene quickly. Always rinse feeding accessories with warm water and dry them thoroughly to prevent spoilage.
- Modular pots with removable parts are easier to clean
- Use a soft brush to reach tight spaces
- Consider a dedicated cleaning kit with small brushes
- Store accessories in a dry place between uses
Common Mistakes to Avoid
One common mistake is using chemical pesticides near the pollinator pot. These can contaminate the nesting material and harm insects. Instead, opt for natural pest control methods like introducing beneficial insects or using neem oil sparingly. Another error is overfilling the pot with nesting materials—leave some empty space for pollinators to move freely.
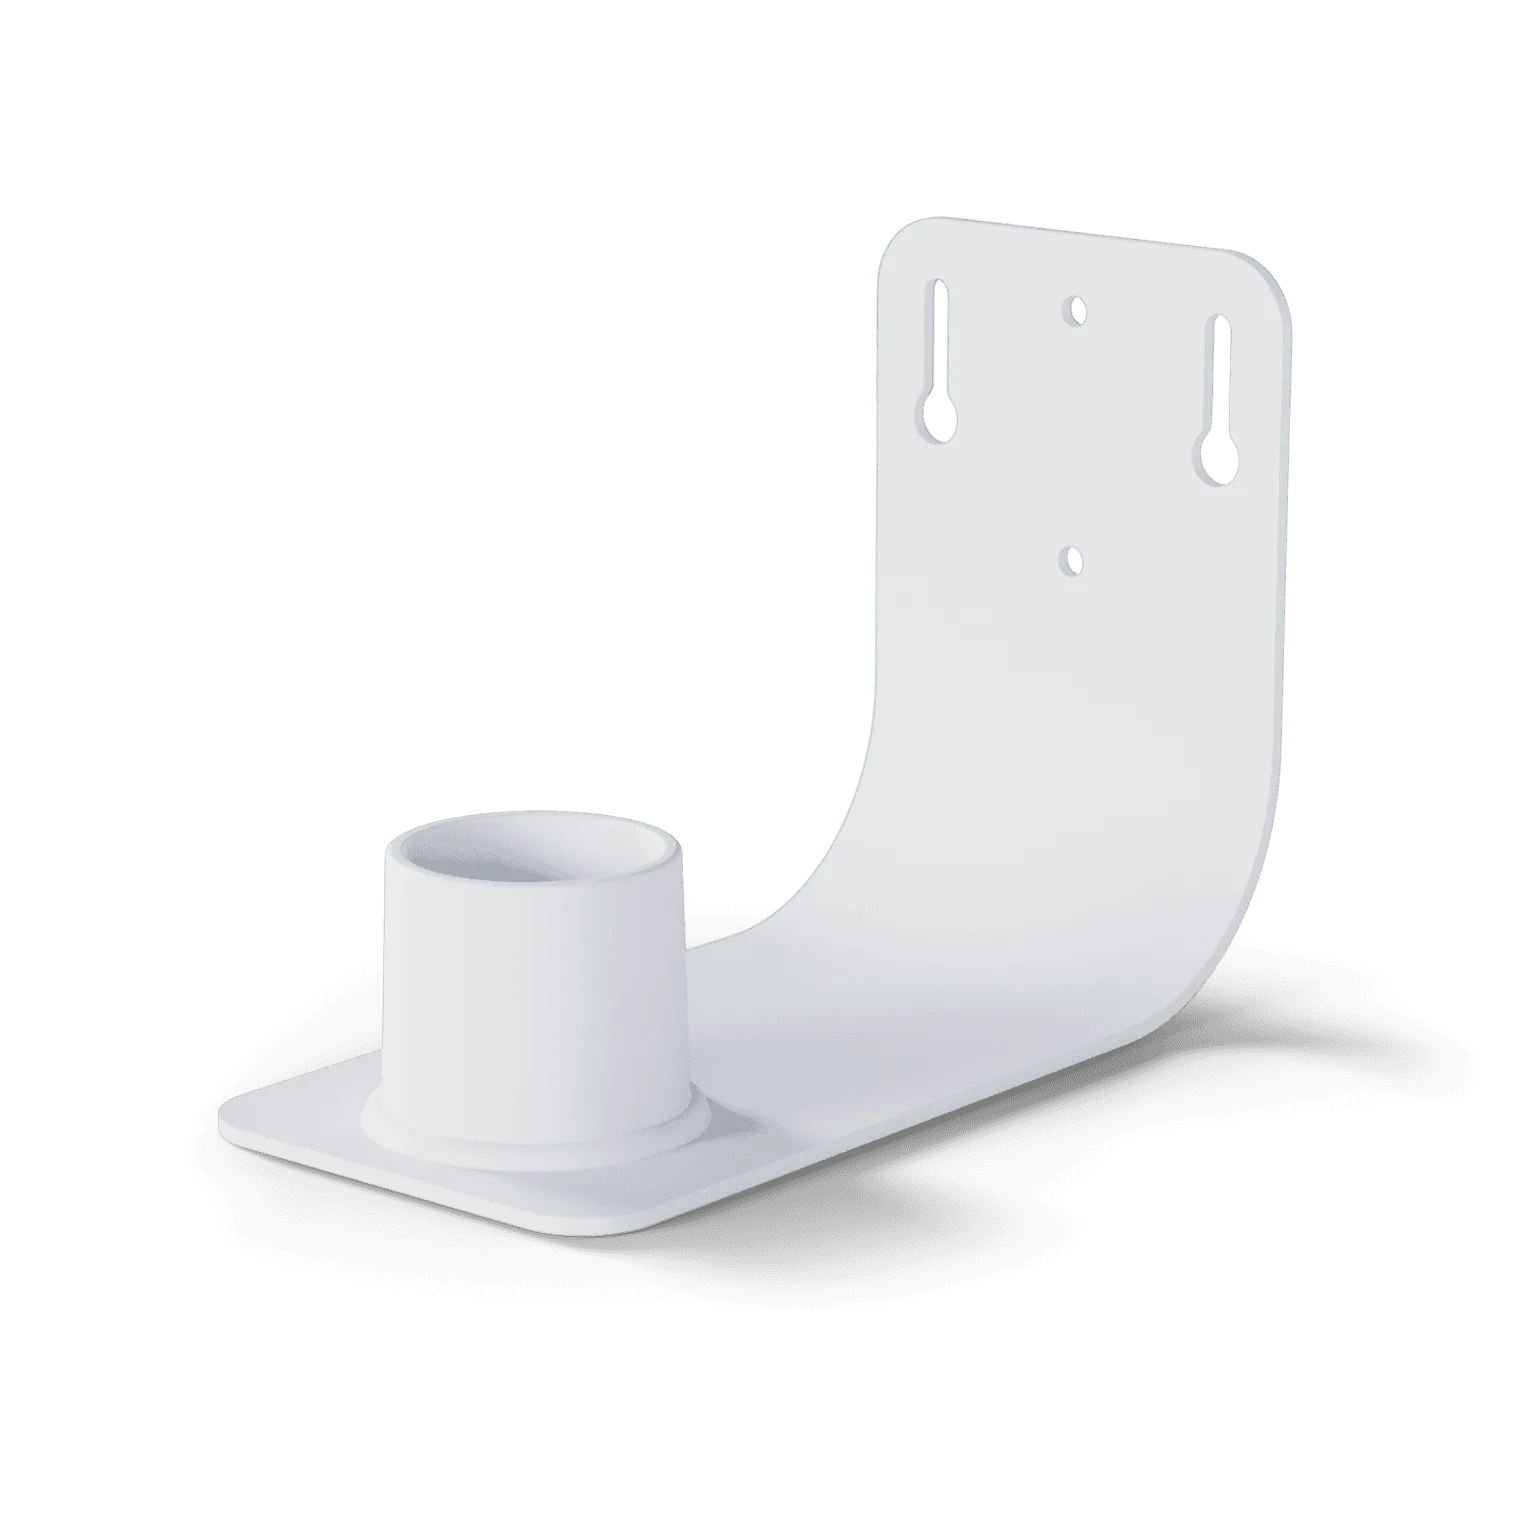
Avoid cleaning the pot during active nesting season (spring to summer) as you may disturb eggs or larvae. Stick to early spring and late fall. Also, don't use pressure washers or abrasive tools that can damage the pot's surface. Gentle hand cleaning is best. Finally, ensure the pot is securely mounted to prevent tipping; the Wall Mount from Birdbuddy provides a stable base for various garden structures.
- Never use chemical pesticides nearby
- Don't clean during active nesting
- Avoid abrasive cleaners or tools
- Ensure pot is stable and secure
Regular cleaning and maintenance of your pollinator pot are essential for attracting bees and butterflies and keeping them healthy. By following these simple steps and using quality accessories like the Nature Station Essential or 3-in-1 Nutrition Set, you can create a thriving pollinator habitat. Ready to upgrade your pollinator garden? Explore the Nature Station Essential for a modular, easy-to-clean solution that will delight your backyard visitors.