Quick Answer
Revell Clear Red Aqua Color acrylic is ideal for painting transparent parts like taillights, canopies, or lenses. Thin it correctly and apply in light coats to preserve transparency and avoid brush marks.
Why Choose Clear Red for Transparent Parts
Standard opaque red paint blocks light, making it unsuitable for tail lights or instrument panels where you want the part to glow. Clear Red Aqua Color retains transparency while adding color, so the underlying detail or LED light remains visible.
This paint is water-based, low-odor, and non-flammable, making it safe for indoor use. However, because it is translucent, you need more coats than opaque paints to reach your desired intensity, and each coat must be very thin to avoid pooling.
Surface Preparation Matters
Transparent paints magnify every imperfection. Even a small fingerprint or dust speck becomes obvious under the glossy finish. Clean the part with mild soapy water and let it dry completely. For clear canopies, use a liquid mask to protect areas you want to remain clear.
How to Apply Clear Red Aqua Color for Transparent Effects
- Shake and Thin the Paint: Shake the 18ml pot thoroughly for 30 seconds. Mix one part paint with one part water (1:1) for brush application, or two parts water to one part paint (2:1) for airbrush. Use a separate cup to avoid contaminating the pot. Thicker paint leaves visible brush strokes and reduces transparency. If the paint beads up on the surface, add a drop more water.
- Apply the First Thin Coat: Load your brush lightly and wipe off excess on the rim. Apply a single, even pass over the part. Do not go back over wet paint—wait for it to dry. For airbrush, set pressure to 15-20 PSI and spray from 15-20 cm distance in a steady motion. A thick first coat will pool in corners and dry unevenly, ruining the transparent effect. Patience is key.
- Let Each Coat Dry Completely: Aqua Color dries quickly, but transparent layers need full drying between coats to avoid cloudiness. Wait 10-15 minutes at room temperature. Check by touching a hidden area—if it still feels tacky, wait longer. Rushing between coats traps moisture and creates a milky haze. If that happens, let it dry fully and apply one more thin coat.
- Build Up Color in Layers: Repeat steps 2-3 until you reach the desired depth of red. For tail lights, 3-4 coats usually give a realistic candy-apple look. For a lighter tint, stop after 1-2 coats. Each coat adds saturation without hiding the underlying detail. More coats = deeper color, but each layer reduces transparency slightly. Stop when the part looks right under your work light.
- Seal with a Clear Gloss Coat (Optional): Once the final color coat is dry, apply a thin layer of clear gloss acrylic varnish to protect the paint and add a realistic shine. Use the same thinning ratio as the paint. Let it cure for 24 hours before handling. Matte varnish will dull the transparent effect. Always use gloss if you want the part to look like glass or plastic.
Product Used in This Guide
-
"Clear Red" Aqua Color Acrylic - 18ml: The popular Aqua Color colors are available in all 88 shades. Colors can be diluted with water, have a mild odor, and are not flammable. You can thin Clear Red with tap water, making cleanup easy, and the low odor means you don't need a spray booth for small touch-ups.
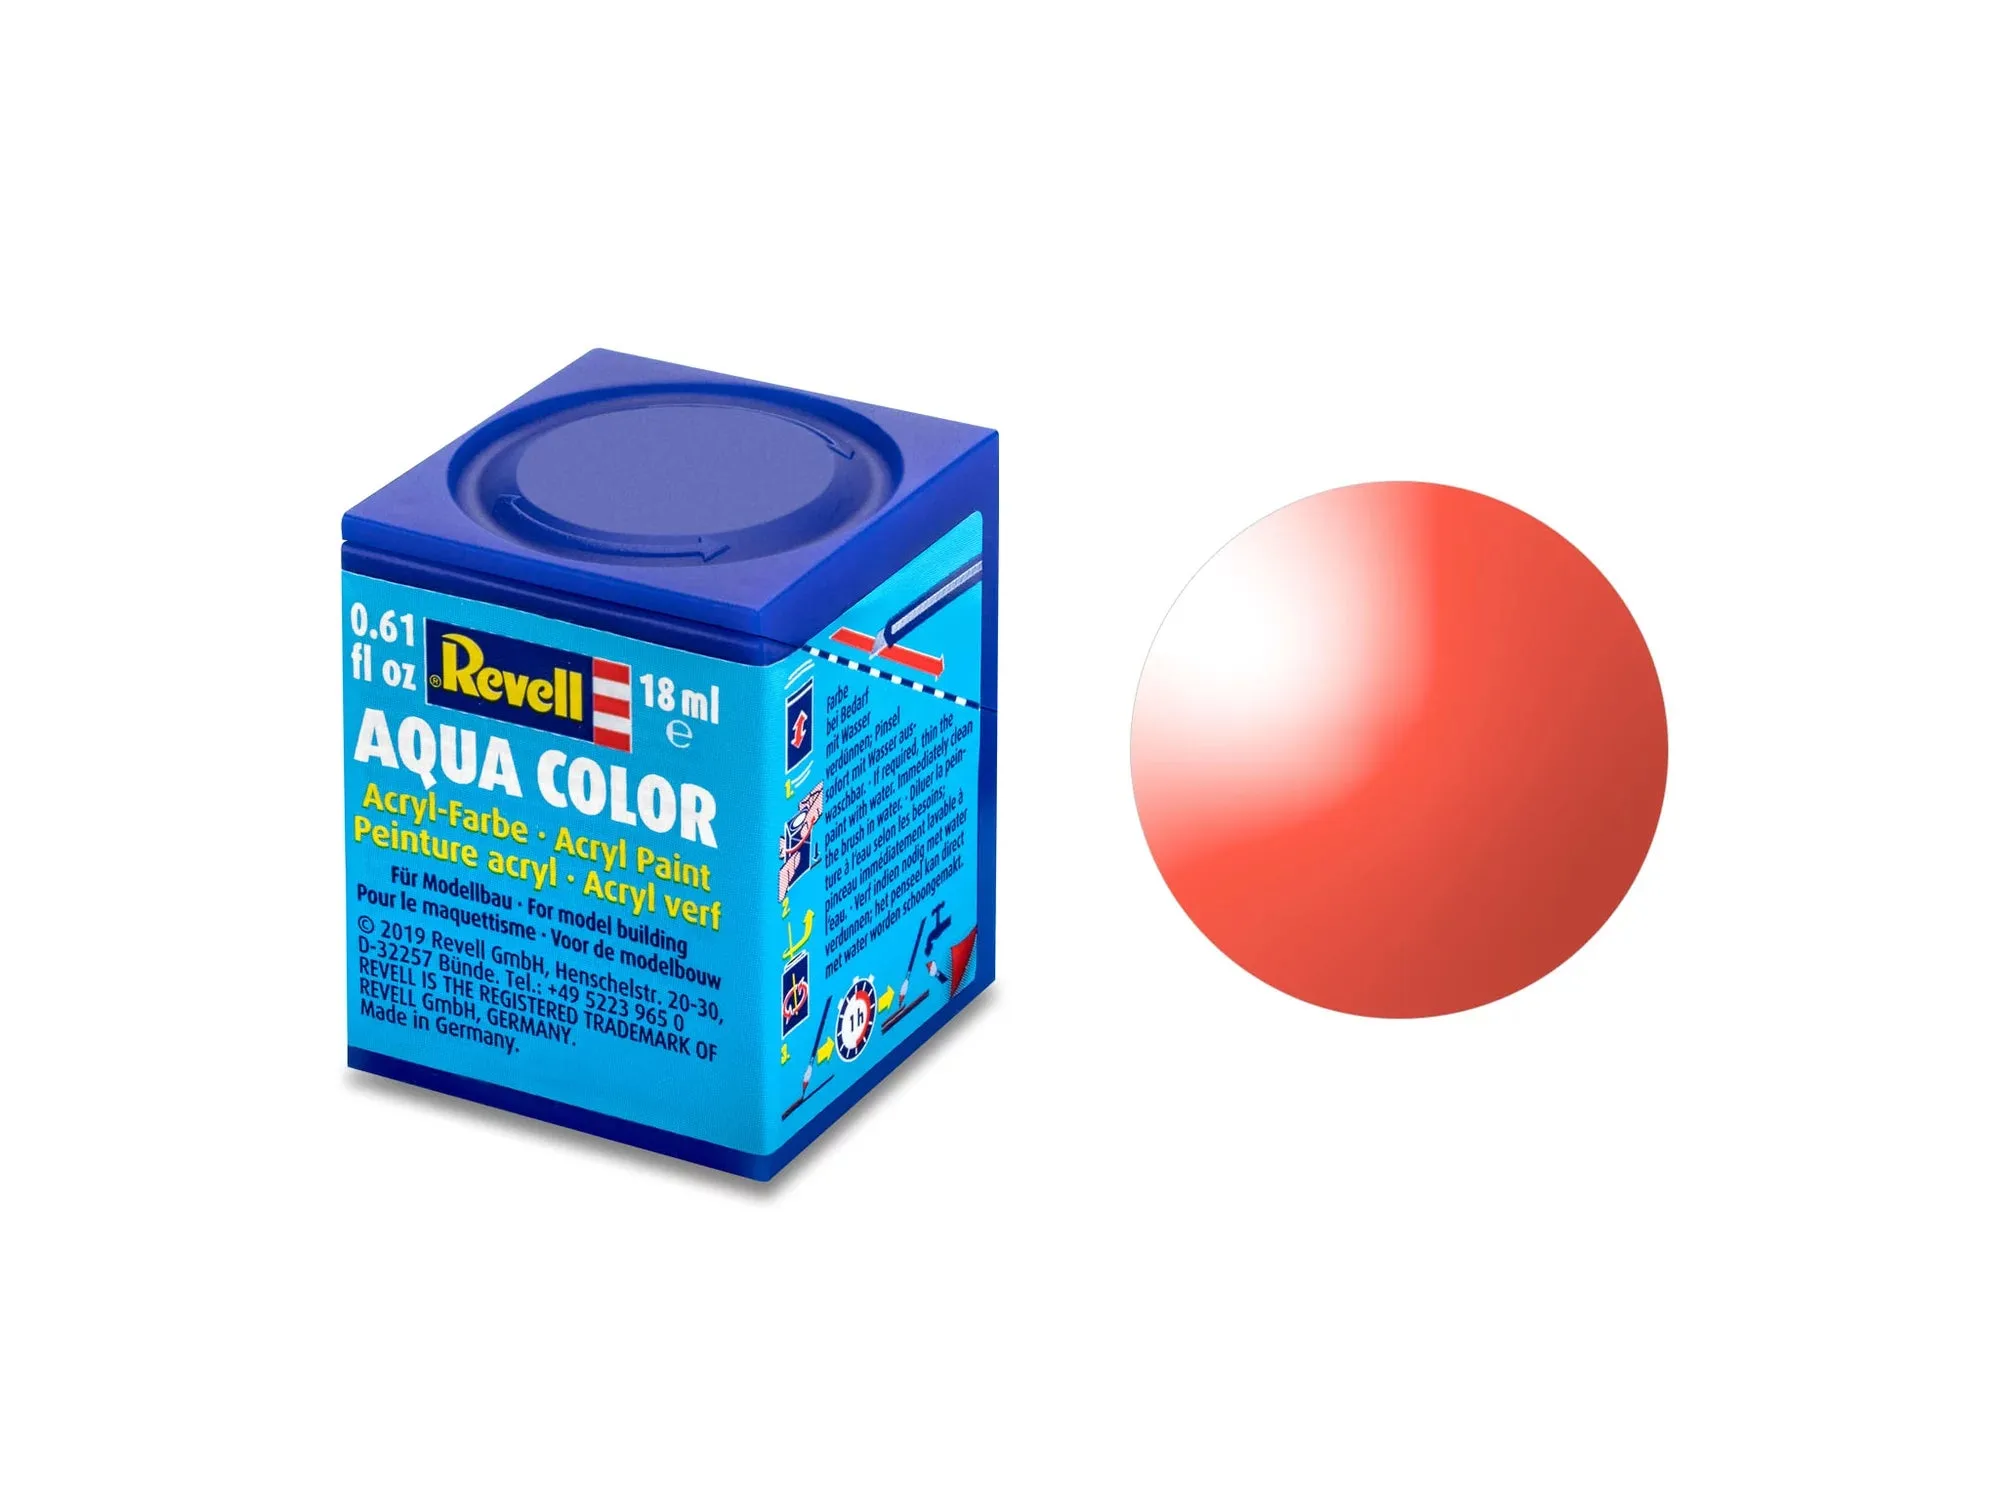
"Clear Red" Aqua Color Acrylic - 18ml