Quick answer
Most acrylic nail problems trace back to one of four things: wet prep, wrong powder-to-monomer ratio, contaminated product, or too-thick application. Fix the cause, not just the visible symptom, and only patch a nail when the lifted area is small and the surrounding acrylic is fully bonded. If the lift reaches the sidewalls, the free edge, or the natural nail is damaged, remove and rebuild instead.
Acrylic nails rarely fail for mysterious reasons. When a client comes back with a lifted corner, a cloudy nail, or a lumpy surface, the symptom almost always points to a specific step in your prep, mix ratio, or application. The fastest way to get better at fixing acrylic nails is to stop guessing and read the nail like a diagnostic chart.
This guide walks through the most common acrylic nail issues by symptom, likely cause, and corrective action — plus the point where you should stop patching and start over. It covers lifting, lumps, yellowing, cracking, and the everyday problems that show up between fills.
Start with prep, because most problems start there
If you are troubleshooting acrylic nails and the failure is lifting, the cause is usually moisture, oil, or shine left on the natural nail plate. Acrylic needs a dry, matte, properly etched surface to bond. Cuticle left on the plate, skipped dehydration, or a nail plate touched with bare fingers after prep will all produce the same result: a lifted edge within a week.
Correct it by redoing prep on the affected nail: remove cuticle from the plate, buff the shine away, and dehydrate before applying primer or acrylic. If you are patching a small lift, file away the lifted acrylic, re-prep just that area, and rebuild. If the lift wraps around the sidewall or reaches the free edge, remove the whole enhancement — a partial patch on a large lift will fail again.
- Do not touch the prepped nail plate with bare fingers; use a lint-free wipe or hold the finger at the sides.
- A small lift with bonded acrylic around it can be patched. A lift with any flex or gap should be removed.
Lumps, ridges, and uneven surfaces
Lumpy acrylic is almost always a ratio or timing problem. A mix that is too wet will pool and self-level unevenly; a mix that is too dry will drag and set before you can press it into place. Both leave ridges that no amount of top coat will hide. The fix is to slow down and pick up a bead that holds its shape without running or crumbling.
If the surface is already set, file the high spots down before you add anything. Do not try to fill a ridge with more acrylic on top — you will just build a thicker nail with the same problem underneath. For a full set, work one nail at a time and keep beads consistent in size so each nail cures at the same rate.
- A bead that holds a soft peak is usually the right consistency; a bead that flattens instantly is too wet.
- File down before you build up. Adding product over a ridge hides nothing.
Yellowing and discoloration
Yellowing usually comes from one of three sources: product contamination, trapped moisture under a lifted edge, or staining from pigments and daily wear. If the discoloration sits under the acrylic near a lifted edge, moisture is the likely cause and the nail needs to be removed and rebuilt. If the acrylic itself has yellowed evenly, check whether your monomer has been sitting open or your brush has been stored dirty.
Prevention is straightforward: keep monomer covered, clean your brush properly, and never push product back into the jar. If the natural nail underneath is stained but healthy, you can continue to work over it once it is fully dry and prepped. If the nail plate is soft, green, or painful, stop and refer the client out — that is beyond a cosmetic fix.
- Green or dark discoloration under the acrylic is a stop sign, not a stain to cover.
- Keep monomer sealed and never double-dip a dirty brush into the powder.
Cracks, breaks, and lifting at the free edge
A crack or break at the free edge is a structure problem, not a product problem. Acrylic that is too thin at the stress area, a smile line that is too far forward, or an apex that is missing all create weak points that snap under normal use. The fix is to rebuild with proper structure: a clear apex over the stress area and enough thickness at the free edge to absorb impact.
If the break exposes the natural nail, remove the enhancement rather than gluing it back. A repaired crack that leaves the natural nail exposed will lift and trap moisture. If the natural nail is intact and the crack is in the acrylic only, you can file out the crack and rebuild that section, but only if the surrounding product is fully bonded.
- Check the apex on every nail before you finish; a flat nail will crack.
- Never glue a broken acrylic back onto an exposed natural nail.
Symptom, cause, fix, and stopping point
- Lifting at the cuticle or sidewall: Cause: wet prep, cuticle left on the plate, or oil and moisture not removed. Fix: file away the lifted product, re-prep the natural nail, and rebuild that section. Stop if the lift wraps the sidewall or reaches the free edge — remove and rebuild the whole nail.
- Lumps, ridges, or uneven surface: Cause: monomer-to-powder ratio off, bead too wet or too dry, or product applied over an already-ridged surface. Fix: file down the high spots, then rebuild with a consistent bead. Stop adding product on top of a ridge; file first or the problem stays under the surface.
- Yellowing or discoloration: Cause: contaminated monomer, dirty brush, trapped moisture under a lift, or surface staining. Fix: remove discolored product, clean your tools, and rebuild on a dry, prepped nail. Stop and refer out if the natural nail is soft, green, or painful — that is not a cosmetic fix.
- Cracks or breaks at the free edge: Cause: missing apex, too-thin stress area, or a smile line placed too far forward. Fix: rebuild with a clear apex and adequate free-edge thickness. Stop if the natural nail is exposed — remove the enhancement instead of gluing it back.
Products that help prevent the most common problems
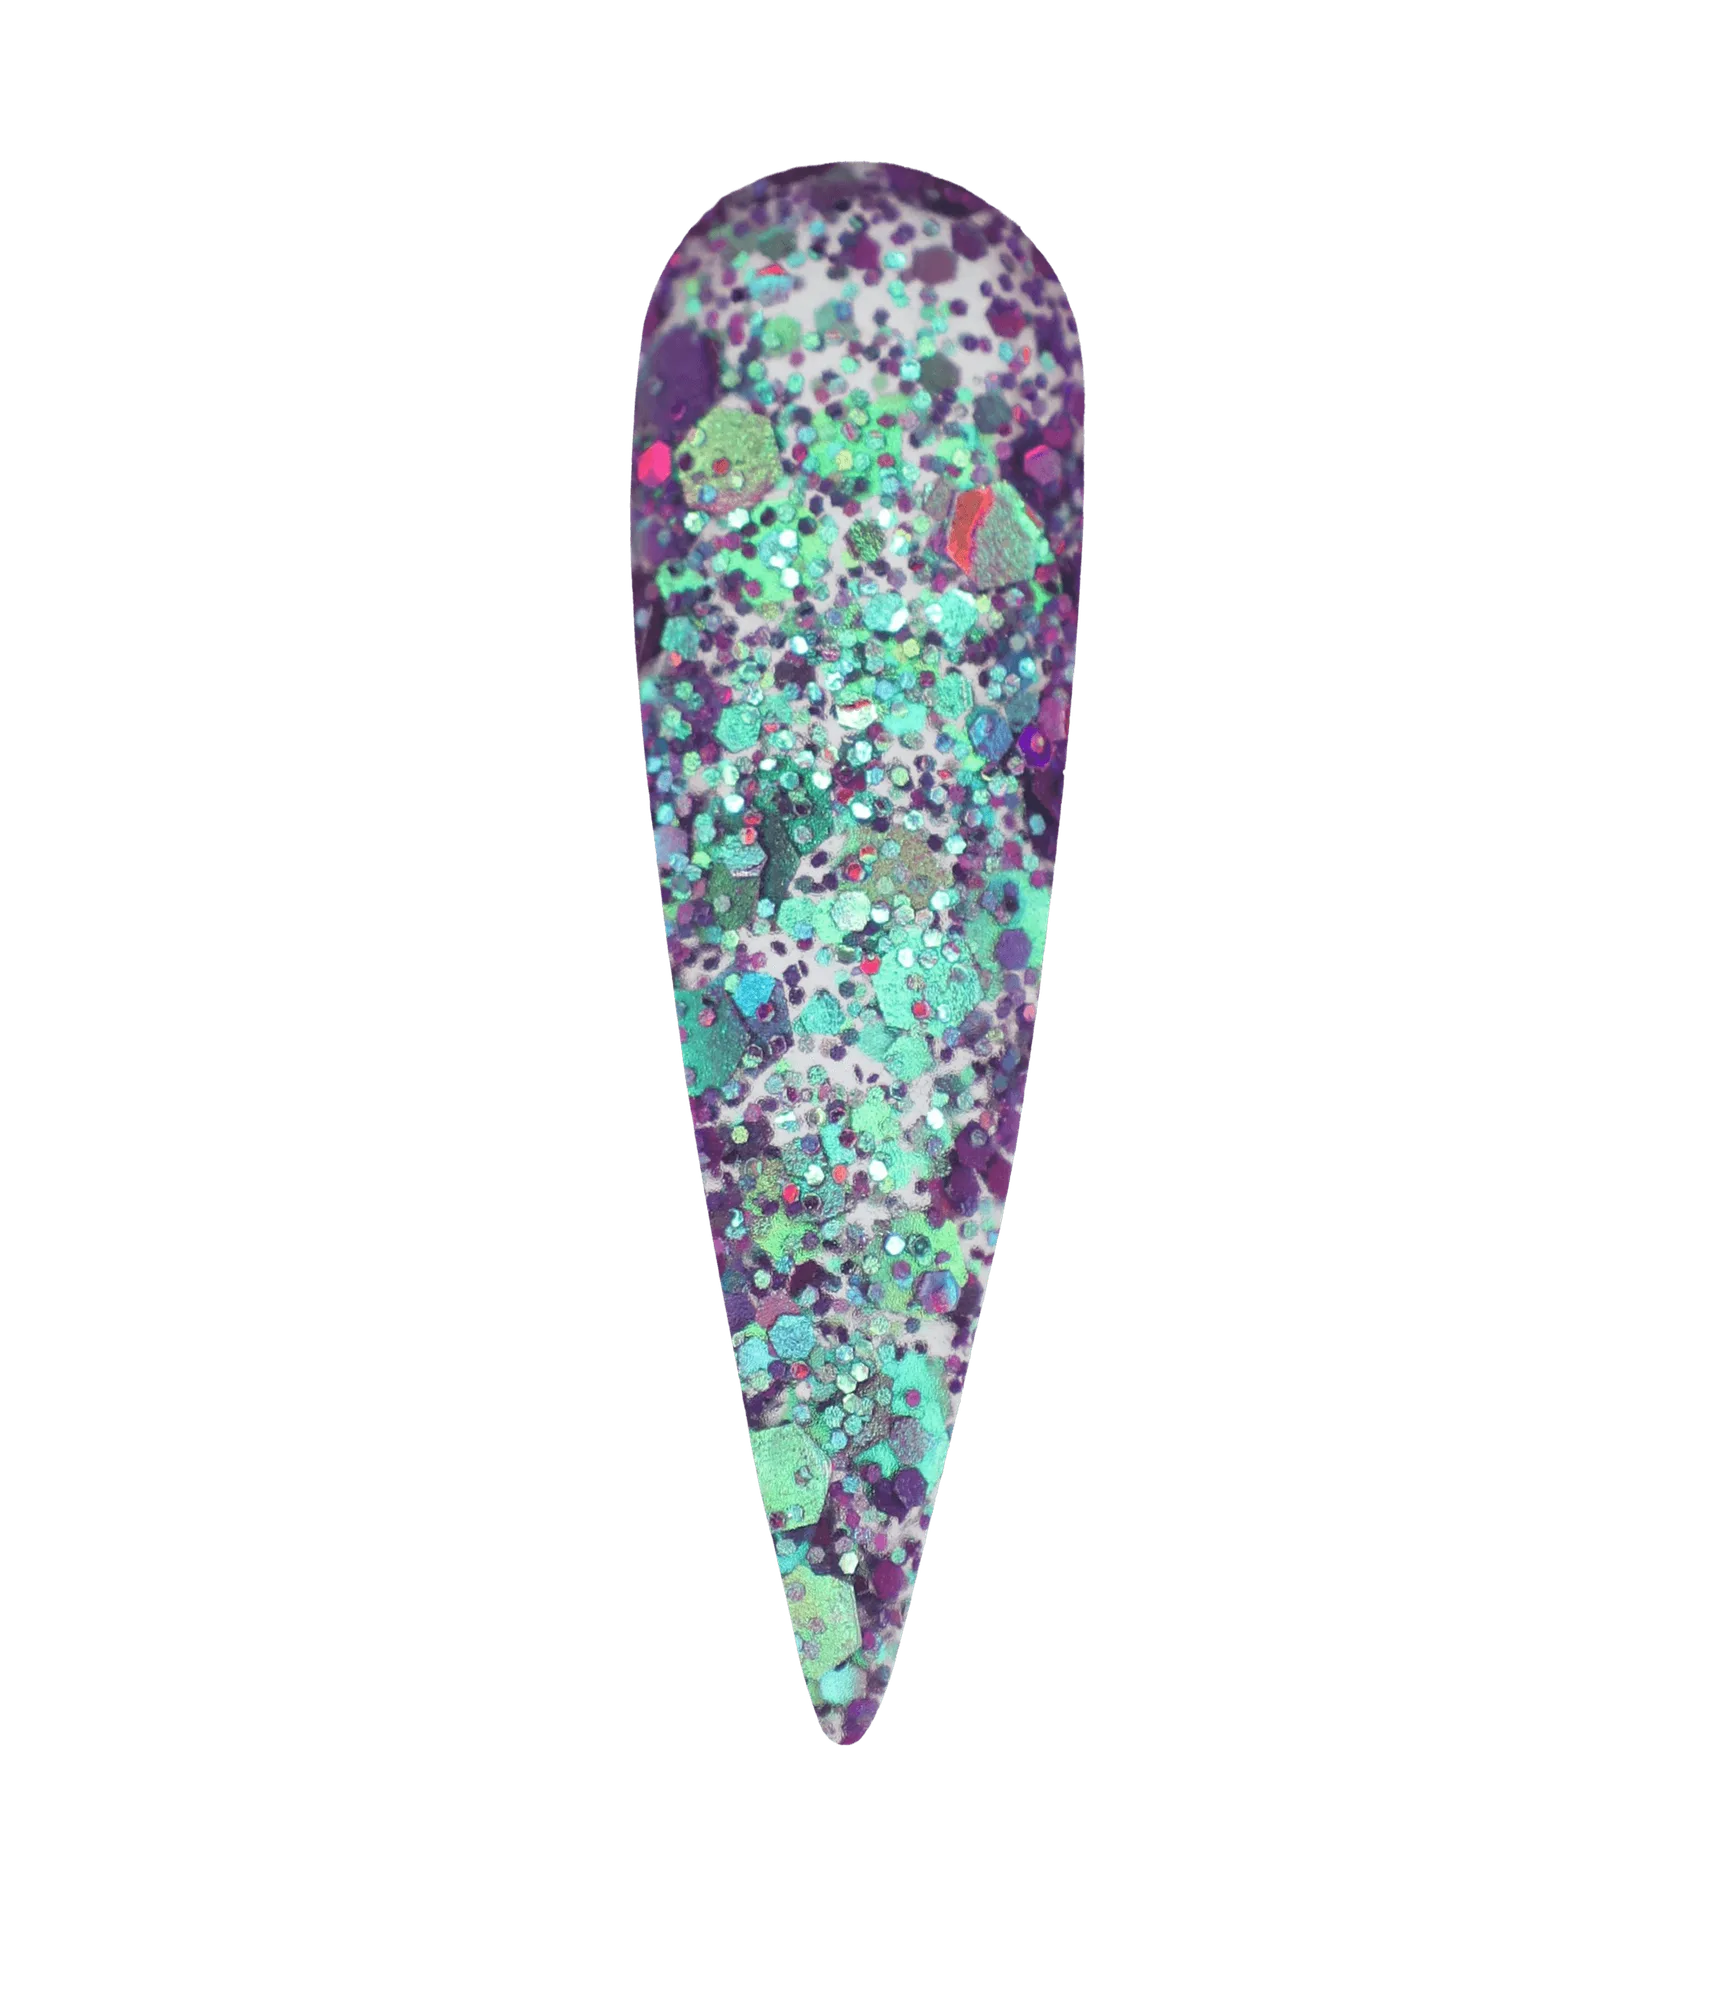
- #30 Glass Of Bubbly - Acrylic Nail Powder: Super fine acrylic nail powder that absorbs liquid evenly and is self-leveling, with super adhesion and high pigmentation; can be applied with monomer or dip system. A self-leveling powder reduces the ridges and uneven surfaces that come from inconsistent bead control, and even liquid absorption helps you keep a consistent ratio across all ten nails.
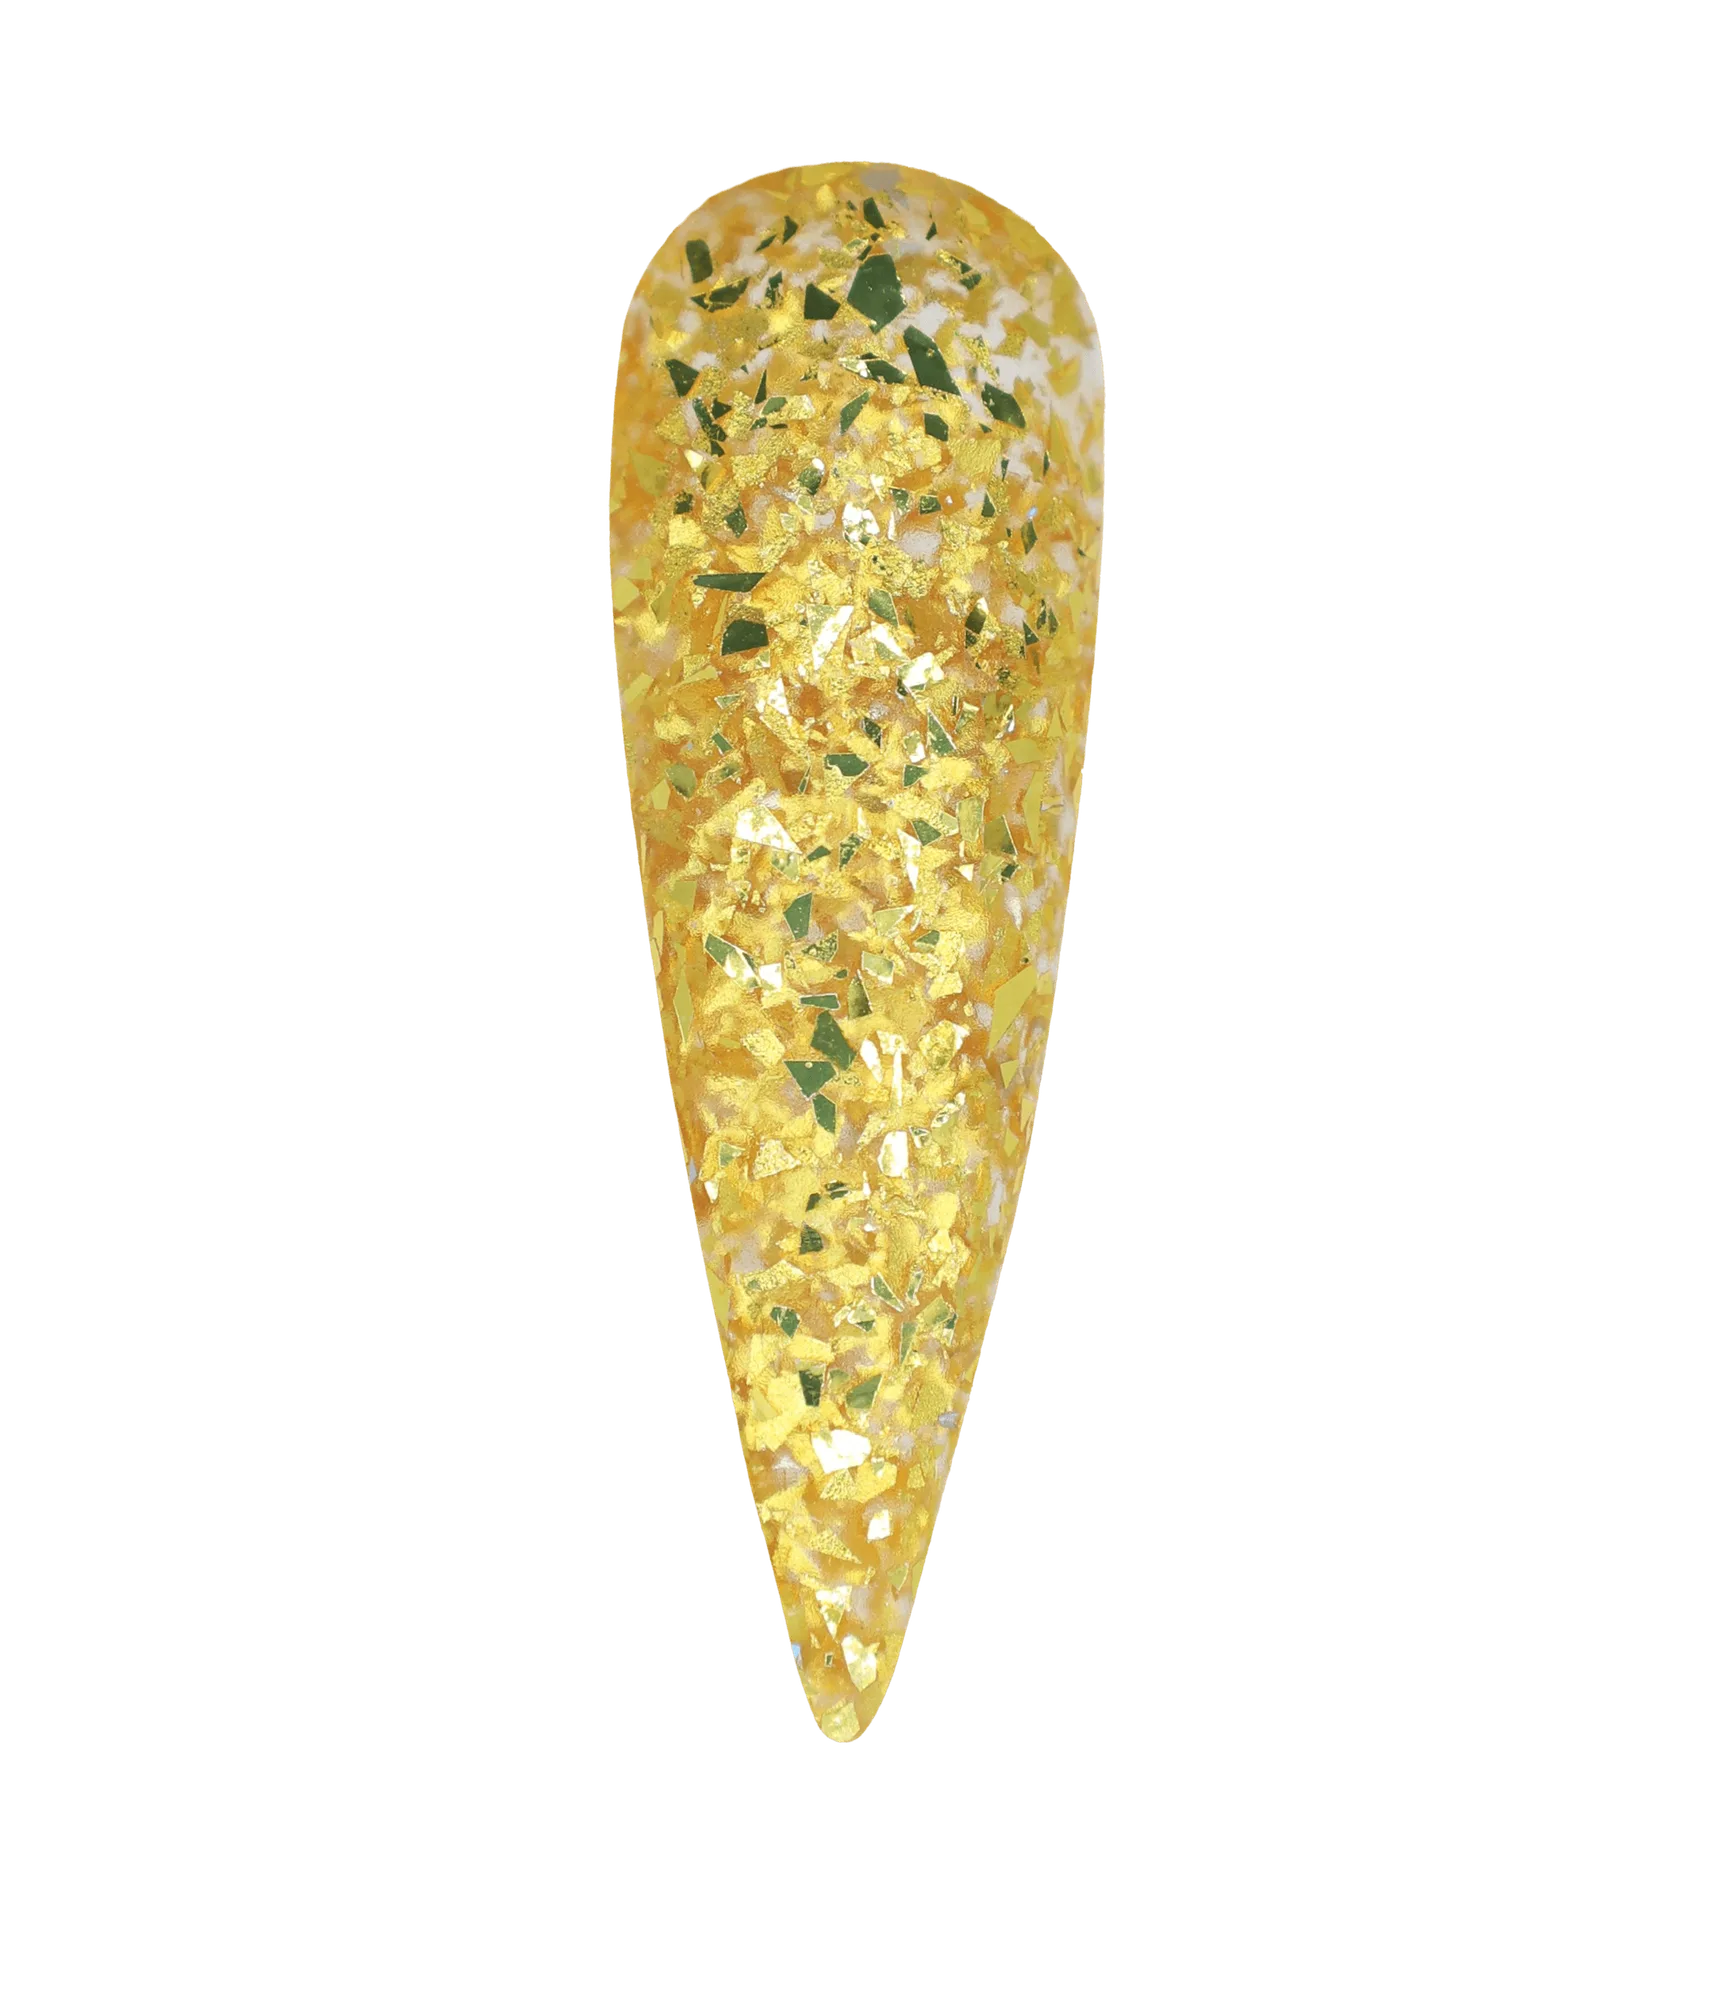
- #67 Yellow Gold Cocktail Glitter Acrylic Nail Powder: Uniquely formulated acrylic powder designed for a butter-like consistency, with a smooth finish and precision for both beginners and advanced nail technicians. A butter-like consistency gives you more working time to press and shape the bead before it sets, which cuts down on lumps and drag marks on glitter and specialty sets.
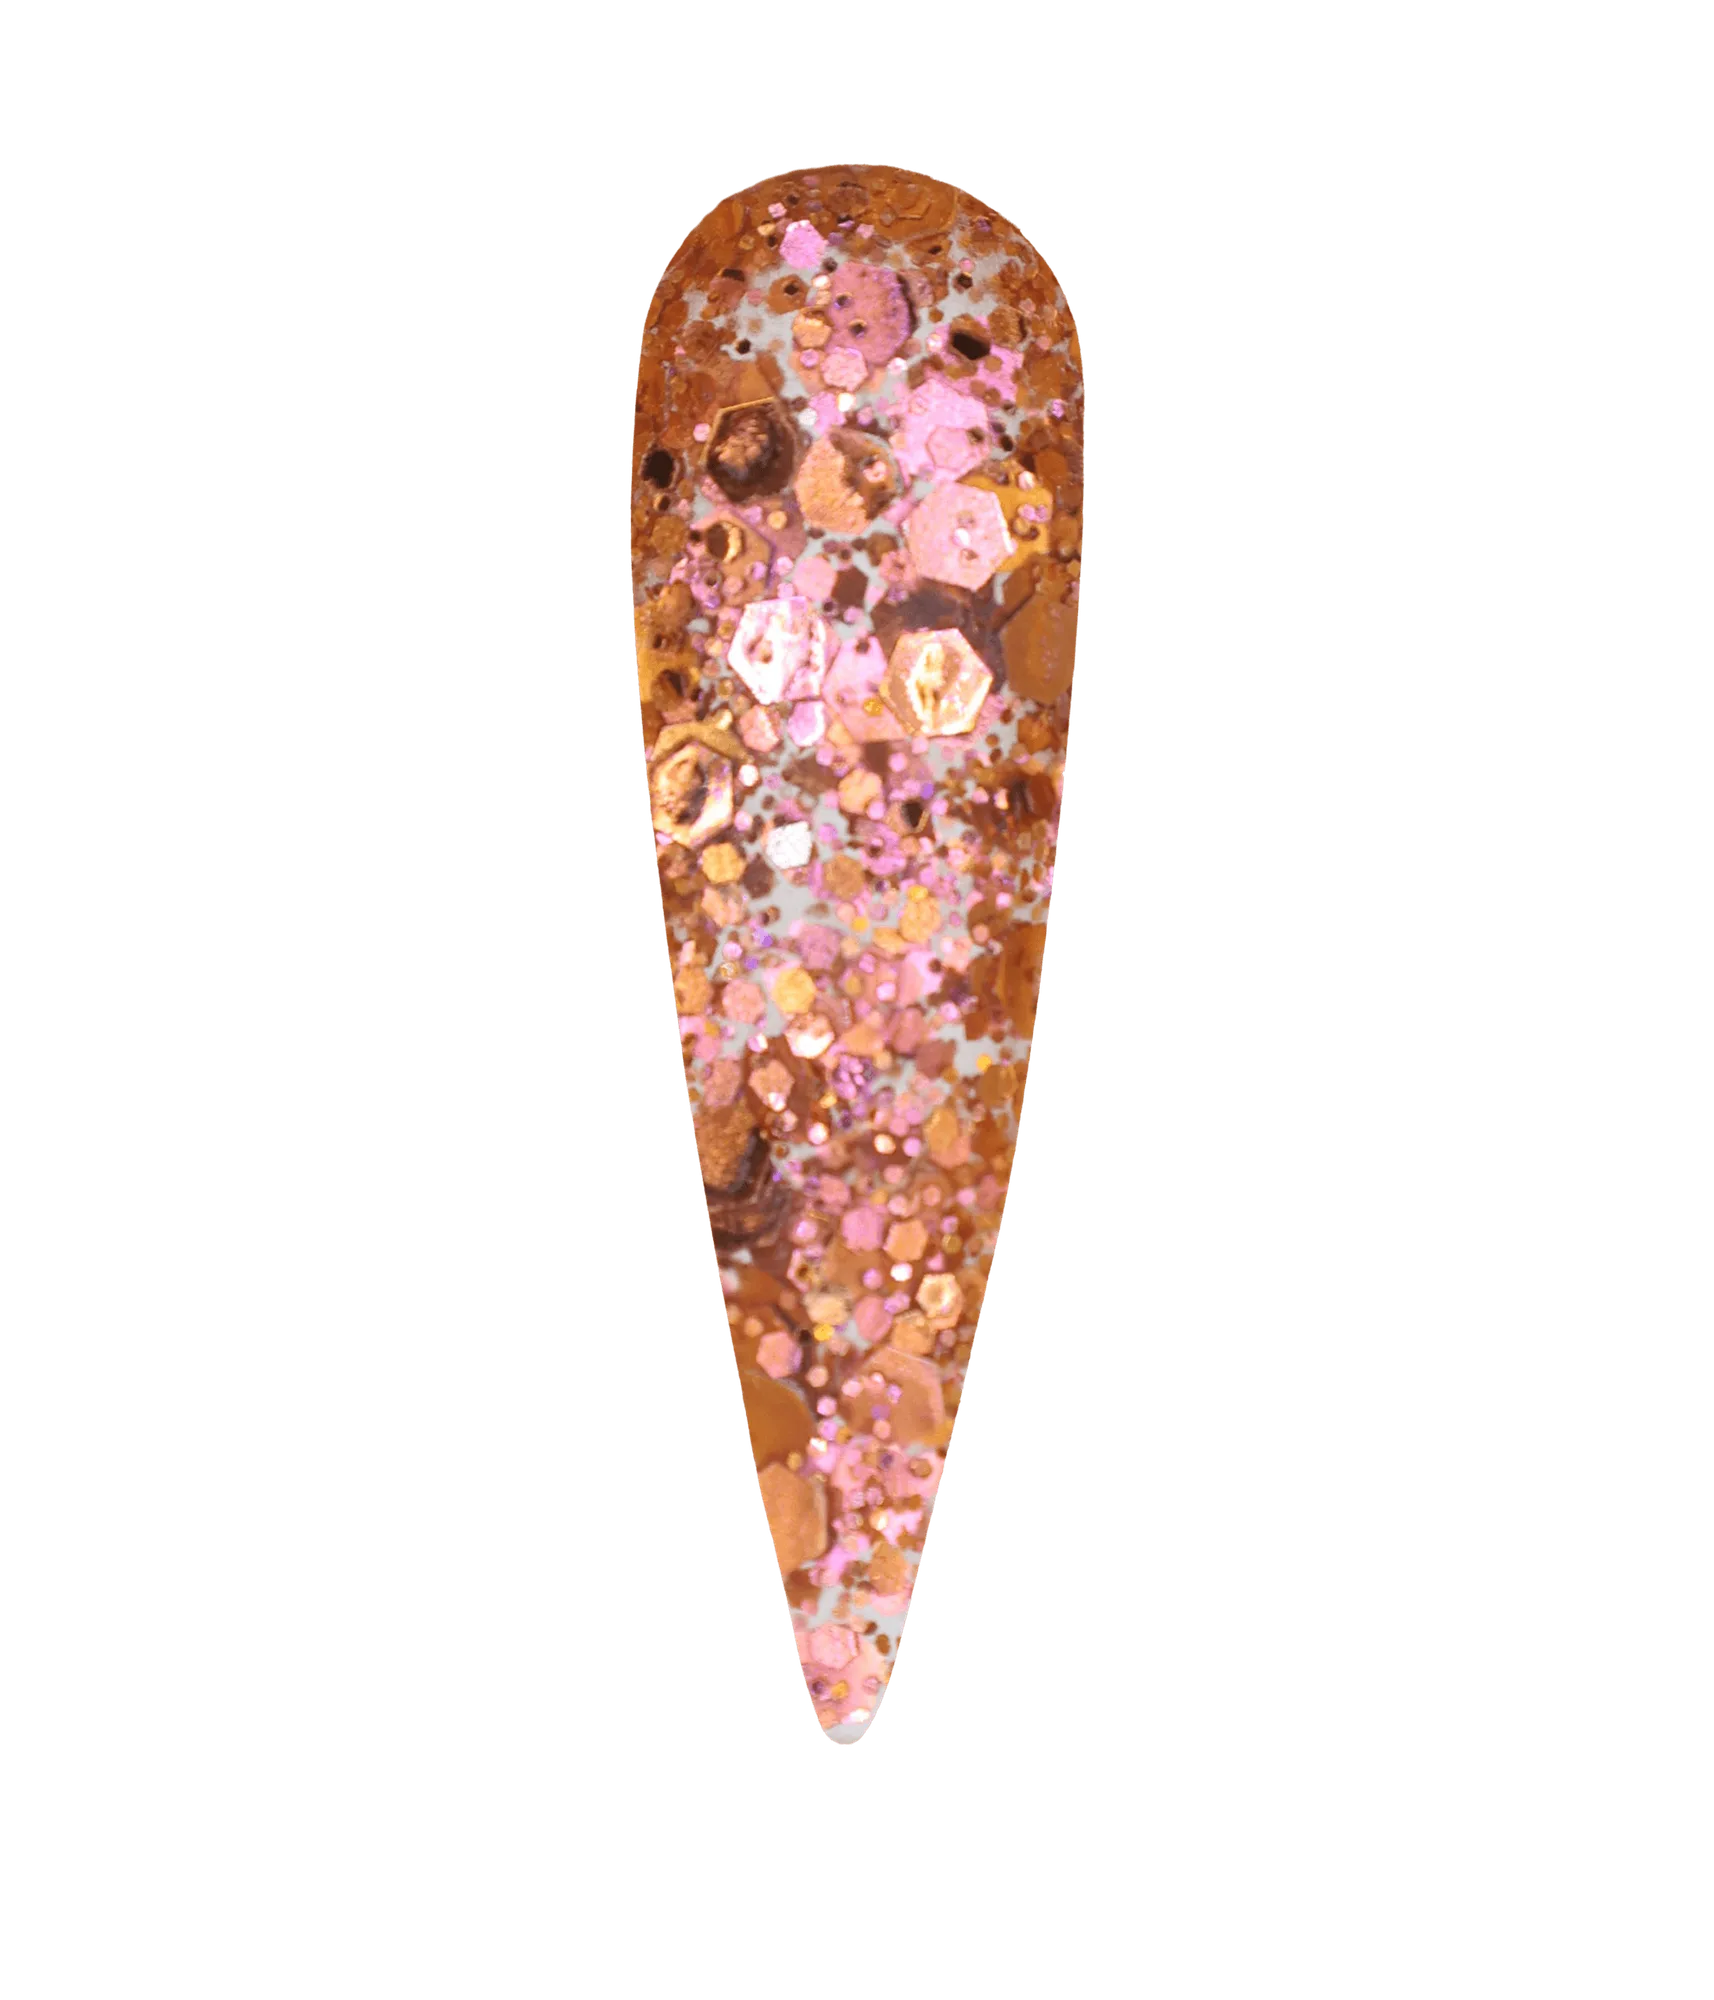
- #25 Drunk Text - Acrylic Nail Powder: Super fine acrylic nail powder that absorbs liquid evenly and is self-leveling, with super adhesion and high pigmentation; available in 1oz, 2oz, 4oz, or 16oz jars. Buying the size that matches your volume keeps powder fresh; a jar that sits open too long is one of the quiet causes of inconsistent ratio and yellowing.
Read the symptom, fix the cause, and know when to stop patching. Most acrylic nail problems come down to prep and ratio, and both are within your control on the next set.