Quick answer
Most gel polish curing problems come from applying coats too thick, using a lamp that does not match your gel, or skipping the full cure time. Cure thin coats for the full recommended time under a lamp rated for your polish, and never touch the surface before curing is complete. If your polish still feels tacky or peels within a day, stop and check your lamp before adding more product.
Gel polish that peels within a day, feels tacky after curing, or looks dull instead of glossy is usually under cured, not defective. Curing is a chemical reaction, and it only finishes if the light reaches the product at the right intensity for the right amount of time.
The tricky part is that under cured gel polish does not always announce itself right away. Some nails look fine until they lift at the edges, and some people only notice a reaction after repeated exposures. The good news is that most curing mistakes are easy to identify once you know what to look for.
Why under cured gel polish happens
Gel polish cures when photoinitiators inside the formula absorb light at a specific wavelength, usually in the UV or near-UV range. If the light does not reach the product, or the exposure is too short, the gel stays partially liquid even if the surface feels dry. That leftover uncured layer is what causes peeling, dullness, and in some cases skin irritation.
Thick application is the most common culprit. A bead of polish that looks generous can block light from reaching the bottom layers, so the top cures while the base stays soft. Dark, opaque, and heavily pigmented shades make this worse because they absorb more light before it reaches the base coat.
- Apply thin coats you can still see the natural nail through.
- Cure each layer separately instead of building one thick layer.
- Check that your lamp covers all five fingers, including the thumbs.
Symptoms that point to a curing problem
Under cured gel polish has a few recognizable signs. The surface may look shiny but feel slightly soft when you press it, or it may stay tacky after you wipe the inhibition layer. Within a day or two, edges lift, corners chip, and the whole manicure can peel off in one piece.
A less obvious sign is a dull finish that never reaches full gloss, or a color that looks uneven after curing. If you notice itching, redness, or a burning sensation around the nail, stop the manicure and remove the product carefully. Repeated exposure to uncured gel can trigger sensitivity, and continuing to cure over irritated skin makes it worse.
- Tacky surface after wiping means the top layer did not fully cure.
- Lifting at the cuticle or sidewalls within 24 hours suggests under curing at the base.
- Itching or redness is a stop signal, not something to cure through.
UV lamp curing tips that actually help
Your lamp matters as much as your polish. A lamp that is too weak, too old, or the wrong wavelength will not fully cure gel no matter how long you leave your hand inside. Follow the cure time on the gel you are using, and if the brand specifies a particular lamp type, use it.
Place your hand flat and keep fingers still during the cure. Moving your hand or lifting fingers can pull nails out of the light path, leaving one side under cured. If your lamp has a reflective floor, make sure it is clean so light bounces evenly. Replace bulbs or the lamp itself when the manufacturer recommends it, because output drops over time even if the light still looks bright.
- Match your lamp to the gel brand's recommended wavelength and wattage.
- Cure for the full time listed, not a shortened version.
- Clean the lamp interior and replace bulbs on schedule.
When to stop and choose another option
If you have checked your lamp, thinned your coats, and followed the cure time but polish still peels within a day, the problem may be your lamp and gel combination rather than your technique. At that point, switching to a gel system that is designed to work with your lamp is more reliable than adding more curing time.
If you develop itching, redness, or swelling, stop using that product entirely and let your nails recover before trying again. Some people find that HEMA-Free and TPO Free formulas are gentler for sensitive skin, but no formula is safe to use over uncured gel or irritated nail beds. When in doubt, remove the product and give your nails a break.
- If two or three attempts fail with the same lamp, change the lamp or the gel system.
- Do not cure over irritated skin hoping it will settle down.
- Give nails a rest period before starting a new manicure after a reaction.
Curing diagnosis: match the symptom to the fix
- Tacky surface after wiping: The top layer did not receive enough light or the coat was too thick for your lamp. Apply thinner top coat layers and cure for the full recommended time. If it stays tacky, your lamp may be due for replacement.
- Peeling or lifting within 24 hours: The base layers are likely under cured, often because polish was applied too thick or the lamp does not match the gel. Thin your base coat, check lamp compatibility, and cure each layer separately. If it still lifts, switch to a gel system designed for your lamp.
- Itching, redness, or burning during or after cure: This suggests skin exposure to uncured gel or a developing sensitivity. Stop the manicure, remove the product gently, and let nails recover. Do not cure over irritated skin, and consider HEMA-Free and TPO Free formulas for future use.
Product facts that support better curing
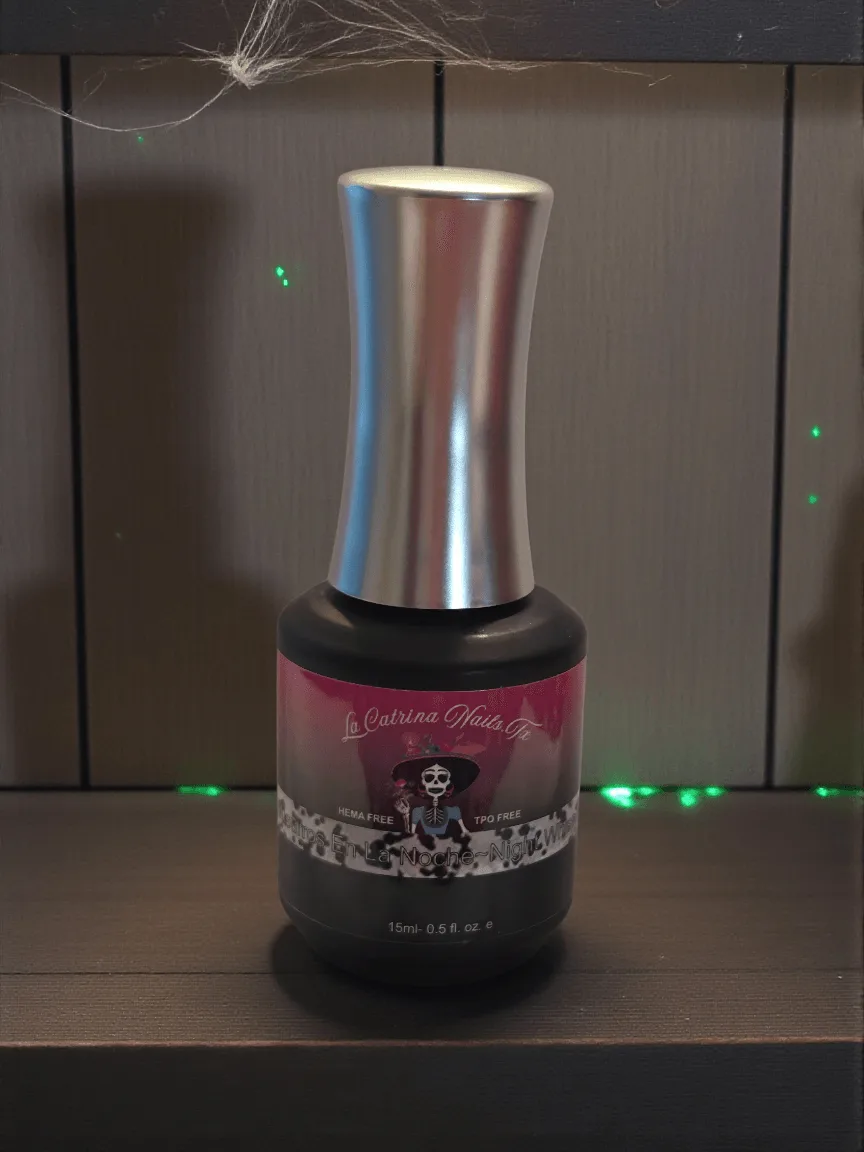
- Night Whispers Speckled Top Coat ~ Susurros En La Noche ~ HEMA-Free and TPO Free Gel polish: This is a gel polish top coat with a speckled finish, formulated to be HEMA-Free and TPO Free. A speckled top coat still needs a full cure to lock in the finish, and a HEMA-Free and TPO Free formula is a reasonable option if you are rebuilding your routine after sensitivity.
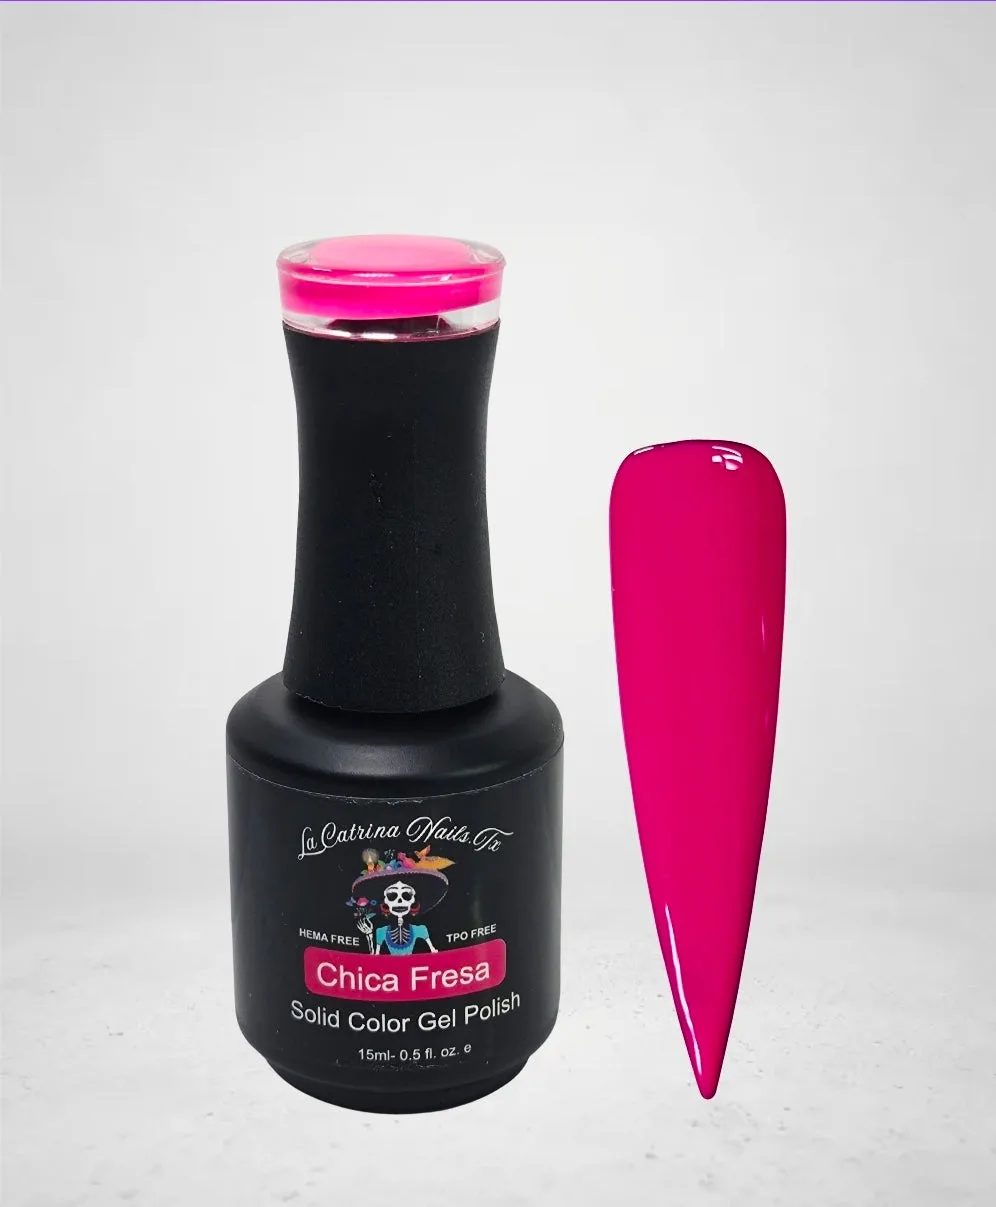
- Chica Fresa ~ Posh Girl~ HEMA-Free and TPO Free Gel polish: Chica Fresa ~ Posh Girl is a vibrant, ultra-pigmented hot pink with a creamy, self-leveling formula and rich, one-coat coverage. Ultra-pigmented shades can absorb more light, so apply this in thin coats and cure each layer fully rather than relying on one thick coat.
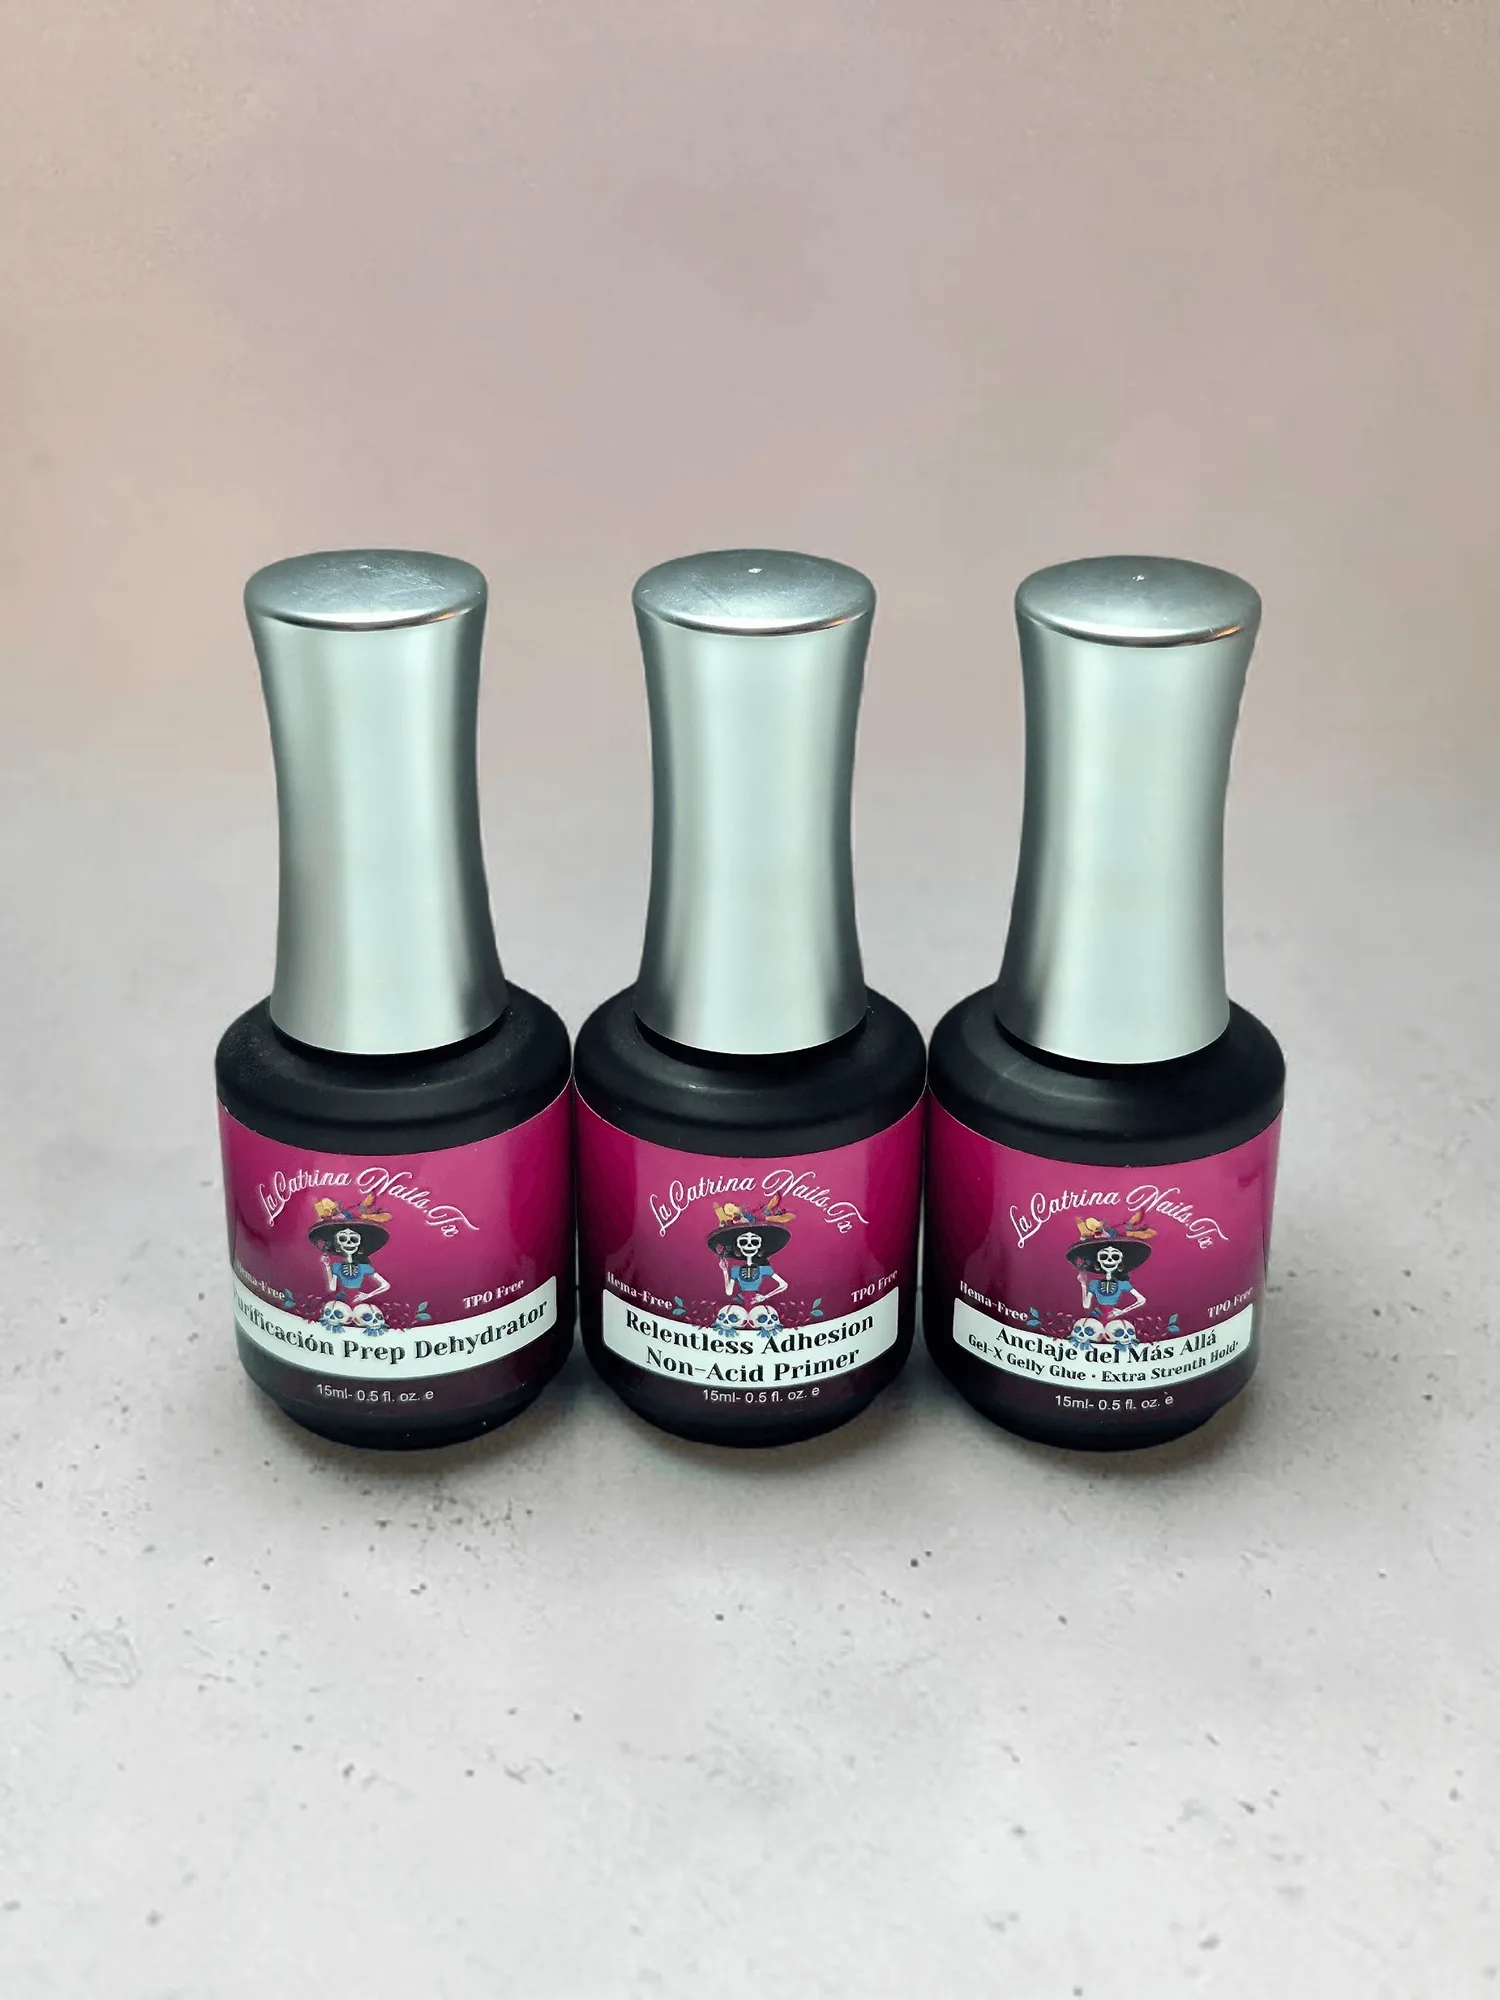
- Extension Gel Bundle
New Lable DesignHEMA-Free and TPO Free Gel polish: The Gel Extension Bundle includes a prep dehydrator and a non-acid primer for maximum adhesion and stronger retention. Proper prep supports adhesion, but it does not replace curing. If extensions lift, check your cure time before blaming the prep products.
Curing is the step that decides whether a gel manicure lasts or fails, and it is almost always fixable with thinner coats, a matched lamp, and full cure times. Start with those three changes before replacing products. If symptoms persist or your skin reacts, stop and reassess rather than pushing through.