Quick Answer
Apply crelly nail polish in two to three thin coats, letting each coat dry for about two minutes before adding the next. Thin coats build depth without streaks, and a glossy top coat locks in the jelly-like finish. If you rush with thick coats, you will get bubbles and uneven color.
Crelly polish sits between cream and jelly. It has the color payoff of a cream but the translucent, squishy depth of a jelly, which is why it looks like stained glass on the nail. The catch is that crelly formulas are less forgiving than opaque polish. Apply them too thick and they bubble; apply them too fast and they streak.
This guide walks through the exact steps for a clean crelly nail polish application, including how to handle sheer nail polish layers, when to stop building color, and the small checkpoints that keep the finish smooth. You do not need special tools, just patience and a light hand.
What Makes Crelly Different from Cream or Jelly
A cream polish is fully opaque in one or two coats. A jelly is intentionally see-through, often showing the nail line even after several coats. Crelly is the middle ground: pigmented enough to cover in two to three coats, but translucent enough that light passes through and gives that jelly-like glow.
That middle ground is why crelly polish rewards thin layers. Each coat adds a bit of color and depth, and the previous layer shows through slightly. If you try to get full coverage in one thick coat, the polish pools at the cuticle, takes much longer to dry, and often bubbles from the bottom up.
- Crelly = cream pigment + jelly translucency
- Expect two to three coats for full coverage
- Thin coats dry faster and look smoother
Prep Your Nails Before the First Coat
Crelly polish shows every ridge and scrape, so prep matters more than with opaque shades. Start by wiping each nail with a lint-free pad and a little nail polish remover to strip oils. Then push back cuticles and lightly buff the surface if you have ridges. Do not skip this step; oils are the main reason crelly polish pulls away from the edges.
If you use a base coat, choose a smooth ridge-filling formula. A base coat also protects against staining from pigmented crelly shades. Let the base coat dry completely, about two minutes, before you start color.
- Wipe with remover to remove natural oils
- Use a ridge-filling base coat for an even surface
- Wait until the base coat is fully dry
Load the Brush Correctly
The biggest crelly mistake happens before the brush touches the nail. If you wipe the brush too clean against the bottle rim, you will drag the polish and create streaks. If you leave too much polish on the brush, it floods the cuticle. The sweet spot is a bead of polish on one side of the brush, about the size of a small pea.
Wipe only one side of the brush against the rim, not both. That leaves enough polish to glide down the nail in one pass. For sheer nail polish, a slightly fuller brush actually helps because you can spread the layer evenly instead of going back over wet polish.
- Wipe one side of the brush, not both
- Aim for a small pea-sized bead of polish
- Avoid double-dipping, which introduces bubbles
Apply the First Coat in Three Strokes
Place the brush slightly above the cuticle, not touching it. Press gently so the bristles fan out, then push the polish back toward the cuticle in a curve. Without lifting the brush, pull it down the center of the nail. Then do the left side and the right side in two more strokes. Three strokes per nail is enough for a thin, even first coat.
Do not go back over a stroke that is already setting. If you miss a spot, leave it for the second coat. Re-brushing partially dried crelly polish is what causes streaks and patchiness. The first coat should look uneven and slightly see-through; that is normal.
- Start just above the cuticle, not on it
- Use three strokes: center, left, right
- Never re-brush a stroke that is already drying
Wait Two Minutes Between Coats
Crelly polish needs a short but real dry time between layers. Two minutes is usually enough for the surface to set so the next coat does not drag the one below it. If you apply the second coat while the first is still wet, the brush will pull the color and leave bald patches.
A good checkpoint: touch the polish near the sidewall with a clean fingertip. If it feels tacky but does not smear, you are ready. If it smears, wait another minute. This pause is the single easiest way to avoid a muddy crelly finish.
- Two minutes between coats is the minimum
- Test the sidewall with a clean fingertip
- Rushing causes drag marks and uneven color
Build the Second and Third Coats
The second coat is where the color starts to even out. Use the same three-stroke method and the same thin layer. If you still see the nail line or patchiness after two coats, add a third. Most crelly polishes reach full coverage at three thin coats, though some sheer shades are designed to stay slightly translucent.
Stop when the color looks even and the depth is what you want. Adding a fourth coat rarely improves the look and increases dry time. If the polish feels thick or stringy by the third coat, that is a sign your coats were too heavy, not that you need more polish.
- Two to three thin coats is the target range
- Stop when color is even, not when it is fully opaque
- Thick or stringy polish means coats were too heavy
Finish with a Glossy Top Coat
Crelly polish looks best under a glossy top coat. A thin layer of top coat seals the color, smooths any minor ridges, and gives that wet, jelly-like shine. Wrap the tip of each nail with the top coat to prevent chipping at the edge. Avoid a matte top coat unless you want to mute the translucent effect.
Let the top coat dry for at least ten minutes before you use your hands for anything demanding. A quick-dry top coat helps, but crelly layers underneath still need time to harden. If you dent the surface in the first hour, the whole finish will look uneven.
- Use a glossy top coat to enhance the jelly look
- Wrap the tip to reduce chipping
- Wait ten minutes before normal activity
Crelly Application Steps at a Glance
- Prep and base coat: Wipe nails with remover, push back cuticles, and apply a ridge-filling base coat. Let it dry fully. Checkpoint: nails should feel dry and smooth, not tacky.
- Load the brush with one bead: Wipe one side of the brush against the rim, leaving a small pea-sized bead of polish. Mistake to avoid: wiping both sides clean, which causes streaks.
- Apply coat one in three strokes: Start just above the cuticle, curve back, then pull down the center, left, and right. Do not re-brush. Checkpoint: the first coat should look uneven and sheer.
- Wait two minutes: Let the first coat set until it feels tacky but does not smear when touched near the sidewall. Mistake to avoid: applying the next coat too soon and dragging the color.
- Add coat two, then coat three if needed: Repeat the three-stroke method with thin layers until the color looks even. Checkpoint: stop at three coats; more rarely helps.
- Seal with glossy top coat: Apply a thin top coat, wrap the tips, and let it dry for ten minutes before using your hands. Mistake to avoid: using a matte top coat if you want the jelly glow.
Crelly-Friendly Polishes from Dam Nail Polish
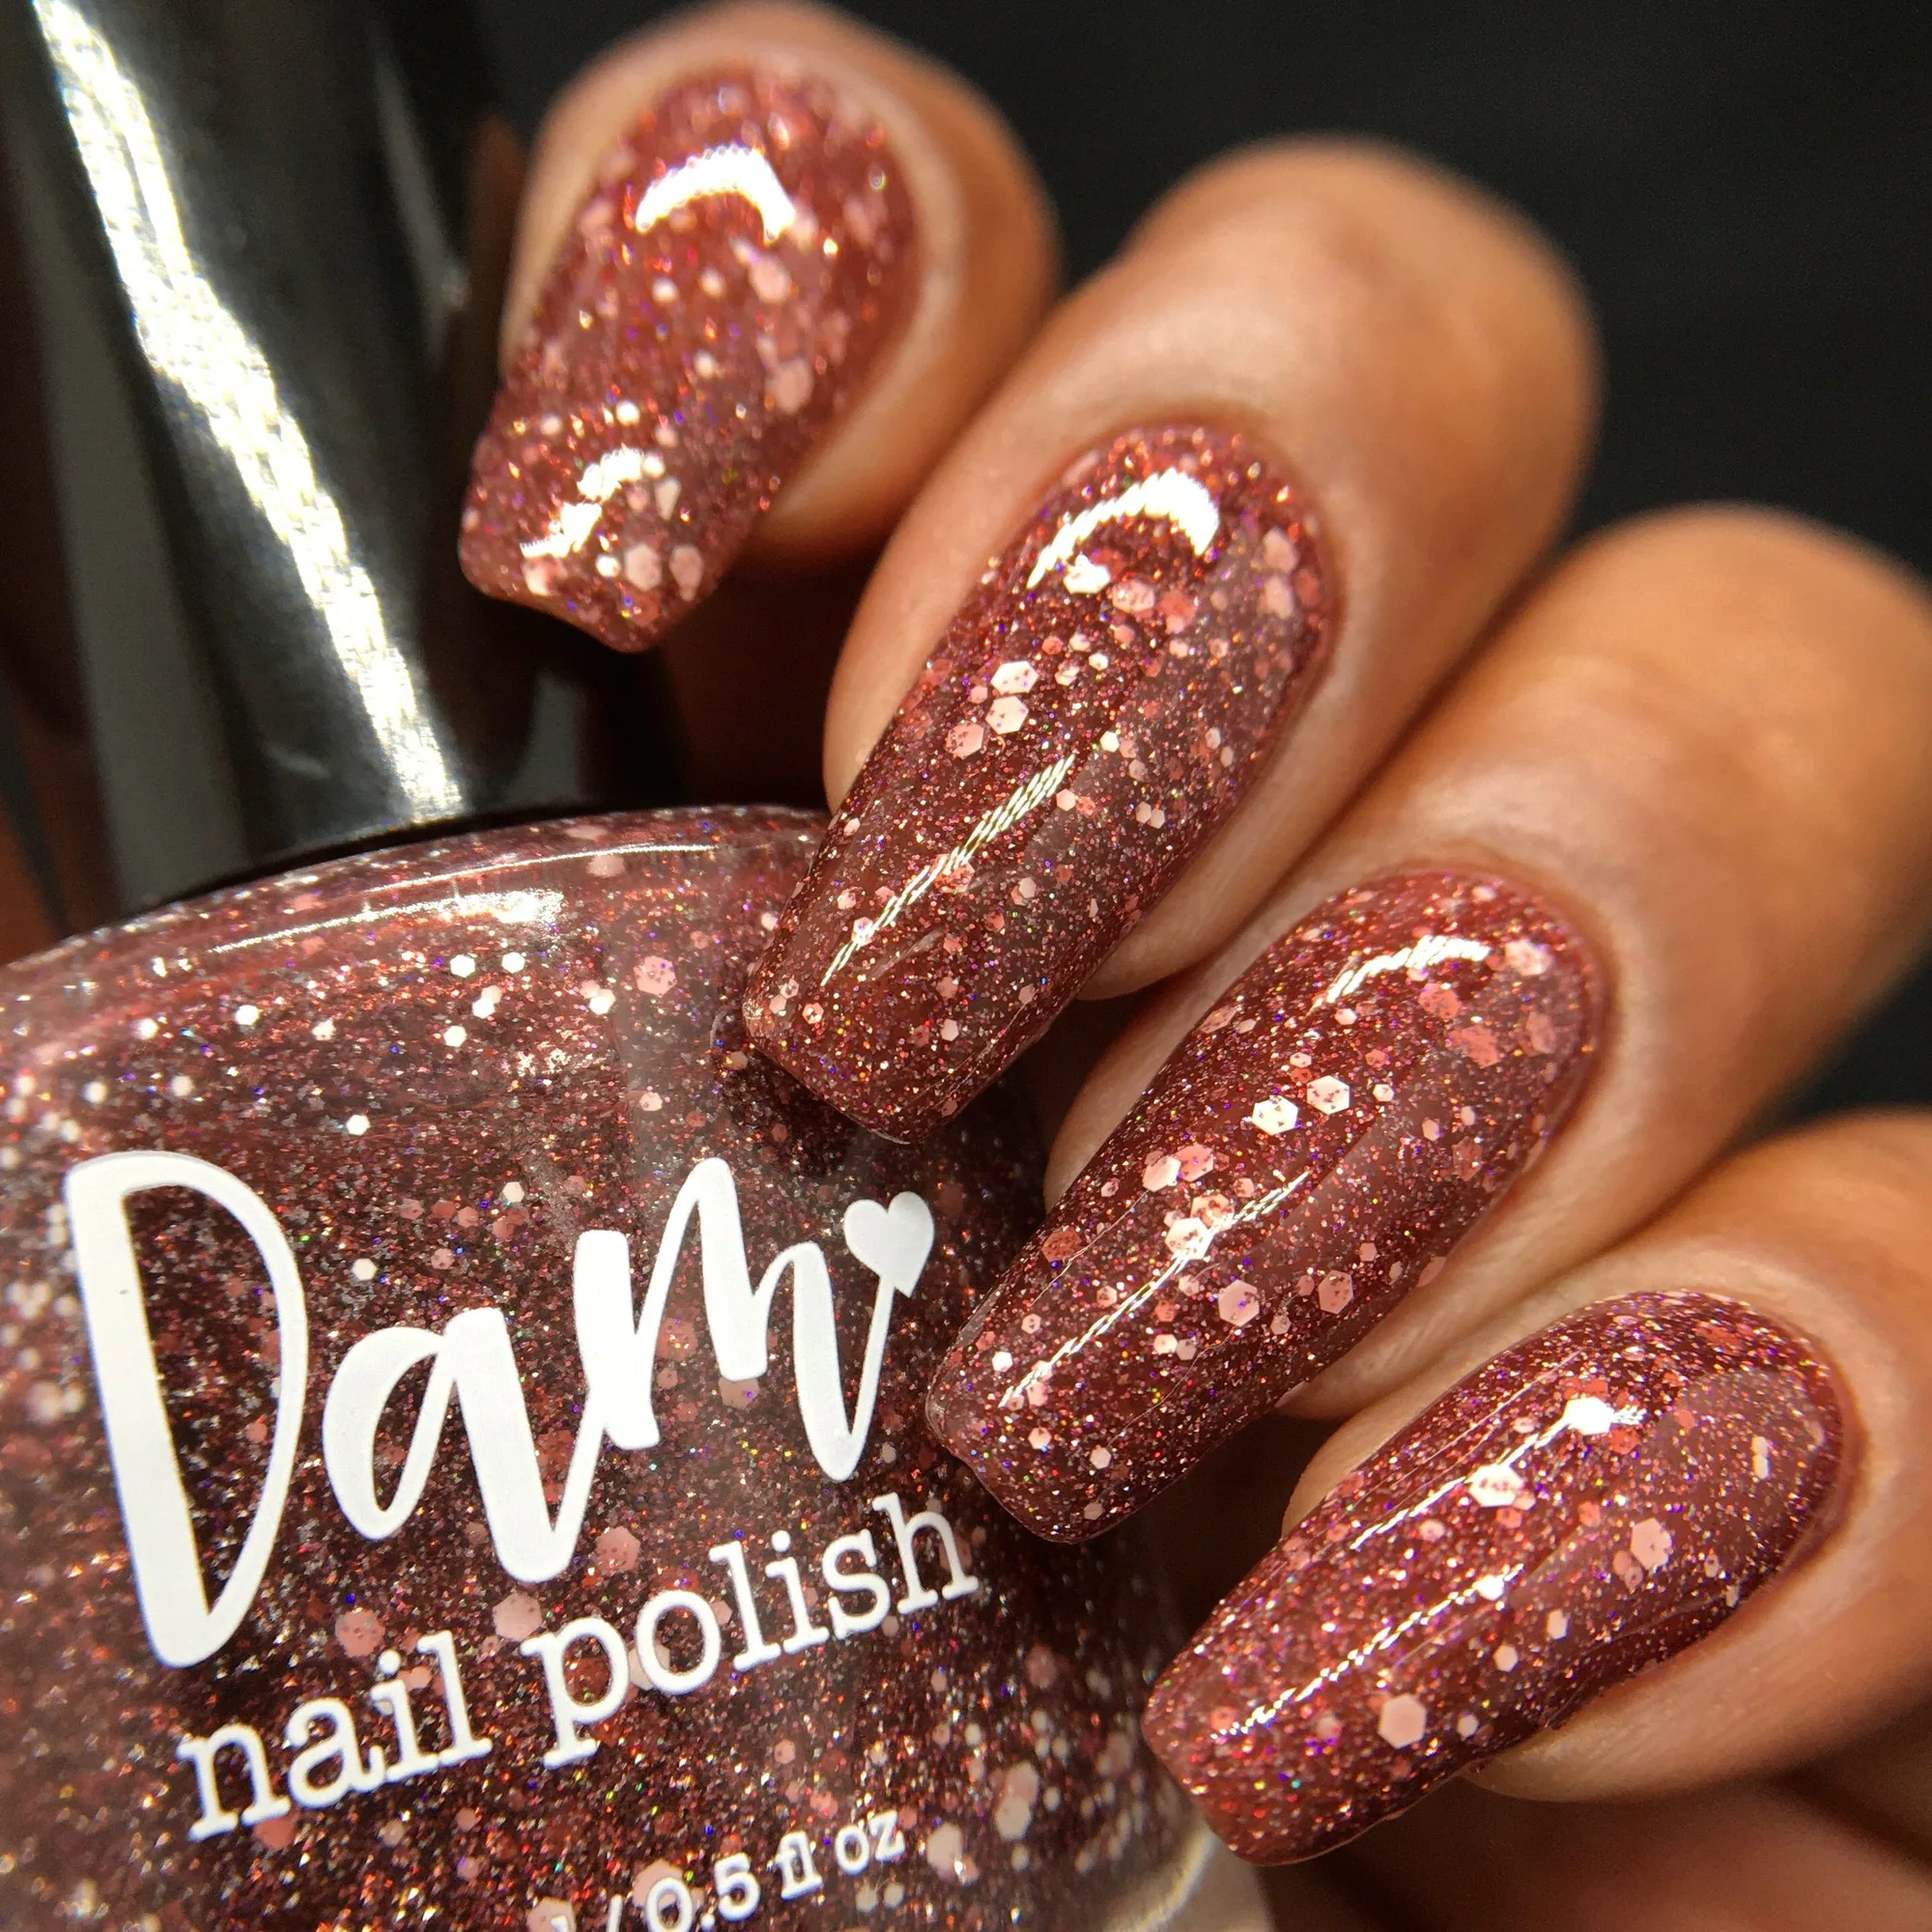
- Bear Nap - Brown Reflective Glitter Nail Polish - Hibernation Collection: Bear Nap is a reddish brown jelly polish with holographic reflective glitters and assorted white glitters, recommended in 2-3 coats. The jelly base behaves like a crelly, so the same thin-coat method applies. The reflective glitters reward a smooth, even base because they catch light best when the surface is level.
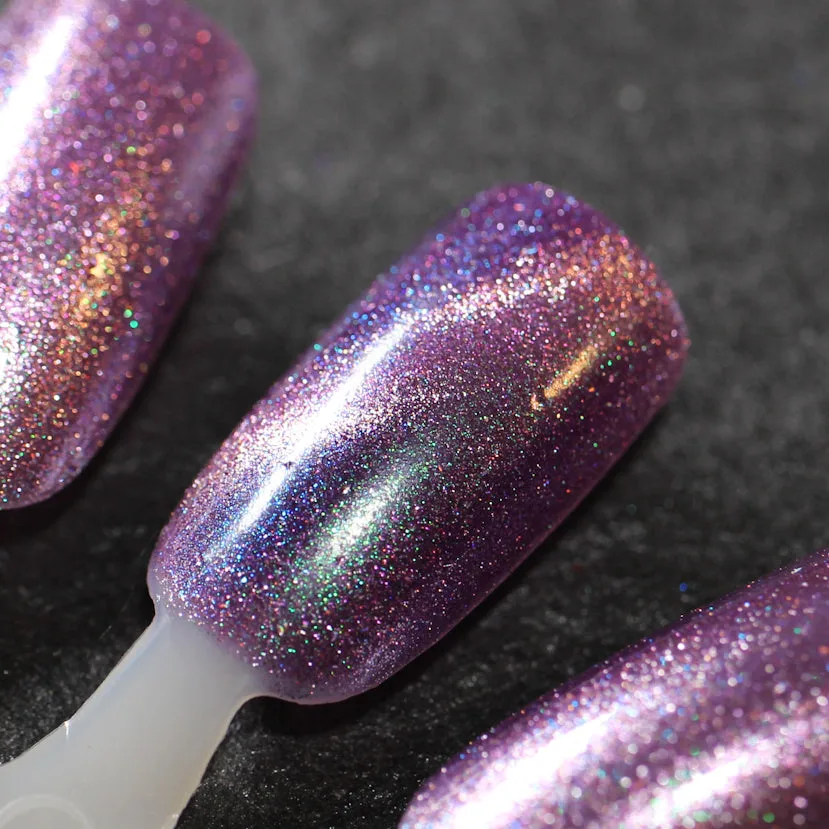
- Moonlight Mist - Purple/Pink Magnetic Indie Nail Polish - Polish of the Month - Aug 2024: Moonlight Mist is a magnetic polish with a dark purple base, green/blue shifting shimmer, holographic dust, and a pink magnetic effect, recommended in 2-3 coats. The 2-3 coat range matches crelly application, so you can use the same thin-layer technique. The magnetic effect means you will need a magnet after the final coat, but the base layers still benefit from slow, even application.
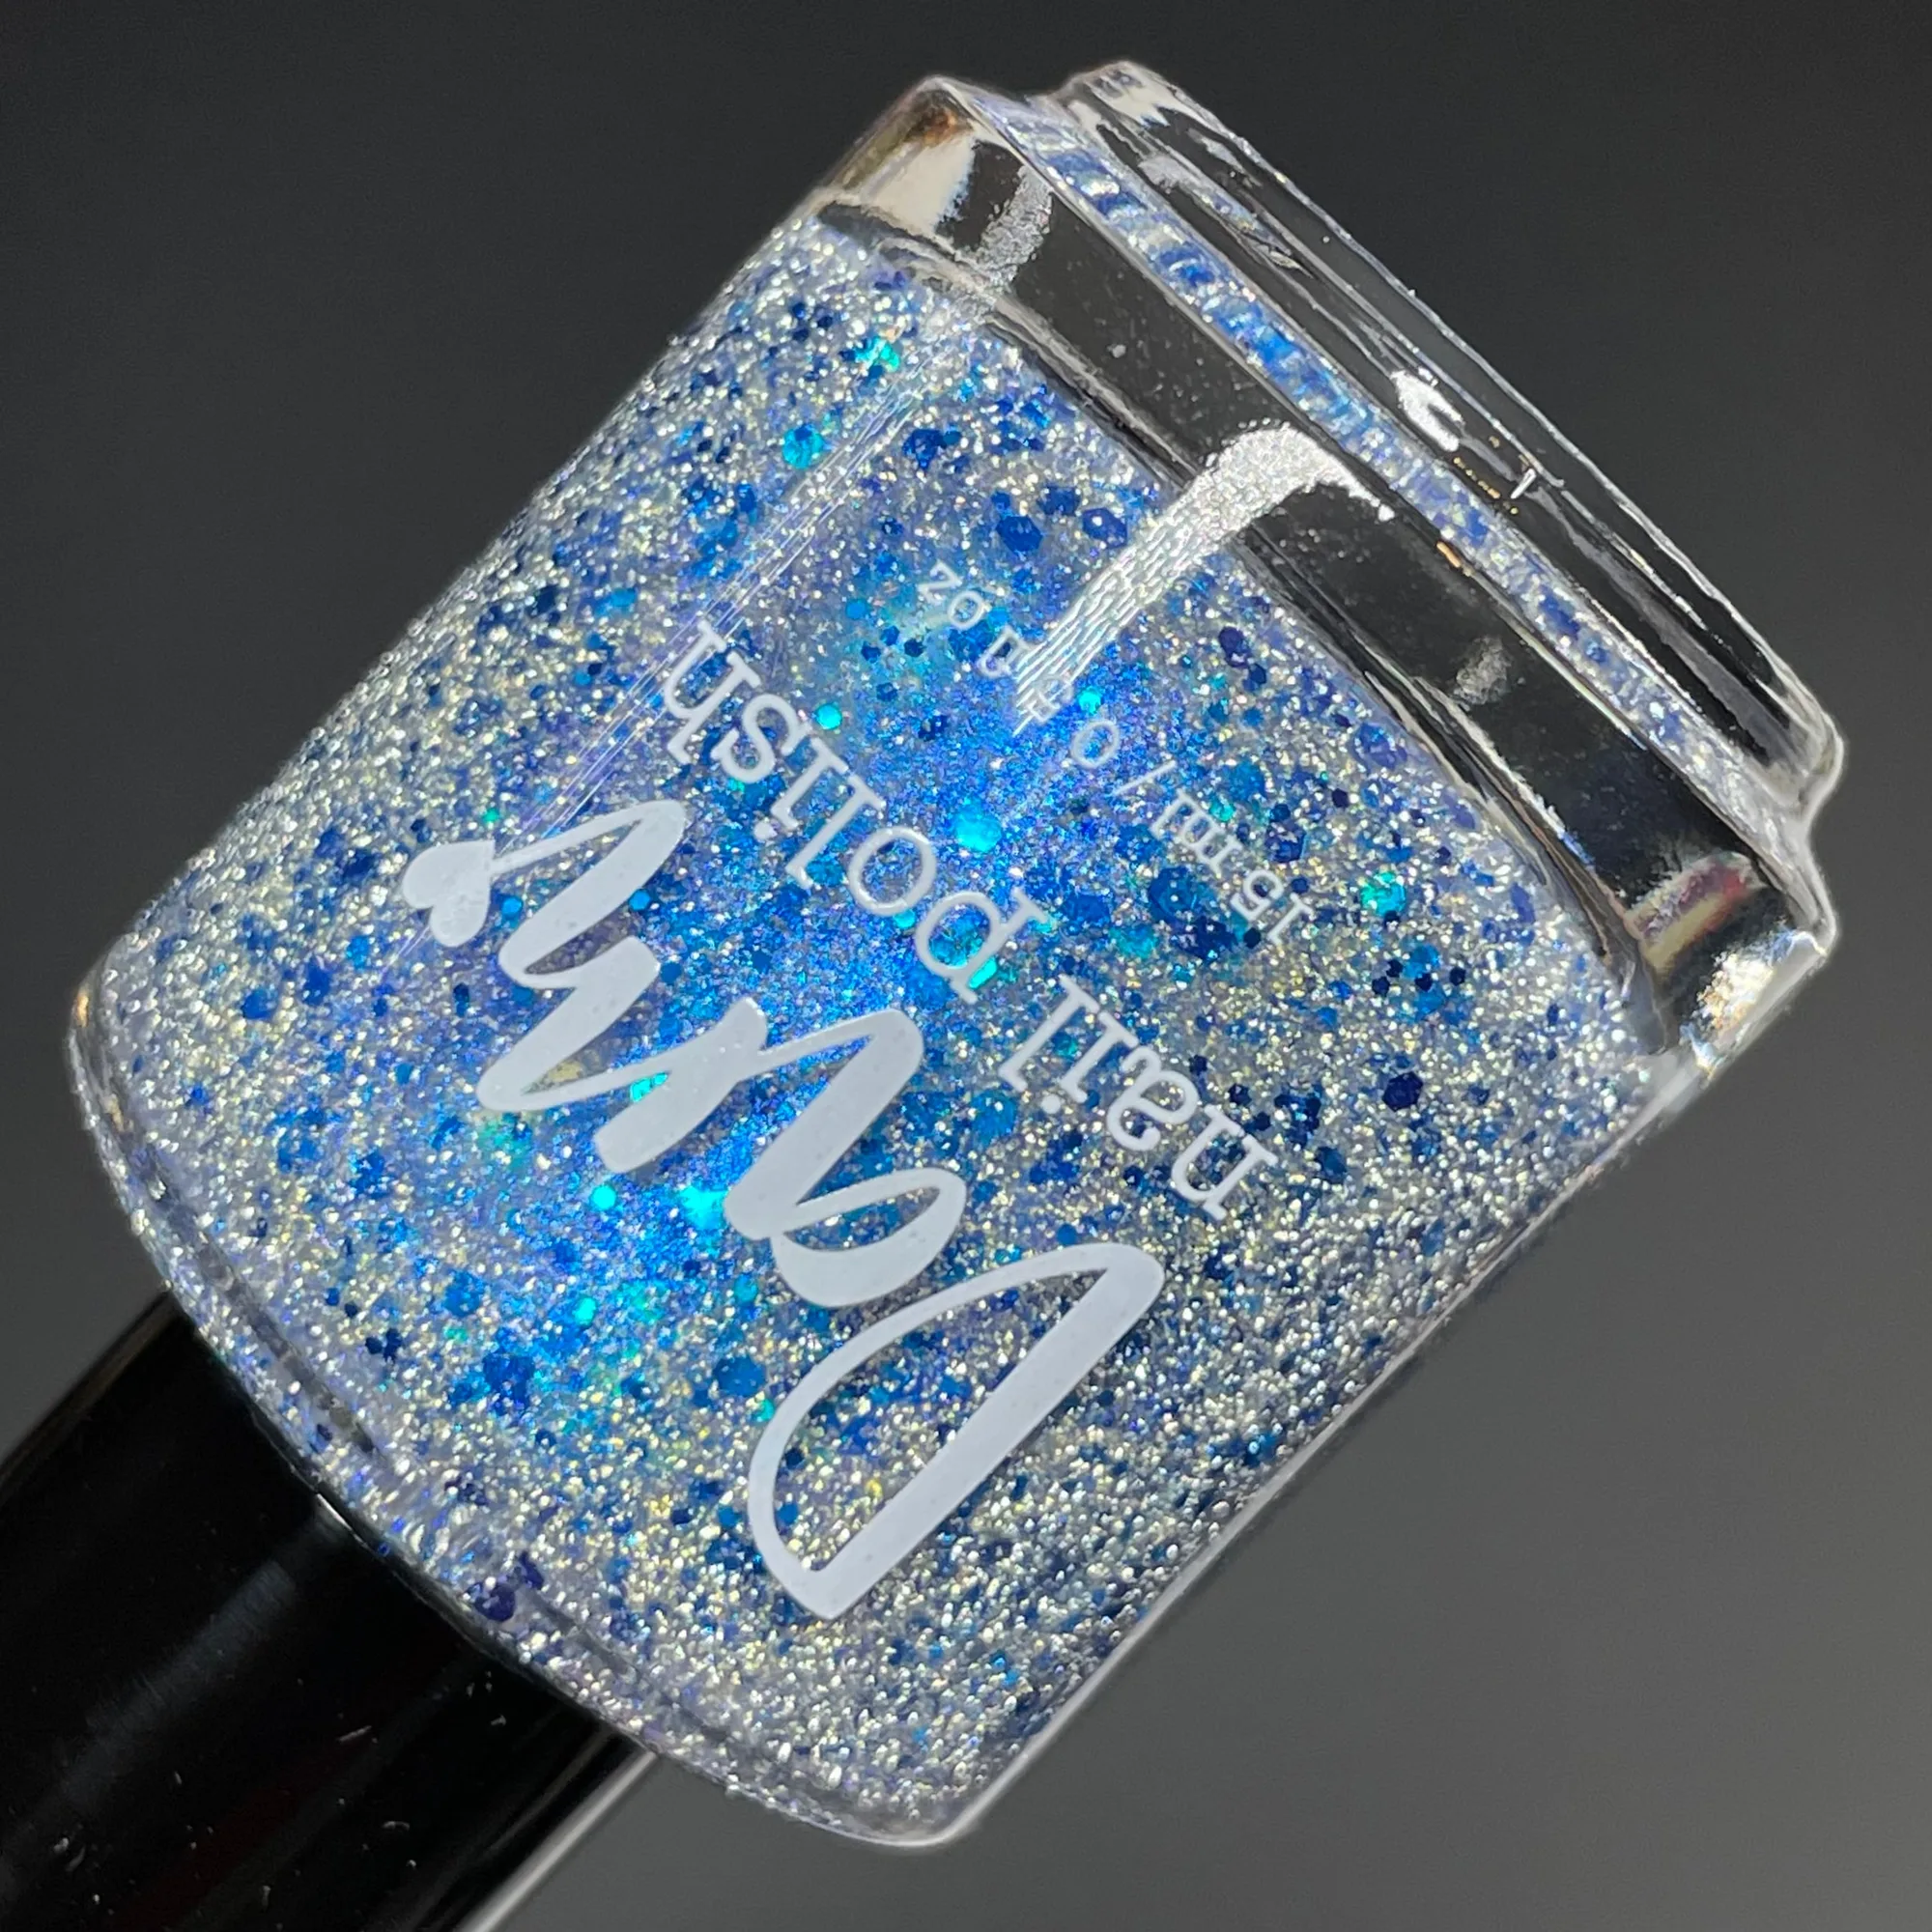
- Cotton Candy Shop - Silver Reflective Glitter Nail Polish with Blue Shimmer - Sugar Rush Collection: Cotton Candy Shop is a silver reflective glitter base with blue and blurple shifting shimmer and assorted blue glitters, recommended in 2 coats. A two-coat formula is more forgiving than a sheer crelly, but thin coats still prevent glitter from clumping. The shimmer shifts with the light, so a smooth top coat keeps the effect clean.
Crelly polish rewards a slow, thin-coat approach. Prep well, load the brush lightly, wait between layers, and finish with a glossy top coat. The result is a smooth, jelly-like finish that looks deeper than a standard cream and wears comfortably. If you want to practice, try a crelly-friendly shade like Bear Nap and build the color one thin coat at a time.