Quick answer
Pack your diaper bag in layers: recovery items first, baby change supplies second, then a small grab pouch for the items you will reach for most. A postpartum kit that already bundles pads, disposable underwear, ice packs, a peri bottle, and perineal spray removes the guesswork, so you only add diapers, wipes, a change of clothes, and feeding supplies. Build it once, then restock after every outing.
Start With the Recovery Layer, Not the Baby Layer
Most diaper bag guides begin with diapers, but after birth the first thing you reach for in a restroom or car is usually your own recovery supplies. Give those items their own zone so they are never buried under baby gear. A kit with a peri bottle, postpartum pads, disposable underwear, and perineal spray keeps that zone consistent, and you can refill it from a larger supply at home instead of repacking from scratch.
Keep the Peri Bottle Upright and Within Reach
A full peri bottle is the one item in the bag that can leak if it tips. Use a side pocket or a small waterproof pouch, and check the lid before every trip. If your bag has an insulated bottle pocket, that spot works well because it holds the bottle upright and keeps it separate from fabric.
Build a Two-Pouch System for Speed
Split your bag into a recovery pouch and a baby pouch. The recovery pouch holds pads, underwear, spray, and wipes for you; the baby pouch holds diapers, wipes, a onesie, and a burp cloth. When you are tired, you only open one pouch instead of digging through the whole bag. Restock both pouches the same day you use them, not the next morning.
Packing Order: 6 Steps
- 1. Set up the recovery pouch first: Place postpartum pads, disposable underwear, perineal spray, and a small pack of wipes into one pouch. Put the peri bottle in a side pocket where it stays upright. Checkpoint: the pouch should close without pressure, and the peri bottle lid should be tight before the bag leaves the house.
- 2. Add hot and cold packs only if you will be out for hours: Perineal hot and cold packs are most useful in the first days when you are away from home for a longer stretch. Keep them in the pouch with their disposable sleeves so they are ready to activate. Common mistake: packing every pack you own. Two is enough for a day trip.
- 3. Build the baby change pouch: Add one diaper per expected hour away plus two spare, a pack of wipes, a burp cloth, and a onesie. Keep this pouch separate from the recovery pouch so you are not mixing supplies. Checkpoint: if the baby pouch is fuller than the recovery pouch, you have overpacked baby items and underpacked your own.
- 4. Add feeding supplies last: Place bottles, pump parts, or a nursing cover in the outer pockets. If you use a sterilizer at home, run the cycle before you pack so everything goes in dry. Common mistake: packing damp bottles. Moisture in a closed bag encourages odor.
- 5. Include one comfort item for you: Non-slip socks, a light cardigan, or a hair tie take almost no space and make a long appointment or visit more comfortable. This is the step most people skip. Checkpoint: if you can carry the bag with one hand, it is packed correctly.
- 6. Restock the same day: When you get home, refill pads, wipes, and diapers immediately and check the peri bottle level. A bag that is restocked the same day is always ready for an unplanned trip. Next step: keep a small backup stash of pads and diapers near the bag so restocking takes under a minute.
Products That Fit This Packing Plan
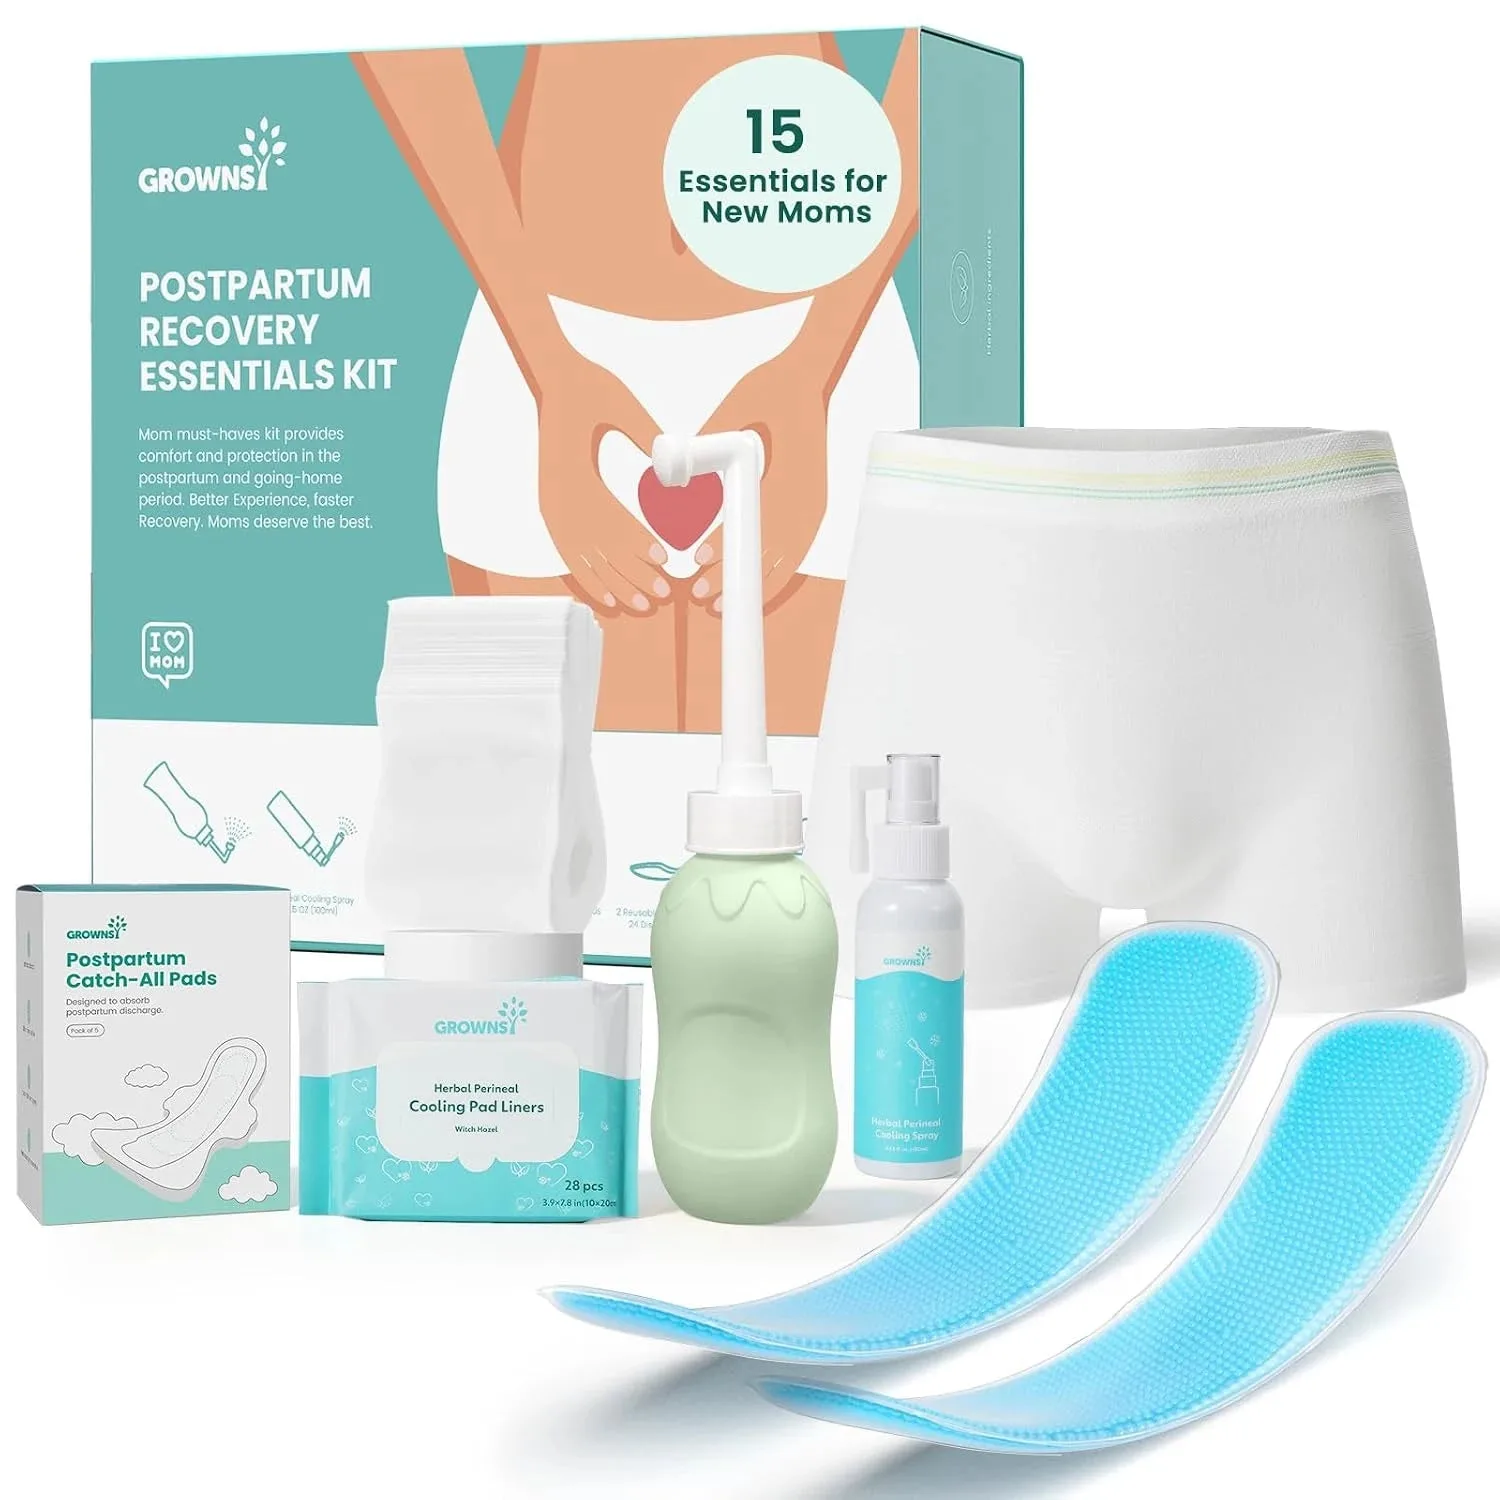
- 15pc Postpartum Essentials Recovery Kit | Postpartum Kit for Women | Includes 5 Postpartum Pads, 5 Disposable Underwear, 2 Ice Packs, Peri Bottle, Perineal Spray & 28 Cooling Pad Liners: The 15pc Postpartum Essentials Recovery Kit includes 5 postpartum pads, 5 disposable underwear, 2 perineal hot and cold packs with 24 disposable sleeves, a 12.84oz/380ml peri bottle, and a 3.5oz/100ml herbal perineal spray. The peri bottle and spray are the two items you will use most on the go, and the kit gives you a ready-made recovery pouch without buying each piece separately.
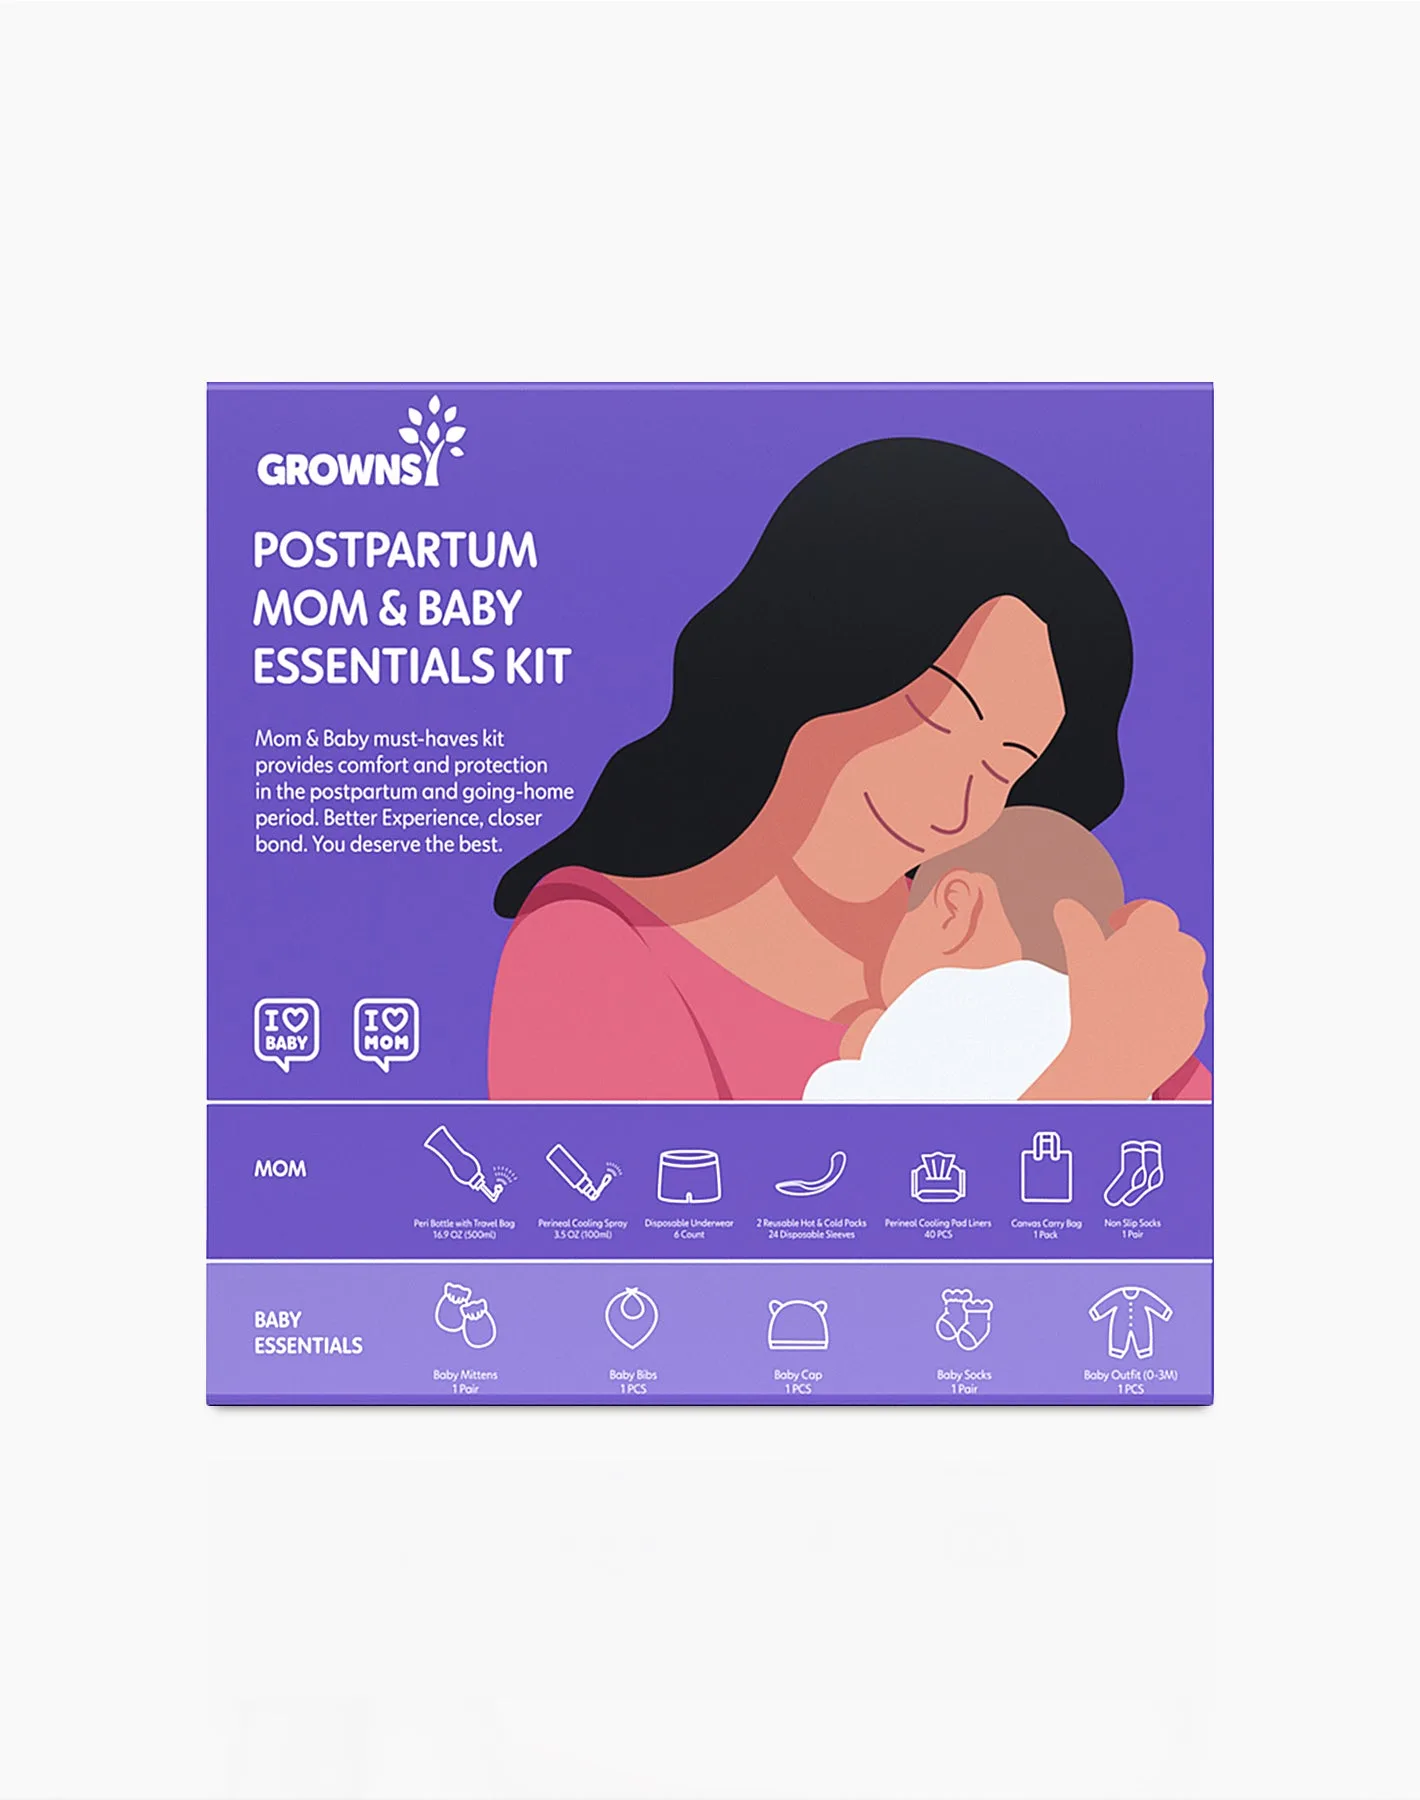
- GROWNSY Postpartum Mom & Baby Essential Kits: The GROWNSY Postpartum Mom & Baby Essential Kits include a 6-piece set for moms and a 5-piece set for babies, with a peri bottle, herbal cooling spray, herbal cooling pad liners, perineal hot and cooling packs, disposable underwear, non-slip socks, and a canvas bag, plus a baby outfit, cap, mittens, bibs, and socks. If you want one bag that covers both people, this kit supplies the mom layer and the baby layer at once, and the canvas bag can become your grab-and-go pouch.